Description
Electric window starter for PEUGEOT 3008 and 5008 cars of the first generation
Driver’s door
Part description
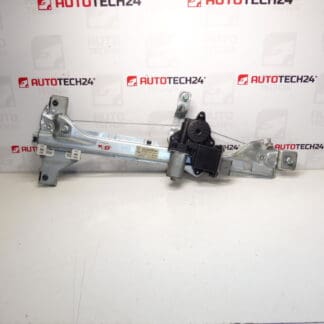
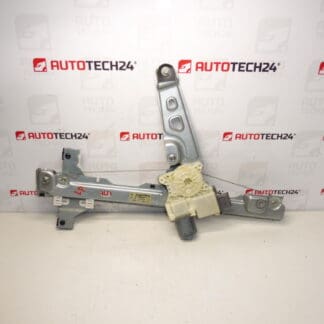
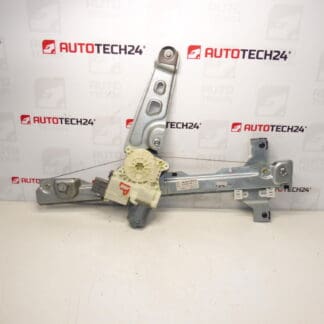
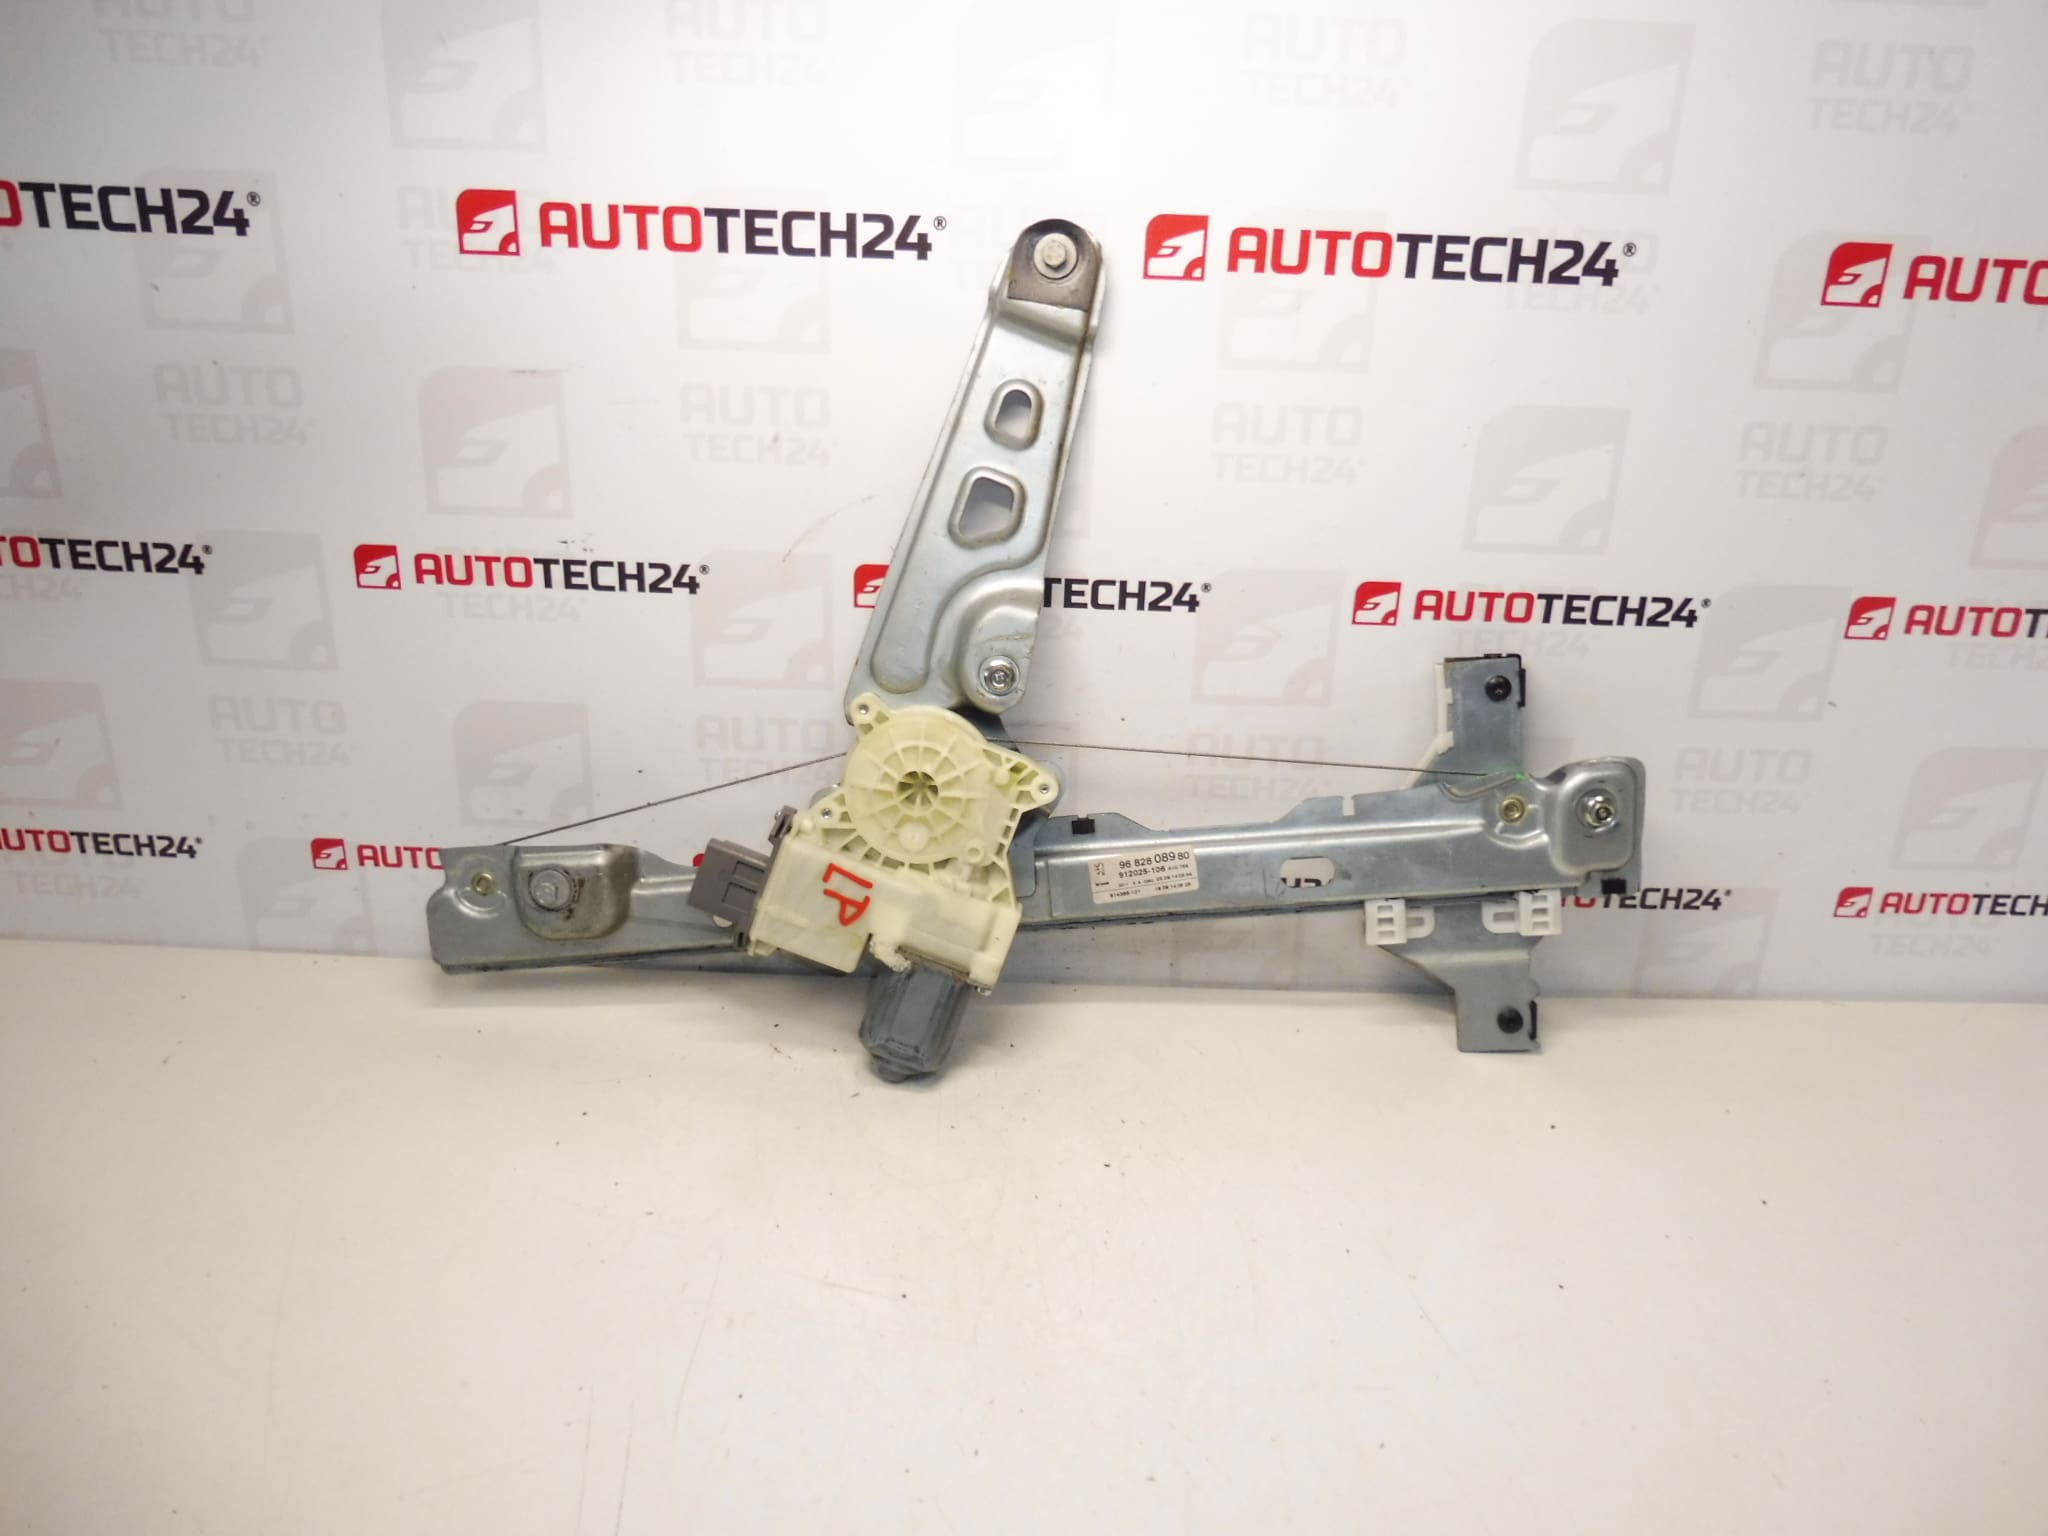
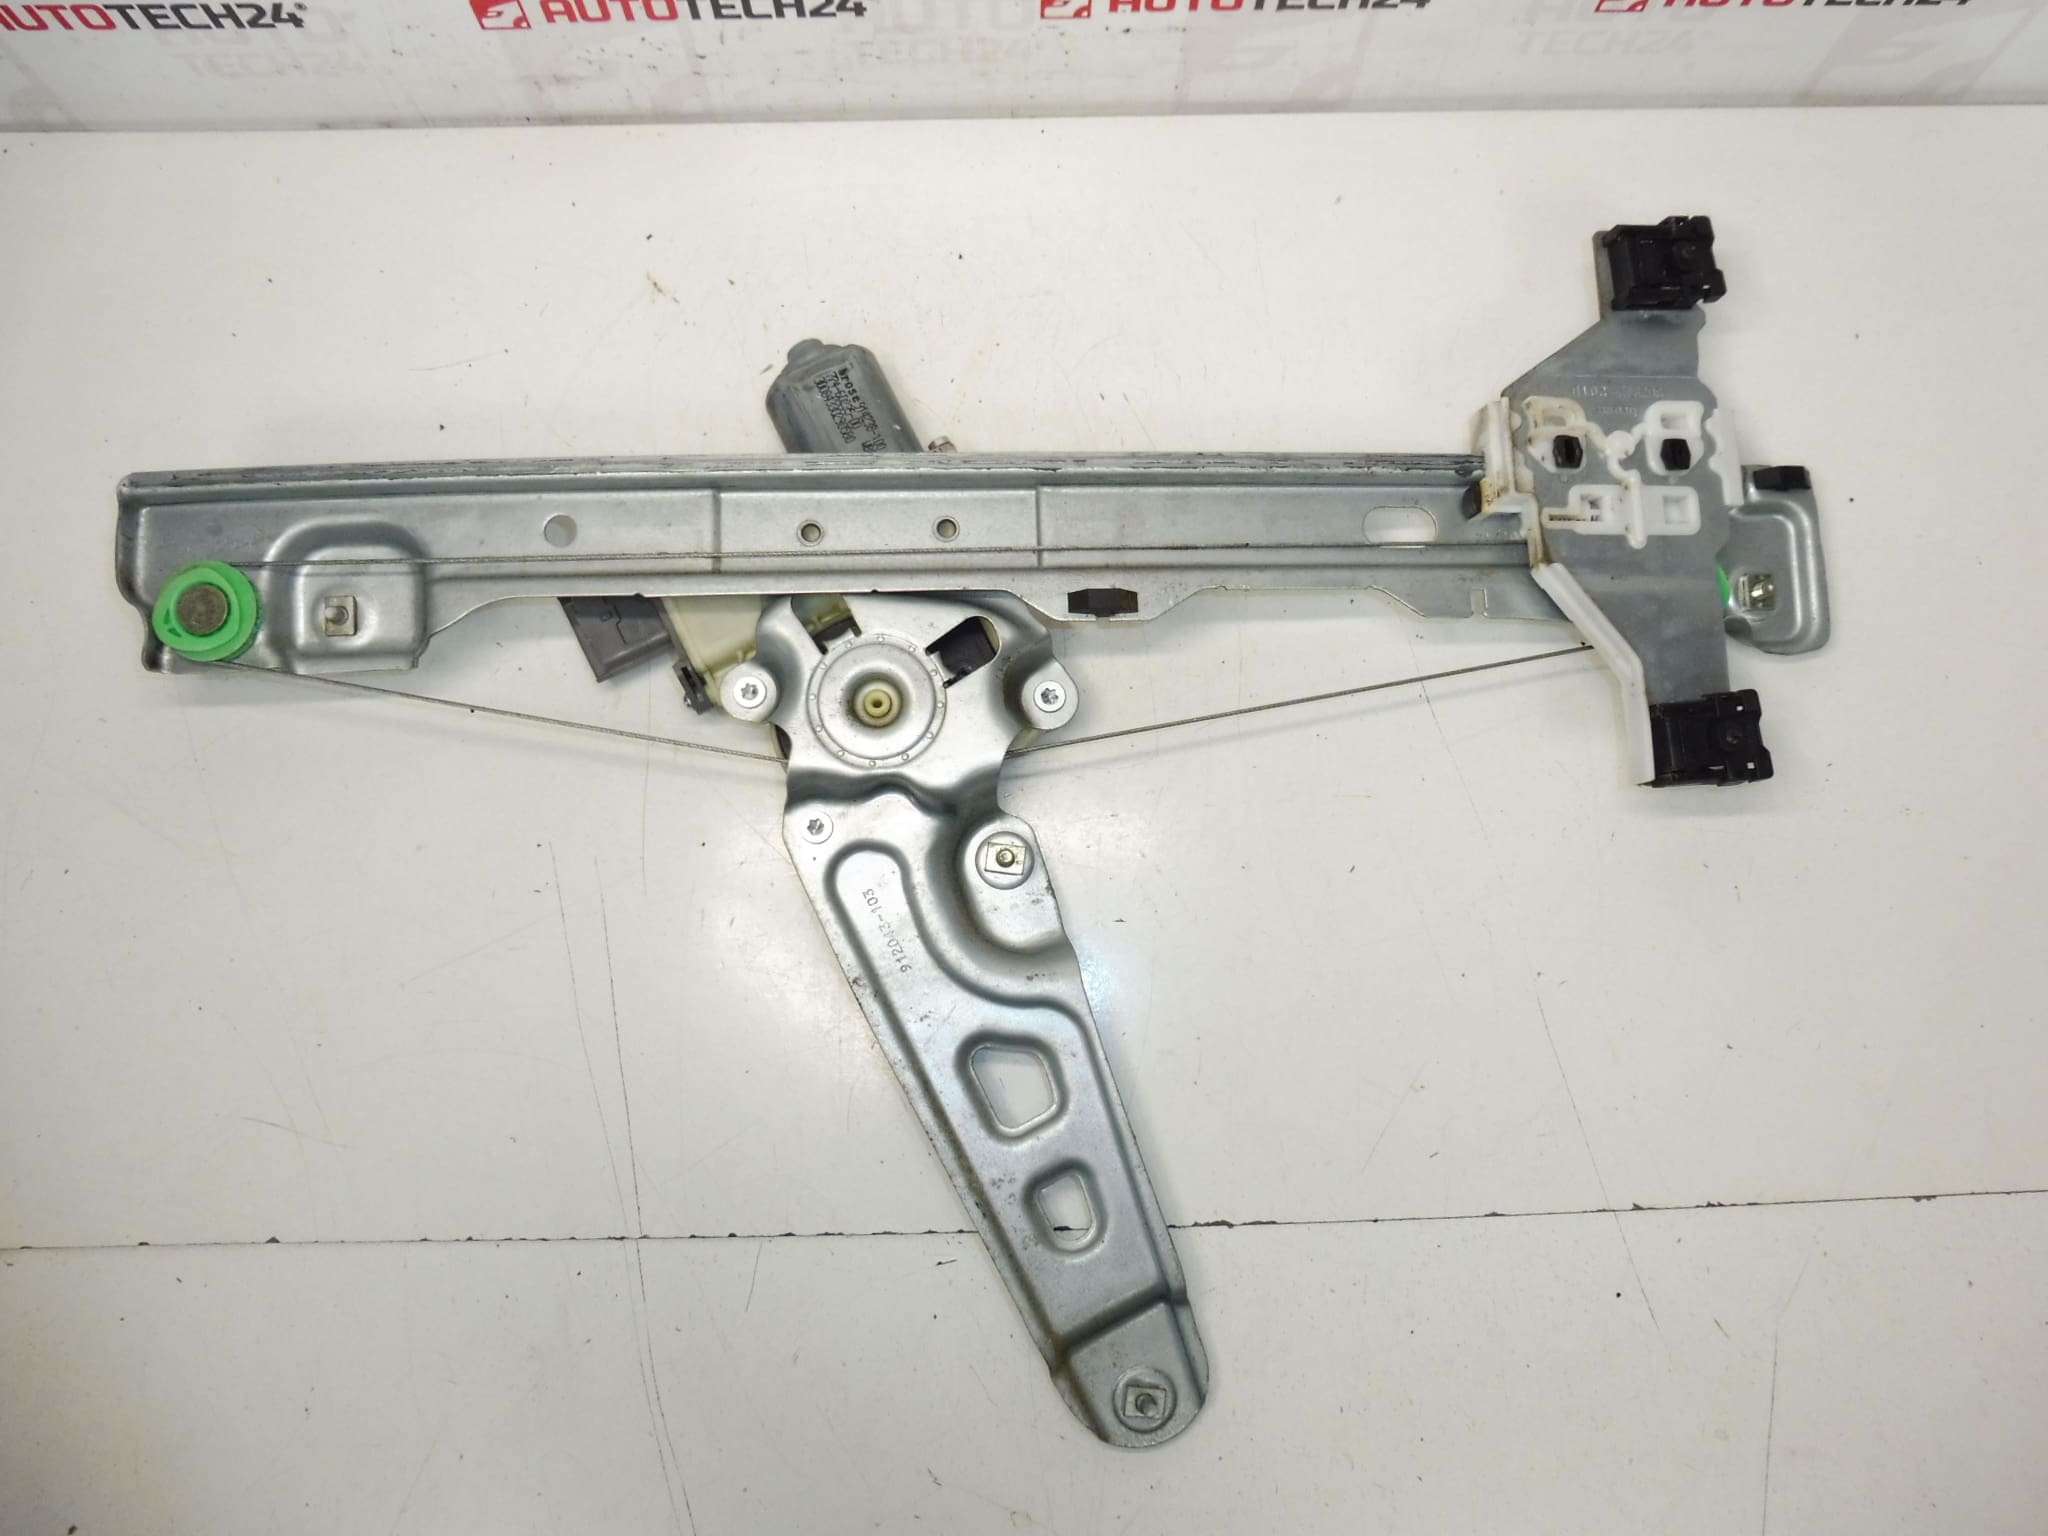
This used left front window mechanism is intended for Peugeot 3008 I and Peugeot 5008 I cars. It is an electric window starter for the driver’s door, i.e. an important part for the correct function of lowering and raising the side window.
The part is suitable for repairs when the window is not working, stuttering or running slowly. When looking for the right spare part, the product number is the most decisive, so we recommend comparing all the listed codes directly with the dismantled part.
Technical information
- Manufacturer: Stellantis Citroën Peugeot
- Model: Peugeot 3008 I, Peugeot 5008 I
- Other numbers: 9682808980, 9221FF
Product codes
Product codes: 9682808980, 9221FF
- PEUGEOT 3008 I
- PEUGEOT 5008 I
Installation recommendations
Generally/typically for this type of part, replacing the power window mechanism requires removing the door panel and carefully comparing all attachment and connection points with the old part. The exact steps may vary depending on the specific car model.
1) Before assembly
- Check that the new and original part match in terms of shape, fit and connectors.
- Compare product numbers 9682808980 and 9221FF with the disassembled part.
- Inspect the guide parts and cables for damage, deformation or snagging.
- Before installation, check the condition of the glass, guide rails and fixing points in the door.
2) Necessary tools and materials
- A common set of hand tools
- Tools for careful disassembly of upholstery
- Screwdrivers and gola set
- Work gloves
- Cleaning agent for removing dirt from mounting surfaces
3) Step-by-step assembly procedure
- Disconnect the battery and secure the vehicle against unwanted movement.
- Dismantle the door trim and carefully disconnect the associated electrical connectors.
- Remove the cover elements so that the window pull-down mechanism is accessible.
- Ensure the glass in a safe position so that it does not move or be damaged when disassembling the mechanism.
- Disconnect the electrical connection of the mechanism and loosen the fixing of the original part.
- Remove the old mechanism and compare it with the prepared replacement piece.
- Clean the mounting area and check for damage to the guide parts or mountings.
- Place the replacement mechanism in the correct position and fix it in the same way as the original part.
- Connect the electrical connector and connect the mechanism to the glass according to the design of the original solution.
- Before fully assembling the door, carry out a basic test of the operation of the window.
- If movement is smooth and without stuttering, refit the covers and door trim.
- Once complete, double-check both the pull-in and pull-out function of the entire window.
-
4) Post-assembly checks and test drive/function verification
- Check for smooth movement of the window without unusual noises.
- Verify that the window fits correctly in the top and bottom positions.
- Check for vibrations, glass warping or increased movement resistance when driving.
- After a short test drive, recheck the fastening and control function.
5) The most common assembly mistakes + how to avoid them
- Part exchange – always compare shape, fit and product codes.
- Assembly without checking the glass guide – a worn or dirty guide can cause malfunction even with the correct mechanism.
- Insufficient securing of the glass during work – there is a risk of damage to the glass or the mechanism.
- Pinch of wiring or upholstery – when refitting, route cables as factory.
- Premature folding of the door without a test – it is advisable to check the function of the window before the final closing of the door.
Reasons why the part is damaged
- Wear of mechanical parts during long-term use.
- Increased stress when the glass gets stuck in the guide.
- Damage to cables or guiding parts of the mechanism.
- Moisture and dirt inside the door.
- Overloading when repeatedly controlling a non-functional or frozen window.
- Damage after previous unprofessional assembly or disassembly.