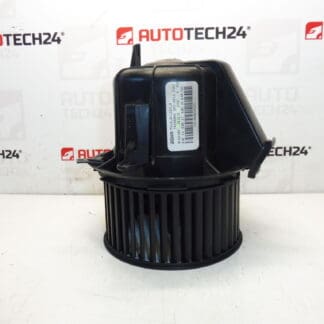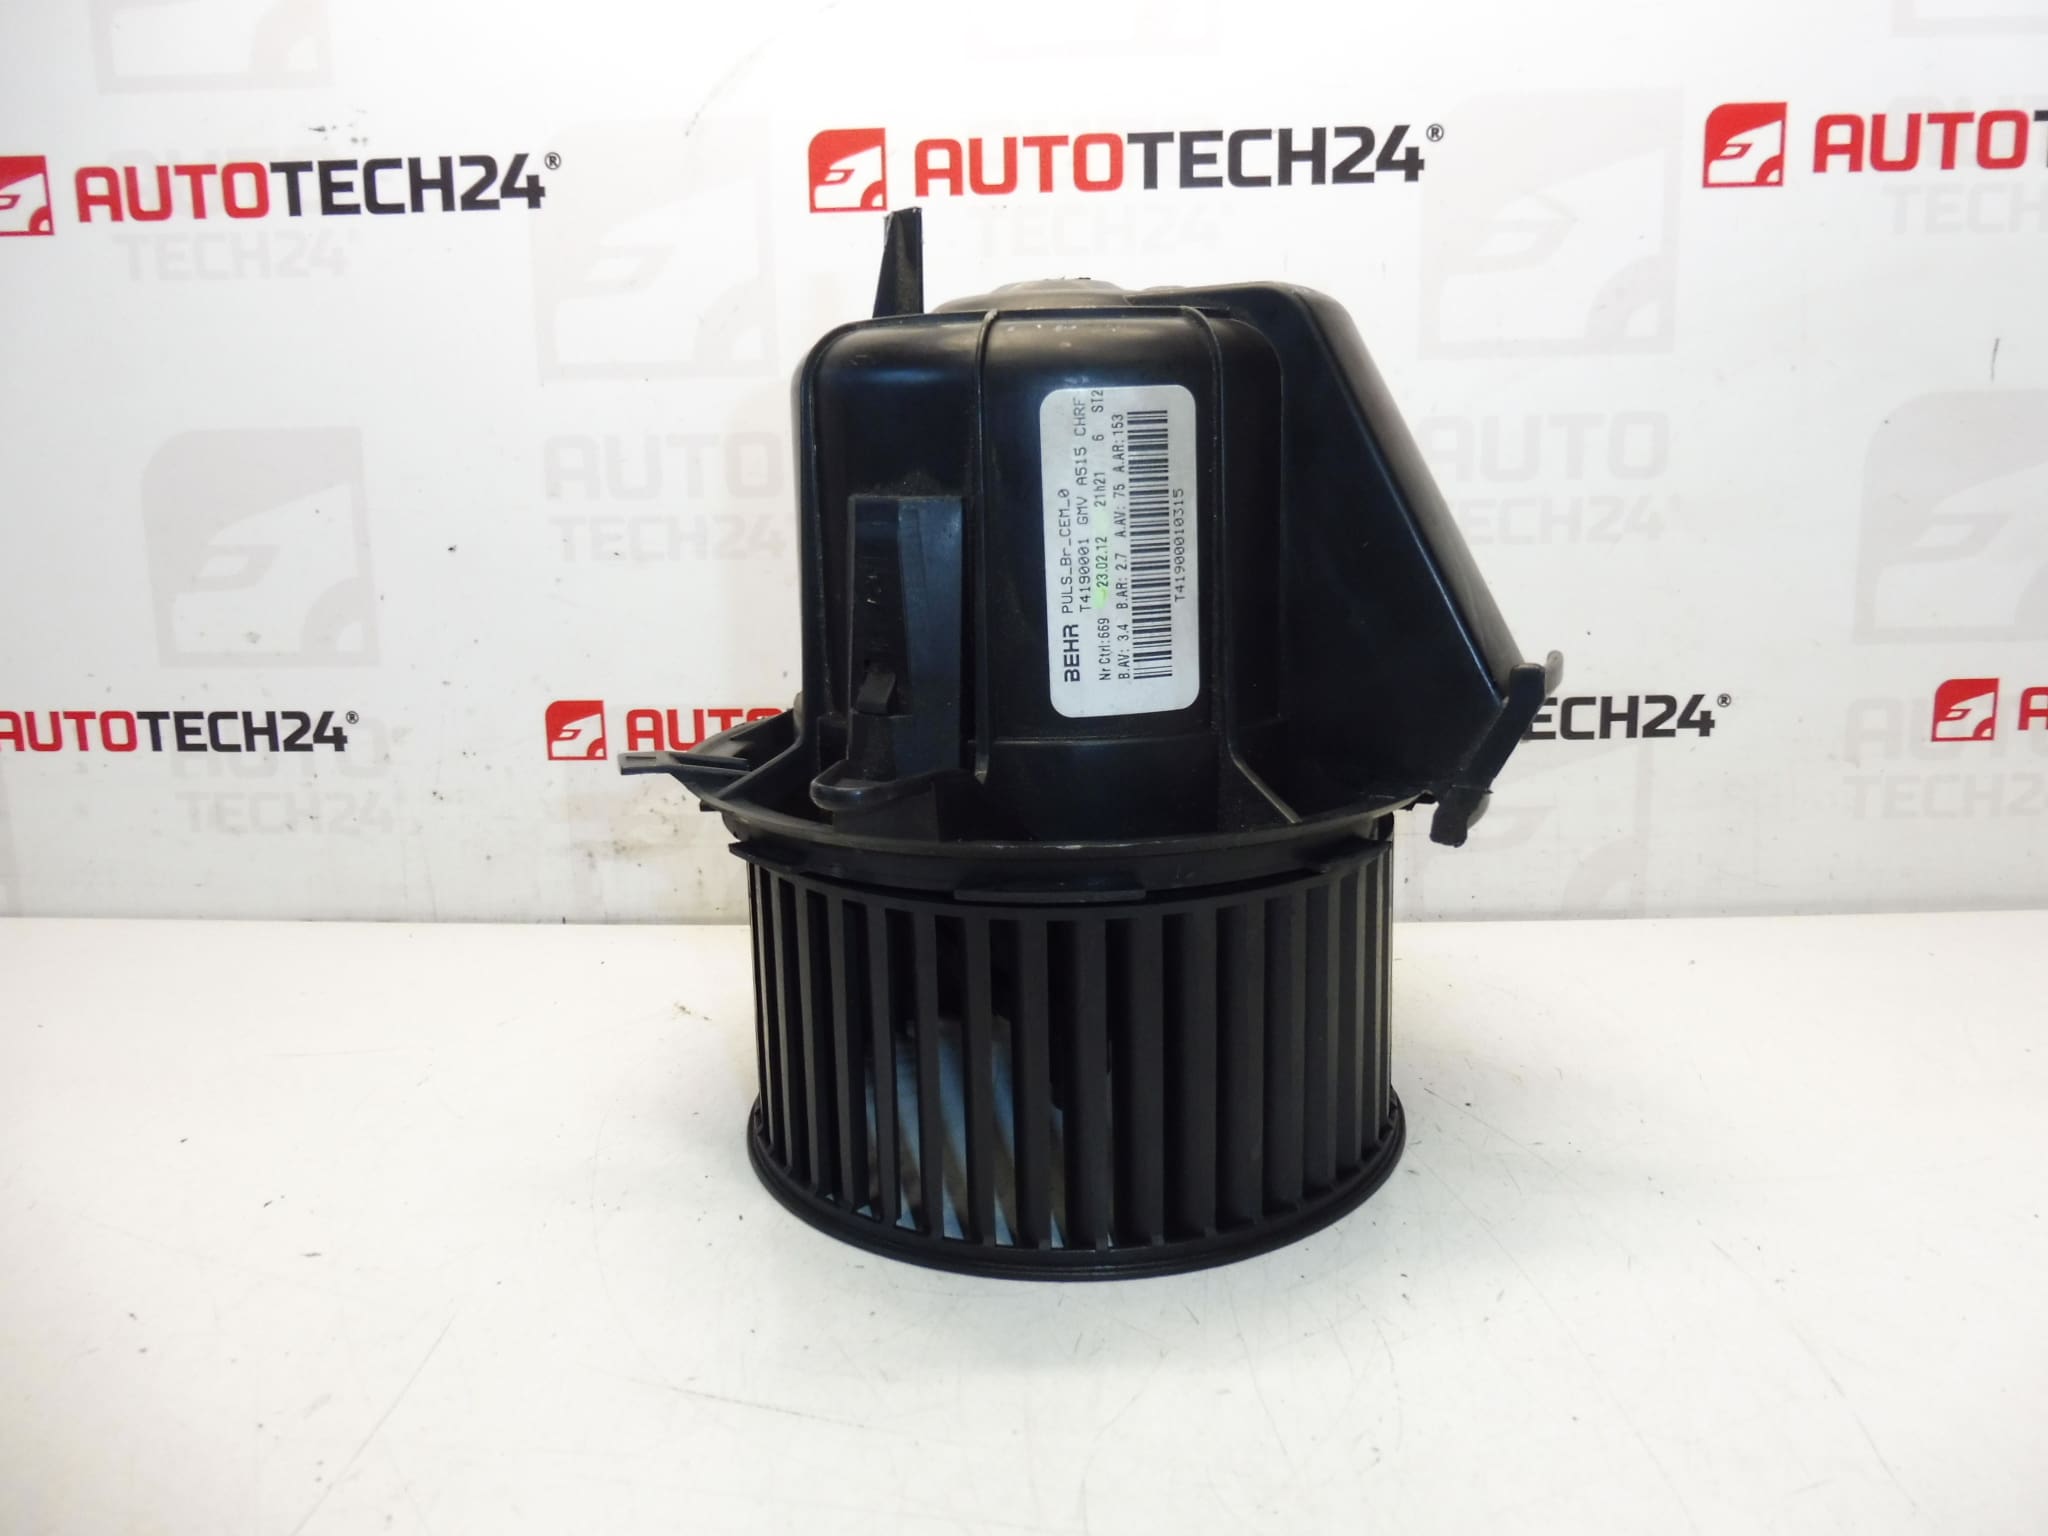
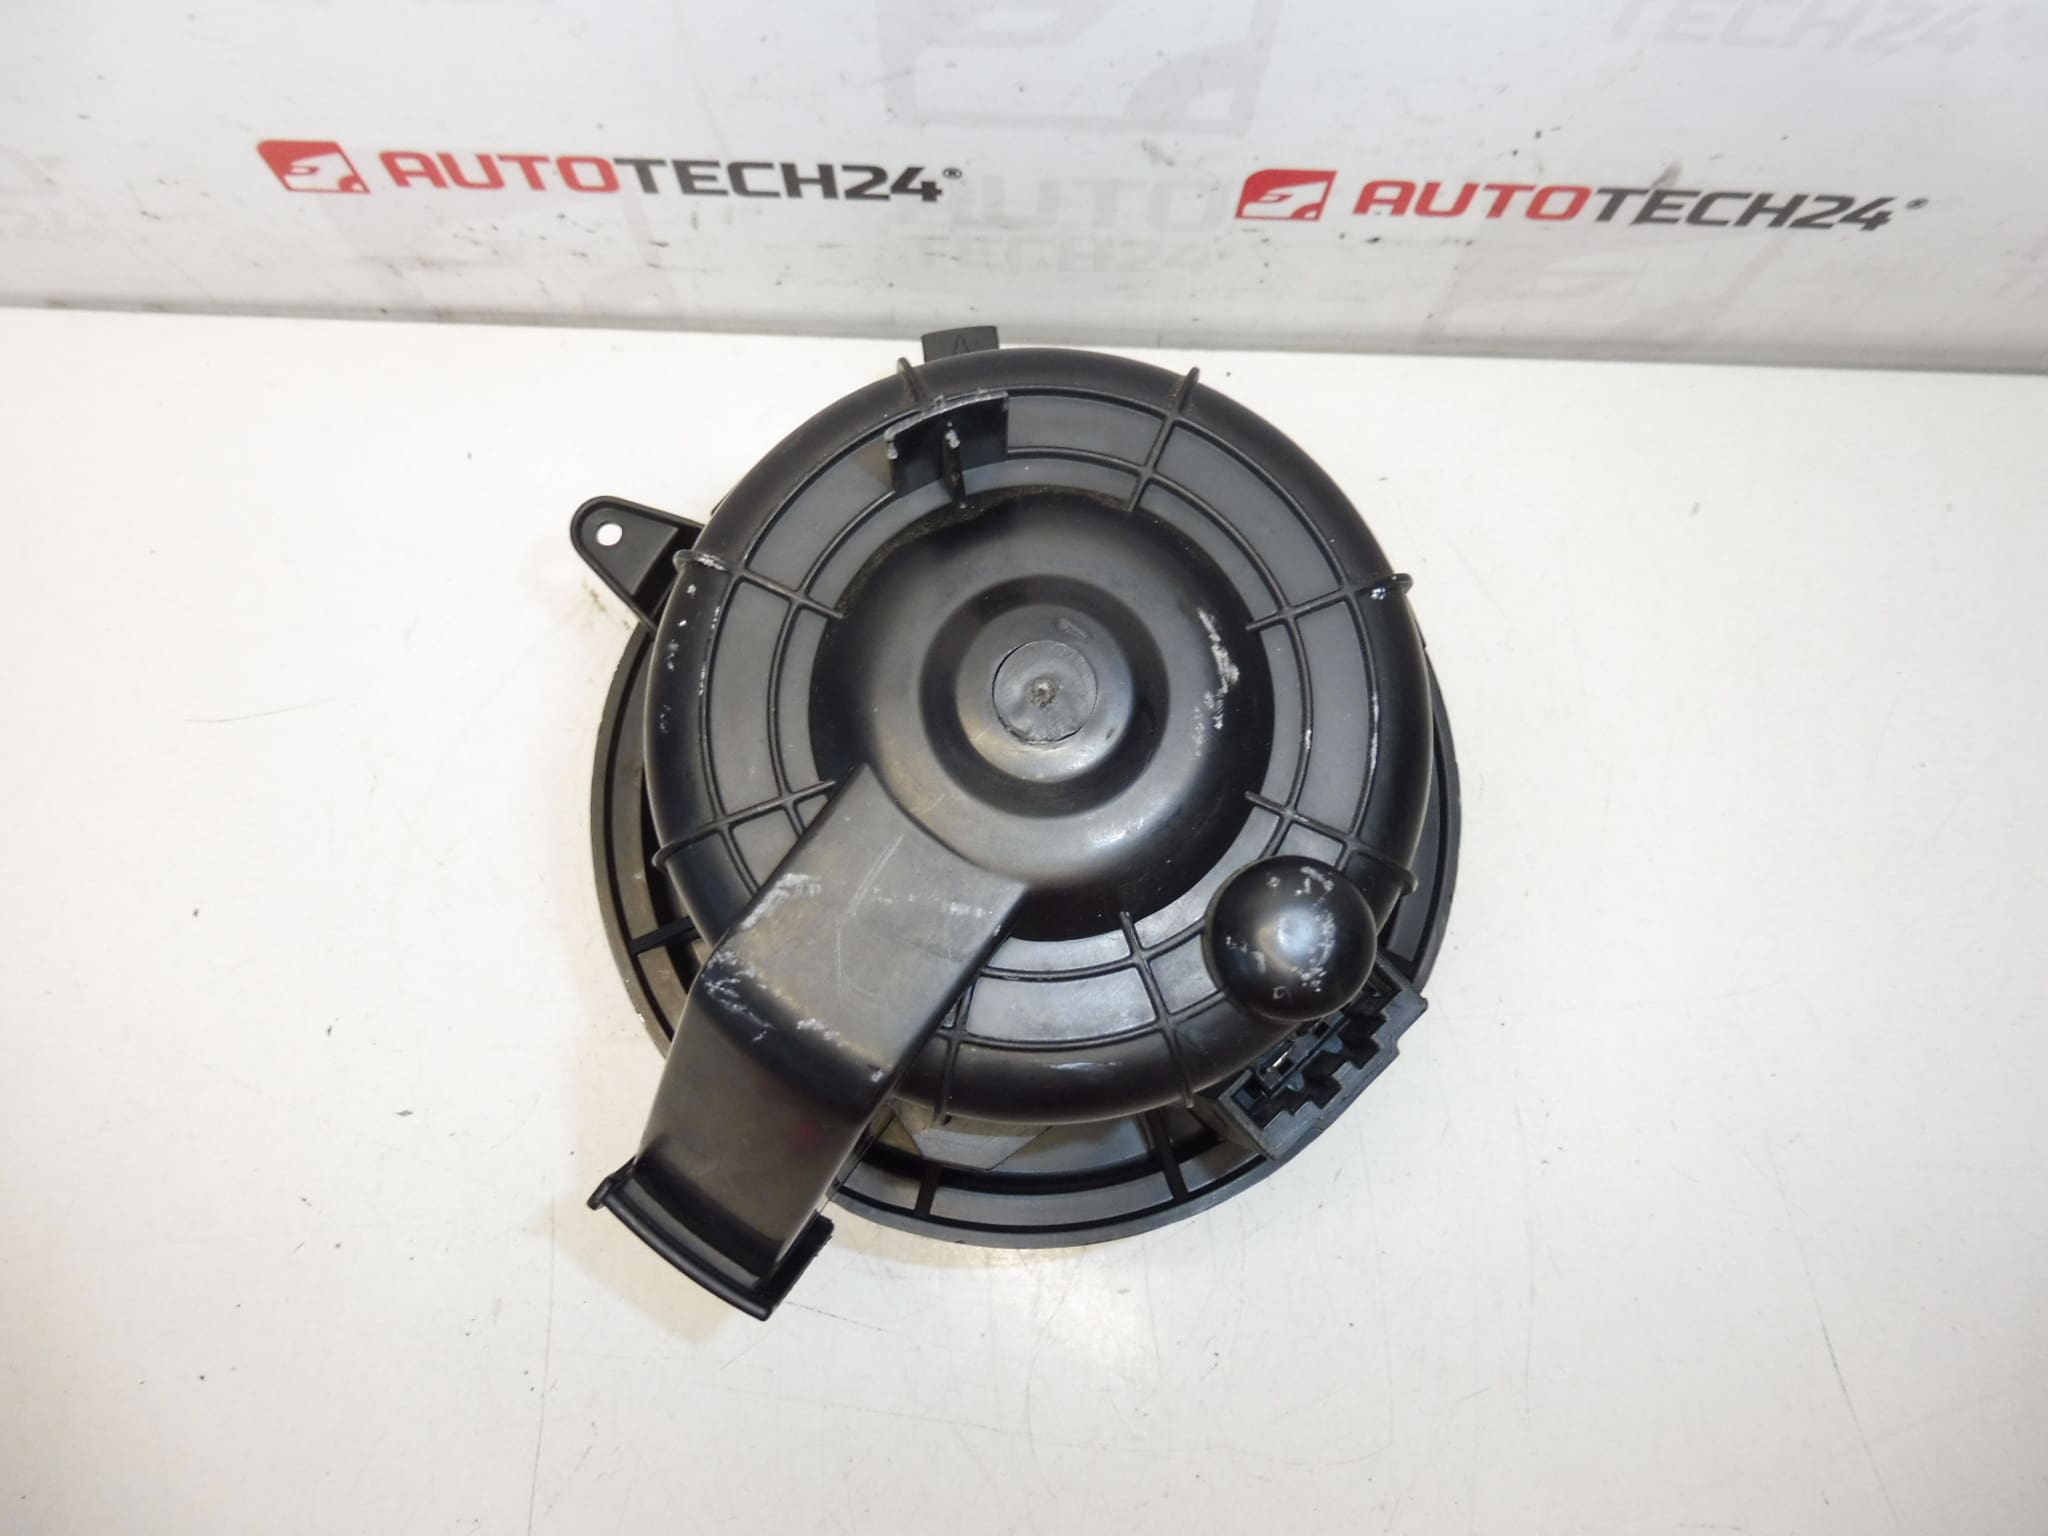
Description
BEHR heater fan for Citroën Peugeot cars
Part description
This heating fan is a used original part designed for Citroën and Peugeot cars. It is an important part of the heating and ventilation system, which ensures the flow of air into the interior of the car. A properly functioning heater fan has a major impact on the comfort of the crew, the efficiency of the windshield defogging and the overall function of the heating and air conditioning.
The part is also searched by product number, so it pays to compare the markings T4190001 and 6441CR with your original part. The offer is particularly suitable for interested parties who are looking for a replacement heater fan to repair a Citroën or Peugeot without unnecessarily high costs.
Technical information
- Manufacturer: BEHR
- Model: Citroën C3 II
- Other numbers: T4190001, 6441CR
Product codes
Product codes: T4190001, 6441CR
- Citroën C3 II
Installation recommendations
Since the documents do not contain the exact assembly procedure for a specific car model, below is a general procedure typically valid for replacing the heater fan. Exact steps may vary by vehicle model, equipment and design.
1) Before assembly
- Check that all markings on the original and replacement parts match.
- Compare the body shape, attachment points, electrical connector and overall design of the fan.
- Inspect the condition of the impeller blades, connector and plastic parts for cracks or deformation.
- We recommend disconnecting the battery before work, especially if you will be handling the car’s electrical installation.
2) Necessary tools and materials
- set of common hand tools
- screwdrivers and small socket wrenches
- plastic pry bar for removing covers
- flashlight
- cleaning agent for removing dust and dirt
- protective gloves
3) Step-by-step assembly procedure
- Turn off the ignition and secure the vehicle against movement.
- Disconnect the battery if the nature of the work requires it.
- Access the space in which the heating fan is stored by removing the necessary covers or linings.
- Disconnect the electrical connector from the original fan.
- Unfasten the old part and remove it carefully so as not to damage the surrounding plastic parts.
- Check the fan storage area and remove dust, leaves or other debris.
- Compare the old and new parts before actually fitting.
- Insert the replacement fan into the correct position and seat it without force.
- Secure the fan with the original fasteners.
- Connect the electrical connector and check for proper seating.
- Reinstall all covers and removed parts of the interior or access to the part.
- Connect the battery and perform a basic function test.
-
4) Post-assembly checks and test drive/function verification
- Verify that the fan runs smoothly and without excessive noise.
- Check the function of the individual ventilation stages, if the car system allows it.
- Watch for a steady flow from the air vents.
- During a short test drive, check the correct function of the heating and demisting of the windows.
5) The most common assembly mistakes + how to avoid them
- Part exchange – always carefully compare the codes and connector designs.
- Damage to plastic parts during disassembly – use suitable tools and proceed without brute force.
- Insufficiently connected connector – after connecting, check for firm seating.
- Installation in a polluted area – before installation, clean the surroundings to prevent dirt from entering the fan.
- Skip output check – always test the fan function in all available modes after assembly.
Reasons why the part is damaged
- normal wear and tear of the electric motor during long-term operation
- clogging of the fan with dust, leaves or other debris
- excessive load caused by impaired running of the impeller
- damage to the electrical connector or power supply
- moisture and corrosion of electrical parts
- mechanical damage during unprofessional disassembly or assembly