Description
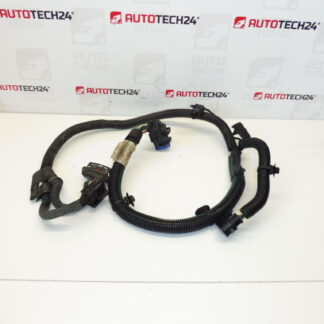
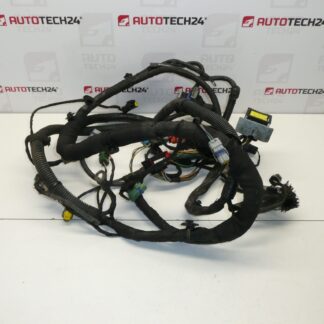
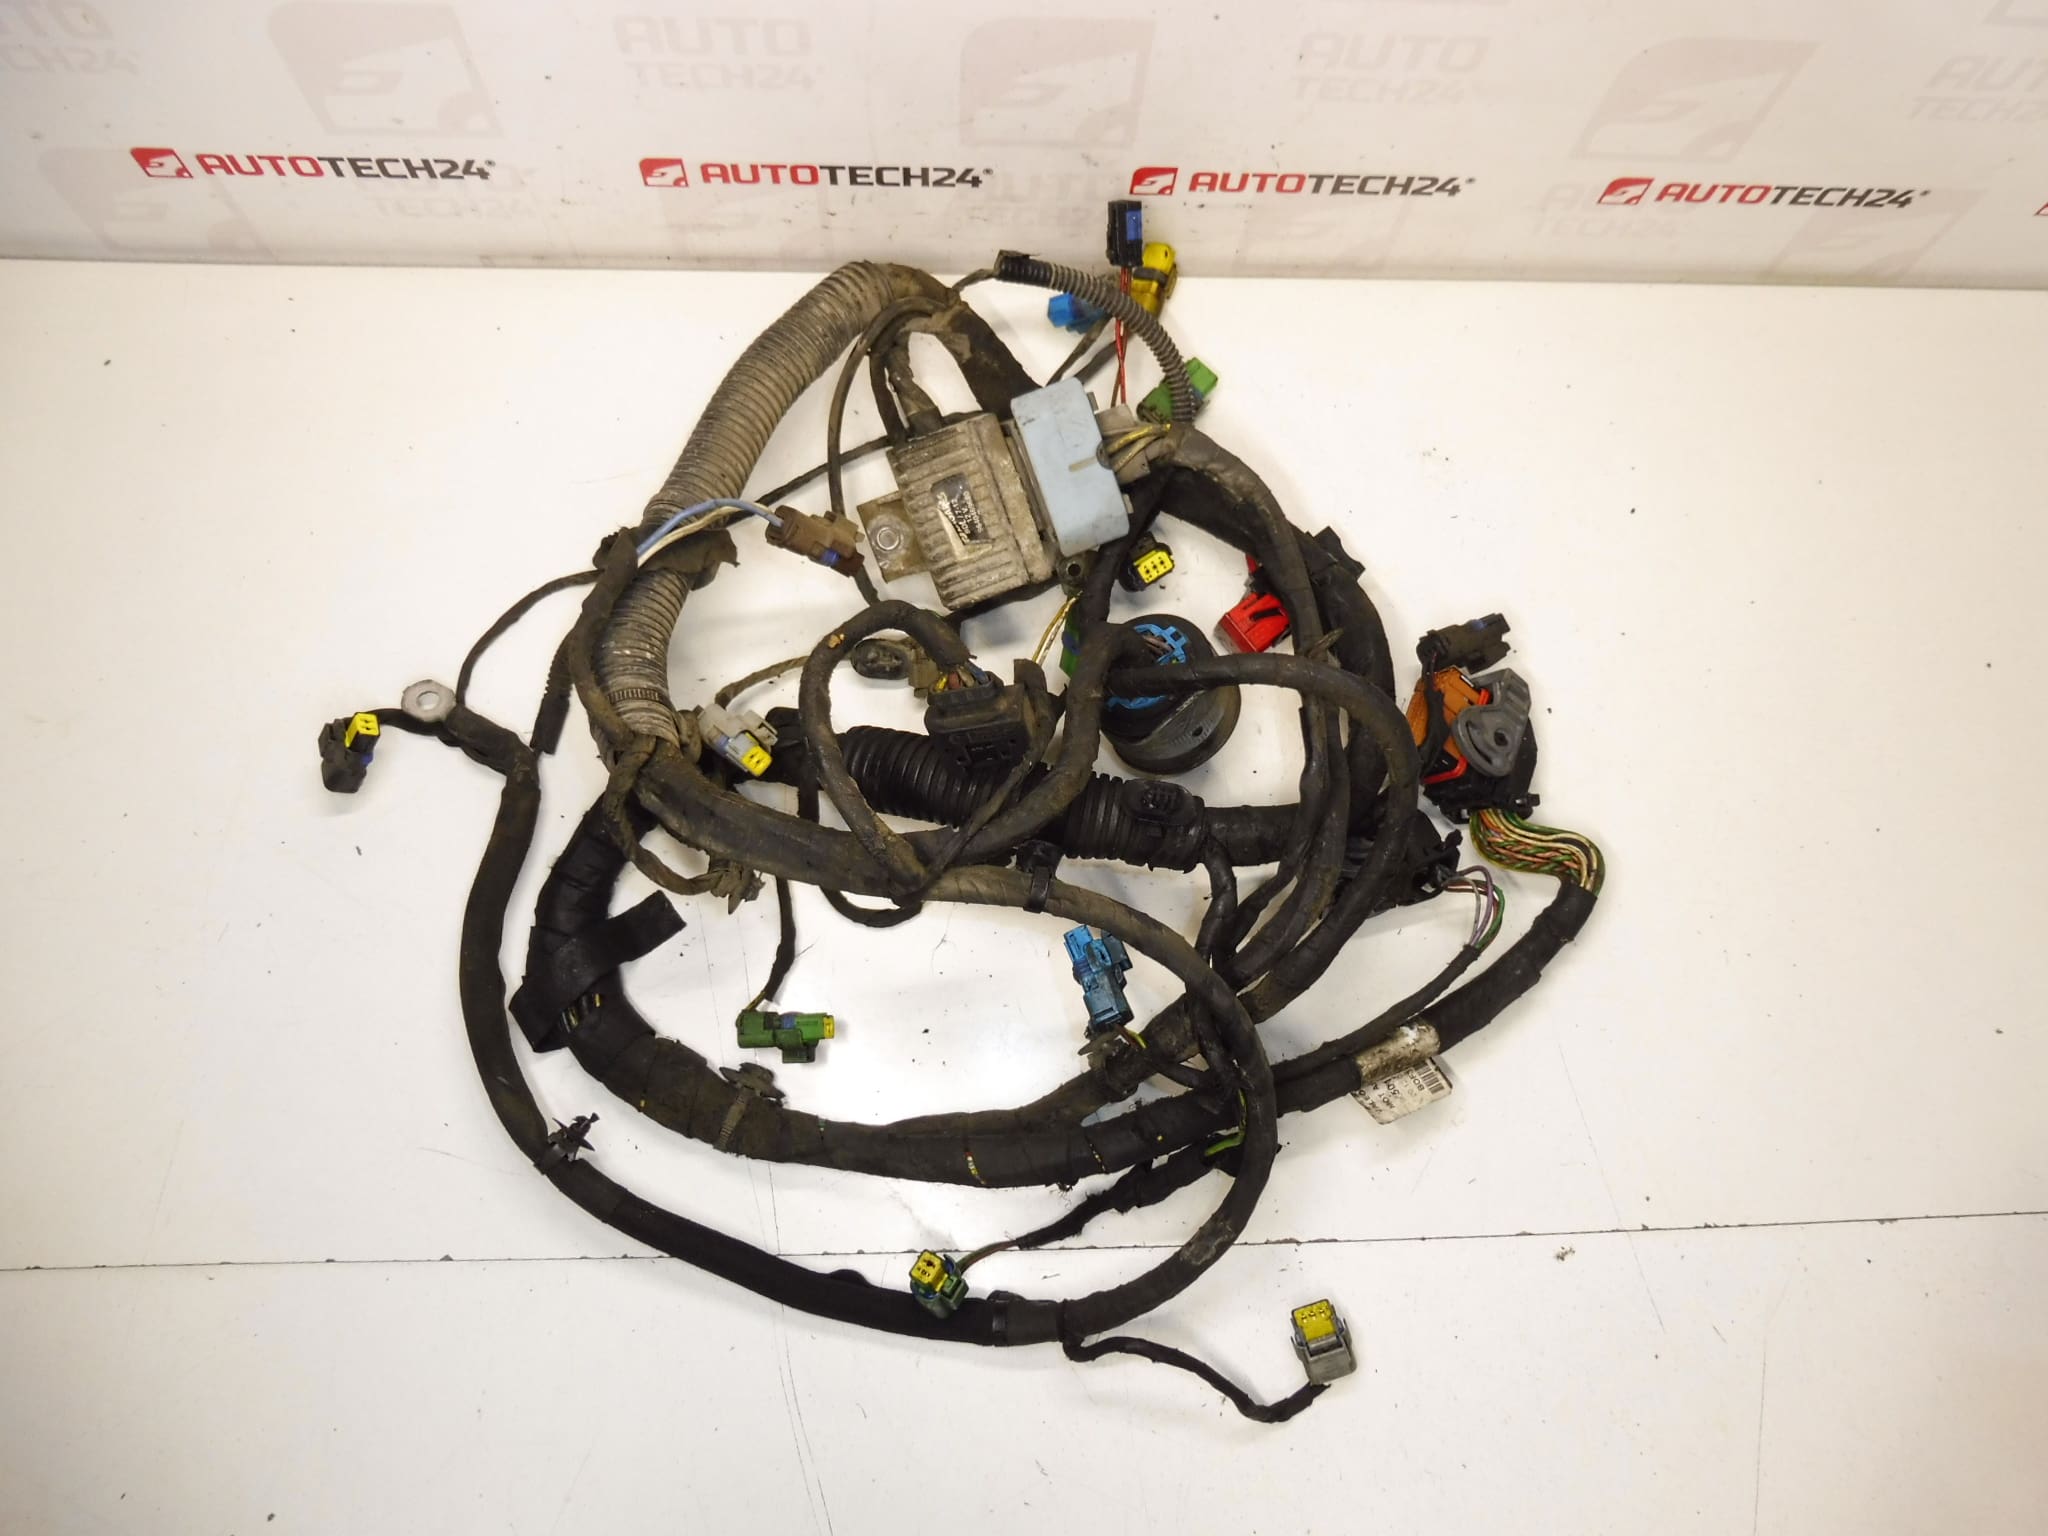
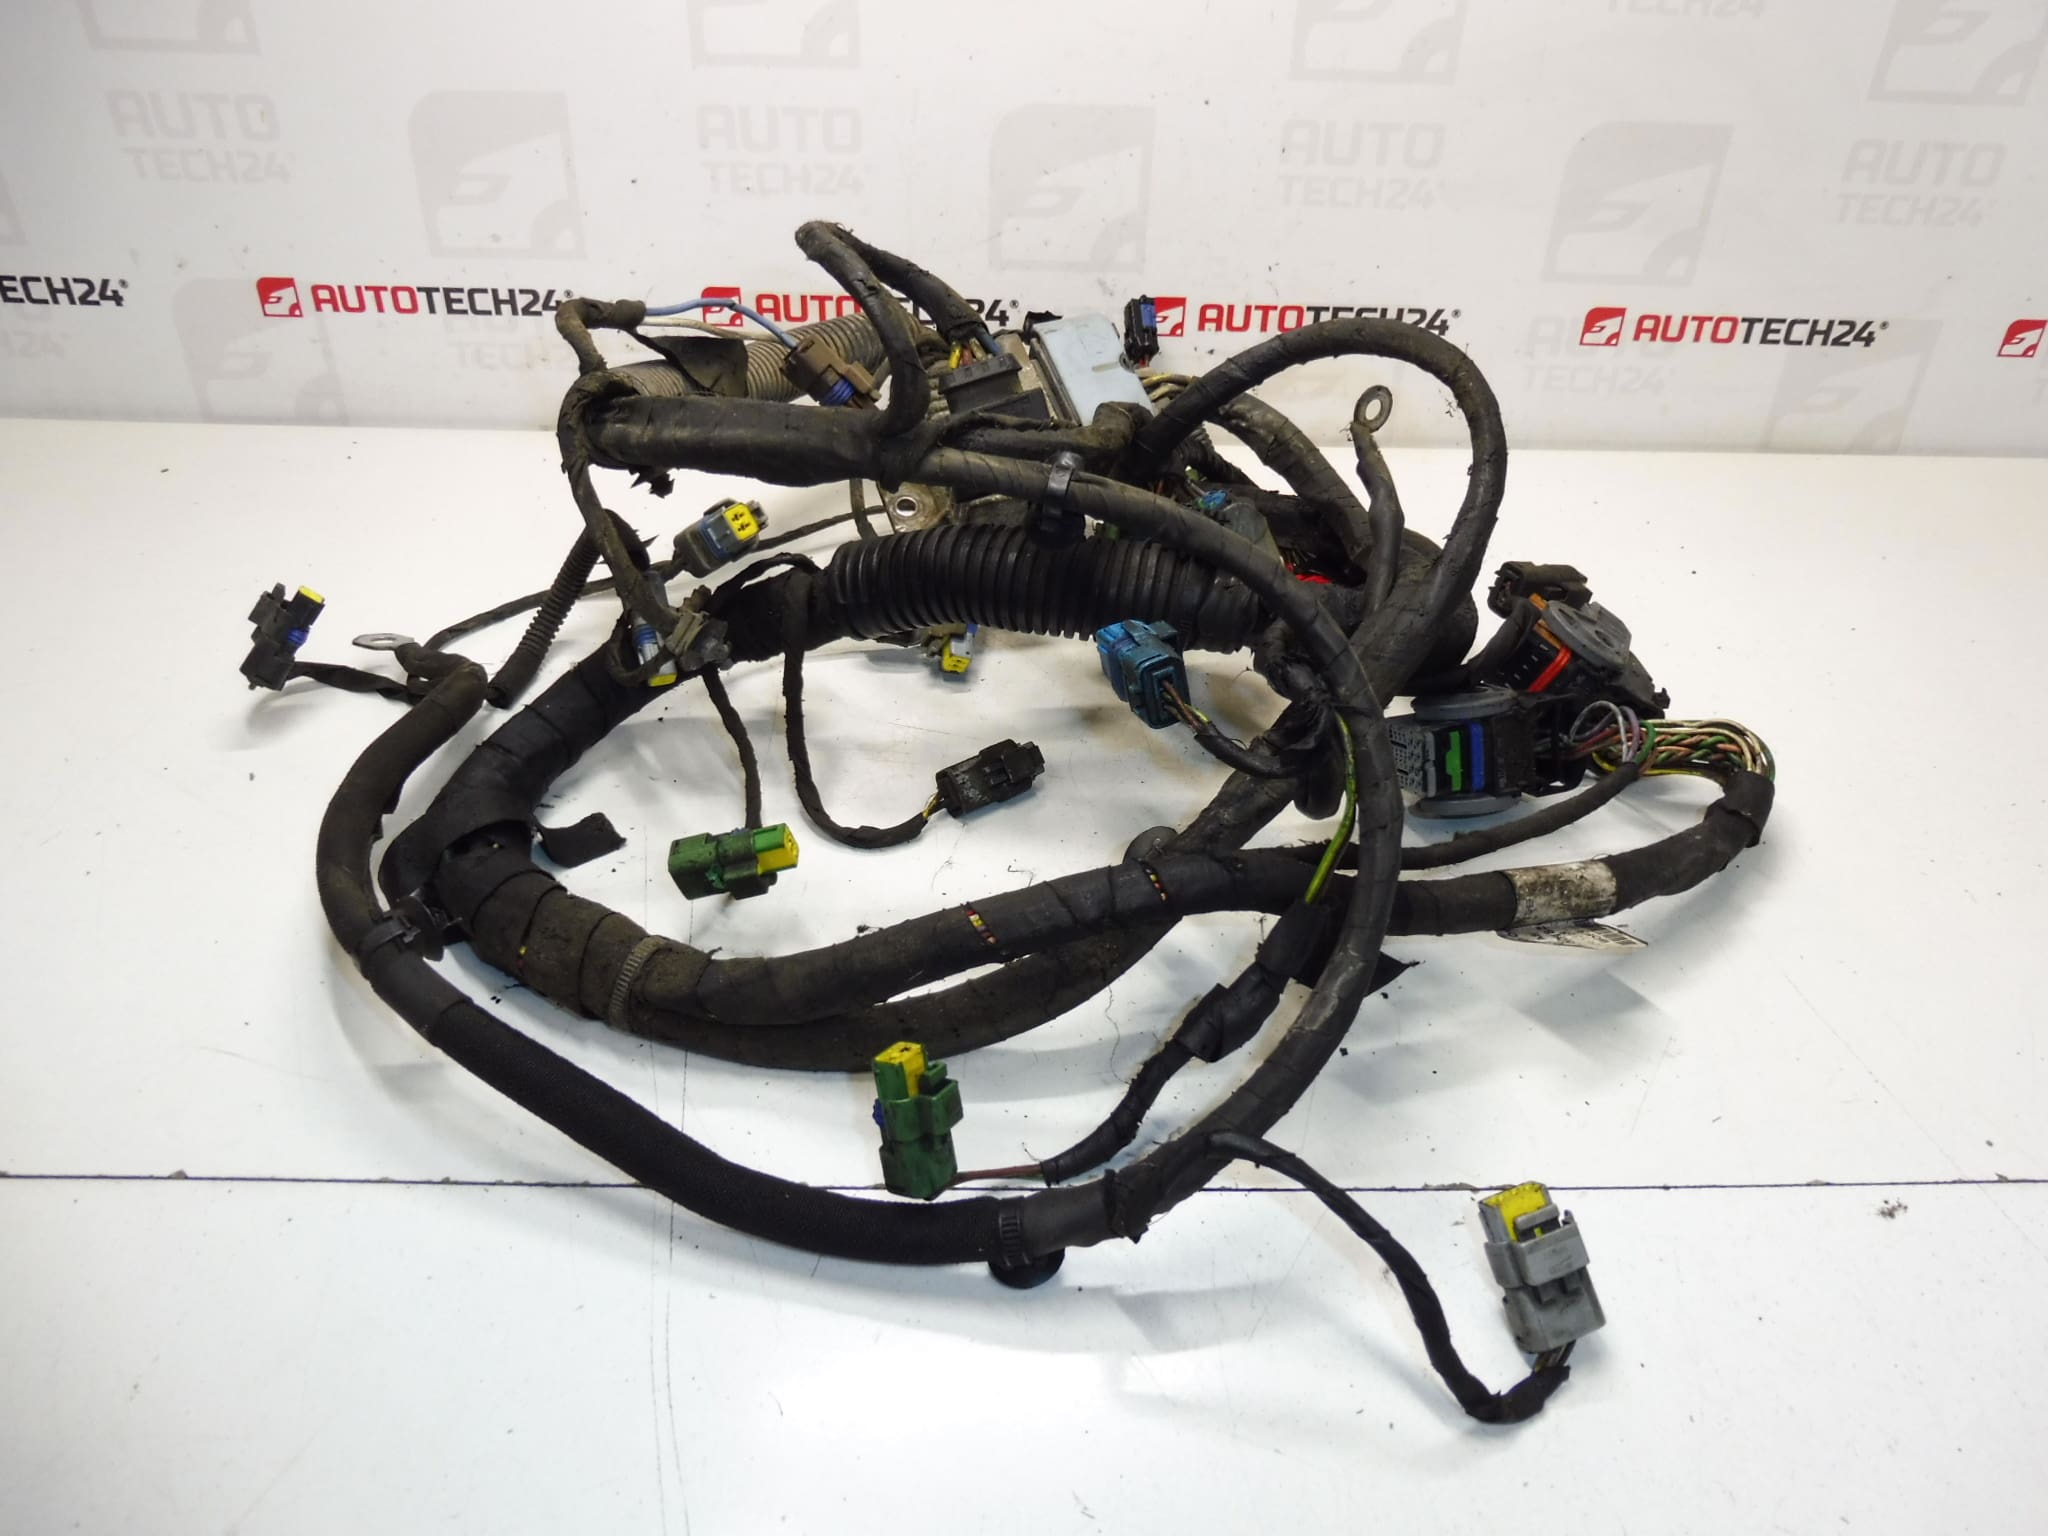
Main Engine Wiring Harness Citroën Peugeot 1.4 HDi 66 kW 8HY Delphi Injection System. Fully Functional, Tested.
This engine wiring harness is a direct-fit electrical assembly designed for the 1.4 HDi 66 kW (8HY) diesel engines fitted to selected Citroën and Peugeot models. Built to route power and signals between the Engine Control Unit and key components of the Delphi common-rail injection system, the harness includes connectors for injectors, sensors, actuators and engine-grounding points. Ideal for professional workshops and competent DIY mechanics, this harness restores reliable communication across the engine electrical system and resolves symptoms such as misfires, intermittent starting, injector faults or persistent engine management warning lights.
Technical Information
- Manufacturer: Stellantis / Citroën Peugeot
- Model: 1.4 HDi 66 kW (Engine Code 8HY) — Fits Citroën C3, Peugeot 1007
- Product Codes: 9650182080, 6558NJ, NFP
- Additional Numbers: Delphi Injection System Compatible
Function And Typical Symptoms
The primary role of the wiring harness is to deliver power and mapped signals between the ECU and engine peripherals: fuel injectors, camshaft/crankshaft sensors, coolant temperature sensor, throttle control and ignition circuits where applicable. When the harness is damaged or connections are corroded the vehicle may exhibit: engine Misfire, Difficult Starting or No Start, Engine Management Light On, Erratic Idle, Reduced Performance, Or Specific Fault Codes Related To Injectors Or Sensors.
Common Causes Of Failure
Failures most frequently result from Heat Degradation, Vibration And Chafing Against Engine Components, Oil Or Coolant Contamination, Connector Corrosion, Or Mechanical Damage From Maintenance Interventions Or Rodents. Over Time The Insulation Can Become Brittle And Pins May Lose Proper Contact, Leading To Intermittent Faults That Are Hard To Diagnose.
Recommended Installation
For Professional Fitment Or Experienced DIY Mechanics: Disconnect The Battery Before Starting. Remove Any Engine Covers Or Air Intake Components Obstructing Access. Carefully Label Or Photograph Connector Locations To Ensure Correct Reassembly. Unclip The Old Harness From Mounting Points, Inspect Connectors And Pins For Corrosion Or Damage, And Transfer Any Required Brackets Or Clips To The New Harness. Route The Replacement Harness Along The Same Path, Secure All Clips, And Reconnect Sensors And Injectors Firmly. Apply A Small Amount Of Dielectric Grease To Exposed Connectors To Improve Long-Term Contact Reliability. After Reassembly, Reconnect The Battery, Clear Any Stored Fault Codes With A Diagnostic Tool, And Perform A Road Test To Confirm Proper Operation.
Notes For Buyers
This harness Is Suitable For Workshops And Experienced Do-It-Yourselfers Familiar With Engine Electrical Systems. Check Product Codes Against Your Vehicle Parts List — Common Search Numbers Include 9650182080 And 6558NJ — As Many Mechanics Search By Part Number When Sourcing Replacements. Installation Time Varies By Model But Typically Requires Basic Engine Bay Access And Common Hand Tools.
Why Replace The Harness
Replacing A Faulty Engine Wiring Harness Restores Reliable Communication Between The ECU And Engine Components, Eliminates Intermittent Electrical Faults, And Prevents Additional Damage To Sensors And Actuators Caused By Poor Electrical Contact. A Correctly Fitted Harness Ensures Stable Engine Performance And Reduces Unexpected Breakdowns.