Description
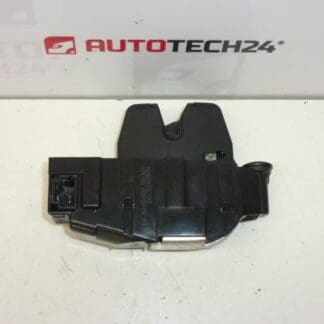
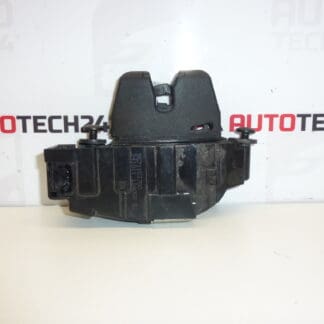
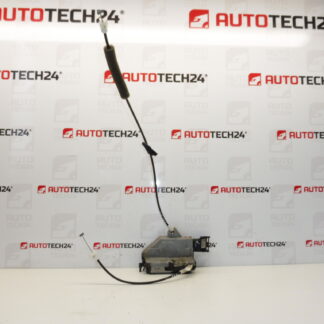
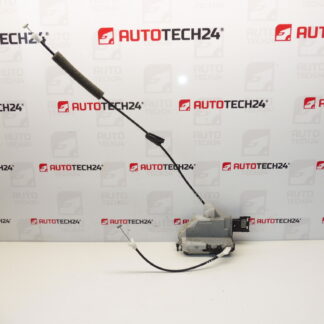
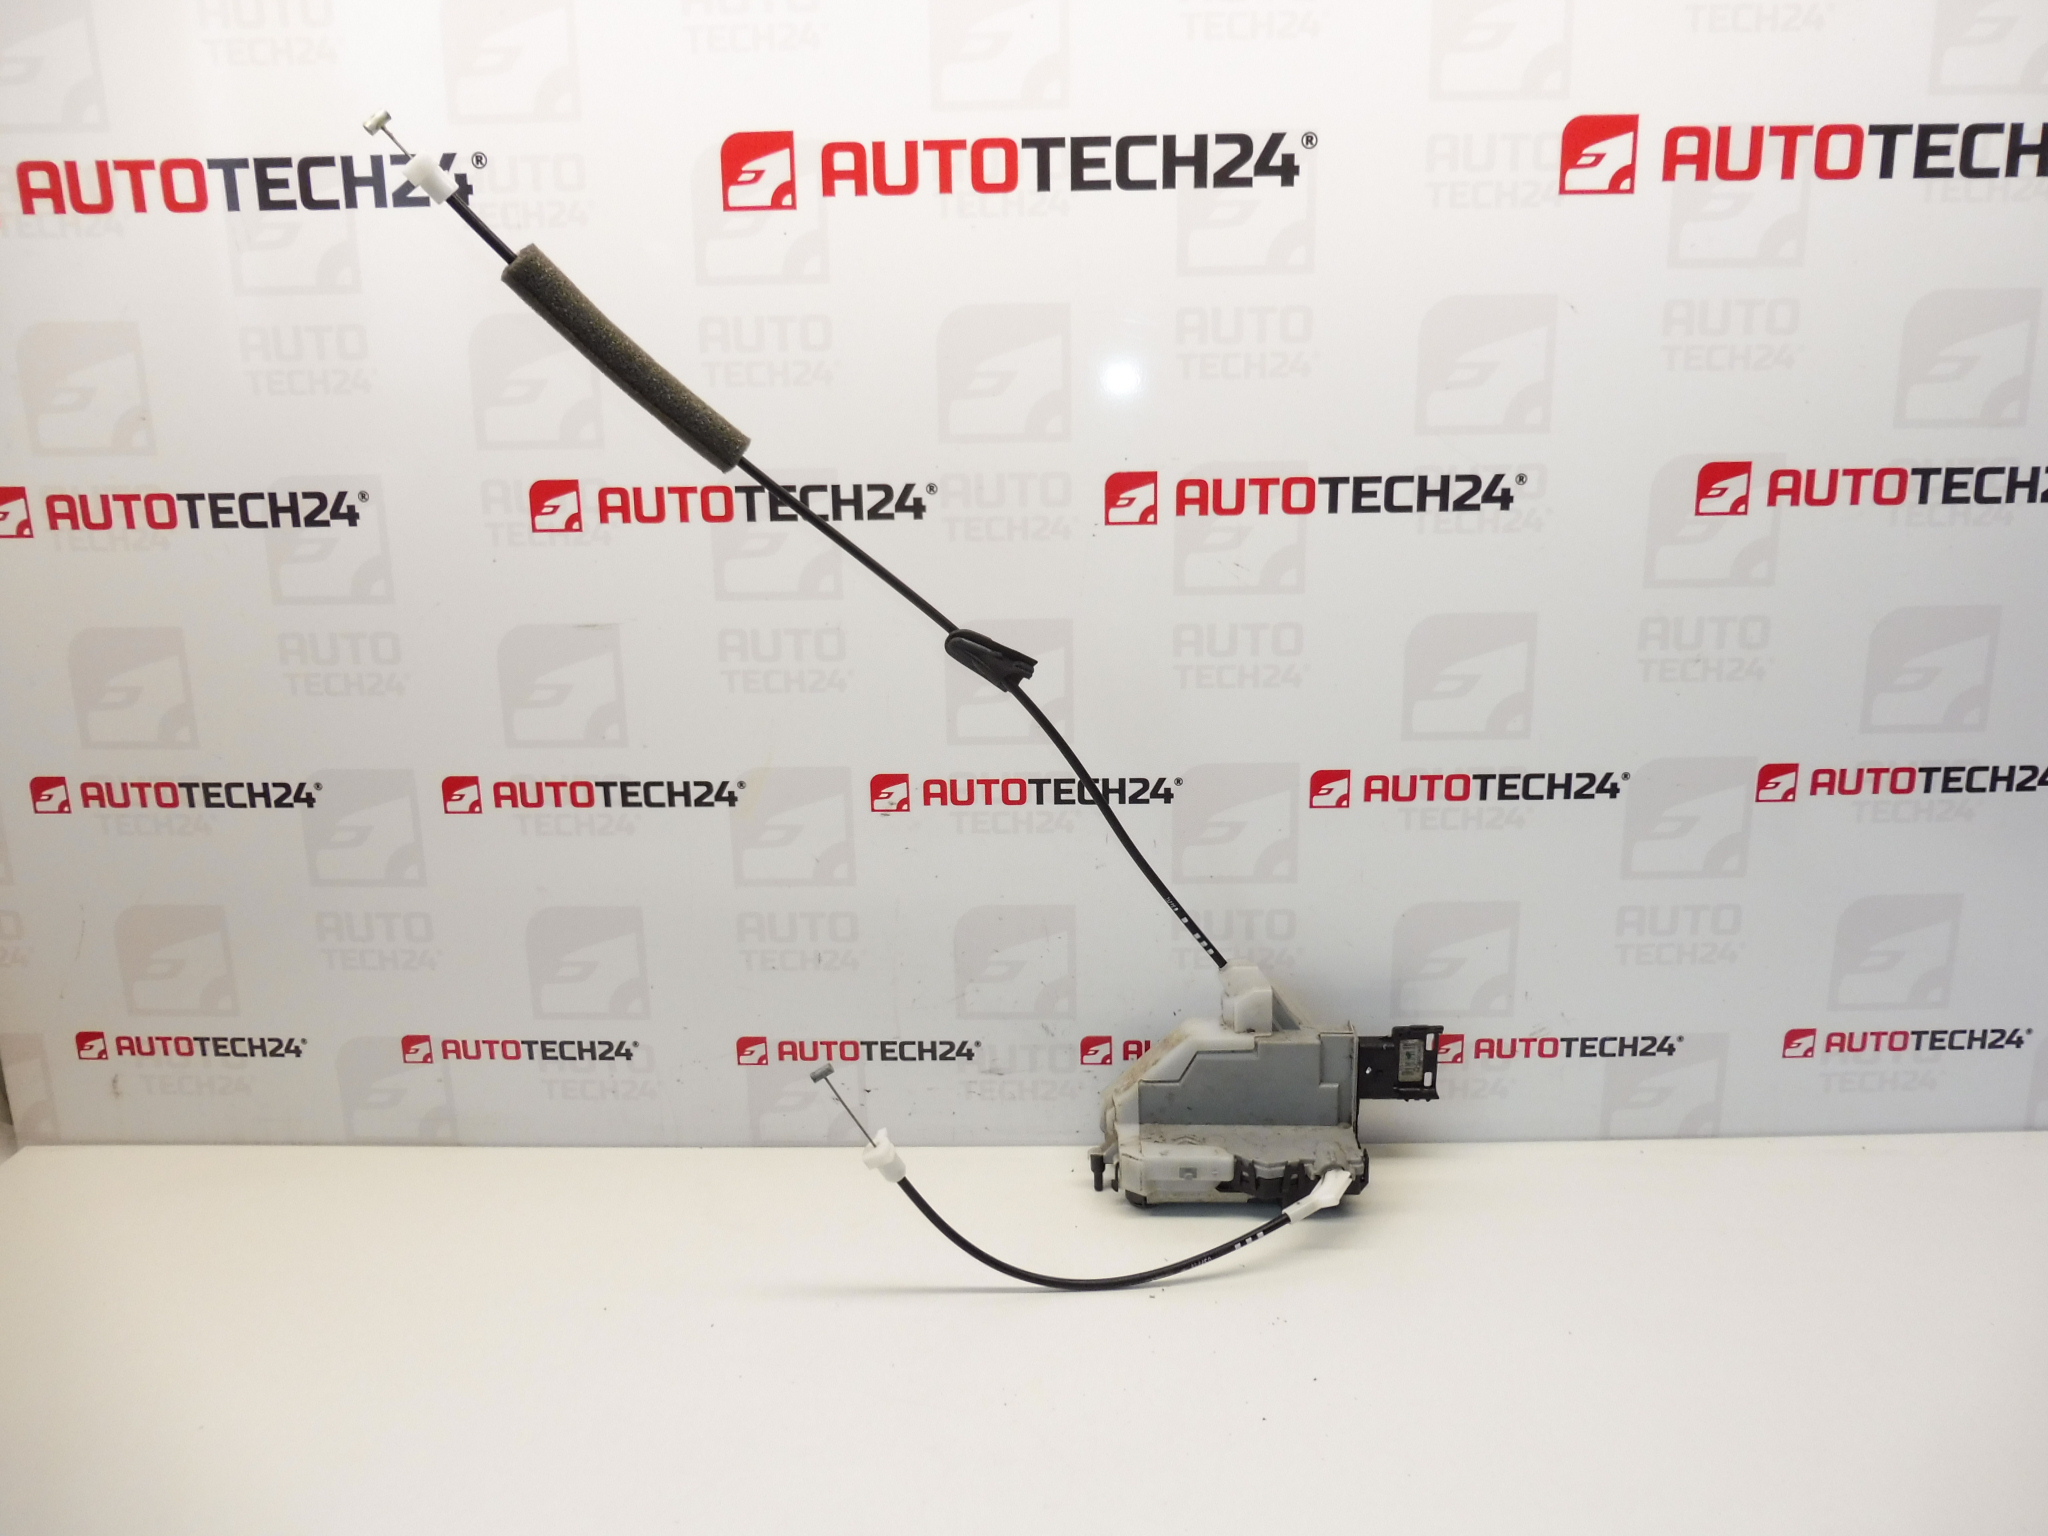
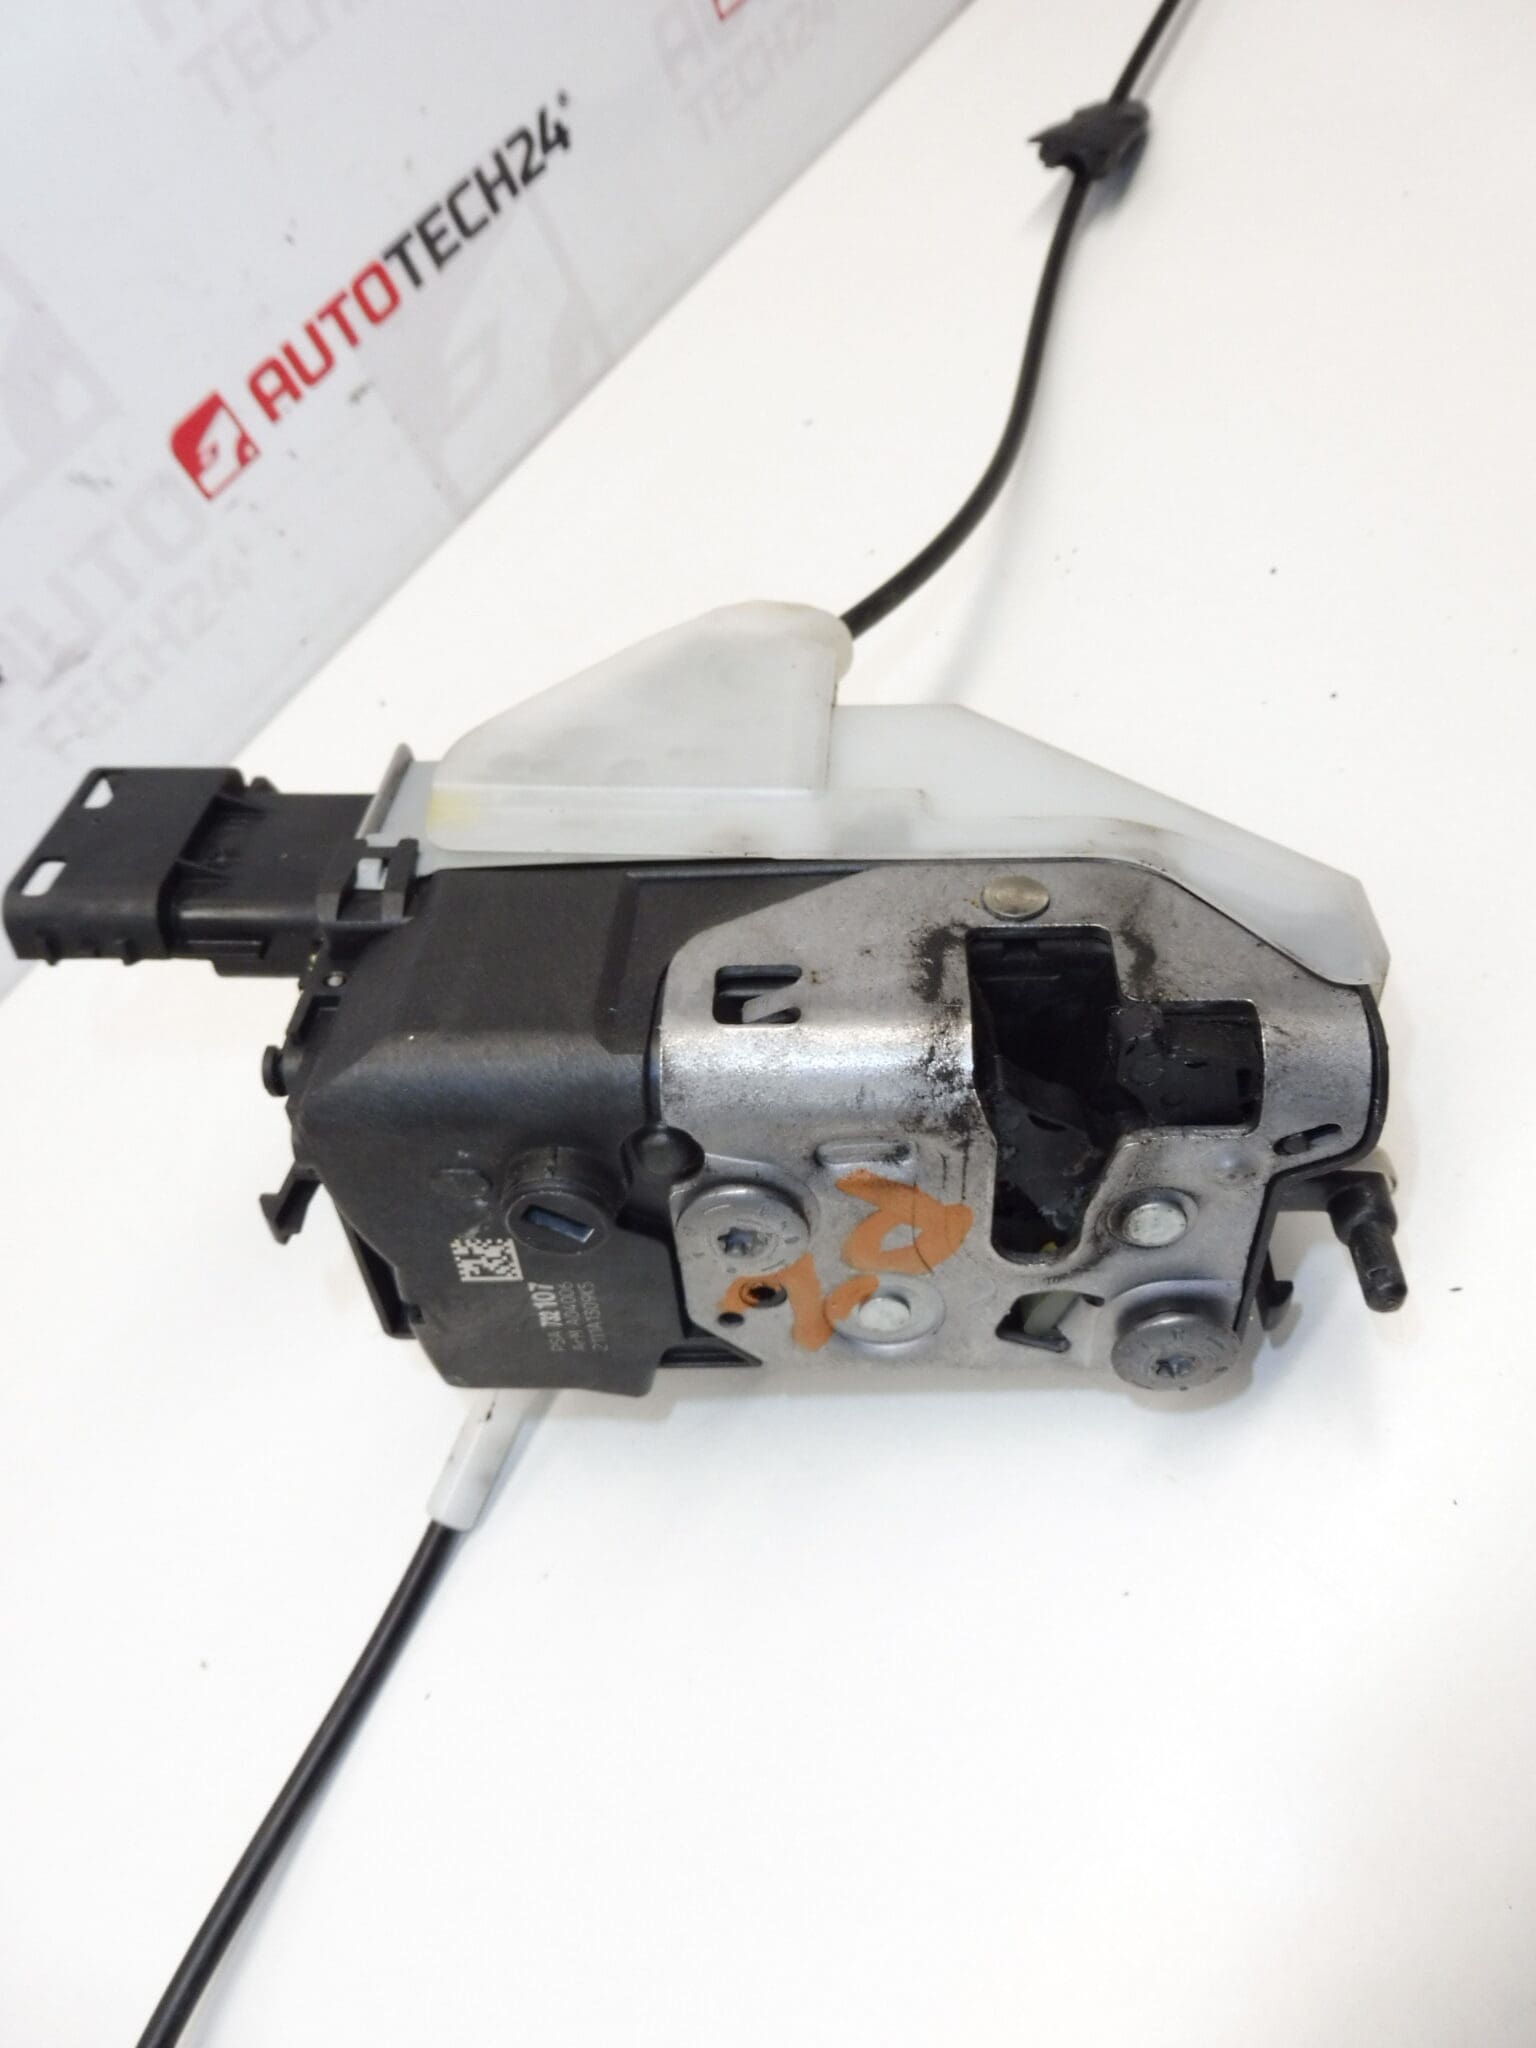
Electric central locking door lock for the front passenger door for Peugeot 308
High-quality replacement unit designed to restore reliable central locking operation on the front passenger door of Peugeot 308 models. This door lock assembly controls mechanical latching and the electric actuator that engages with the central locking system. It is a commonly searched part by product code, so you will find the most relevant references included below to help you confirm fitment quickly.
Function And Application
The unit combines the mechanical latch and the electric actuator that receives lock/unlock commands from the vehicle’s central locking system. It secures the door, triggers door-ajar sensors, and transmits position signals to the Body Control Module. Designed specifically for the front passenger (right-hand) door on Peugeot 308 models, it integrates with the vehicle’s central locking and alarm functions.
Technical Information
- Manufacturer: Stellantis / Peugeot
- Model: Peugeot 308 (Front Passenger Door)
- Product Codes: 9136FV A04006 732107
- Additional Numbers: 9136CR; 567147; A01545; 9800616580
Compatibility & How It Is Usually Searched
Mechanics and DIYers often look up this part by the product codes listed above or by vehicle model (Peugeot 308). Use the codes to match against your existing lock or parts list. This helps ensure fast identification and reduces the risk of ordering the wrong variant for left/right or front/rear fitment.
Replacement Procedure (Overview)
- Tools Required: Torx/Screwdriver set, trim removal tools, socket set, multimeter for basic electrical checks.
- Time Estimate: Typically 1–2 hours for an experienced technician; longer for first-time DIYers.
- Steps (summary): Remove interior door trim and vapor barrier, disconnect electrical connector, unbolt the lock/latch assembly, transfer any linkage or striker parts if needed, install new lock, reconnect connector and test central locking and door-ajar signal before reassembling trim.
- Testing: Verify lock/unlock from remote and driver switch, check door-ajar indicator, and confirm smooth mechanical latching.
Installation Recommendations
- Disconnect the battery negative terminal before starting work to avoid short circuits and unintended activation of electrical systems or airbags.
- Keep fasteners and small clips organized and reuse original screws when in good condition. Replace broken clips to avoid rattles or trim misalignment.
- Handle the door trim and vapor barrier carefully to maintain the sealing against moisture.
- Test the new lock electrically and mechanically before fully reassembling the door to save time if adjustments are required.
- Apply a light dielectric grease to electrical connectors to reduce future corrosion; lightly lubricate mechanical latch contact points with appropriate grease.
Common Failure Causes
Door lock assemblies most often fail due to:
- Water Ingress And Corrosion: Moisture can corrode contacts or motors inside the assembly, leading to intermittent or complete failure.
- Worn Electric Actuator Or Motor: Brush wear or motor failure prevents the actuator from moving the latch mechanism.
- Broken Plastic Gears Or Linkage: Mechanical components inside the latch can fracture after years of use or from excessive force.
- Connector Or Wiring Faults: Damaged wiring, poor contacts, or pin corrosion cause electrical loss and erratic behaviour.
- Mechanical Wear: General wear on latch components leads to poor engagement of the striker and door not closing or locking properly.
Practical Tips For Diagnosis
- Listen For The Actuator: Operate the lock while the door trim is off to determine if the actuator motor runs.
- Check For Voltage: Use a multimeter to confirm the actuator receives proper lock/unlock signals from the harness.
- Inspect For Moisture: Look for water stains or corrosion inside the door cavity and on the connector pins.
- Test Mechanically: Manually operate the latch to ensure the mechanical parts move freely and engage the striker correctly.
Why Choose This Unit
Including clear product codes and fitment details in the listing makes this part easy to identify for workshops and DIY mechanics. The assembly restores both the mechanical security of the door and the electrical interfacing with the central locking system, helping to eliminate door-ajar faults and locking malfunctions.
Note
Confirm physical match with your existing lock assembly (mounting points, connector type and actuator orientation) before installation. Use the product codes provided above to cross-reference with parts catalogs or workshop manuals.