Description
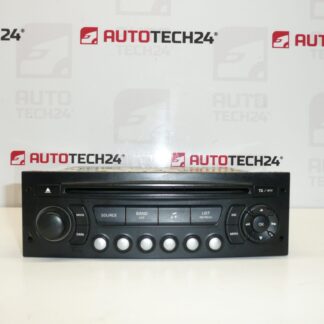
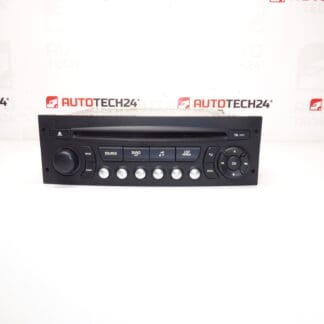
BLAUPUNKT RD4 N1 CD car radio suitable for Citroën Berlingo III, C2, C3, C4, C8 and Peugeot 207, 307, 407, 807, Partner III. The radio must be programmed to the vehicle using diagnostic equipment.
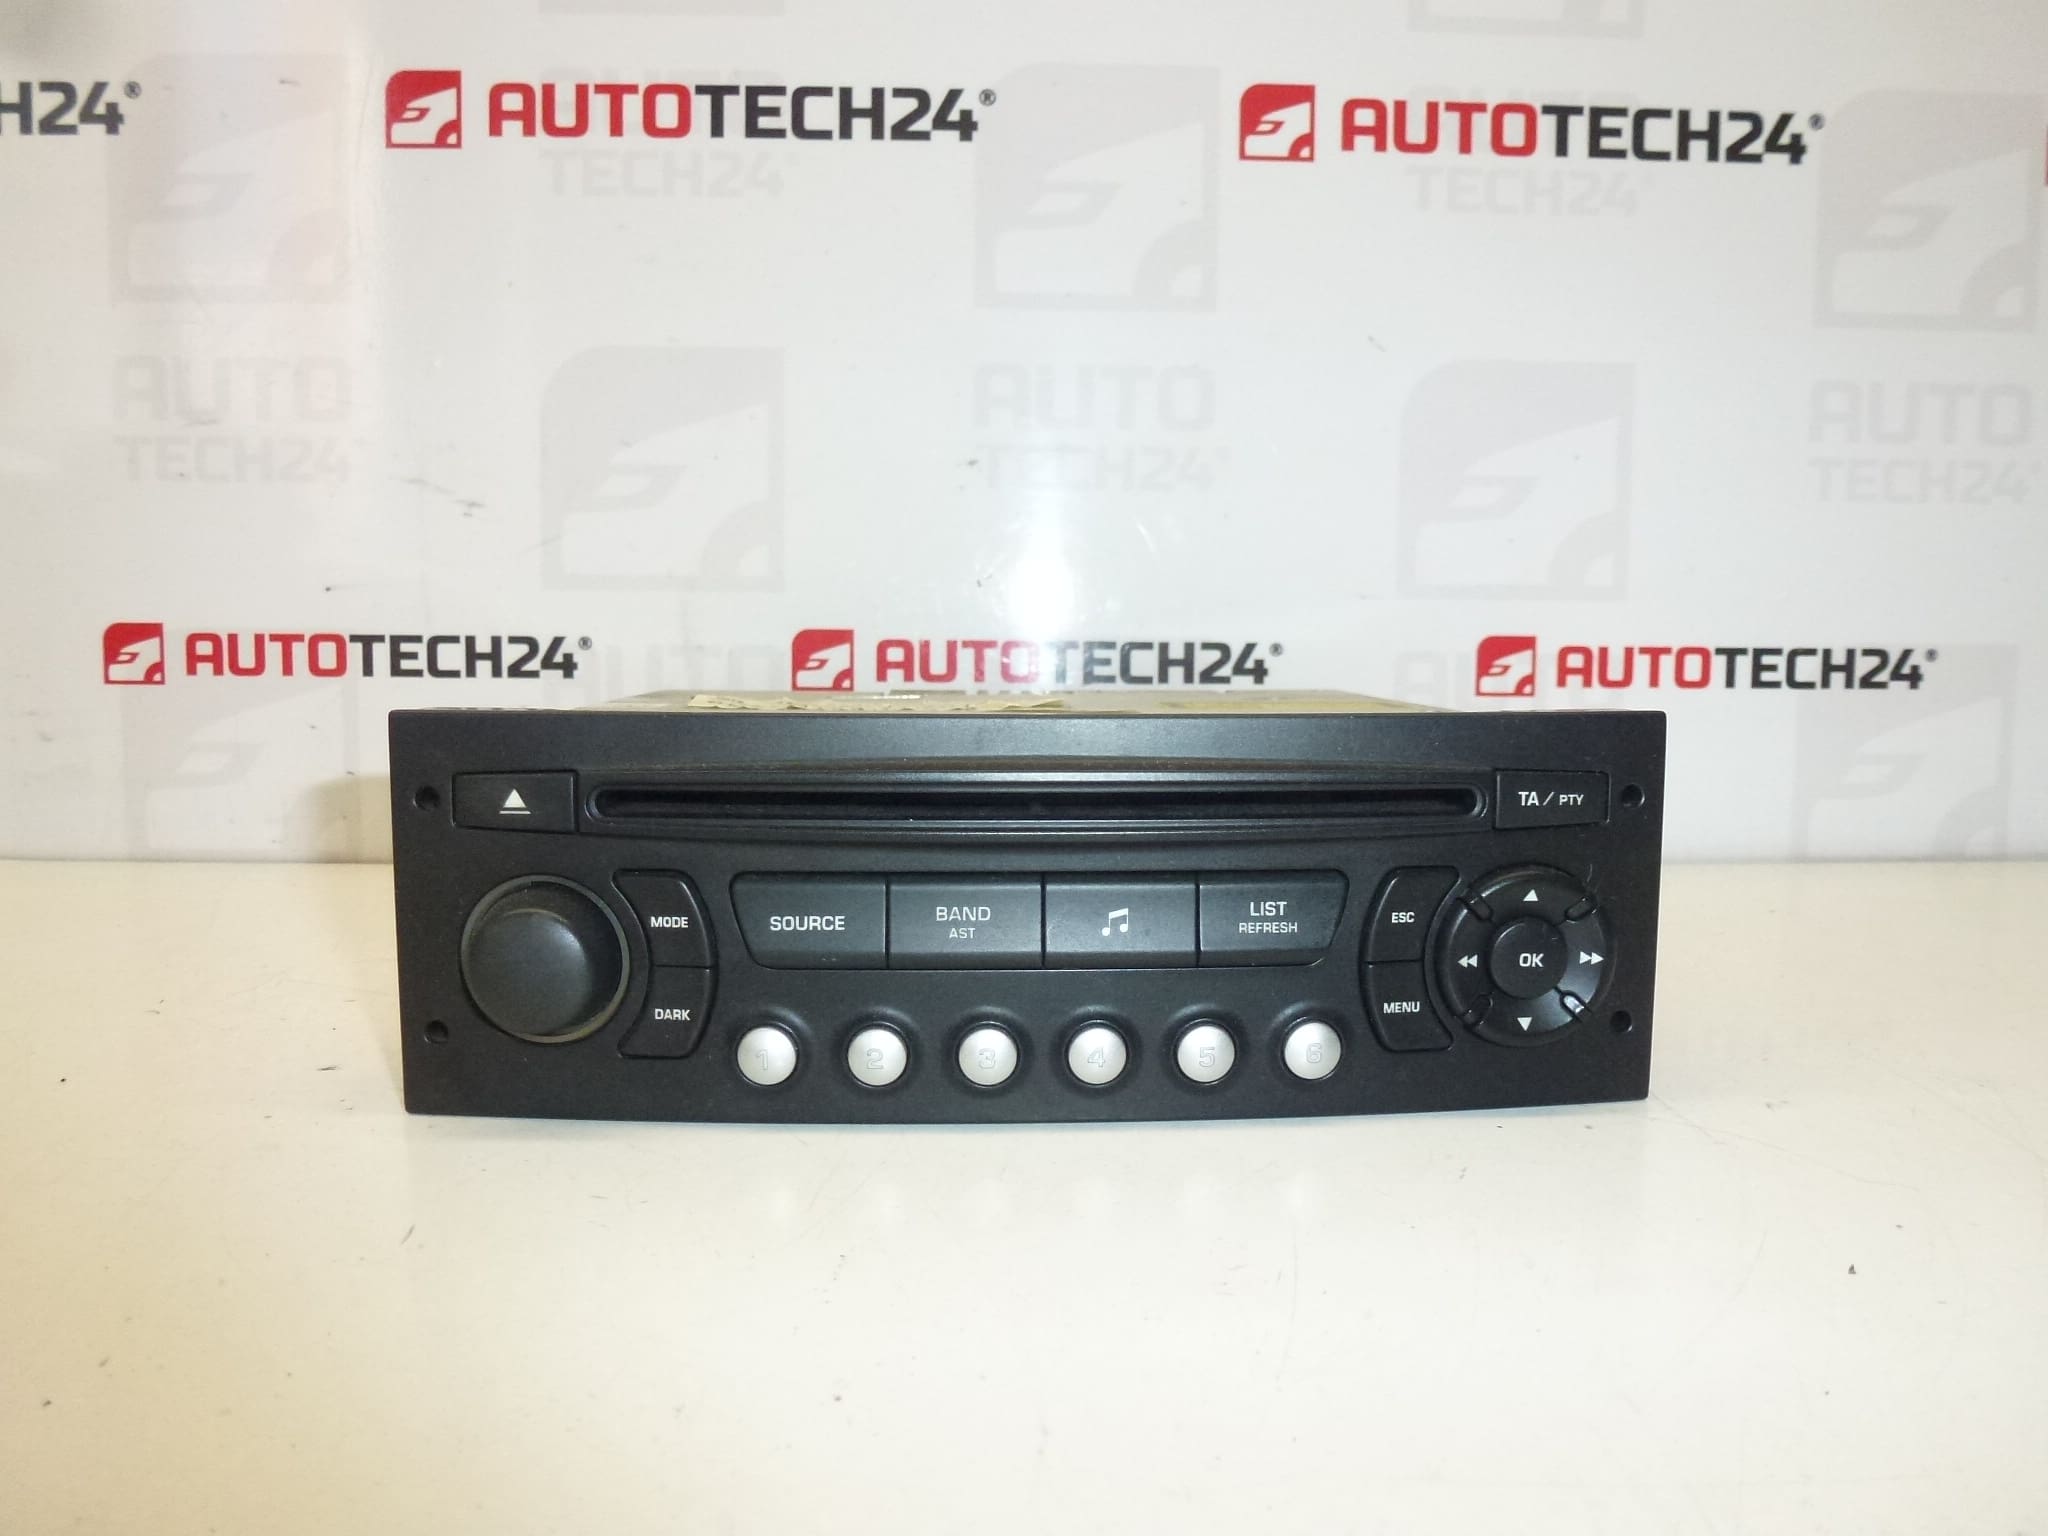
This original-style Blaupunkt RD4 N1 CD unit is a direct-fit replacement for many Stellantis Citroën and Peugeot models. Designed as a factory-type head unit, it provides reliable AM/FM reception and CD playback in the original mounting and harness footprint. The unit is aimed at professional workshops and experienced DIY mechanics who need a dependable OEM compatible radio with standard connectors and mounting points for easy swap-in replacement.
Key Benefits
– Direct fit for a range of Citroën and Peugeot models, saving time on installation and modifications.
– OEM-style appearance preserves dashboard aesthetics and steering-wheel control compatibility where originally fitted.
– CD playback and standard radio functions for drivers who prefer factory equipment.
Compatibility
Typical compatible models (please check physical connectors and dashboard fitment before installation):
- Citroën Berlingo III
- Citroën C2
- Citroën C3 (including C3 Pluriel)
- Citroën C4
- Citroën C8
- Peugeot 207
- Peugeot 307
- Peugeot 407
- Peugeot 807
- Peugeot Partner III
Technical Information
- Manufacturer: Blaupunkt
- Model: RD4 N1
- Product Codes: 9650711477
- Other Numbers: 657927, 1614201480
Function And Typical Faults
The unit provides standard radio reception and CD playback with factory-style connectors and mounting. Common failure causes for these head units are mechanical wear of the CD mechanism, connector corrosion, intermittent power supply issues (faulty wiring or loose connectors), and electronic component degradation due to age or voltage spikes. In many cases the radio may lose configuration or require reprogramming after battery disconnection or replacement.
Installation And Replacement
Basic replacement steps for experienced technicians or competent DIYers:
- Disconnect the vehicle battery before starting to avoid short circuits and to protect the radio electronics.
- Remove trim panels around the radio using appropriate trim tools to avoid damage to the dash.
- Use the correct radio removal keys or release mechanism for the vehicle to extract the unit from the mounting frame.
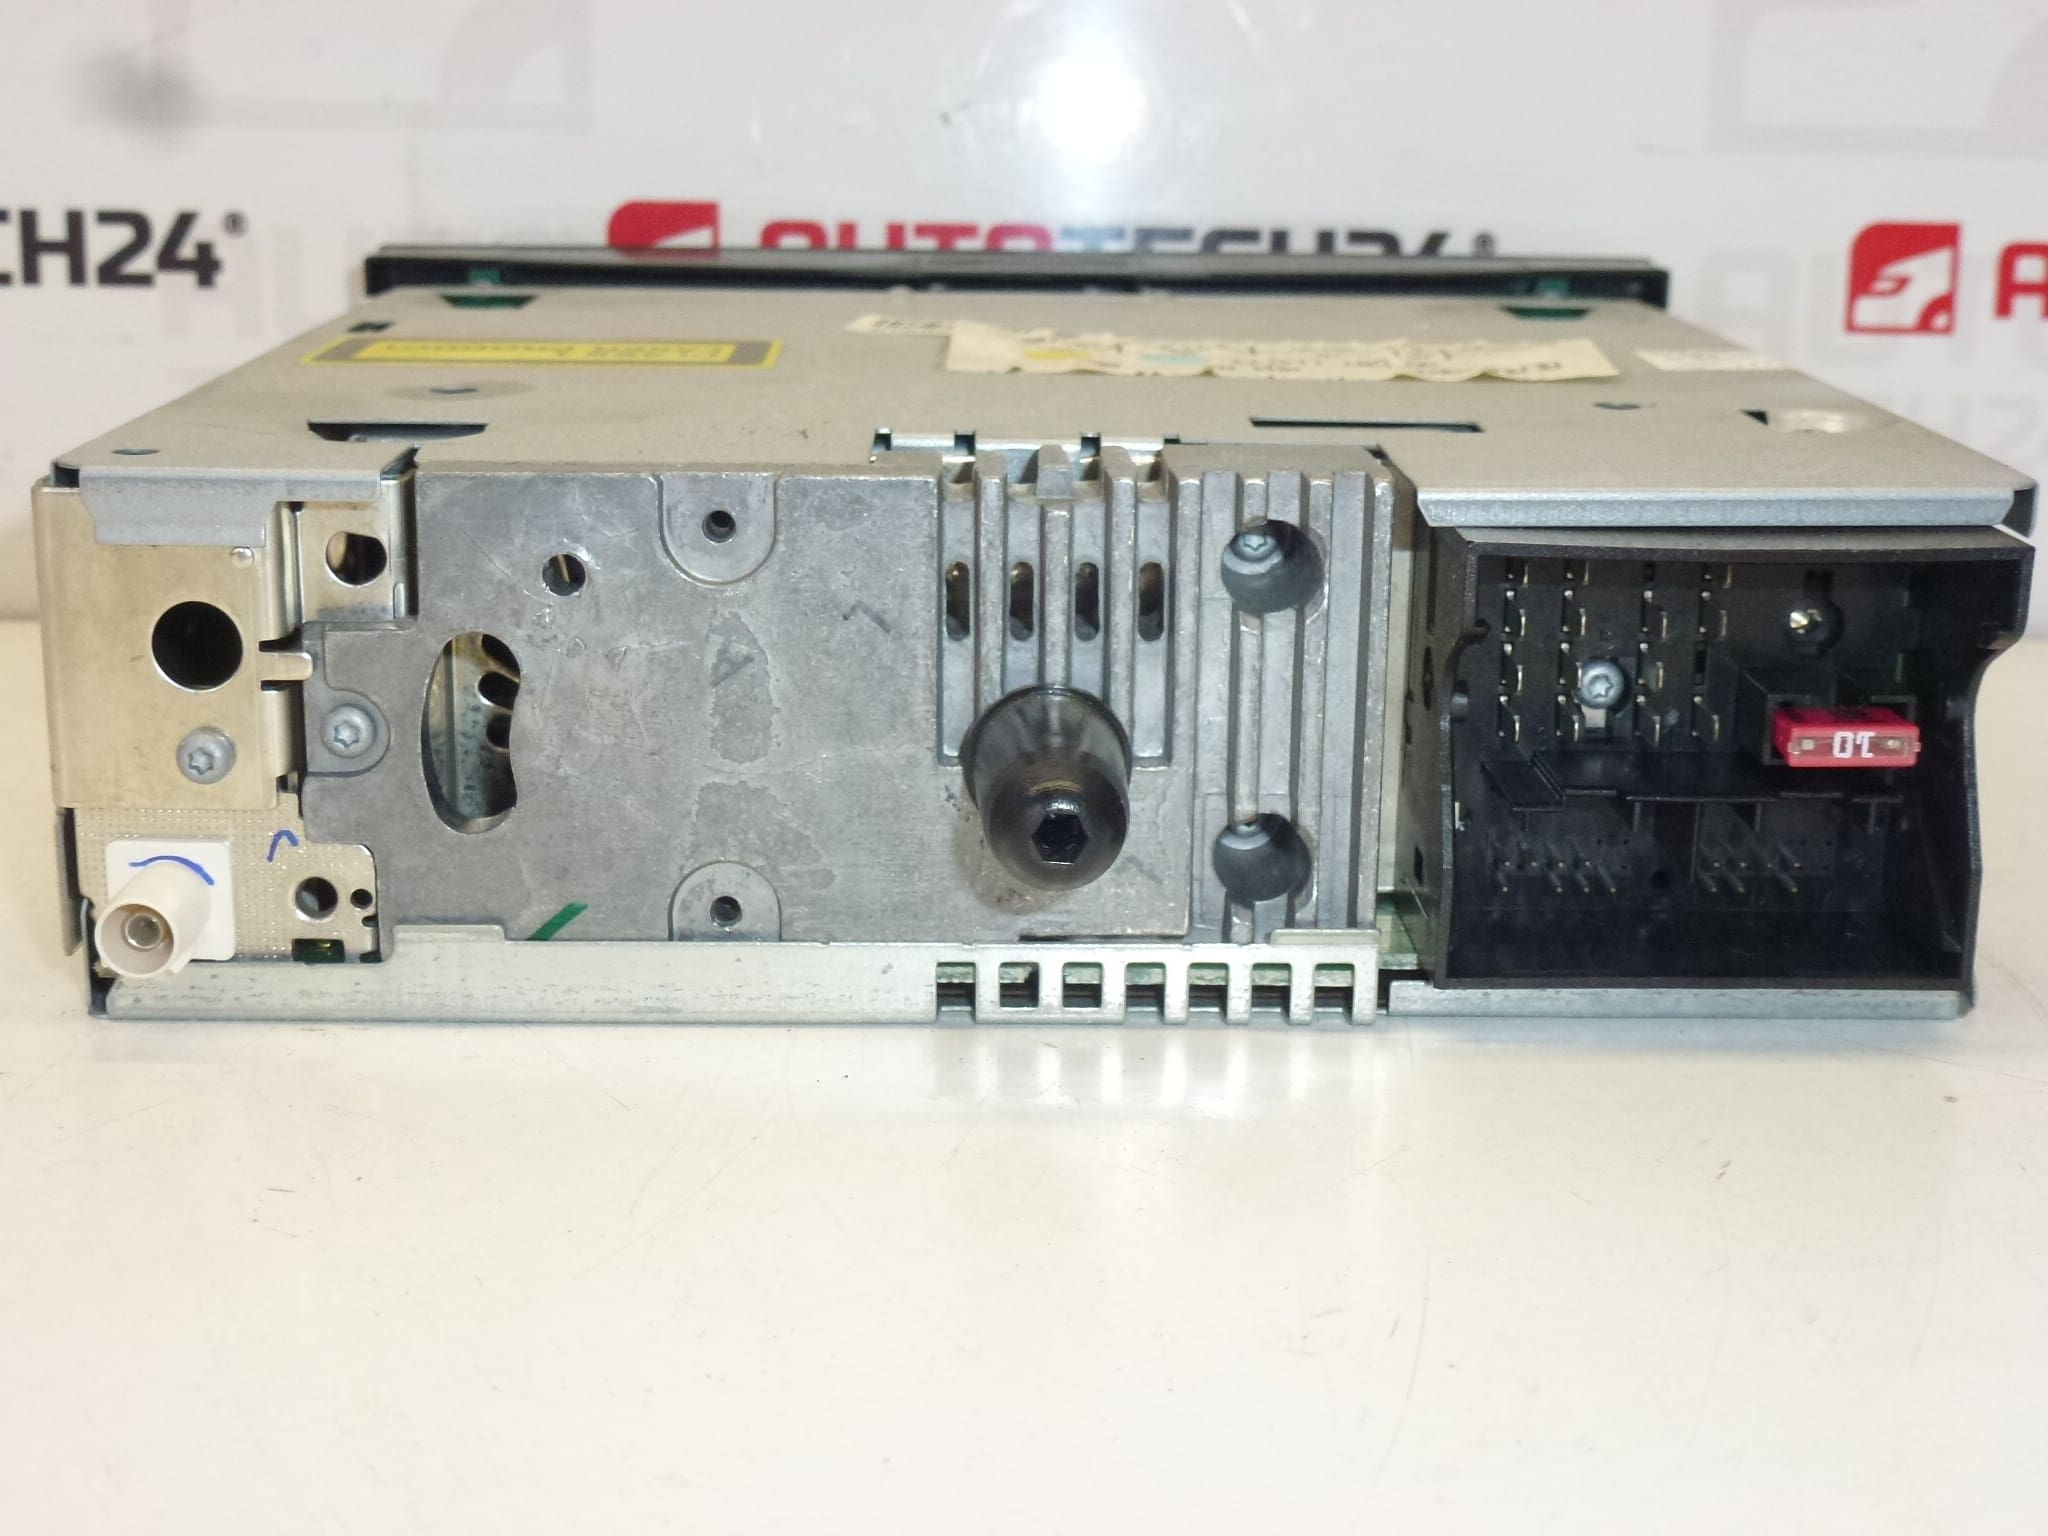
- Unplug antenna, harness connectors and any additional plugs (steering-wheel control, CAN bus adapters, etc.). Inspect connectors for corrosion or bent pins.
- Install the replacement unit by reversing removal steps. Ensure secure mounting and firm connector seating.
- After mechanical installation, the radio must be programmed/paired to the vehicle using diagnostic equipment; the unit will not be fully functional until coded.
- Reconnect the battery and verify radio operation, station presets and any steering-wheel control functions.
Recommended For Installation
Installation is recommended for professional mechanics or experienced DIYers with access to basic tools and diagnostic equipment for coding. Always disconnect the battery before removal and follow manufacturer procedures to avoid damage to vehicle electronics. Check connector condition and antenna continuity during installation to prevent reception issues.
Why This Part Fails Most Often
Failures usually stem from the mechanical CD drive wearing out, exposure to moisture or dirt leading to stuck trays or read errors, deteriorated power supply capacitors, and poor connector contacts. Voltage spikes or incorrect battery disconnection can cause the unit to lose configuration or become unresponsive, which is why post-installation diagnostic programming is often required.
Notes On Coding
This radio requires diagnostic programming to the vehicle to restore full functionality after installation. Ensure you have access to compatible PSA diagnostic tools for coding and initialization where necessary.