Description
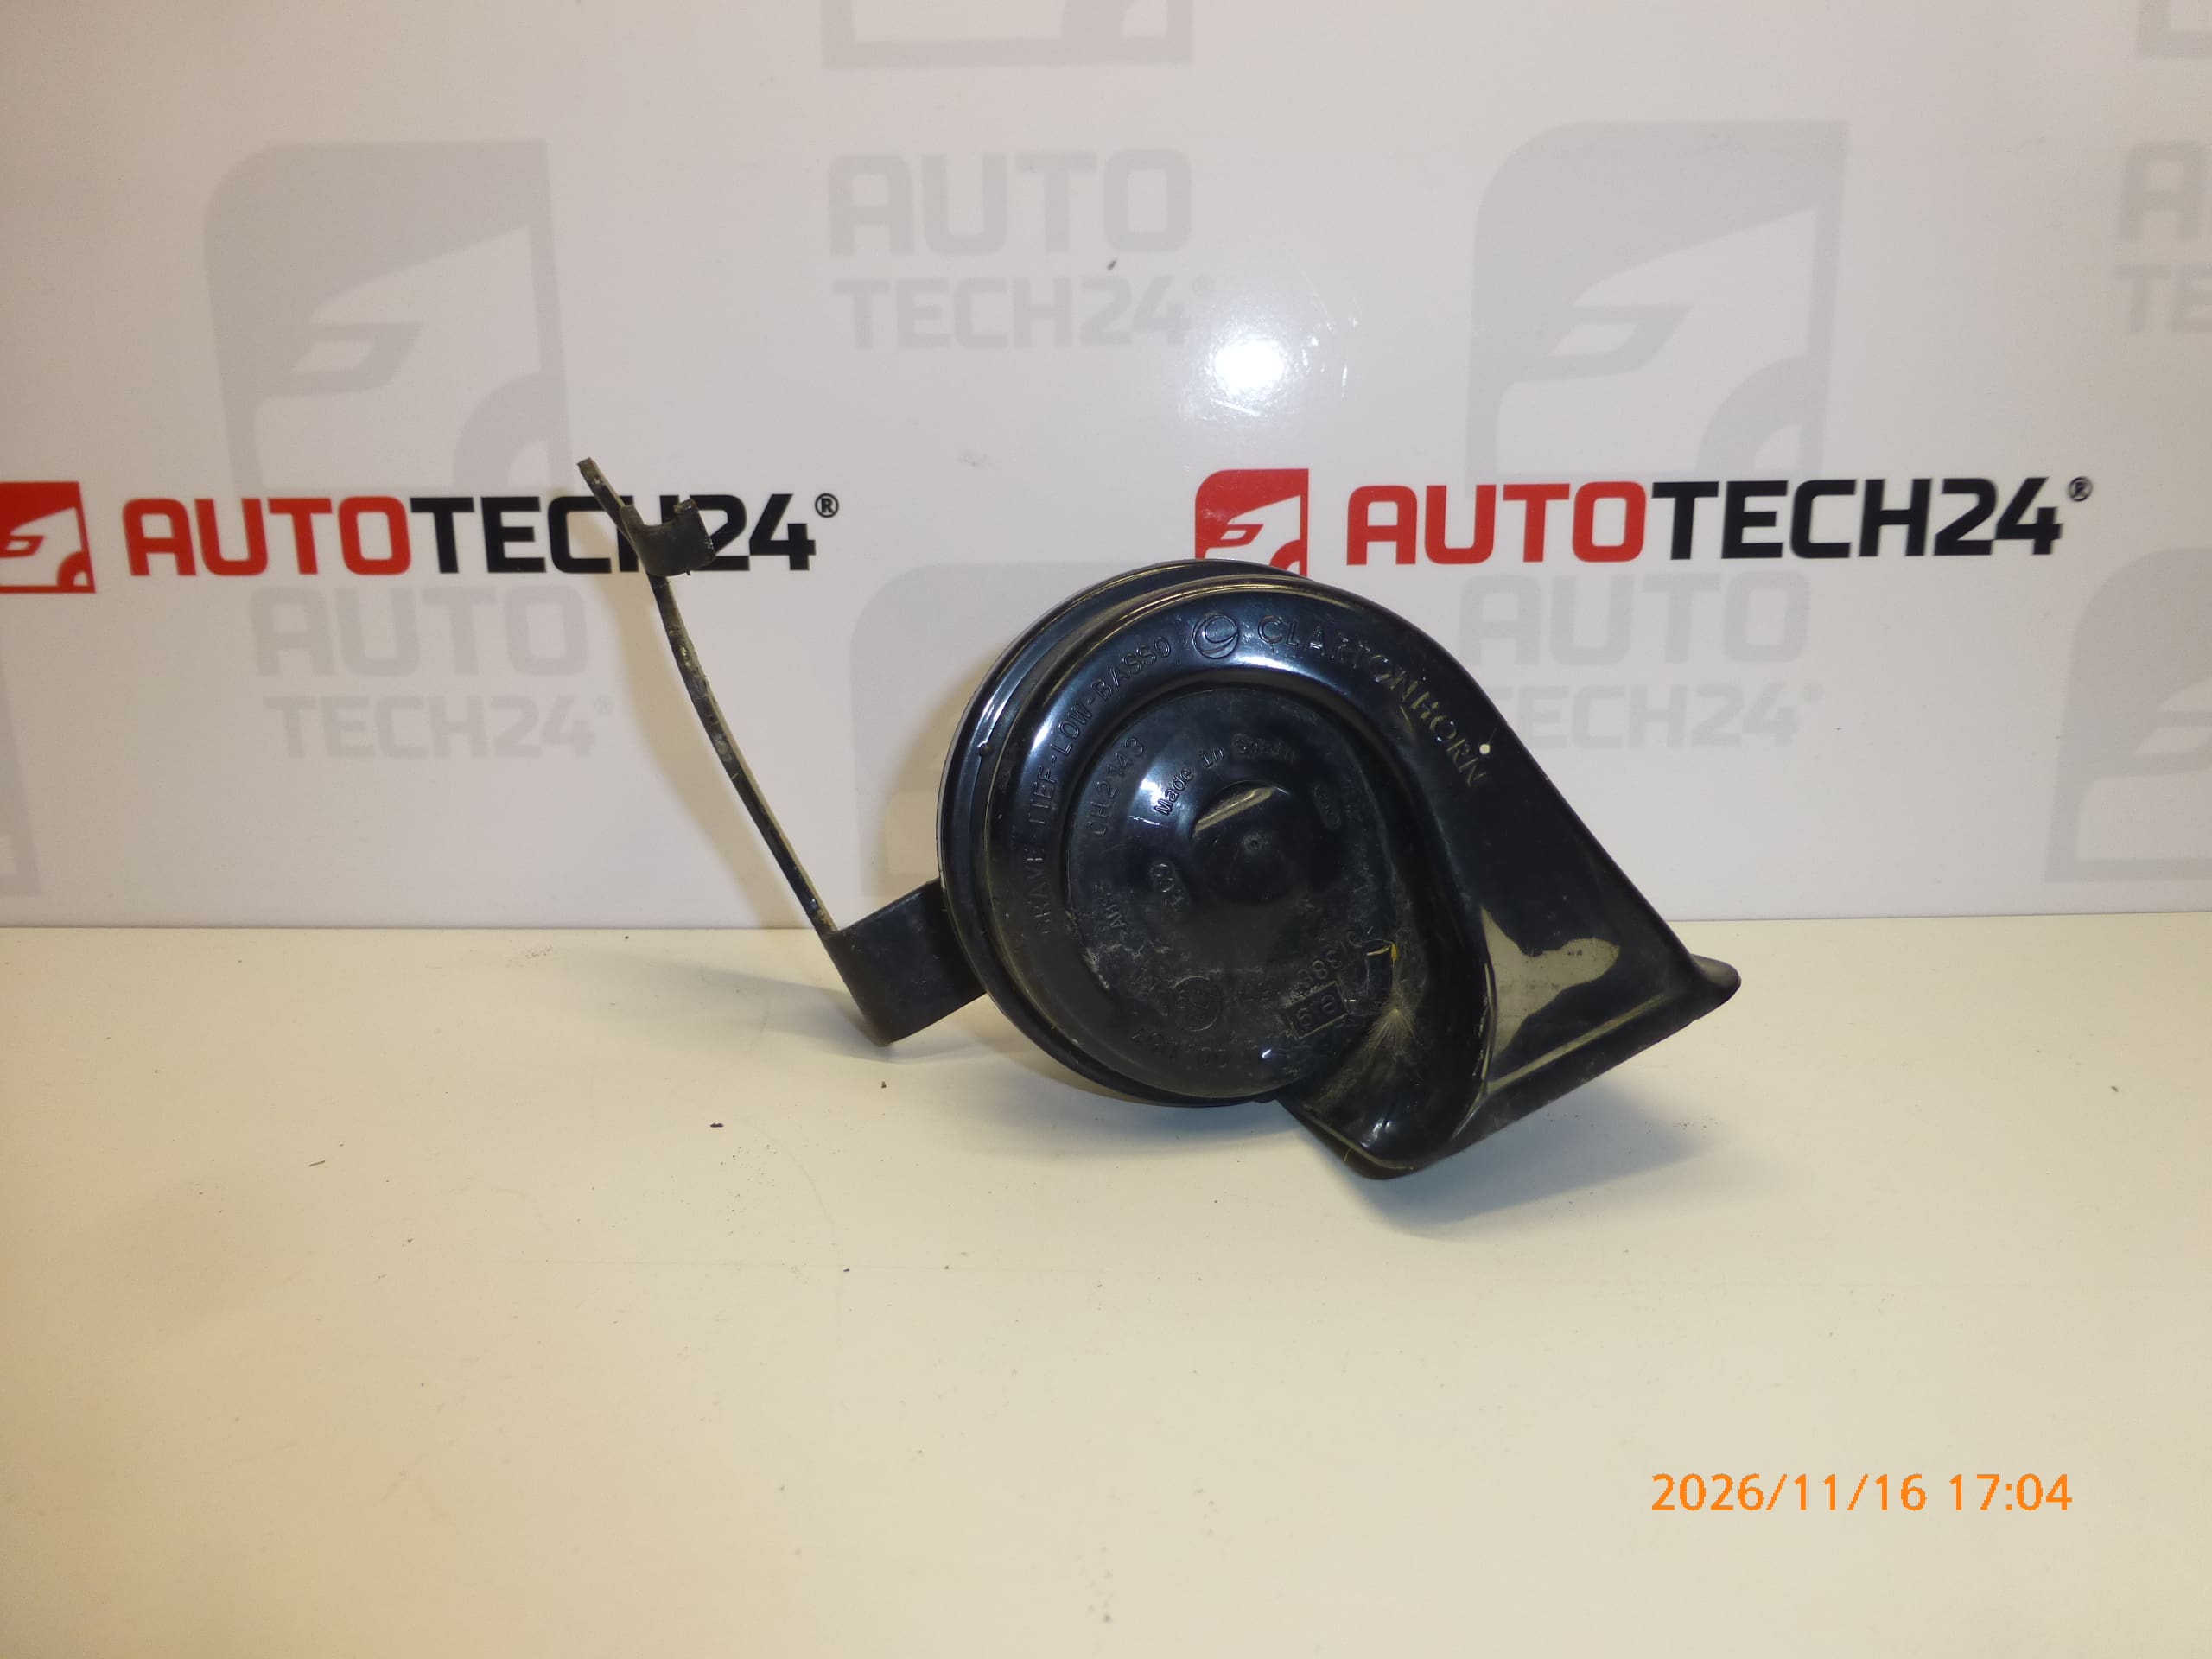
Sound horn for CITROEN, PEUGEOT and other Stellantis models
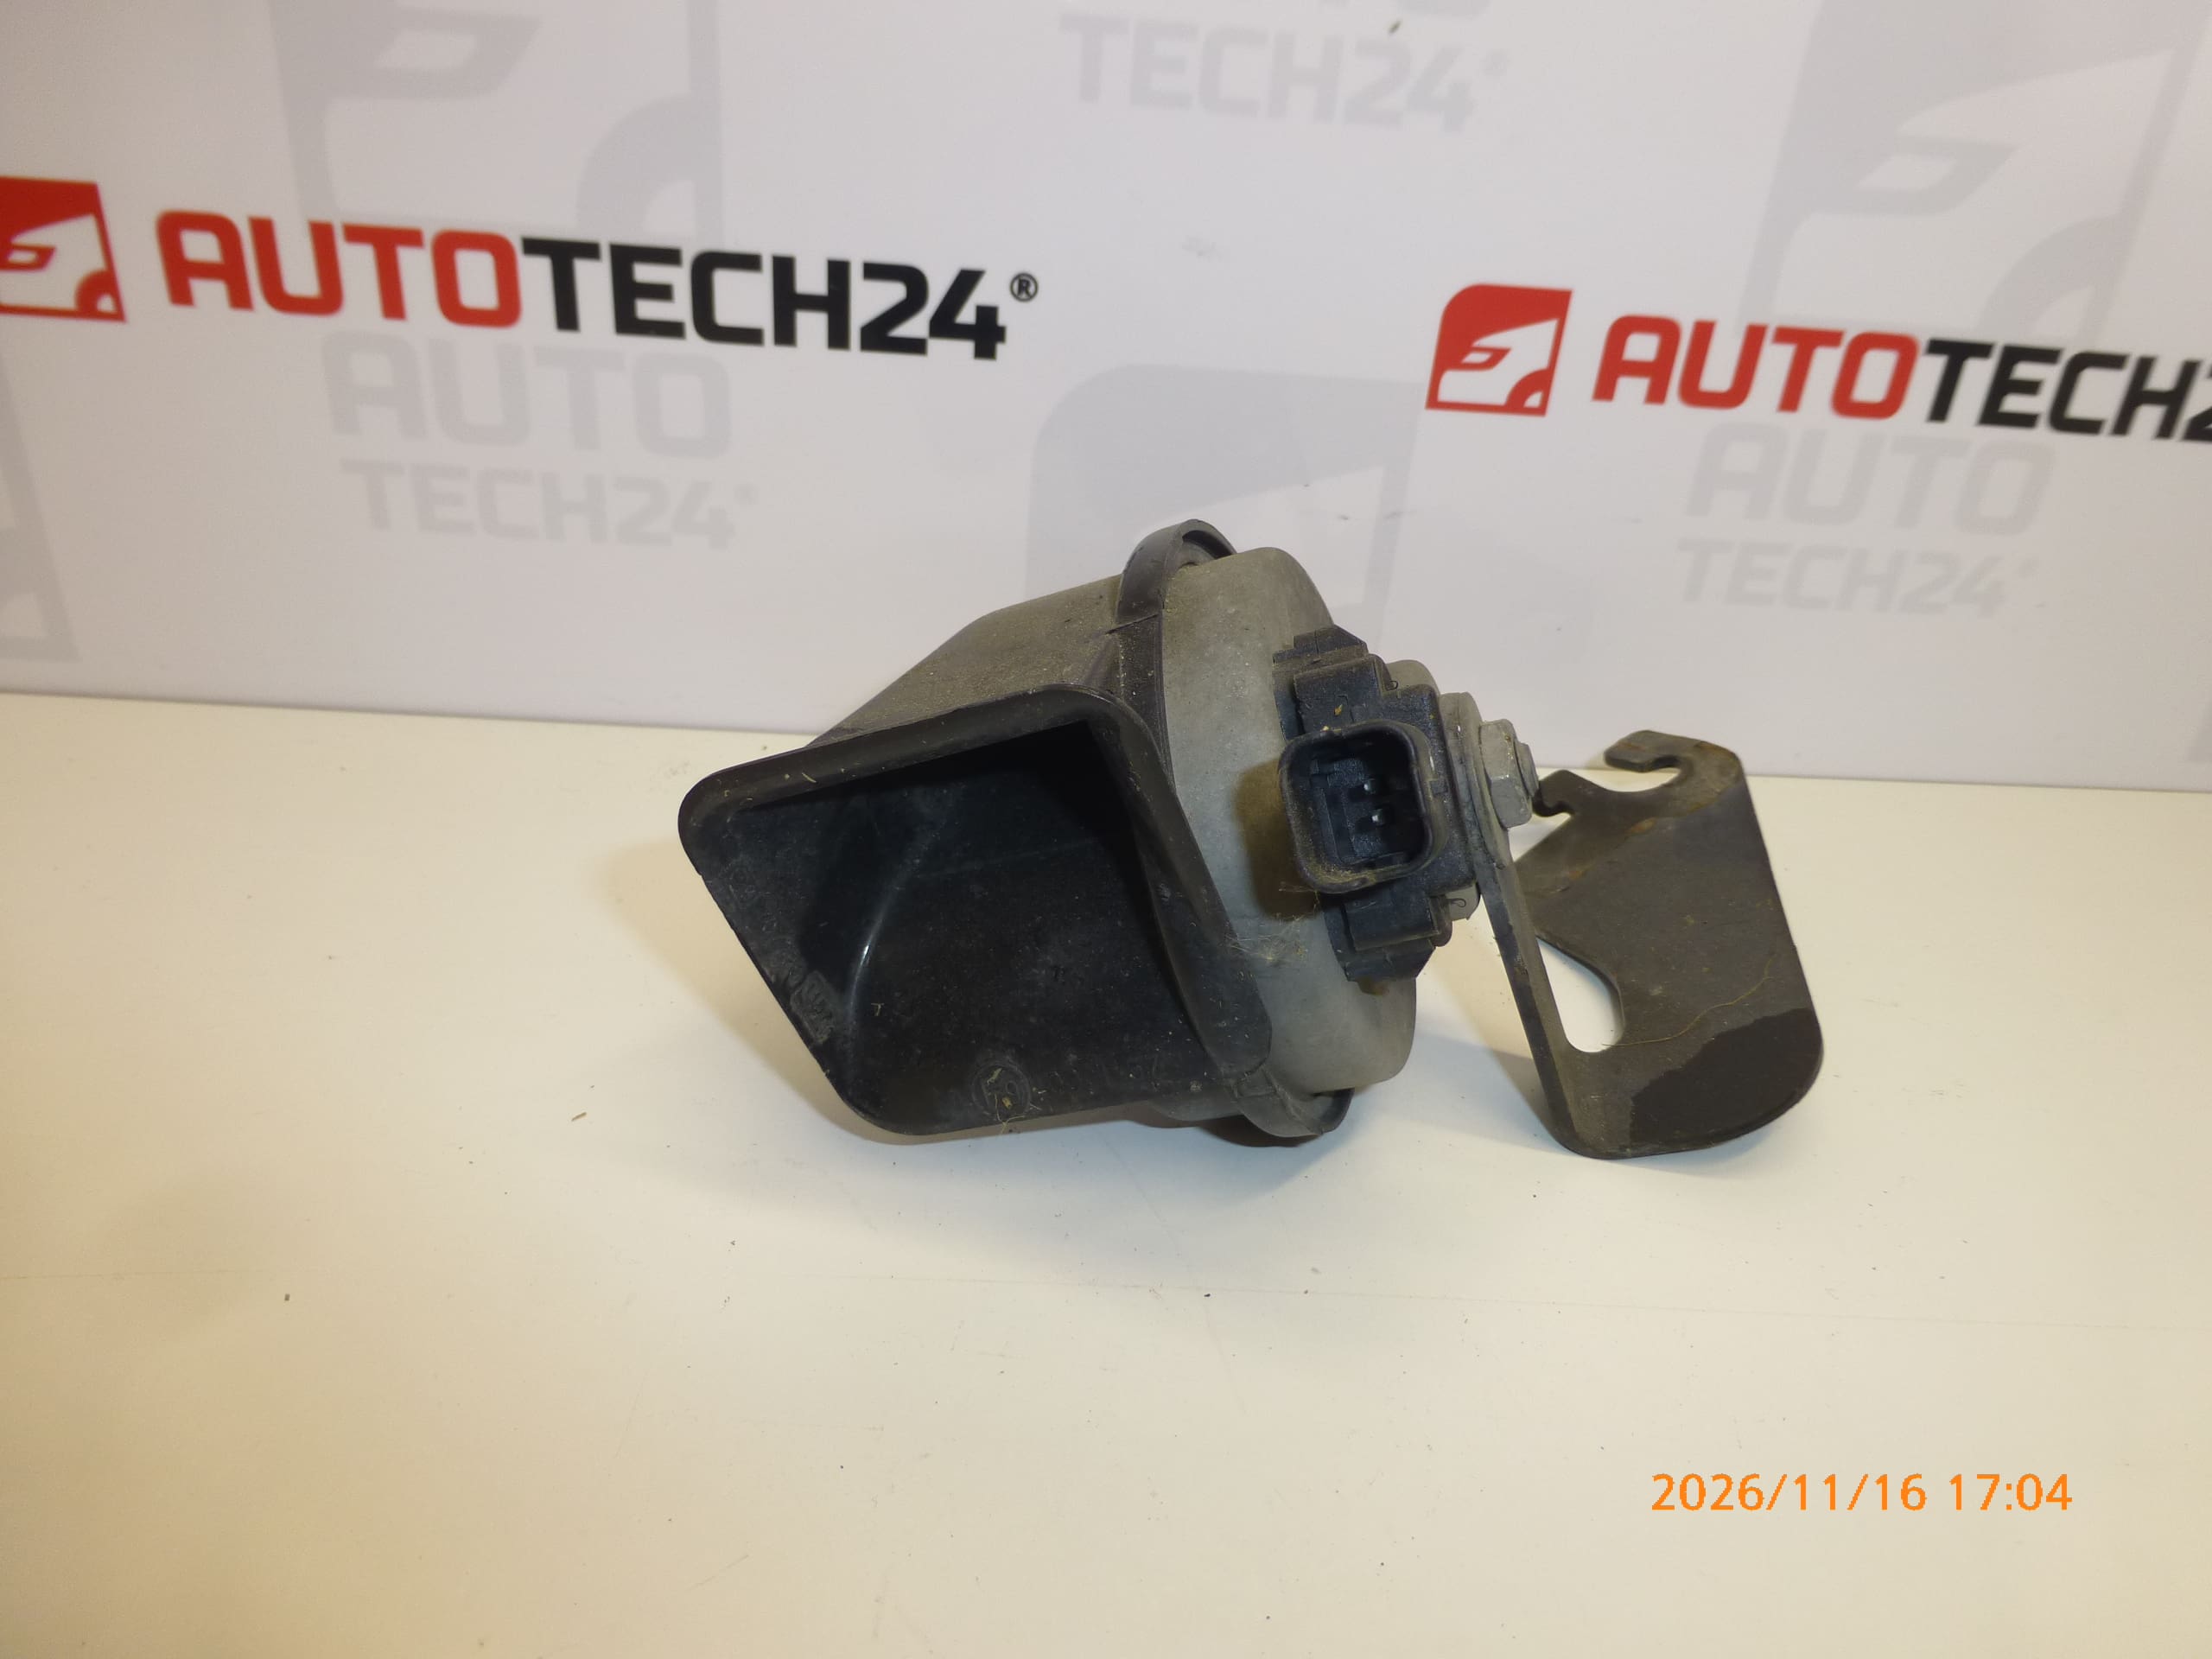
With body mounting bracket
Part description
The used horn with body mounting bracket is intended as a replacement part when replacing a non-functional or damaged sound horn. A working horn is important for warning other road users of danger. This part also includes a bracket, so when replacing it you can address both the horn and its mounting together.
The part is listed in the source materials under numbers 9827899180 and 9858832880. When selecting a part, compare the marking on the original unit, the connector design and the shape of the mounting. A matching model name alone does not necessarily mean the part has the same design.
Technical information
- Manufacturer: not specified; the source materials list the designation Stellantis CITROEN PEUGEOT.
- Model: Citroën Berlingo K9 | FIAT DOBLO III | OPEL COMBO E K9 | PEUGEOT RIFTER | Toyota ProAce City.
- Part type: sound horn / horn.
- Design: with body mounting bracket.
- Condition: used part.
- Other numbers: not specified.
Product codes
- Product codes: 9827899180, 9858832880.
Both numbers are listed in the source materials for this item. Before installation, compare the markings and design with the original horn.
Installation recommendations
The following procedure generally applies to this type of part. The exact access to the horn, method of disconnecting the electrical system and removal of surrounding components depend on the specific model and vehicle design. Follow the manufacturer’s service procedure.
1) Before installation
- First check whether the fault is actually caused by the horn. A non-functional horn may also be related to a fuse, wiring, connector or control.
- For a used part, inspect the housing, connector and bracket. Look for cracks, deformation, loose parts and significant corrosion.
- Compare the product numbers, connector shape, contacts, dimensions and mounting points with the old unit.
- Check the condition of the vehicle connector. A damaged or corroded connection must be addressed before installing the replacement horn.
2) Required tools and materials
- Common hand tools suited to the fasteners used and, if needed, tools for carefully releasing covers.
- A multimeter for checking the electrical circuit according to the vehicle documentation.
- A cleaner suitable for electrical contacts, a cloth and protective gloves.
- Suitable equipment for safely securing the vehicle if access requires it to be raised.
3) Step-by-step installation procedure
- Park the vehicle on a firm, level surface, secure it against movement and switch off the ignition.
- Before working on the connector, disconnect the battery according to the manufacturer’s procedure and observe the specified waiting times.
- Access the horn according to the service documentation. If covers need to be removed, release their clips without using force.
- Record the original orientation of the horn, the bracket position and the wiring routing, for example by taking a photo.
- Release the connector lock and disconnect the connector by pulling on its body, not on the wires.
- Support the horn, loosen the bracket fastener and remove the original part.
- Inspect and clean the mating surfaces. Check the wiring and fasteners; address any damaged parts before installation.
- Compare the two parts again and fit the replacement horn with its bracket in the correct position. Do not force the bracket into a different shape.
- Tighten the fasteners according to the vehicle manufacturer’s instructions. Make sure the horn is firmly secured and does not touch surrounding components.
- Connect the connector until it is properly locked and route the wiring so it is not stretched, pinched or exposed to abrasion.
- Reinstall any covers that were removed, check the repair area and reconnect the battery according to the manufacturer’s procedure.
4) Post-installation checks and function verification
Briefly test the horn in a safe location. The sound should not be intermittent or accompanied by rattling from the bracket. Check that the mounting is secure and the connector is locked. If the horn does not work, continue by checking the electrical circuit according to the documentation rather than repeatedly swapping parts. Its function can be tested while the vehicle is stationary; if you subsequently drive the vehicle, watch for unusual vibrations or knocking after installation.
5) Most common installation errors and how to avoid them
- Replacing the part without identifying the cause of the fault: first check the power supply, connector and related electrical circuit.
- Incorrect horn orientation: follow the original arrangement and the manufacturer’s instructions so that the installation does not encourage water to collect.
- Loose or deformed bracket: secure the part without putting it under strain and check the clearance from surrounding components.
- Connector not fully latched or wire pinched: before refitting covers, check that the connection is locked and the wiring is routed freely.
- Working on a live electrical circuit: follow a safe battery-disconnection procedure before removal.
Reasons why the part may be damaged
The following causes of damage or failure may generally occur with sound horns. They are not a description of any defects identified in this particular unit.
- Moisture, road salt and dirt may cause corrosion of the housing, contacts and bracket.
- Vibration and loose mounting may put stress on the bracket, connector and attached wires.
- Impact may damage the horn housing or alter the position of its mounting.
- Aging and wear of the internal mechanism may lead to weak, irregular or absent sound.
- Incorrect installation, especially taut wiring or a position that allows water to accumulate, may shorten the part’s service life.