Description
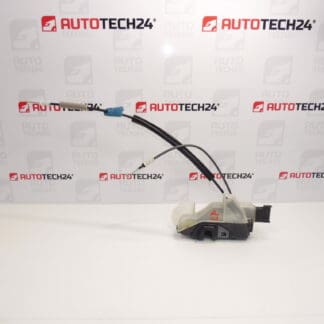
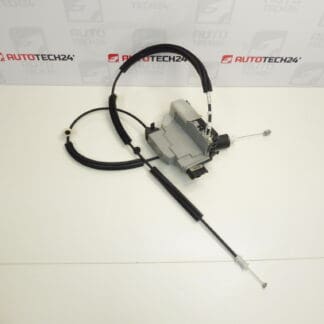
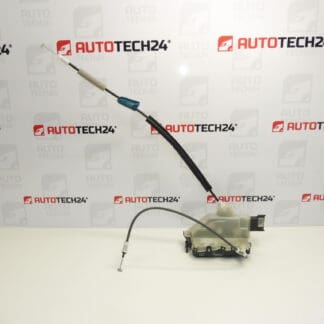
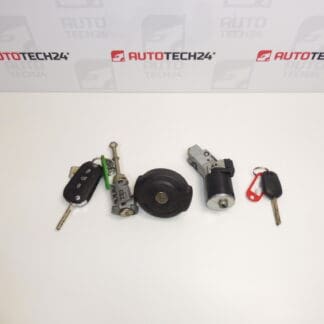
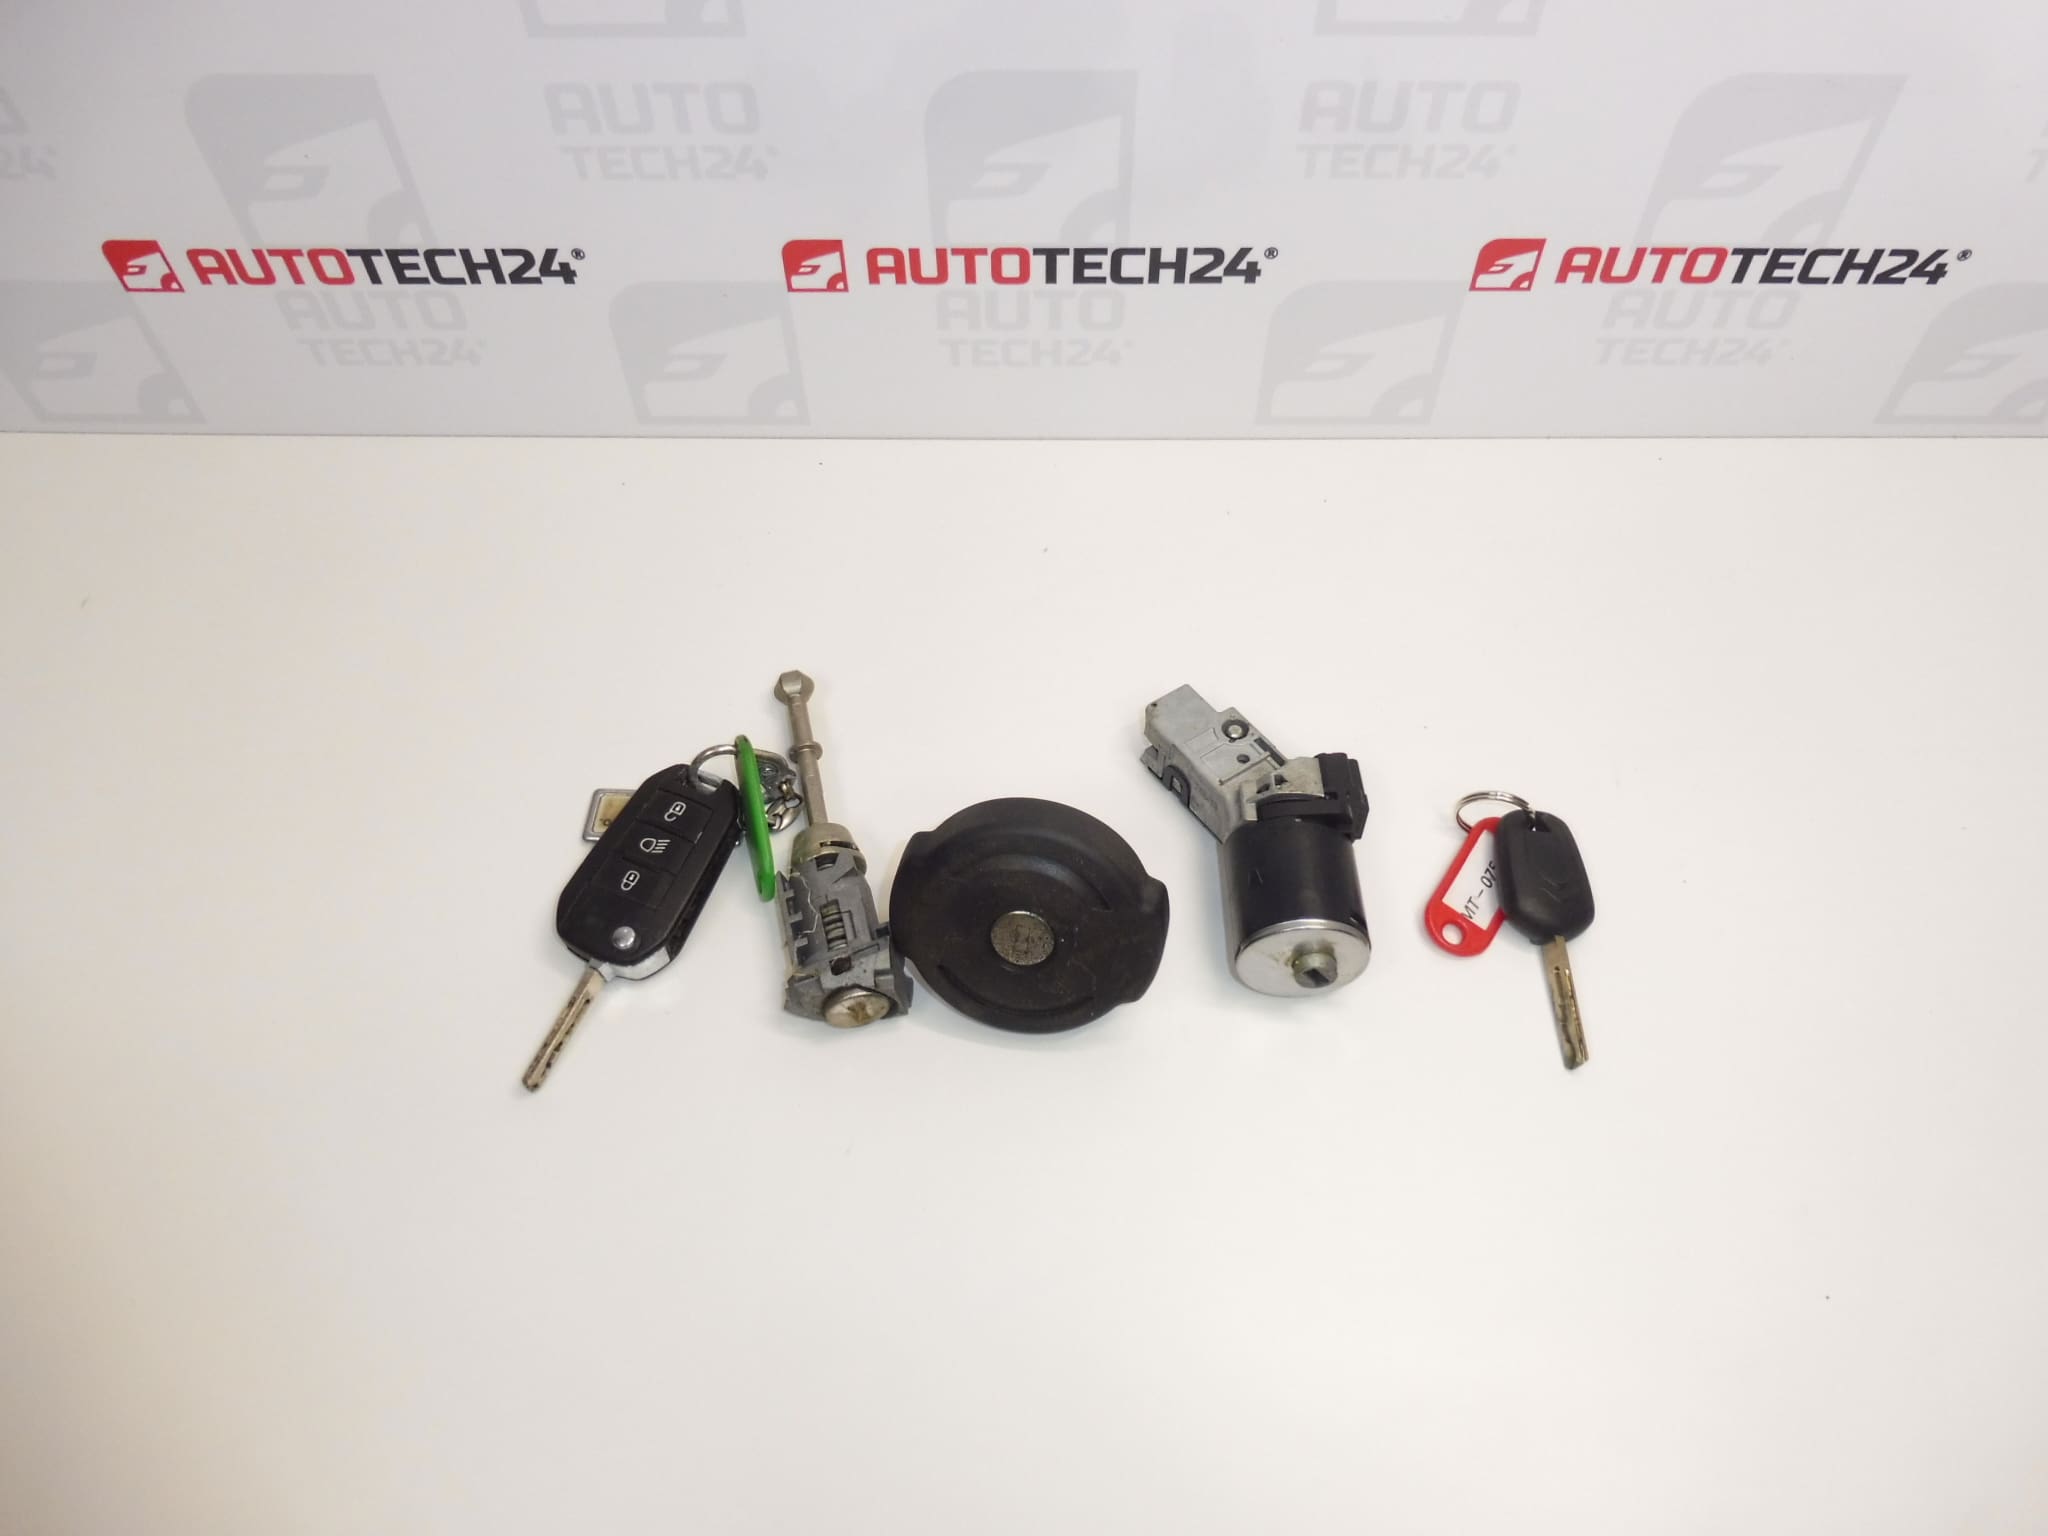
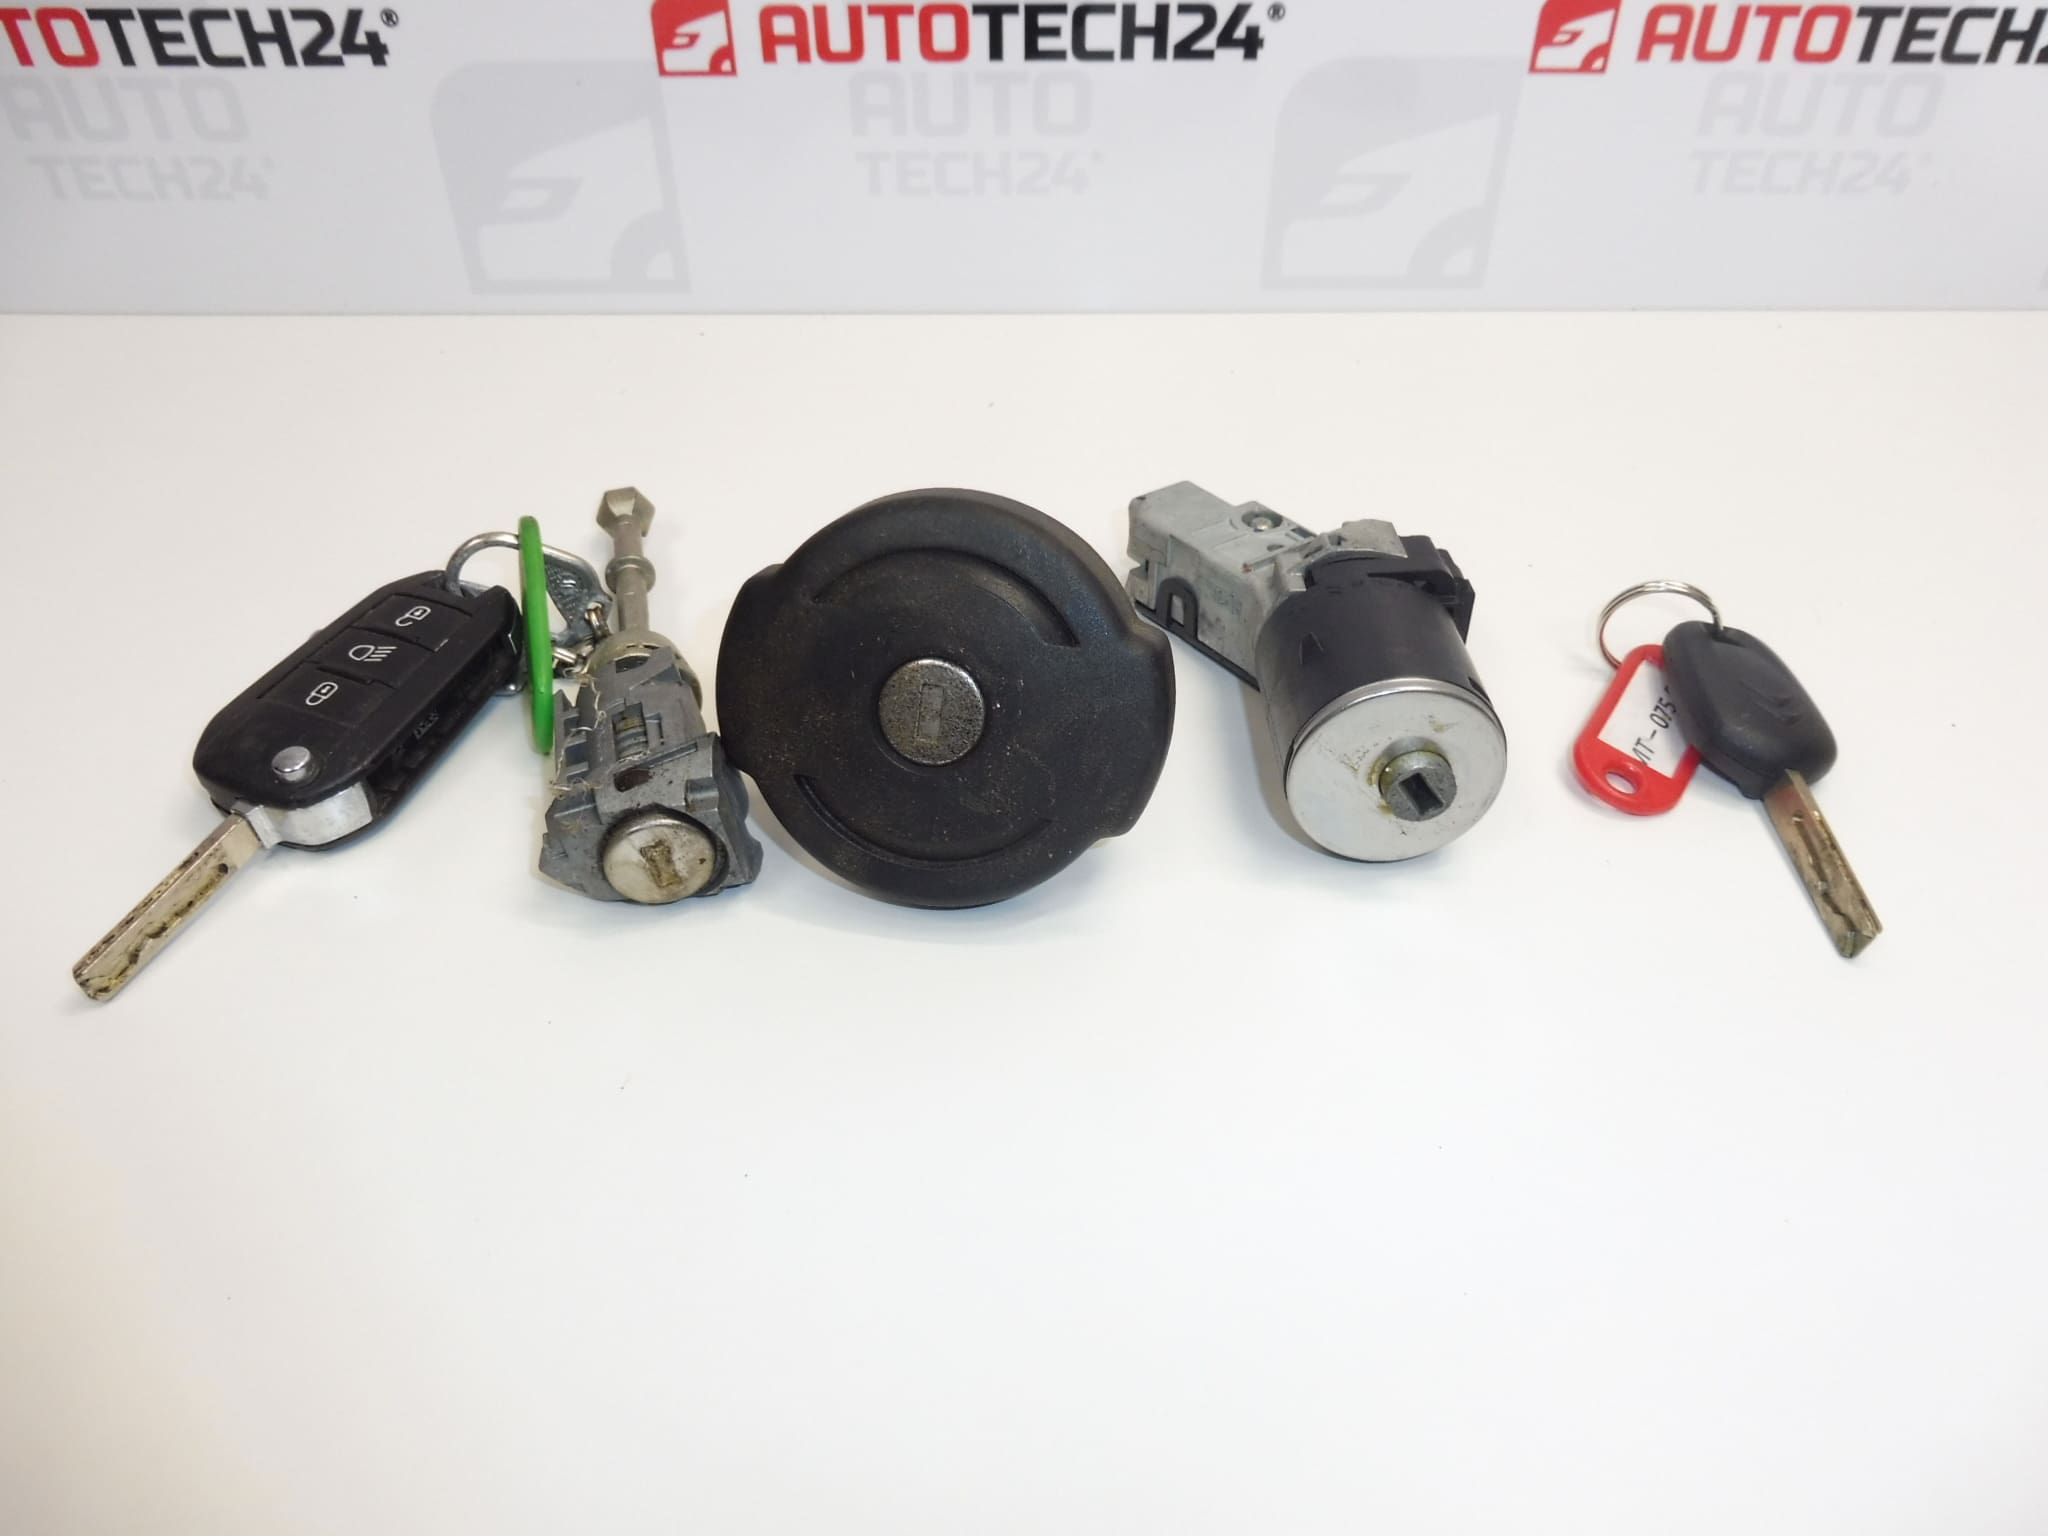
Lock set, ignition switch, driver’s door, fuel cap and 2 keys for Citroën Berlingo K9
Can also be used on PEUGEOT RIFTER and Opel Combo E K9
Part description
The used lock set with ignition switch and 2 keys for Citroën Berlingo K9 is a practical solution when replacing damaged or worn locks. According to the supplied description, it includes an ignition switch, a driver’s door lock, a fuel cap and two keys. The set lets you replace these components together instead of sourcing them individually.
The supplied information also lists compatibility with PEUGEOT RIFTER and Opel Combo E K9. When selecting the part, compare the numbers 1608682880 and 9819249680 and the design of the individual components with the original set. A key’s mechanical compatibility with the locks does not in itself guarantee electronic authorization to start the vehicle; any key adaptation required depends on the specific vehicle system.
Technical information
- Manufacturer: not specified; the short description lists the designation Stellantis CITROEN PEUGEOT.
- Model: Citroën Berlingo K9, PEUGEOT RIFTER, OPEL COMBO E K9. The labels also list PEUGEOT PARTNER III, but its compatibility is not explicitly confirmed in the long description.
- Part type: lock set with ignition switch and keys.
- Contents according to the supplied information: ignition switch, driver’s door lock, fuel cap and 2 keys.
- Condition: used car part.
- Additional numbers: not specified.
Product codes
- Product codes: 1608682880, 9819249680.
Both numbers can be used to search for and compare the part. Before installation, also compare the mounting points, shape of the locks, ignition switch design and any electrical connections.
Installation recommendations
In general, the following applies to this type of part: replacement involves mechanical locks and may also affect the electrical ignition components and key recognition system. The following procedure is general; the exact removal process, securing of the components and key adaptation depend on the specific model and vehicle configuration. Work on the ignition switch and key electronics should be entrusted to an experienced mechanic.
1) Before installation
- Compare the product numbers and all components with the removed set, including mounting points, operating elements and any connectors.
- Check for cracks, deformation, corrosion, damaged catches and the condition of the keys.
- Without using force, try both keys in all the supplied mechanical locks. They should turn smoothly without sticking.
- Determine in advance how to retain or adapt the electronic start authorization, following the vehicle’s service documentation. The supplied information does not specify the electronics fitted to the supplied keys.
2) Tools and materials required
- Standard hand tools suitable for the vehicle’s fasteners.
- Plastic trim removal tools, a flashlight and a container for small parts.
- Clean cloths and, if necessary, a product intended for maintaining automotive locks, as recommended by the manufacturer.
- Service documentation; depending on the configuration, suitable diagnostic equipment for working with keys.
3) Step-by-step installation procedure
- Park the vehicle safely, secure it against movement and keep access to the interior so that it cannot be accidentally locked during the work.
- Switch off the ignition and disconnect the battery before working on electrical components, following the manufacturer’s procedure. Observe the specified waiting times and safety instructions.
- Access the components to be replaced according to the service documentation. Release trim and covers using suitable tools, not force.
- Document the original routing of the wiring and rods, and the position of the fasteners, if these are present in the vehicle configuration.
- Remove the original locks and ignition switch using the specified service procedure. Do not attempt to force their security restraints.
- After removal, compare the original and replacement components again. Stop the installation if there are differences in the mounting points or connections.
- Clean the contact surfaces and check the related mechanisms and any seals. If sticking is caused by something other than the lock itself, address the underlying cause.
- Fit the replacement components without applying strain, secure the mountings correctly and connect the relevant rods or connectors. Fasten the hardware according to the manufacturer’s documentation.
- Before refitting the trim, check the mechanical operation of the locks and make sure the fuel cap closes correctly. Test the door lock first with the door open.
- Refit the covers and trim, reconnect the battery according to the manufacturer’s procedure and, if necessary, have the keys adapted by a professional. Then check all affected functions.
4) Post-installation checks and function verification
Test both keys, locking and unlocking the driver’s door, operation of the fuel cap and the ignition switch in its specified positions. Verify start authorization and that the engine switches off normally. If the keys have remote controls, check their operation too. Only carry out a test drive once all affected mechanisms have been verified to work correctly and installation has been completed safely.
5) Common installation mistakes and how to avoid them
- Confusing mechanical compatibility with electronic compatibility: address start authorization separately, according to the vehicle system.
- Turning the key by force: if there is resistance, check the fit and mechanism; force can damage both the key and the lock cylinder.
- Incorrect routing of rods or wiring: refer to the original wiring documentation and check for unrestricted movement before refitting the covers.
- Closing the door prematurely: first check the lock with the door open and ensure you have an alternative way to access the vehicle.
- Using unsuitable lubricants: use only products intended for the mechanism in question, not universal products without first verifying their suitability.
Reasons why the part gets damaged
For this type of component, faults are generally caused by long-term mechanical wear. The points below describe general causes, not defects identified in the set on offer:
- Wear to the lock cylinders and keys from repeated use.
- Ingress of moisture and dirt, causing corrosion and sticking mechanisms.
- Using a bent or heavily worn key and turning it by force when there is resistance.
- Damage caused by attempted break-ins or unprofessional removal.
- Incorrect fitting of the lock or strain on the related rods and mountings.
- For the electrical part of the ignition switch, wear to the contacts or connection faults may also be a cause.