Description
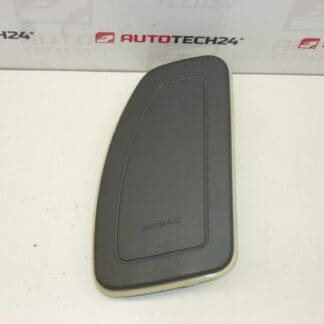
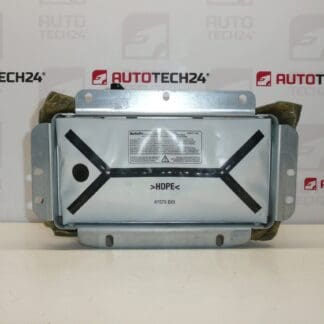
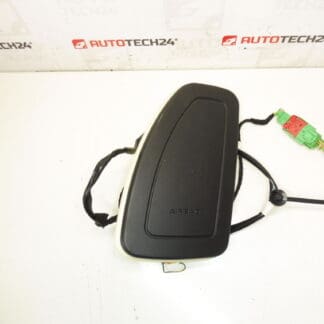
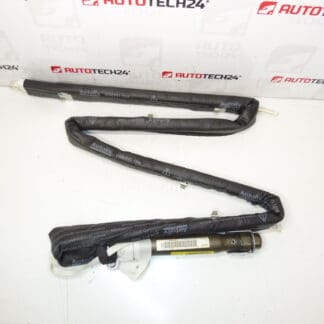
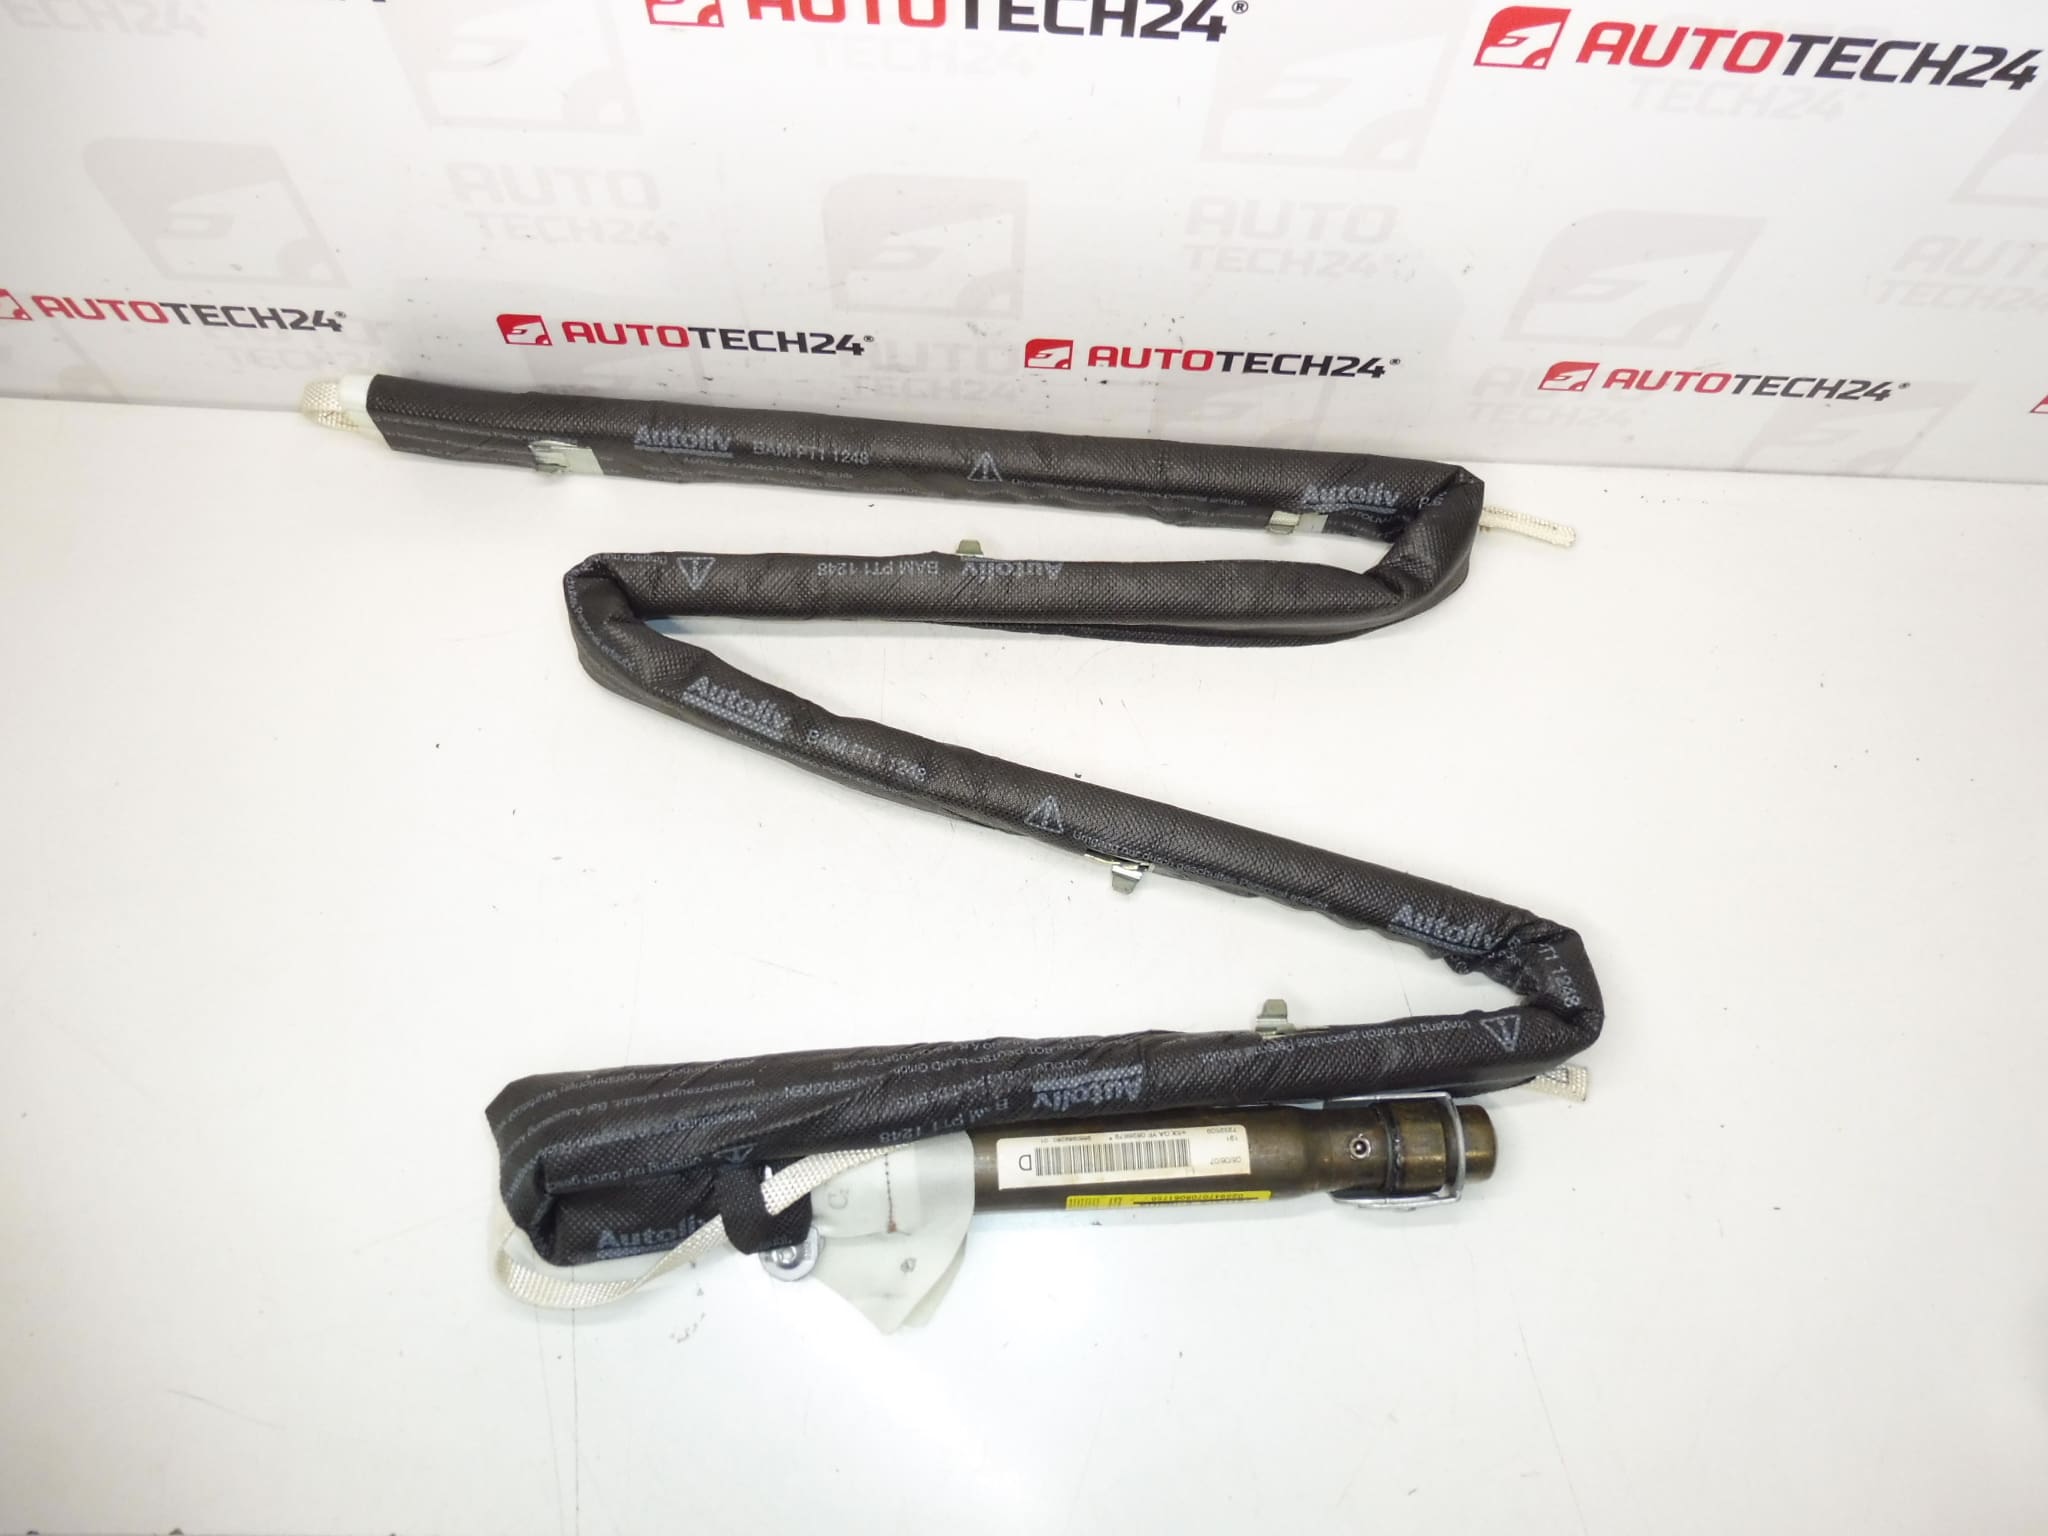
Right roof-side curtain airbag for PEUGEOT 407 sedan and estate. Passenger side.
This roof-mounted curtain airbag restores vital side-impact and rollover protection for the front passenger on Peugeot 407 vehicles. Designed for professional workshops and competent DIY mechanics, the unit is a direct-fit replacement for vehicles equipped with a passenger-side roof airbag. Use this part when the original module has deployed, been damaged in a collision, or shows clear electrical/connector faults.
Function and Fitment
The curtain (roof-side) airbag deploys from the headliner rail to protect the head and upper torso in a side impact or rollover. It is mounted along the roof rail above the passenger door and connects to the SRS wiring harness and impact sensors. Proper fitment ensures timely inflation and correct occupant protection in an accident. This part is intended for Peugeot 407 Sedan and Estate (SW) models equipped with a roof-side passenger airbag.
Replacement Procedure
Replacing the roof-side curtain airbag requires care and basic electrical safety precautions. Typical replacement steps:
- Disconnect the negative battery terminal and wait at least 10 minutes to allow the SRS system to discharge (follow the vehicle manufacturer’s recommended waiting time).
- Remove interior trim panels and the headliner retaining clips to access the airbag module and its mounting points.
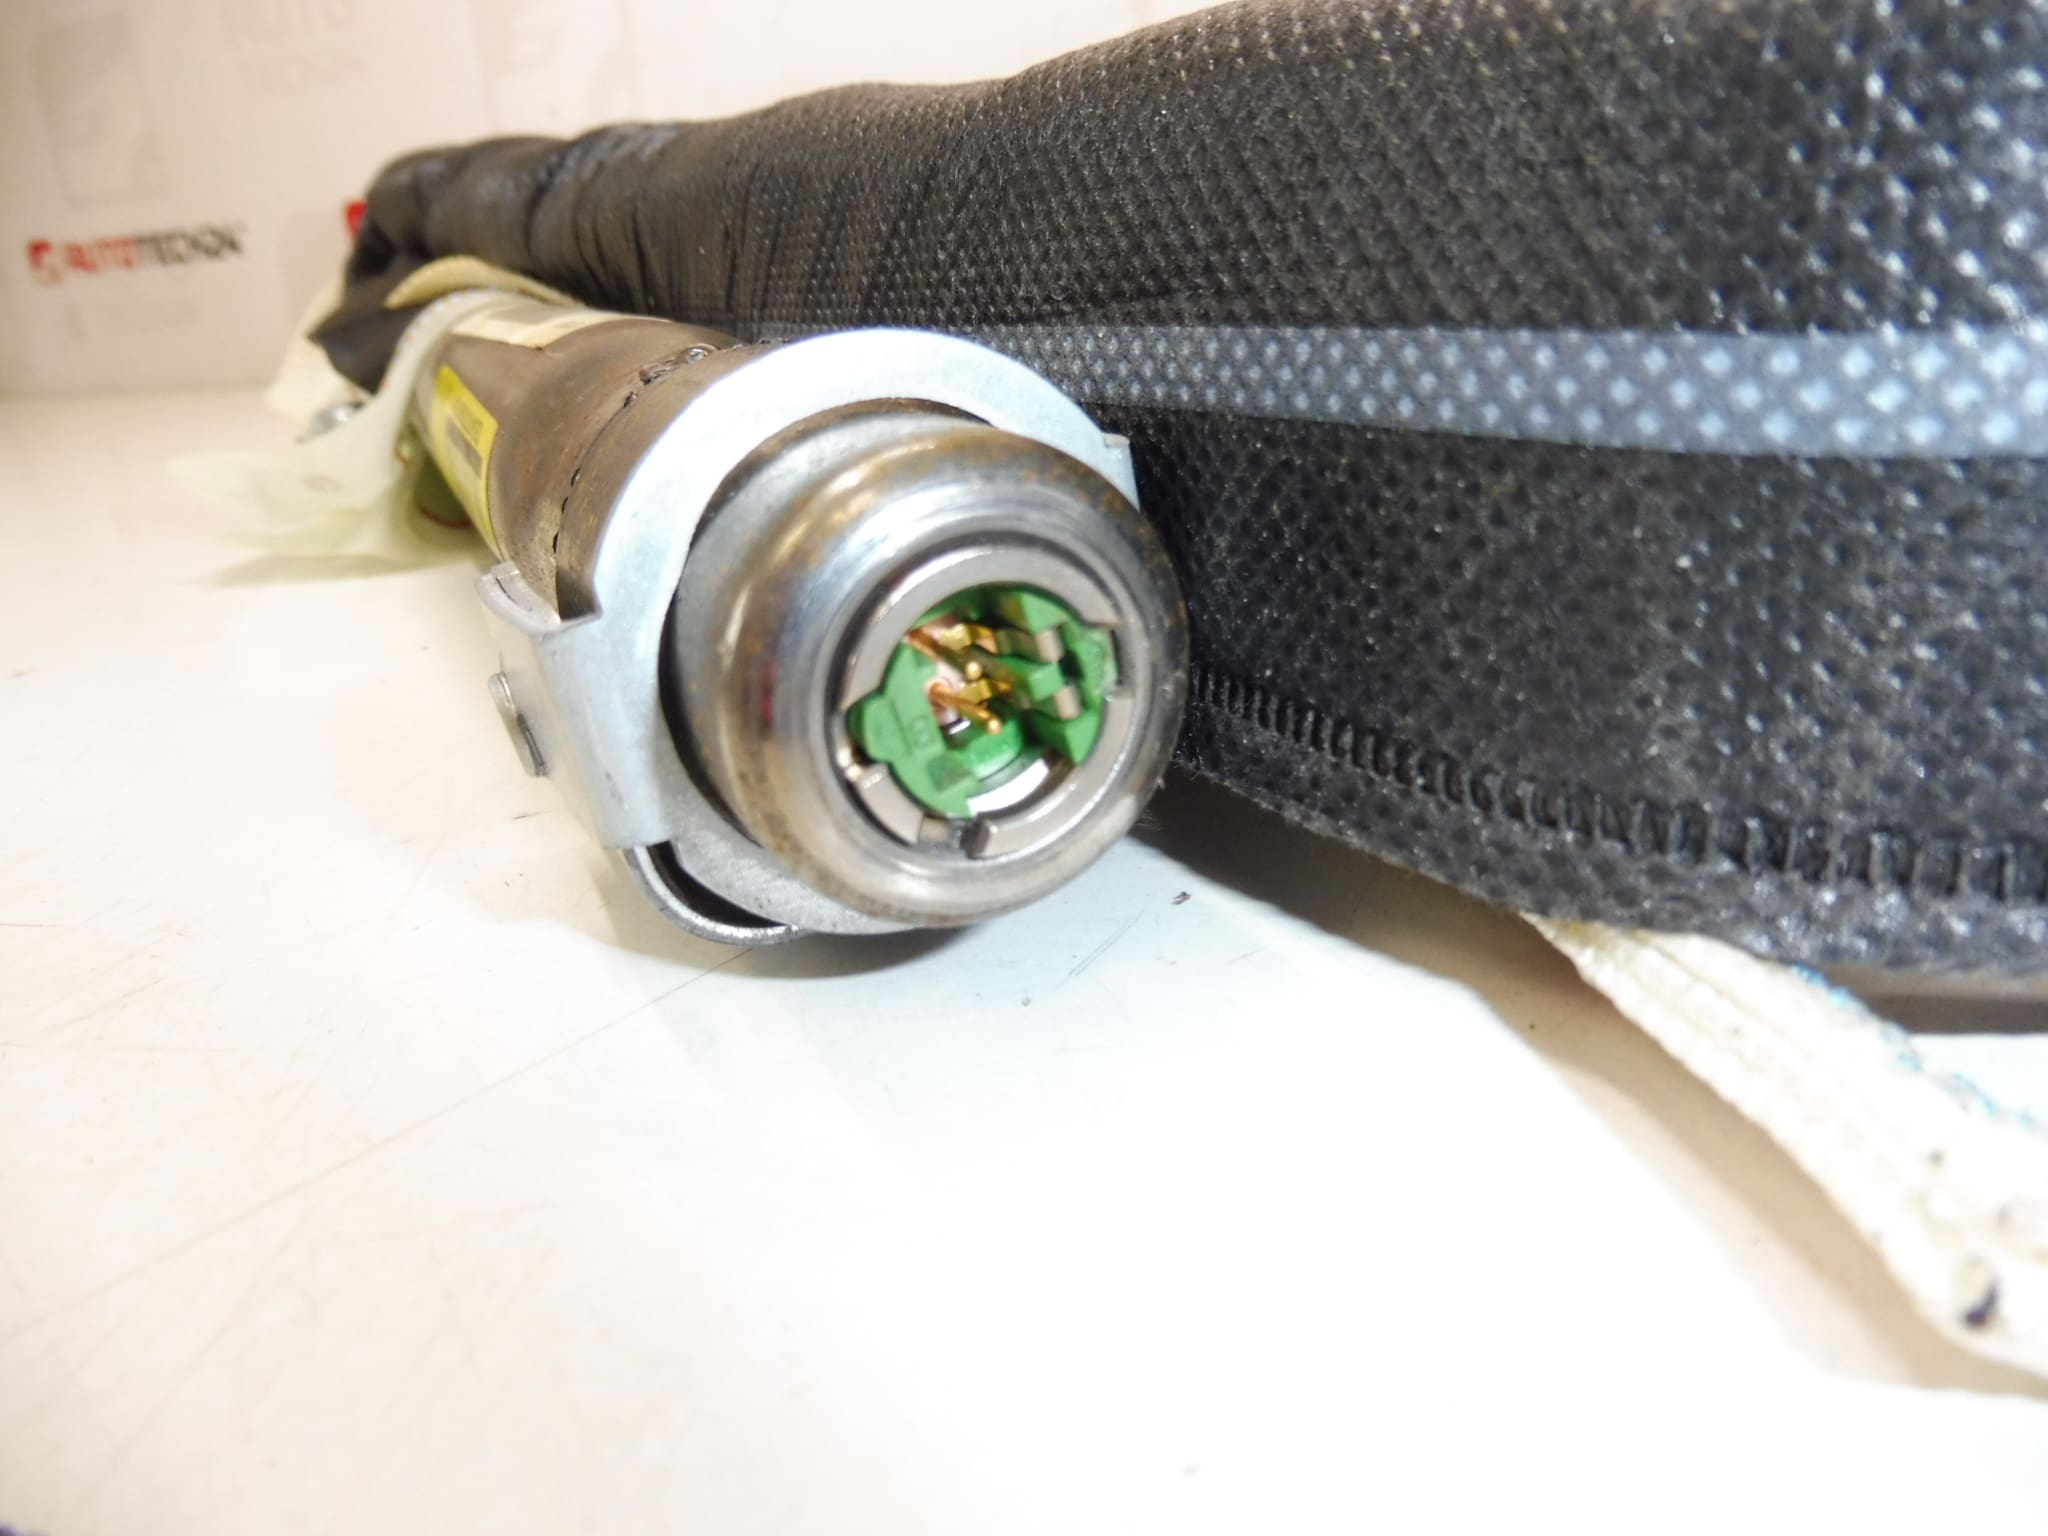
- Unplug the airbag connector(s) and remove the retaining bolts or clips securing the module to the roof rail.
- Fit the new airbag in the correct orientation, secure all fixings to the manufacturer’s torque/specification, and reconnect the electrical connector(s).
- Refit trim and restore the battery. Clear any SRS fault codes with appropriate diagnostic equipment and confirm system readiness.
Installation Recommendations
- Always Disconnect The Battery Before Work: Observe SRS safety procedures and wait the recommended discharge time.
- Use Proper Tools: Avoid damage to clips, trim, and the new airbag when removing and installing the headliner and retainers.
- Clear SRS Faults With Diagnostics: After installation, read and clear fault codes with suitable diagnostic equipment and verify that the airbag warning lamp behaves correctly.
- Handle With Care: Do not drop, strike, or expose the airbag to moisture. Keep connectors clean and corrosion-free.
Why The Part Most Commonly Fails
Roof-side curtain airbags are generally long-lived and are typically only replaced after deployment in a collision. Common causes of failure or replacement include:
- Deployment Following An Accident: Once deployed the module must be replaced.
- Physical Damage Or Impact To The Roof Rail Or Trim During Collisions Or Poor Repairs.
- Electrical Problems: Corroded connectors, damaged wiring or poor grounding can cause SRS faults and require module replacement.
- Water Ingress: Leaks around the roof or door seals can lead to connector corrosion and electrical faults.
Technical information
- Manufacturer: Stellantis / Peugeot
- Model: Peugeot 407 (Sedan, Estate)
- Product Codes: 9660989280
- Other Numbers: 8331AC
Notes For Workshops
This part is commonly searched by its product codes; include them when ordering or checking catalog fitment. After replacing an airbag, always verify SRS system status with a diagnostic tool and confirm the airbag warning lamp extinguishes correctly. Incorrect installation or unresolved SRS faults can compromise occupant safety.