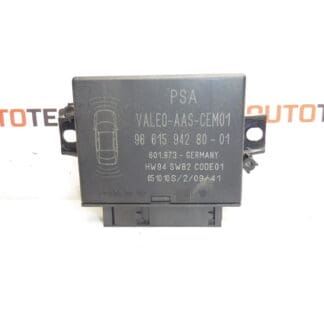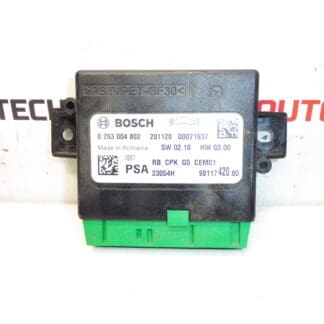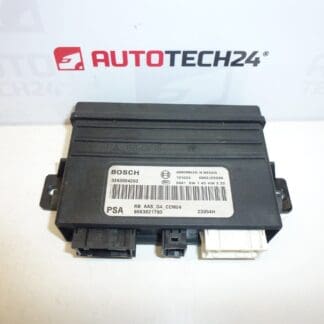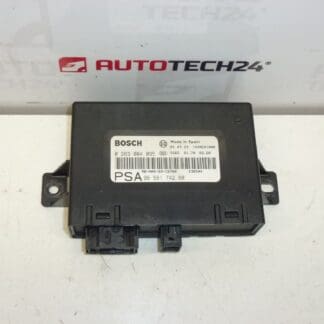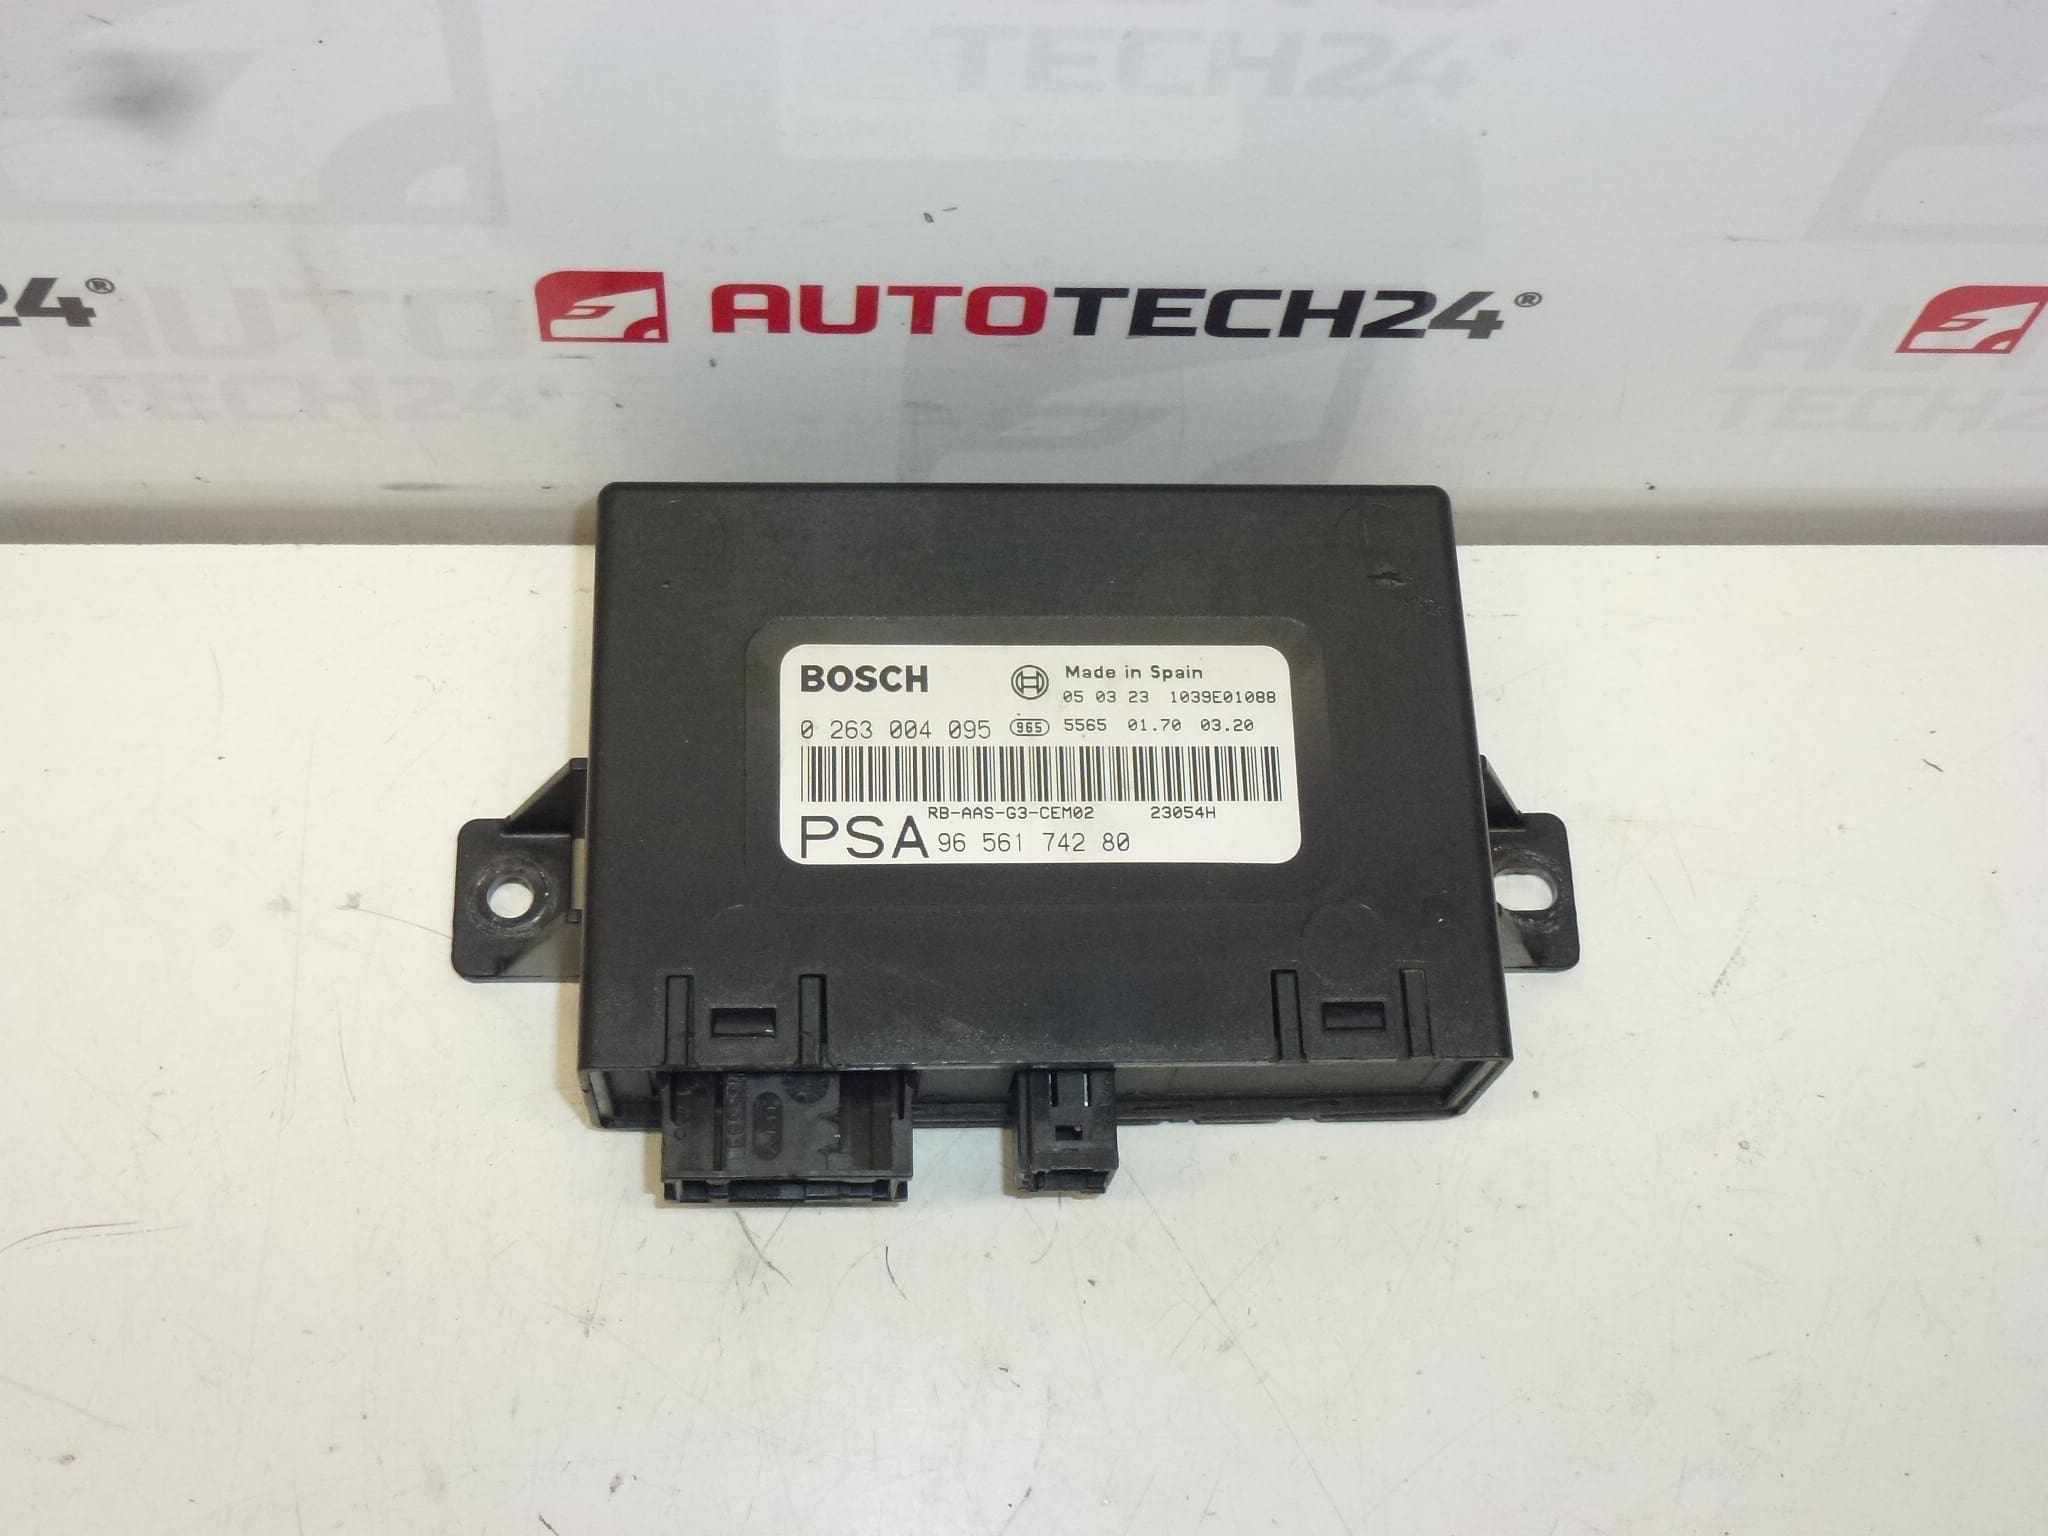
Speedometer Citroën C4 Picasso 9664365280-F-00

€42.00

Stellantis CITROEN PEUGEOT
9664365280-F-00 6103V3 6103KV 6103V4

1 in stock

SKU: 9861-D4_K29 Categories: , ,

Description

CITROEN C4 PICASSO I GRAND PICASSO instrument cluster, up to 2013
Mileage is unknown

Part description

Used speedometer – instrument cluster for the Citroën C4 Picasso I and Grand Picasso up to 2013 is intended as a replacement part when replacing the original instrument cluster. The instrument cluster displays vehicle operating data and allows the driver to monitor the vehicle’s status while driving.

When selecting a replacement, focus primarily on the designation 9664365280-F-00 and compare its configuration with the original part. The source information also lists the numbers 6103V3, 6103KV and 6103V4. The mileage of this unit is unknown, so before connecting it, it is also advisable to pay attention to how mileage is stored and synchronized in the vehicle.

Technical information

  • Manufacturer: not specified
  • Model: Citroën C4 PICASSO; the description also lists C4 PICASSO I GRAND PICASSO up to 2013
  • Part type: speedometer / instrument cluster
  • Condition: used part
  • Mileage: unknown
  • Other numbers: 6103V3, 6103KV, 6103V4

Product codes

  • Product codes: 9664365280-F-00, 6103V3, 6103KV, 6103V4

Compare the complete designation, including the suffix -F-00. A match based on the vehicle name alone does not replace checking the part number, connectors and instrument cluster configuration.

Installation recommendations

The following procedure is general guidance for replacing an instrument cluster. The exact removal process, any configuration requirements and odometer behavior depend on the specific vehicle model and configuration. The source information does not specify an installation procedure or coding requirements for this unit.

1) Before installation

  • Compare the designation of the original and replacement clusters, the shape of the housing, mounting points, connectors and their mechanical locking mechanisms.
  • Inspect the housing, display, contacts and mounting points of the used part. Look for cracks, corrosion, signs of moisture or damaged pins.
  • If the original cluster is still working, record the mileage and take a photo of its display with the ignition switched on.
  • Before connecting it for the first time, find out the mileage synchronization rules for the specific vehicle configuration. In general, some vehicles may adopt the higher stored value between the instrument cluster and other electronics. The mileage of the unit on offer is unknown; do not connect it just to test it without knowing how this works.

2) Tools and materials required

  • Standard hand tools appropriate for the fasteners used.
  • Plastic trim removal tool and protection for surrounding surfaces.
  • Flashlight and a container for removed screws and clips.
  • Suitable diagnostic equipment, if required for checking or configuring the cluster.
  • Service procedure for the specific vehicle configuration.

3) Step-by-step installation procedure

  1. Verify that the replacement cluster matches the original part and clarify any configuration and mileage synchronization requirements in advance.
  2. Park the vehicle safely, switch off the ignition and electrical accessories. Record the available data from the original cluster.
  3. Allow the electronics to enter their sleep state and disconnect the battery according to the vehicle manufacturer’s procedure.
  4. Protect the surrounding interior surfaces and carefully remove the trim needed to access the cluster. Do not force any parts.
  5. Release the original cluster’s fasteners and support it so that its weight does not strain the wiring.
  6. Unlock the connectors and pull them out by their housings, not by the wires. Note the wiring routing for reassembly.
  7. Inspect the connectors and wiring harness. Resolve any damage, moisture or loose contacts before installing the replacement part.
  8. Connect the replacement cluster and properly secure the connectors. If a connector does not slide in easily, check its orientation and configuration again.
  9. Position the cluster without tension, route the wiring away from pinch points and secure it as specified.
  10. Reconnect the battery and return the electronics to operation according to the service procedure. If configuration is required, use the appropriate diagnostic equipment.
  11. Check that the cluster works. Once it has passed inspection, reinstall the trim and check that it is secured correctly.

4) Post-installation checks and function verification

  • Check the display readability, backlighting and display of information and indicator lights corresponding to the vehicle’s equipment.
  • Record the mileage displayed after replacement and compare it with the mileage before removal.
  • If the cluster remains blank or reports unusual faults, first check the connections, power supply and whether configuration is required.
  • Only take a short test drive after successfully completing the stationary checks. Verify that the speedometer works, the display remains stable and the cluster does not cut out or vibrate.

5) Common installation mistakes and how to avoid them

  • Connecting without checking how mileage is handled: find out the synchronization rules before connecting the used cluster for the first time.
  • Selecting based only on the vehicle model: also compare the complete part number, connectors and configuration.
  • Working while the power supply is connected: follow the manufacturer’s procedure for allowing the electronics to sleep and disconnecting the battery.
  • Damaging connectors or trim: release all locking tabs and clips first; do not use excessive force.
  • Pinched wiring or an incompletely closed connector lock: check the wiring harness routing and secure all connections before refitting the trim.
  • Overlooking the original electrical fault: repair any power supply or wiring fault to prevent the same problem from occurring after the cluster is replaced.

Reasons why the part may become damaged

The following are general causes of faults that can occur in instrument clusters; they are not a description of the condition found on this particular unit:

  • Aging electronics and display, which can cause display or backlight failures or erratic operation.
  • Moisture and contact corrosion, which can compromise electrical connections.
  • Power supply fluctuations or improper handling of the electrical system, which can damage electronic components.
  • Vibration and thermal stress, which can contribute to faults in internal connections.
  • Careless removal, which can break the mounting tabs, housing or connector locks.

Additional information

Weight 1.2 kg

Unless otherwise specified in the description, all photos are for illustrative purposes only.

We reserve the right to replace the ordered reference with the manufacturer's replacement reference.

The parts come from crashed vehicles, are carefully inspected, and we provide a 12-month warranty on functionality for them.