Description
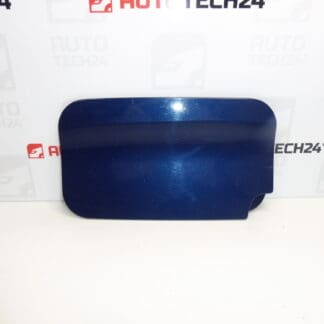
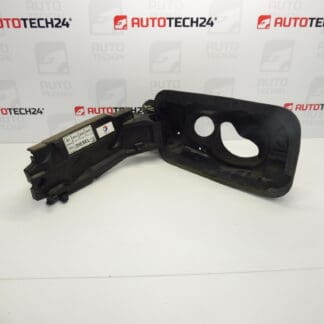
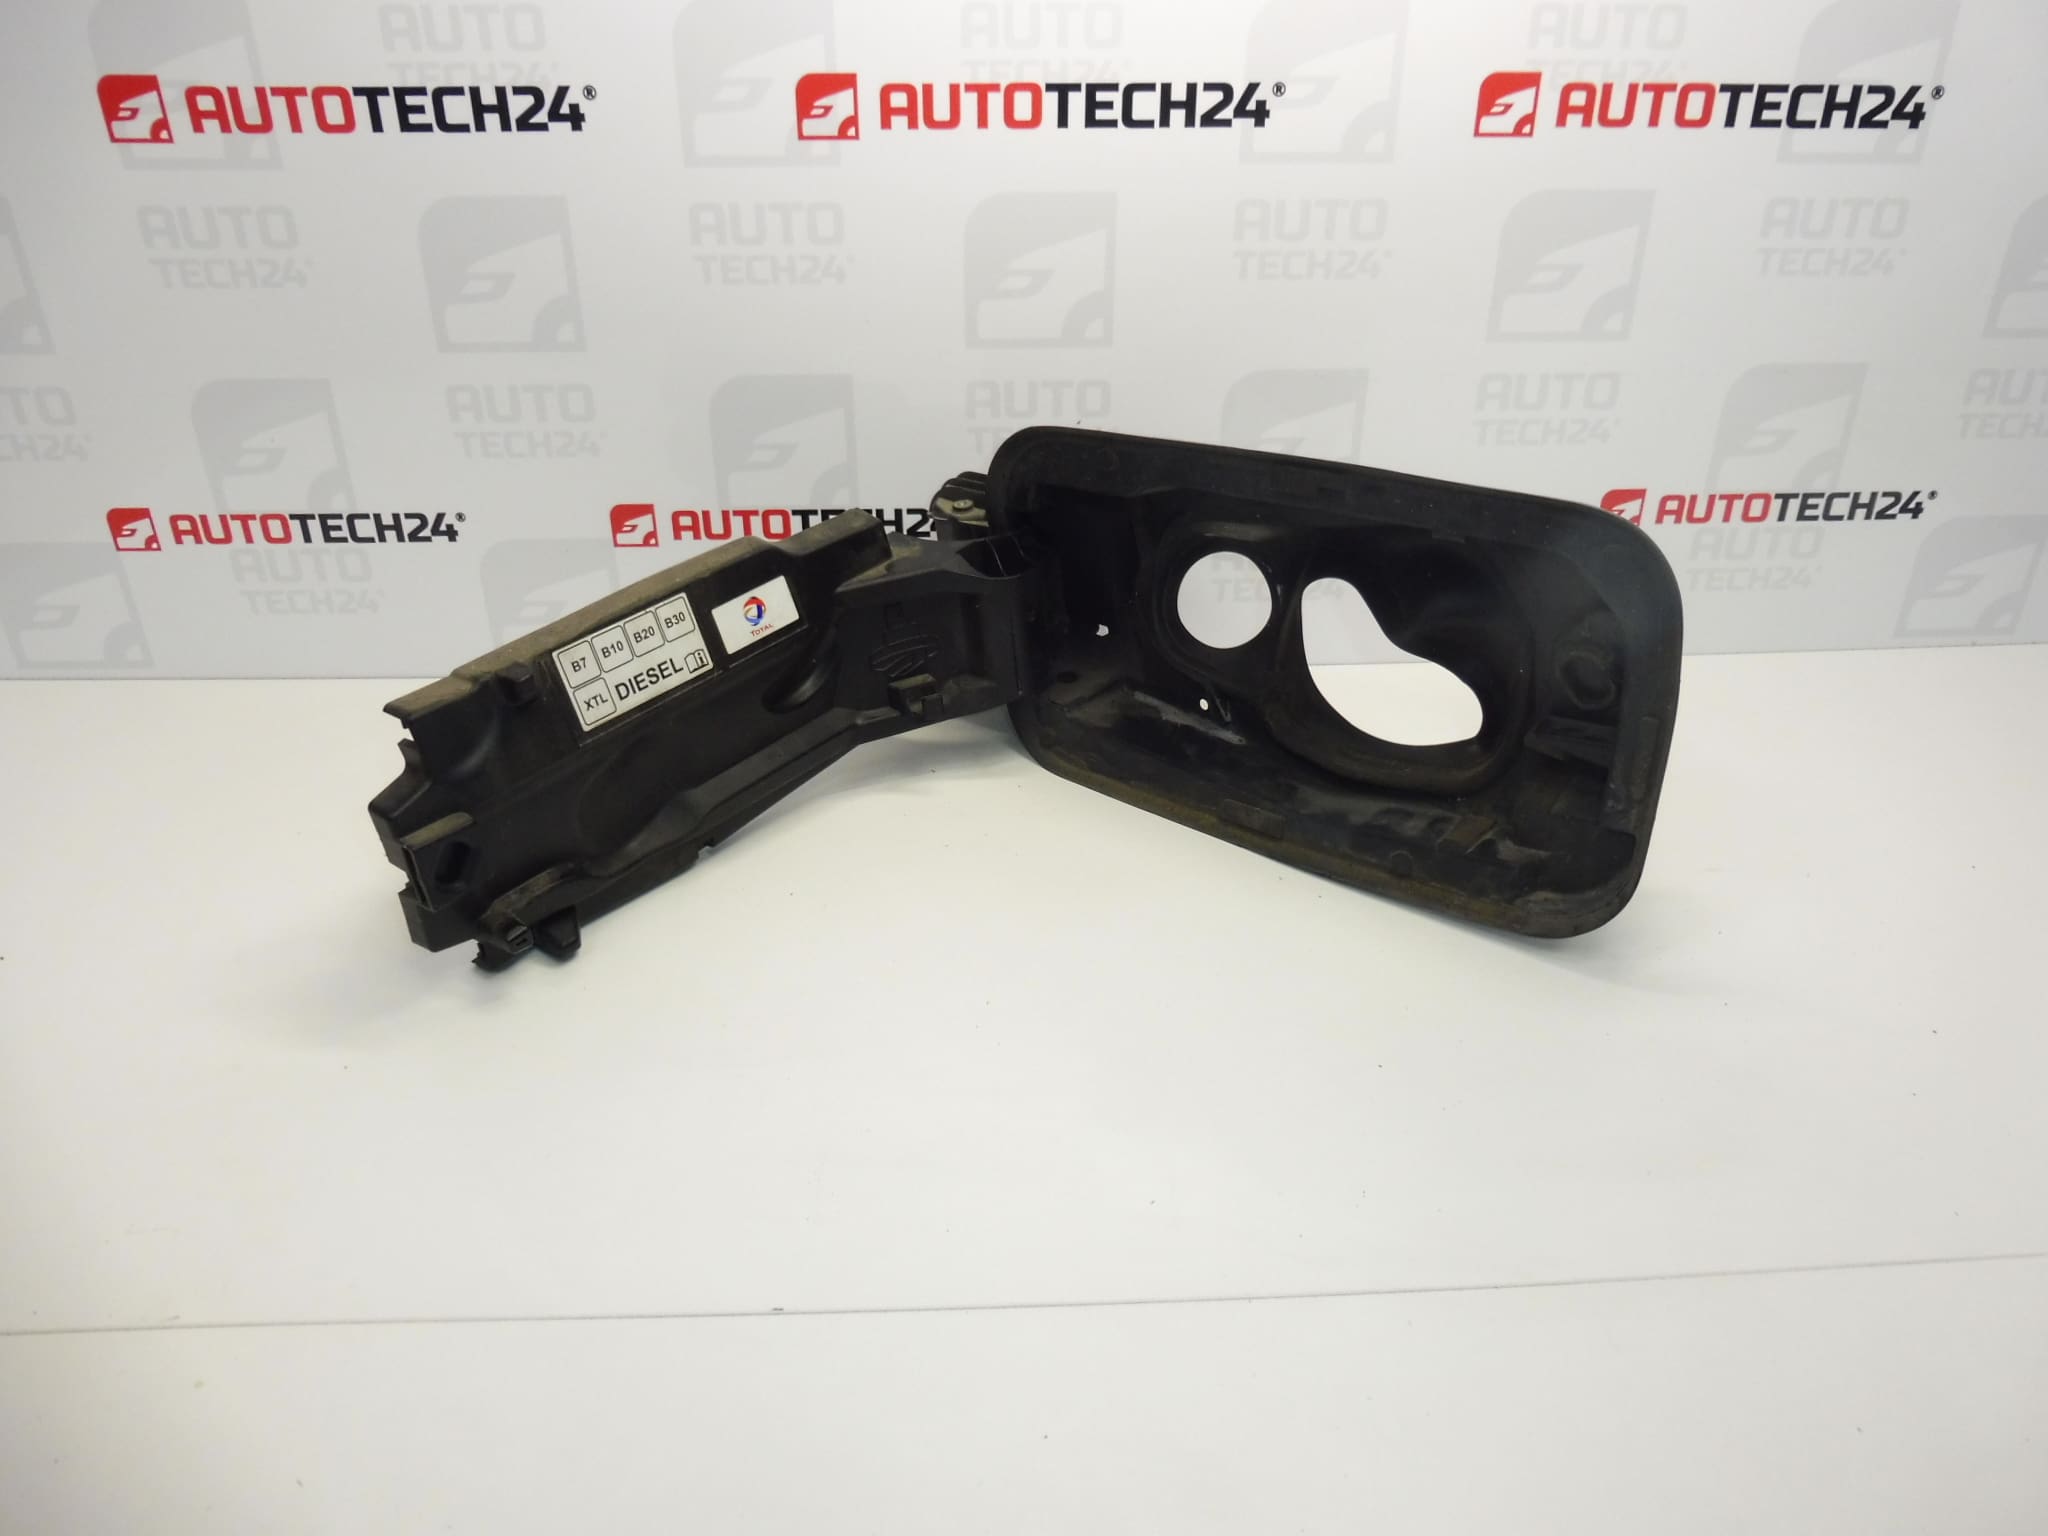
Fuel filler neck housing for CITROËN, PEUGEOT and other Stellantis models
Part description
The used fuel filler neck housing marked EJG is a body part for repairing the area around the fuel filler neck. This type of part forms the area around the neck and helps separate the fuel-filling area from the surrounding body parts. Replacement may be a suitable solution if the housing is cracked, its mounting is damaged, or it has been deformed in an impact.
The part is listed under the main product number 9819749980. The available information associates it with the Citroën Berlingo K9, PEUGEOT RIFTER and other vehicles listed below. Before selecting it, compare the number and design of the original part, especially its shape, mounting points and fit with adjacent components. A used part offers the option of repairing the damaged area without purchasing a new one.
The supplied accessories are not specified in the available information. Therefore, do not assume that the housing also includes the filler cap, outer flap, lock or seal.
Technical information
- Manufacturer: not specified
- Model: Citroën Berlingo K9; FIAT DOBLO III; OPEL COMBO E K9; PEUGEOT RIFTER; Toyota ProAce City
- Part type: fuel filler neck housing
- Condition: used part
- Designation in title: EJG
- Main product number: 9819749980
- Other numbers: 9819748880, 9819749680, 9819748780
- Category: Body / Fuel tank caps
- Model years and engine variants: not specified
The models are taken from the product labels. The model name alone does not confirm suitability for all versions.
Product codes
- Product codes: 9819749980, 9819748880, 9819749680, 9819748780
- Additional designation: EJG
When searching for a replacement fuel filler neck housing, use the original part’s product number as your primary reference. The numbers listed come from the available information; their interchangeability for a specific vehicle version has not been confirmed.
Installation recommendations
The following procedure is general guidance for this type of body part. The exact access, mounting method and connection to the filler neck depend on the specific vehicle model and version. Follow the manufacturer’s service procedure, and do not work on the fuel lines unless the replacement requires it.
1) Before installation
- Compare the product numbers, housing outline, dimensions, mounting points and neck opening with the old part.
- Inspect the used part, paying particular attention to cracks, deformation, damaged clips and mating surfaces.
- If present, also check the seals, drainage and mounting of the filler flap mechanism.
- Check which components need to be transferred from the original assembly. Do not reuse damaged fasteners or seals.
2) Tools and materials required
In general, you will need standard hand tools suitable for the fasteners used, a plastic trim removal tool, a flashlight, protective gloves, clean cloths and a cleaning product suitable for the surfaces being treated. Work in a well-ventilated area, away from open flames, smoking and sources of sparks.
3) Step-by-step installation procedure
- Park the vehicle safely, secure it against movement and switch off the ignition. Before starting work, familiarize yourself with the prescribed removal procedure.
- Clean the area around the fuel-filling area to prevent dirt from getting into the filler neck or between mating surfaces during handling.
- Gain access to the housing mounts. Remove surrounding covers or trim only to the extent required by the vehicle’s design.
- Note the position of the fasteners and any seals or connected components. Taking photos before disassembly will help with correct reassembly.
- Gradually release the housing fasteners. Disengage clips using a suitable tool, and do not pry against painted body edges.
- Carefully separate the housing from the surrounding components. Do not pull on the filler neck or any lines; if the part remains in place, look for any remaining fasteners.
- Clean and inspect the exposed mating surfaces. Repair any damage to the underlying area before fitting the replacement part.
- Compare the two parts side by side and, if necessary, transfer only undamaged components intended by the design for reuse.
- First position the replacement housing without forcing it. Check its position relative to the filler neck and surrounding bodywork, then secure all fasteners according to the service procedure.
- Reinstall the removed covers and other components. Check that nothing is pinched, the housing is secure and any moving parts move freely.
4) Post-installation checks and function verification
Check that the part is securely seated, fits correctly with the surrounding parts, and that the flap opens and closes if it is connected to the assembly. If a lock or drain is present, check that it works. The housing itself can usually be checked while the vehicle is stationary. At the next refueling, check that the assembly does not obstruct normal handling and does not move unusually. If you smell fuel or see a leak, do not use the vehicle until the cause has been professionally repaired.
5) Common installation errors and how to avoid them
- Choosing based on appearance alone: also compare the product number and all mounting points.
- Forcing the clips into place: if you encounter resistance, check the part’s position and look for obstructions preventing it from seating.
- Pinched seal or line: check that these are correctly positioned before final fastening, if they are part of the assembly.
- Overtightening fasteners: follow the manufacturer’s instructions to avoid deforming or cracking the mounting points.
- Allowing dirt into the filler neck: keep the work area clean and avoid opening the filler neck unnecessarily.
Reasons why the part may be damaged
Fuel filler neck housings are generally damaged for the following reasons; this is not a description of the history of the part on offer:
- Mechanical impact to the area around the fuel filler opening or deformation of the adjacent bodywork.
- Rough handling while refueling or forcing open a stuck flap.
- Material aging due to temperature changes, moisture and long-term use.
- Improper removal, which can break the clips or damage the mounting points.
- Incorrect positioning during a previous repair, which places constant stress on the part.
- Accumulation of dirt and water, especially if the drainage for that version is blocked.