Description
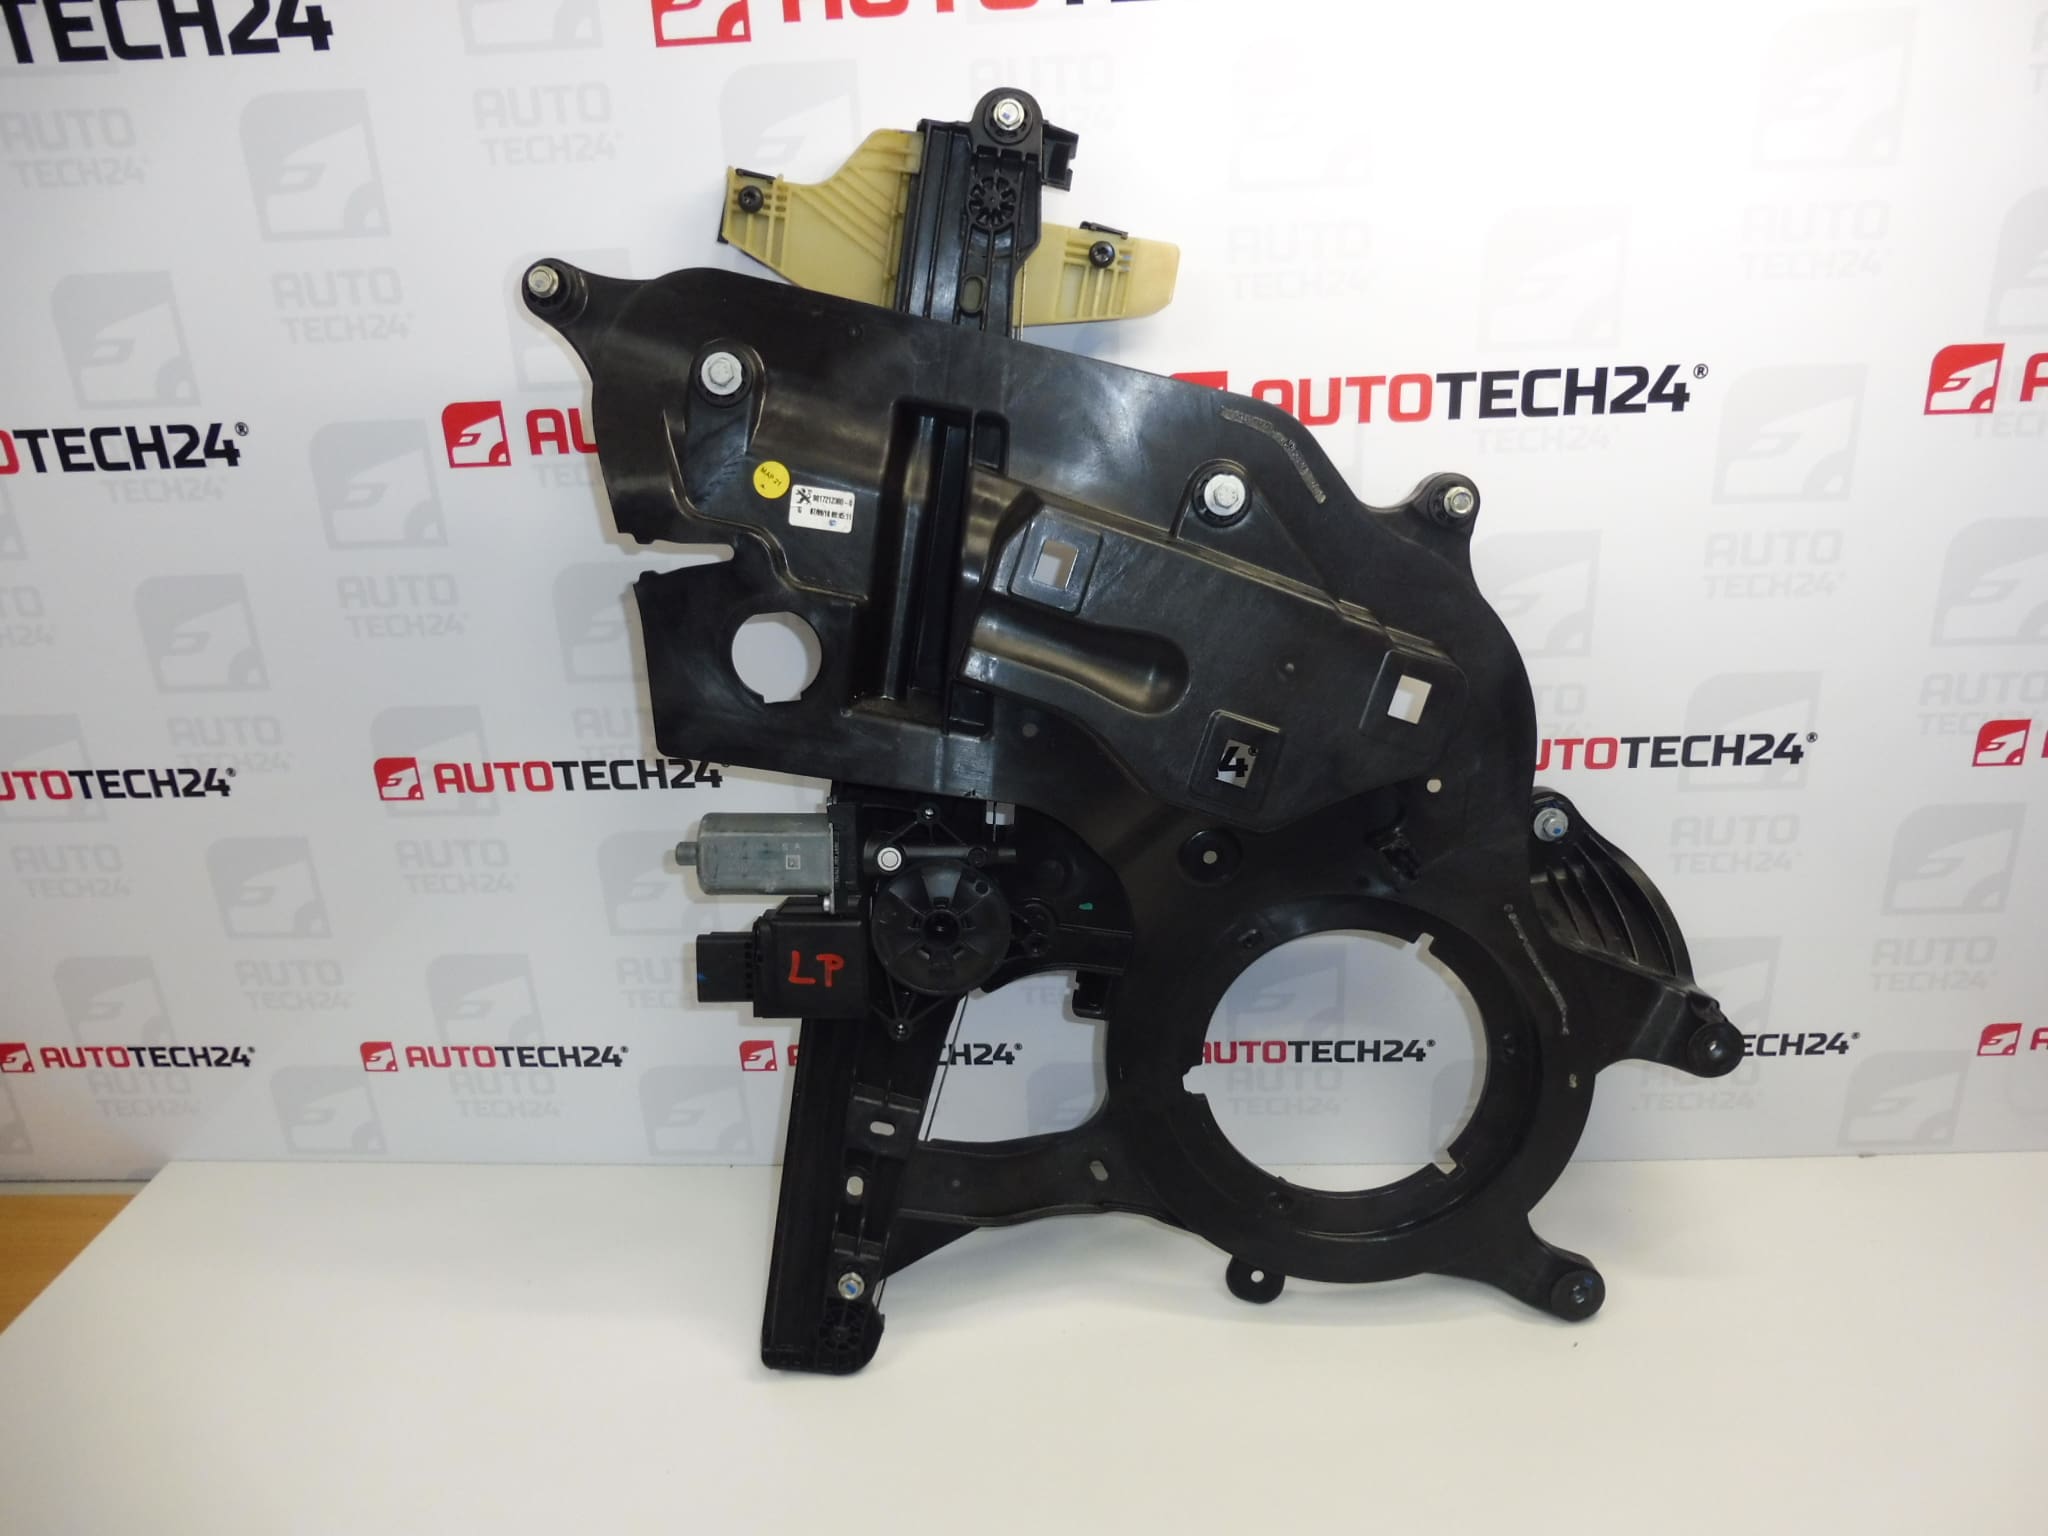
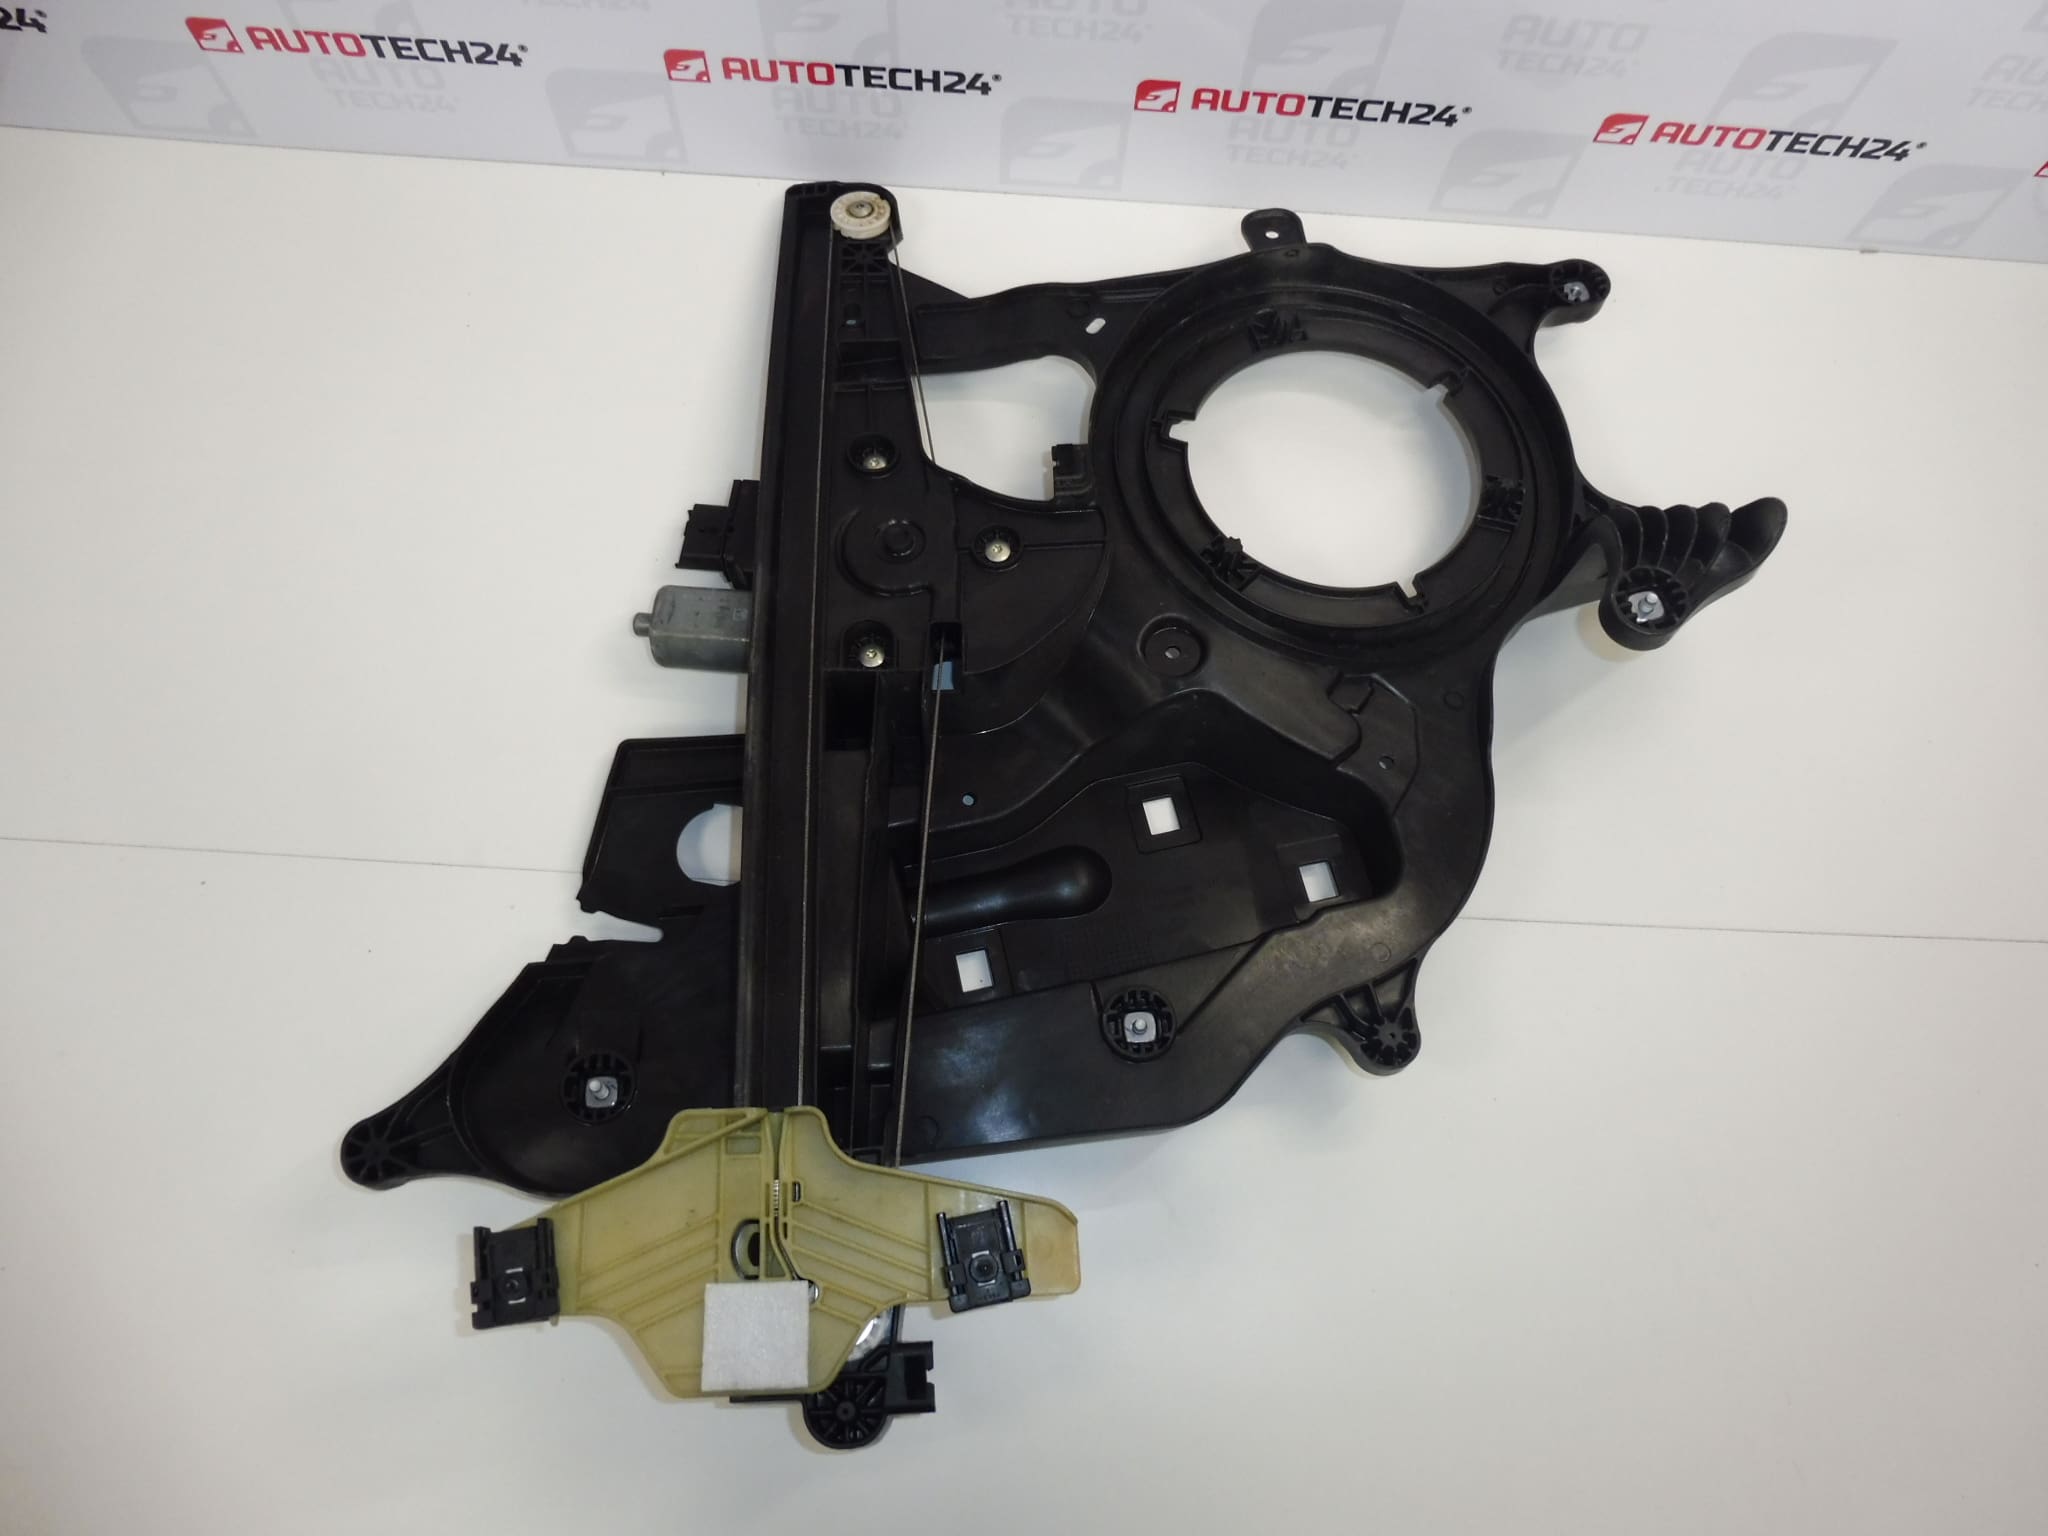
Window regulator mechanism for the left front window for Stellantis vehicles. Driver’s door.
Reliable left front window regulator designed for Citroën and Peugeot models within the Stellantis group. This replacement regulator matches OE references and is intended for the driver’s door. It restores smooth glass travel, reduces noise and prevents the window from dropping or jamming. Ideal for professional workshops and experienced DIYers who search by part number (OE codes are included below).
Key Benefits
Durable construction suitable for repeated daily use. Direct fit for specified models, allowing quick swap without major body modifications. Improves ride comfort and cabin sealing by ensuring correct window alignment. Compatible with electric window systems and standard door fittings on listed vehicles.
Technical Information
- Manufacturer: Stellantis (Citroën/Peugeot)
- Model: Citroën Berlingo (K9), Peugeot Rifter, Fiat Doblo III, Opel Combo E (K9), Toyota Proace City
- Product Codes: 9817212380
- Additional Numbers: 9840175880
Fitment Notes
This regulator is intended for the left front (driver) door. Fitment depends on the exact door configuration and production version; confirm the OE code from the old part before ordering. The unit is commonly referenced by its product codes above, which helps ensure correct matching.
Installation Recommendations
- Disconnect The Battery Or Isolate Power To The Window Circuit Before Starting Work To Prevent Accidental Movement.
- Remove The Interior Door Trim Carefully To Avoid Breaking Retaining Clips; Retain Or Replace Clips As Needed.
- Lower The Glass To Access The Regulator Attachment Points, Then Secure The Glass In Position Before Removing Fasteners.
- Unplug The Electrical Connector To The Window Motor (If Applicable) And Remove Mounting Bolts For The Regulator And Motor Assembly.
- Install The New Regulator In Reverse Order: Align The Regulator, Fit Fasteners To Specified Torque, Reconnect Electrical Connector, And Test Full Operation Before Reassembling The Door Trim.
- Apply Dielectric Grease To Electrical Connectors And Lubricate Sliding Tracks With Suitable Grease For Quieter Operation.
- Test Window Travel Several Times While Door Trim Is Off To Confirm Smooth Movement And Correct Alignment; Adjust Glass Clips If Necessary.
Most Common Reasons For Failure
Window regulators typically fail due to wear of moving parts: cable fraying or snapping, plastic pulley and guide degradation, motor burnout from overload or water ingress, and corrosion from moisture entering the door cavity. Incorrect alignment or damaged window channels can accelerate wear and cause binding. In many cases, failure is gradual—slower movement, grinding noises, or intermittent operation—before complete stoppage.
Practical Tips
- Keep Door Drainage Holes Clear To Prevent Water Accumulation And Corrosion.
- Replace Damaged Clips And Fasteners During Reassembly To Ensure Secure Mounting.
- Check Window Seals And Guides For Wear; Replacing Worn Seals Reduces Loads On The Regulator.
- When Replacing The Regulator, Inspect The Motor And Switch Operation; Replacing Both Components At The Same Time Can Prevent Repeat Workshop Visits.