Description
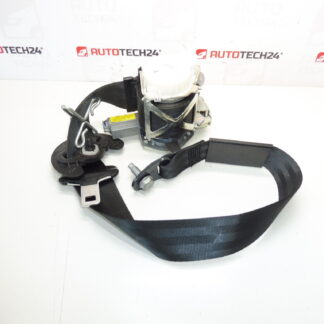
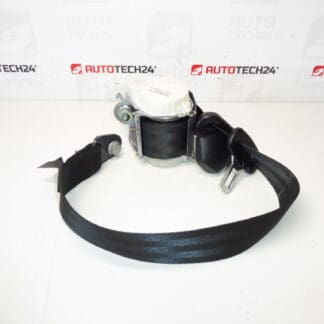
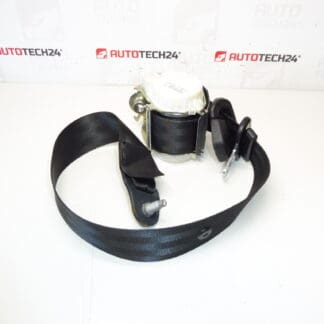
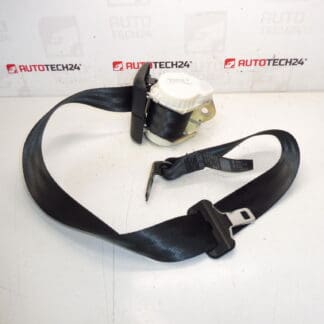
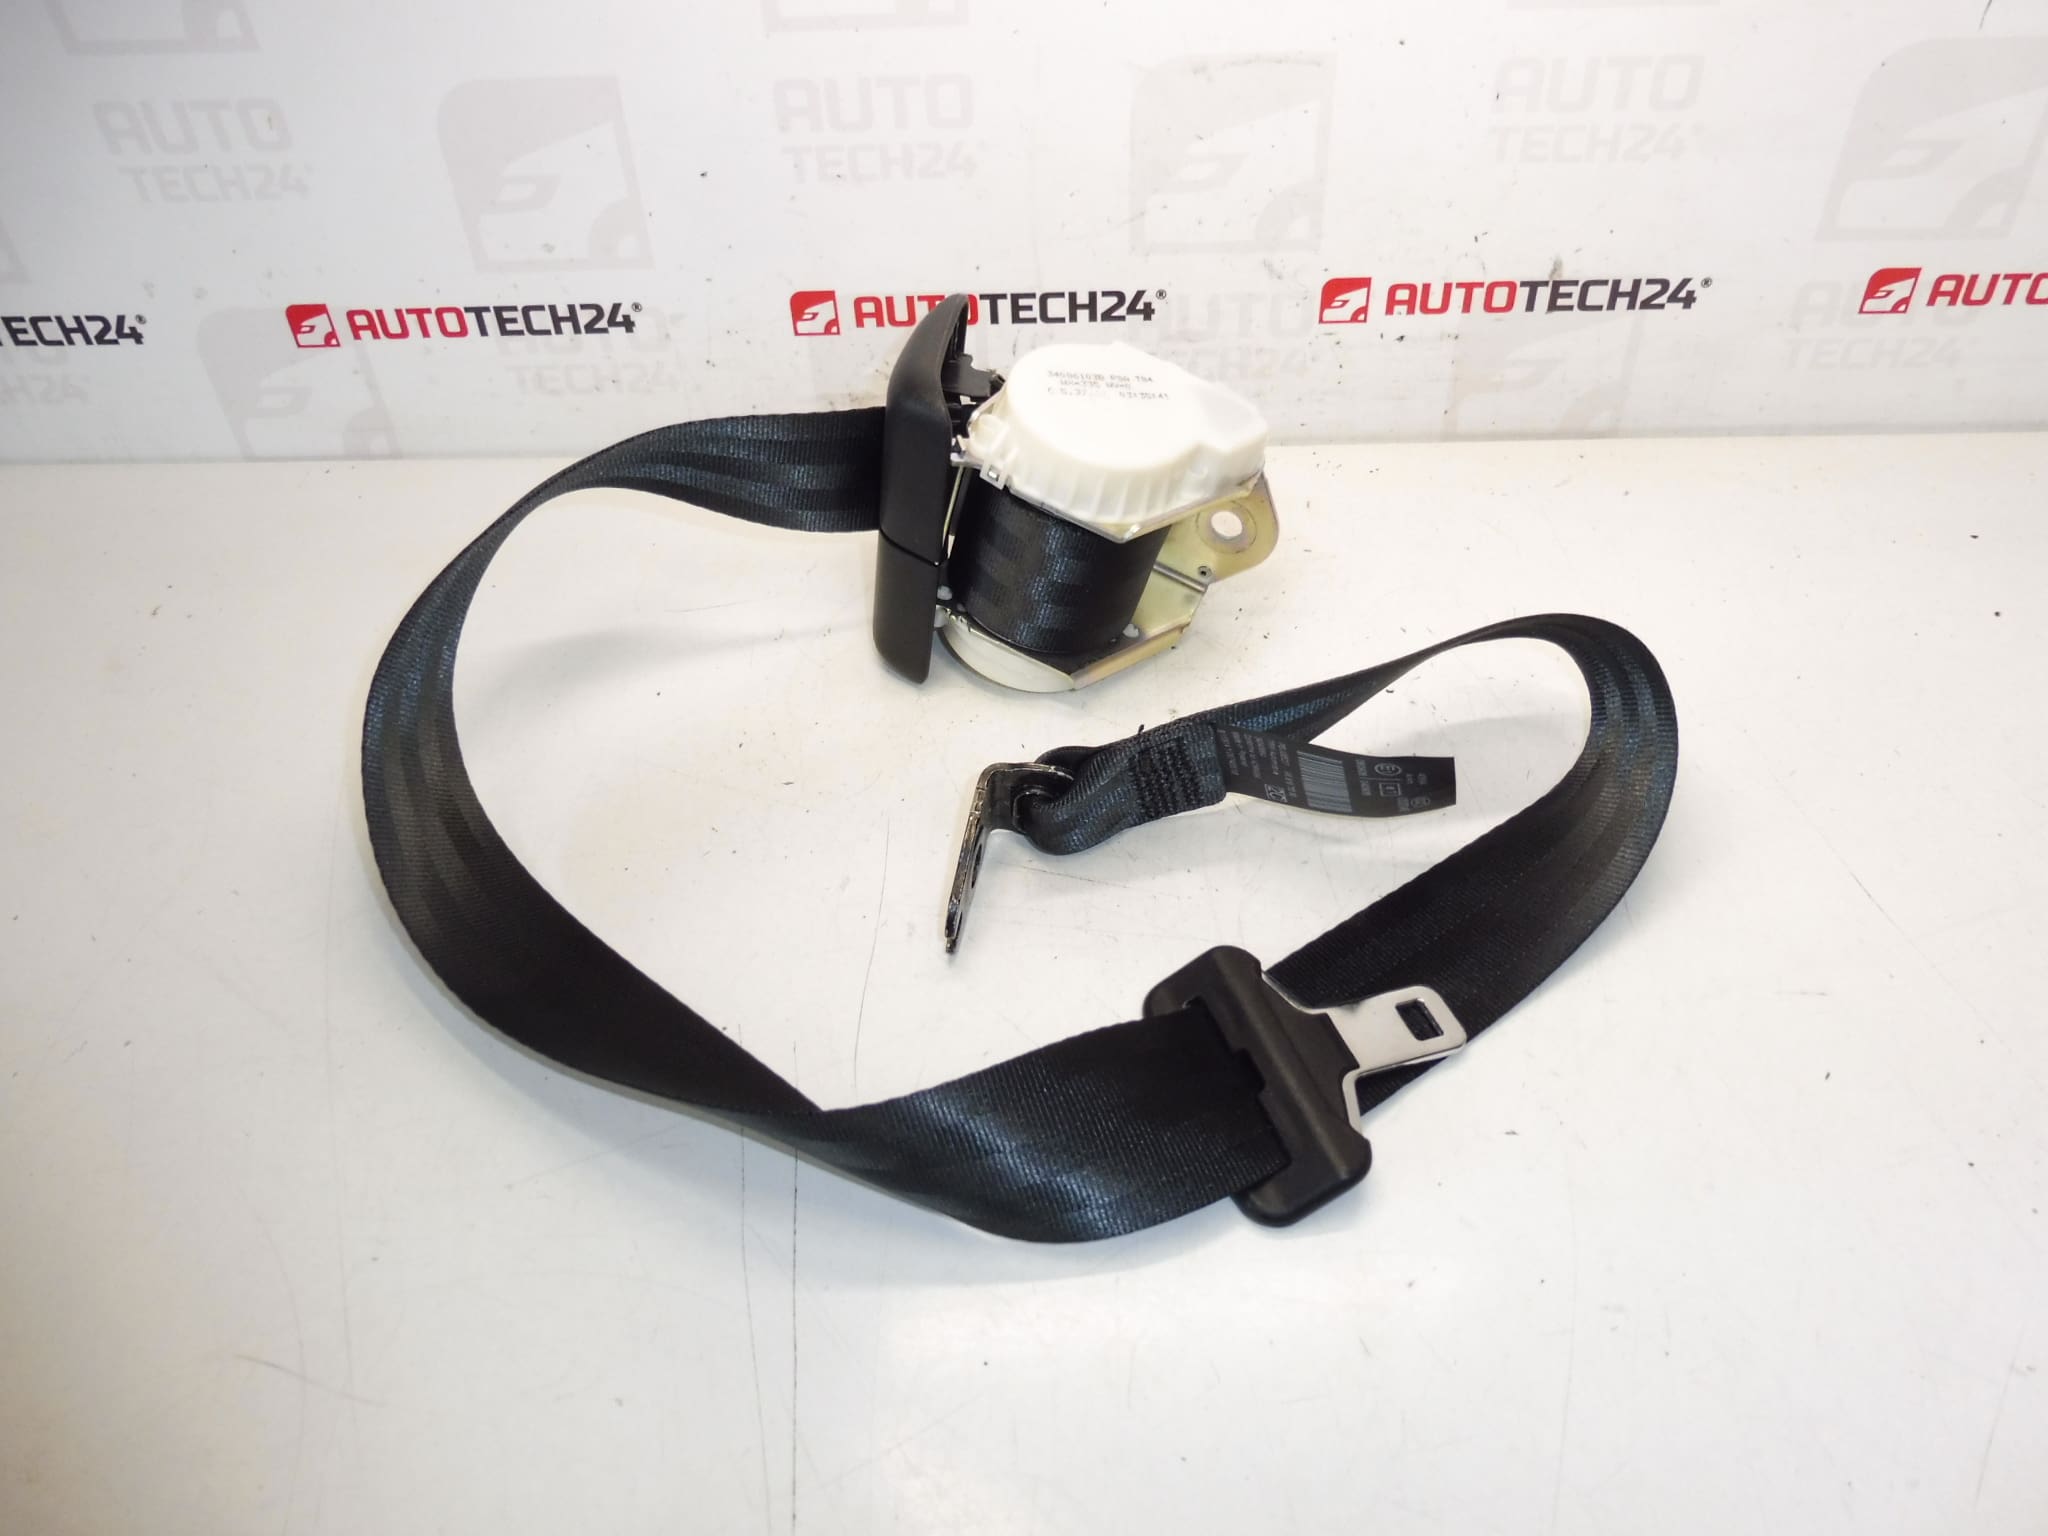
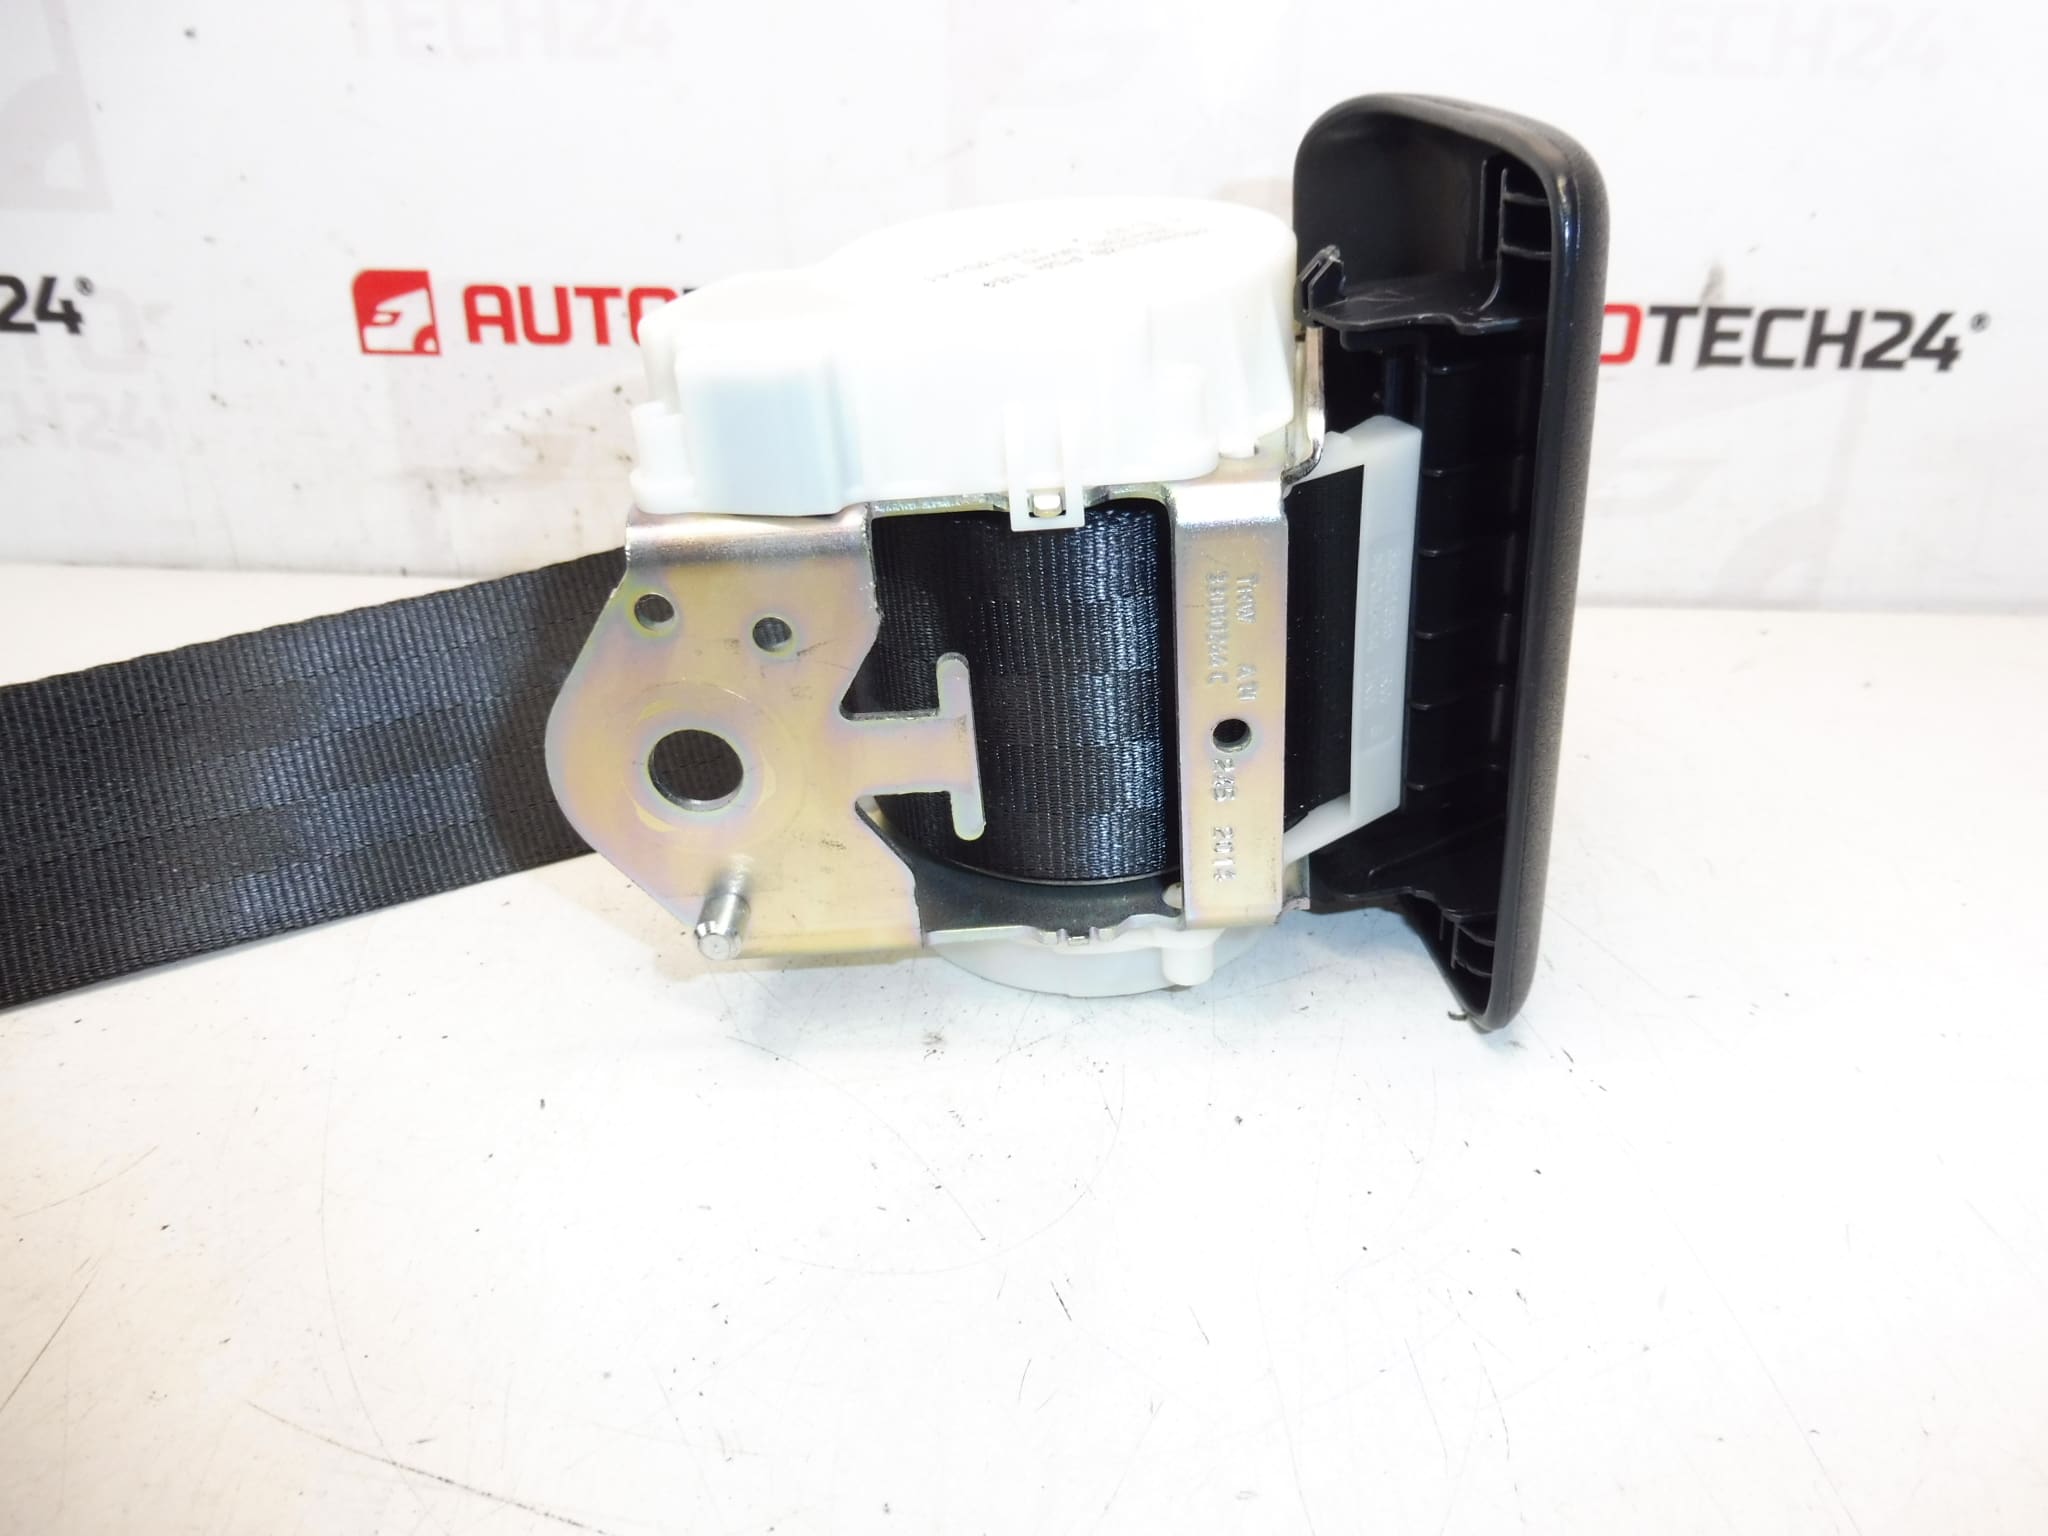
Middle rear seat belt for PEUGEOT 3008 and 5008 cars of the first generation
Side behind driver and passenger
Color FXX – BLACK
Part description
The used rear seat belt is intended for Peugeot 3008 I and Peugeot 5008 I cars. It is an important safety element of the interior, which is also often searched for under the number 8975HZ. Thanks to the black design of FXX – BLACK, it is suitable as a replacement for a damaged, dirty or non-functional original part.
The seat belt is an essential part of the protection of the crew, so when replacing it, it is important to focus not only on the correct marking of the part, but also on the overall condition of the mechanism, belt guide and fastening points. This part is especially suitable for car mechanics and home repairers who are looking for an original used car part to repair a Peugeot car.
Technical information
- Manufacturer: Stellantis Citroën Peugeot
- Model: Peugeot 3008 I, Peugeot 5008 I
- Other numbers: FXX – BLACK
Product codes
- Product codes: 8975HZ
- Models from labels/backgrounds: PEUGEOT 3008 I, PEUGEOT 5008 I
Installation recommendations
Generally/typically for seat belt replacement, the exact procedure may vary depending on the specific design of the car’s interior. With this type of part, it is always necessary to ensure proper seating, undamaged attachment and smooth operation of the mechanism.
1) Before assembly
- Check that the part number 8975HZ and belt design match the old piece.
- Compare the shape of the brackets, the attachment, the length of the belt, the position of the locks and the orientation of the mechanism.
- Check the condition of the strap – it must not be frayed, broken, swollen or otherwise mechanically damaged.
- Check that the winding mechanism works smoothly and does not jam.
- Check that the fastening points in the vehicle are not deformed, corroded or loose.
2) Necessary tools and materials
- Set of common hand tools
- Suitable attachments for removing interior trim
- Plastic levers for removing covers
- Cleaning agent for the installation area
- Work gloves and sufficient lighting
3) Step-by-step assembly procedure
- Park the vehicle on level ground and secure it against movement.
- Access the mounting area by removing the necessary covers and parts of the interior trim.
- Carefully remove the original seat belt including its attachment points and guide.
- Compare the old and new part side by side, especially the orientation of the mechanism, brackets and belt guide.
- Clean the assembly area and check the condition of threads, holders and bearing surfaces.
- Place the used belt in the correct place in the same position as the original part.
- Fix the individual mounting points gradually so that the belt is not twisted or stretched in the wrong direction.
- Check for proper belt routing through all guides and trim holes.
- Try extending and retracting the belt before fully folding the interior.
- Reinstall all removed covers and trim.
- After reassembling the interior, recheck the free movement of the belt and the correct function of the arrester.
-
4) Post-assembly checks and functional test verification
- The belt must extend and return smoothly without snagging.
- The strap must not be twisted or rubbed against the surrounding lining.
- The mechanism must react correctly during a violent jerk.
- The attachment must be firm and free of play.
- After assembly, check that no interior cover restricts the function of the belt.
5) The most common assembly mistakes + how to avoid them
- Twisted belt – always check the entire belt guide before final tightening.
- Incorrect orientation of the mechanism – compare the position with the old part before fixing.
- Insufficiently checked attachment – check the condition of the brackets, threads and surrounding body parts.
- Post-installation stuttering – check that the lining is not pressing on the belt or its guide.
- Assembly of a damaged used part – always carefully inspect the strap and mechanism before installation.
Reasons why the part is damaged
- Long-term mechanical wear during daily use
- Contamination of the take-up mechanism or belt guide
- Incorrect handling, violent tearing or pinching of the belt
- Damage after an accident or heavy stress
- Deformation of the attachment or surrounding parts of the interior
- Aging of the strap material and deterioration of its elasticity or surface