Description
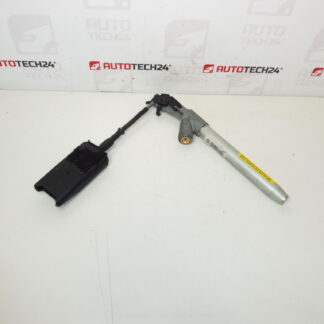
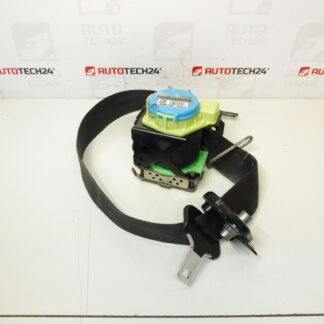
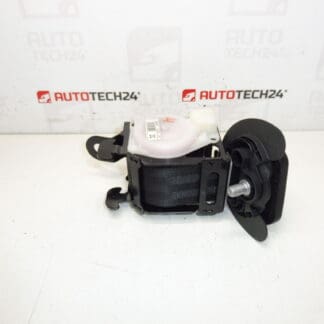
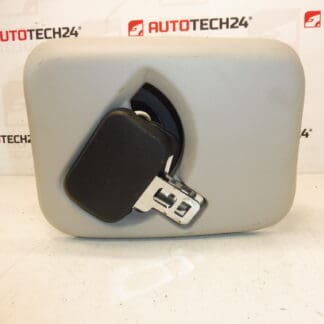
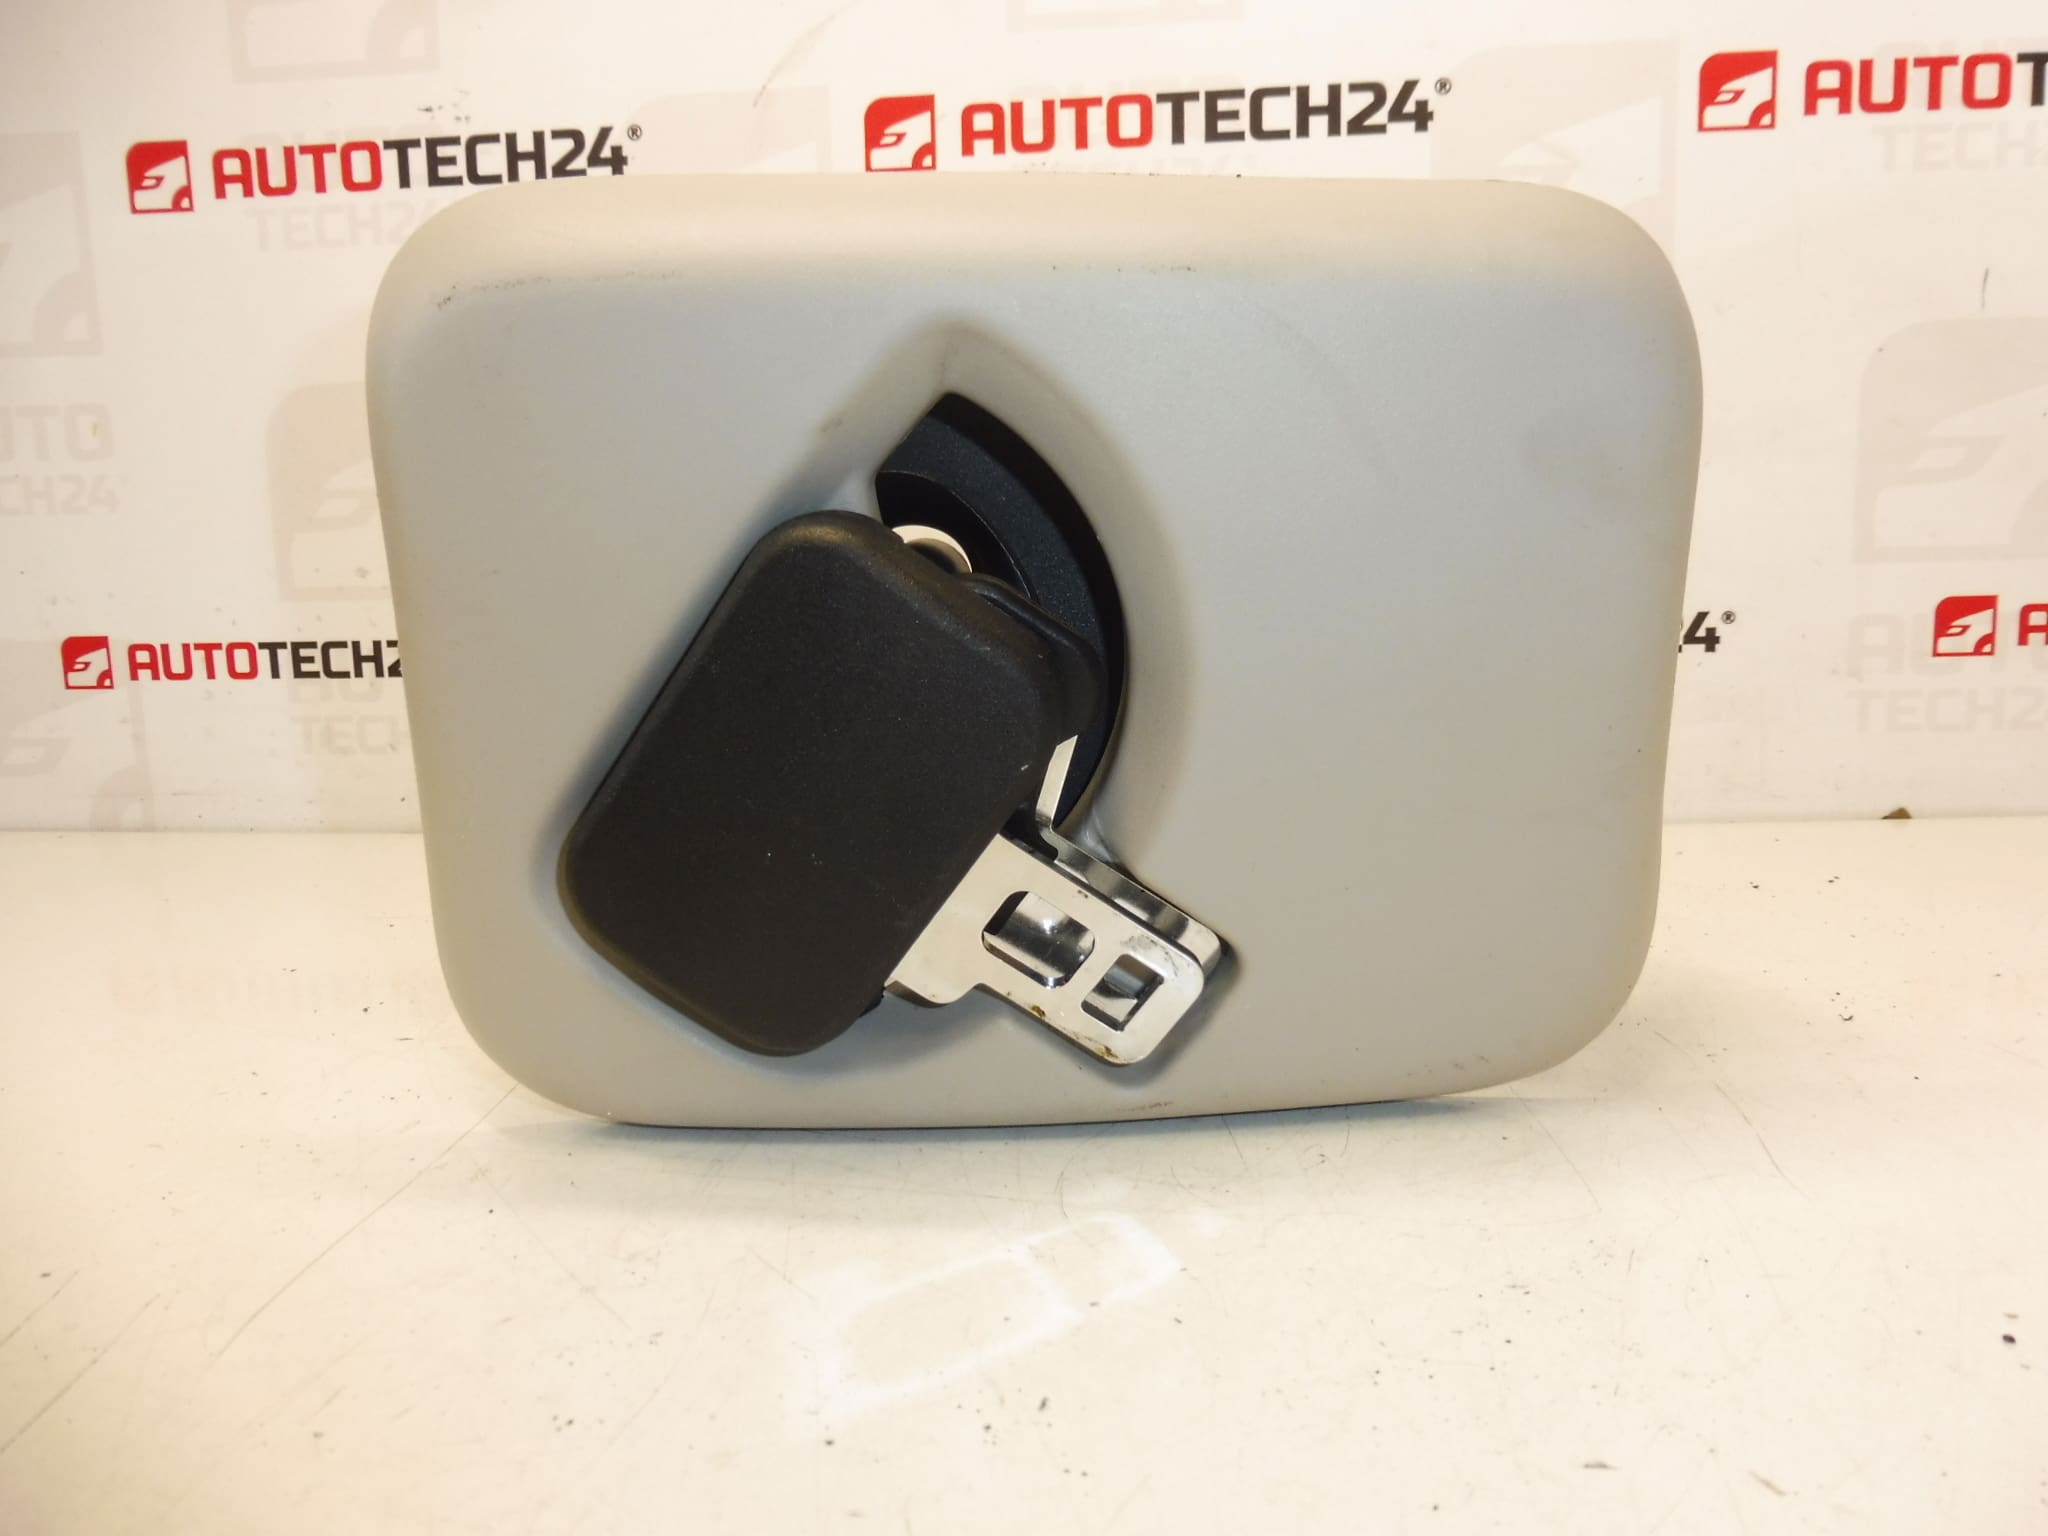
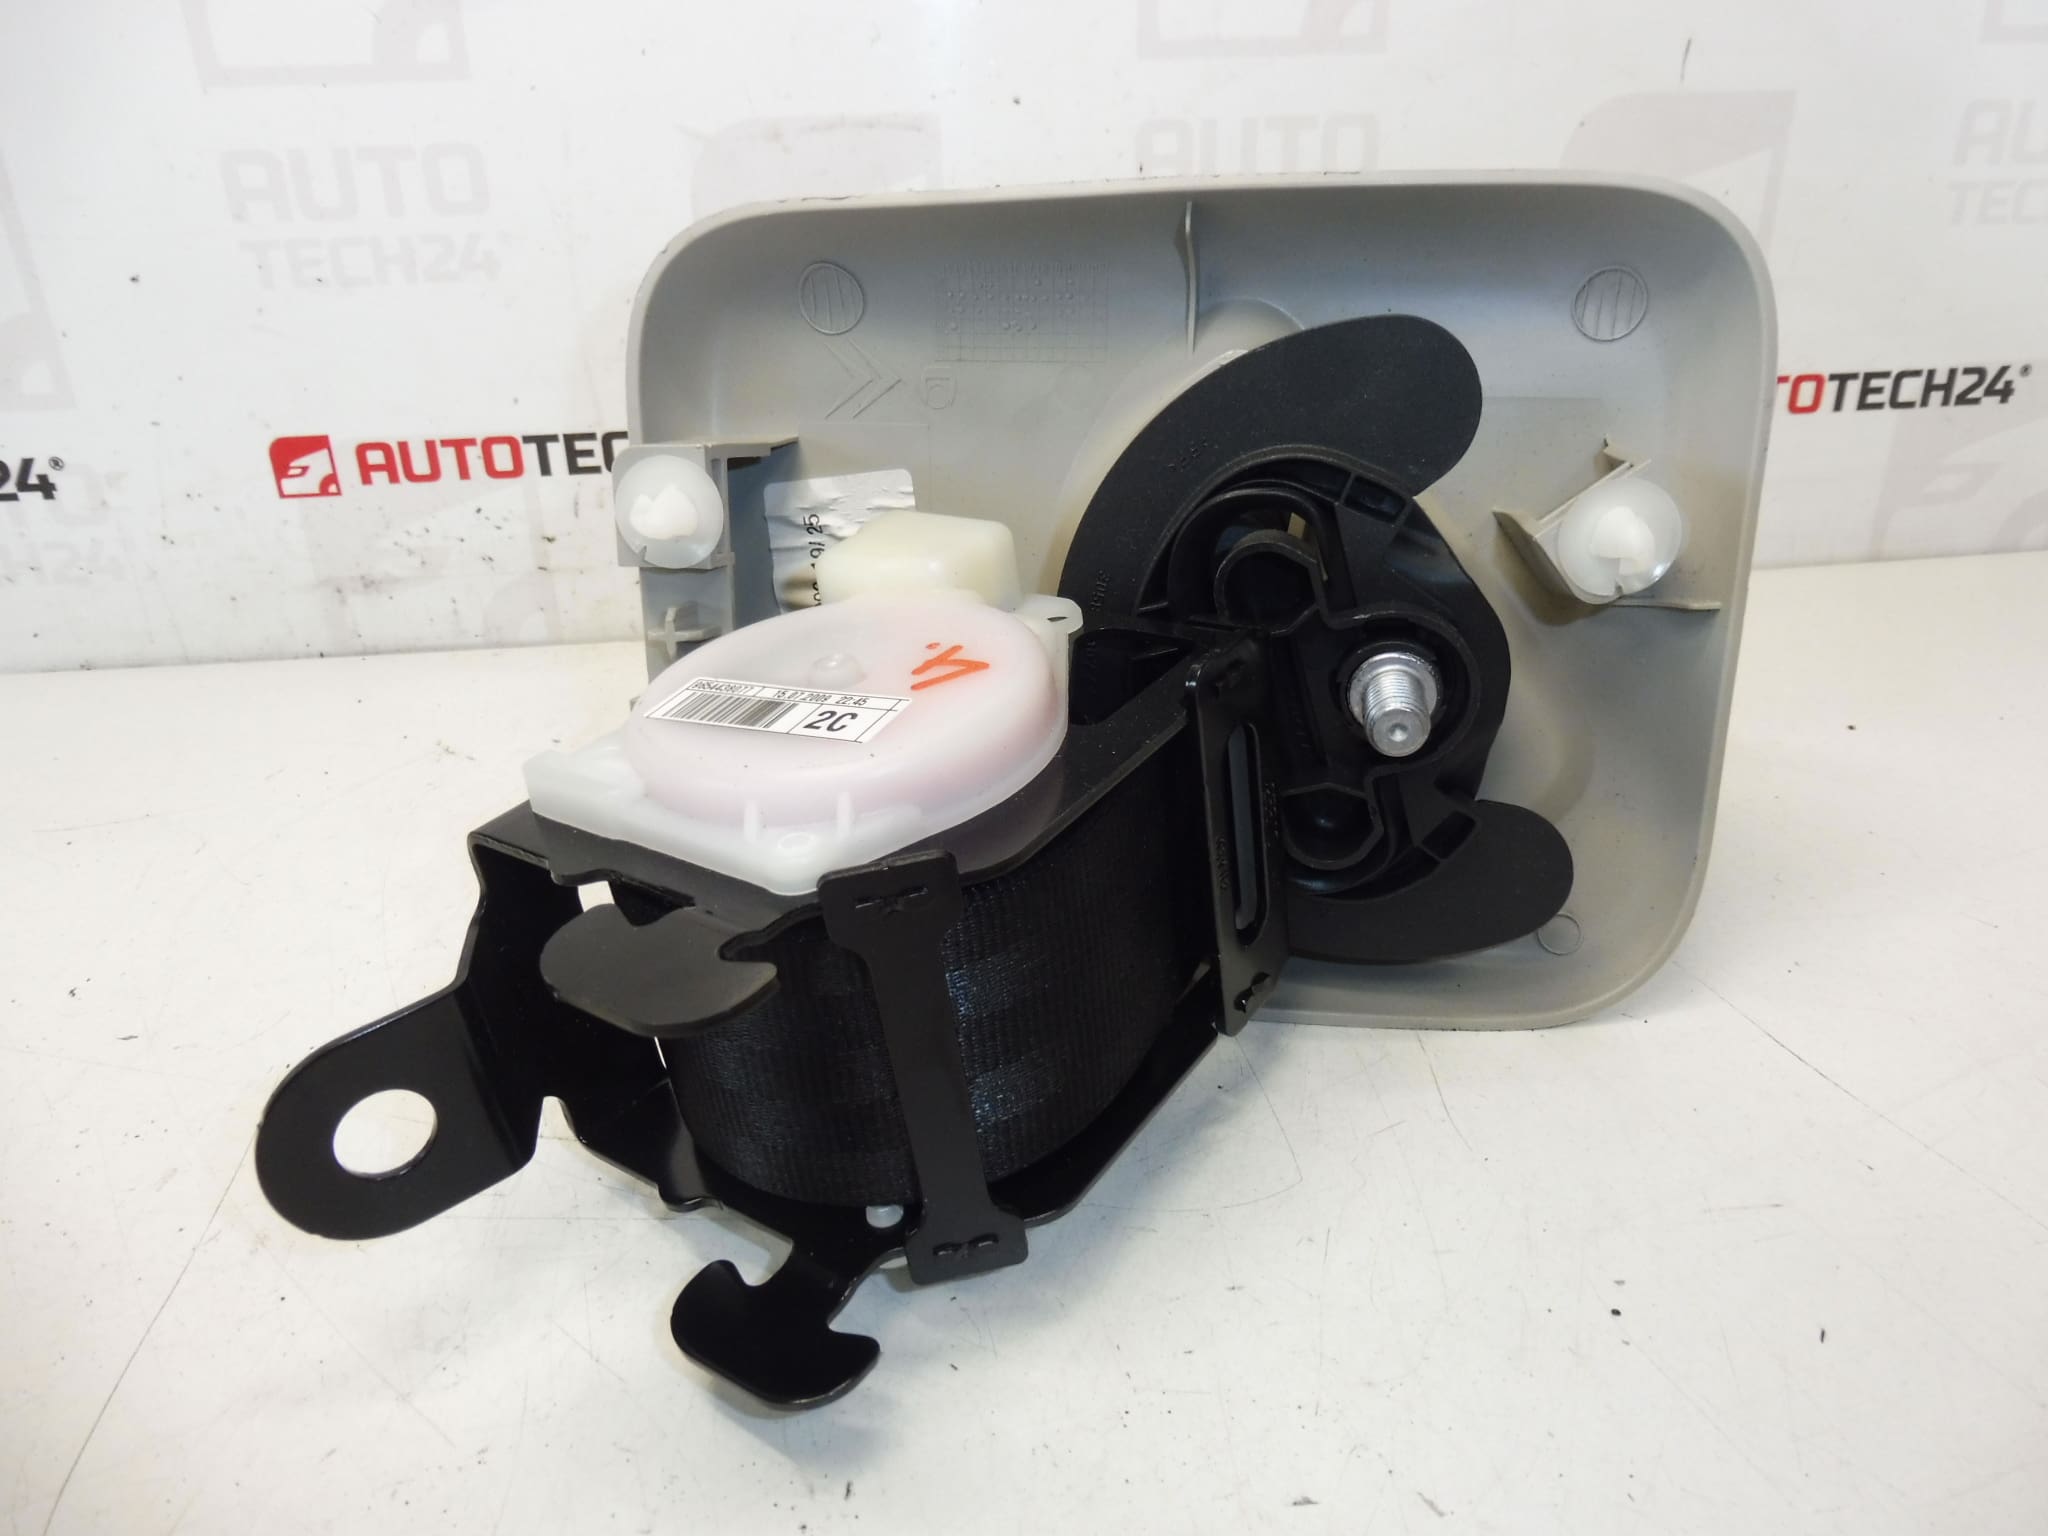
Seat belt for CITROEN C4 Picasso or C4 Grand Picasso cars
Rear middle seat in the second row
Part description
This used rear middle seat belt is designed for Citroën C4 Picasso and C4 Grand Picasso cars. This is an important interior safety feature for the second row middle seat that is also often searched for by original part numbers.
The seat belt is a suitable choice for replacing a damaged, non-functional or worn original part. For auto mechanics and home repairs, the advantage is that you can compare the design, mounting and product designation with the existing part in the car.
Technical information
- Manufacturer: Stellantis Citroën Peugeot
- Model: Citroën C4 Picasso, Citroën C4 Grand Picasso
- Other numbers: 9654438077, 8974XR
Product codes
- Product codes: 9654438077, 8974XR
- Models from labels and documents: Citroën C4 PICASSO, Citroën C4 Grand Picasso
Installation recommendations
Generally/typically for seat belt replacement, the exact procedure may vary depending on the specific design of the car’s interior. With this part, it is always necessary to carefully check the compatibility of the attachment, belt guide and product numbers with the old part.
1) Before assembly
- Check whether the new used part matches the old belt in terms of shape, lead length, type of grips and locks.
- Compare the numbers 9654438077 and 8974XR with the original part if they are legible on the old piece.
- Check the condition of the belt: it must not be significantly worn, torn, contaminated with oil or mechanically damaged.
- Check the function of the winding and arresting of the belt during movement and jerking.
- Check the condition of the anchor points and surrounding plastic covers in the interior.
2) Necessary tools and materials
- A common set of hand tools
- Tools for dismantling interior plastics
- Suitable heads and ratchet
- Cleaning agent for surrounding surfaces
- Work lighting
3) Step-by-step assembly procedure
- Secure the vehicle against movement and prepare enough space for working in the interior.
- Reveal access to the original seat belt by removing the necessary covers and trim pieces.
- Carefully record the belt guide, the position of the handles and the orientation of the individual parts.
- Release the anchor points of the old belt and carefully remove the part without damaging the surrounding plastics or upholstery.
- Compare the old and new part side by side, especially the attachment, winding mechanism and mounting direction.
- Clean the assembly area and check for damaged threads, holders or guide elements.
- Place the used seat belt in the correct position according to the original guide.
- Attach the individual attachment points in the order that allows the part to sit correctly without crossing the belt.
- Check that the belt is not twisted and that it moves freely throughout its path.
- Reinstall the removed covers and interior trim.
- Perform several test pulls and retracts of the belt.
- Verify the proper function of the arrester during a sharp pull.
-
4) Post-assembly checks and test drive/function verification
- Check that the belt moves out and back smoothly without rubbing.
- Check that there is no crossing or catching on plastic parts of the interior.
- Test the proper fastening and release of the belt if the appropriate wiring is included in the assembly to ensure function.
- During normal use, observe that the mechanism engages properly and does not exhibit unusual play or noise.
5) The most common assembly mistakes + how to avoid them
- Twisted belt – always check the entire belt guide before final fastening.
- Swapping part orientation – before assembly, compare the new and original piece side by side.
- Damage to interior plastics during disassembly – use appropriate trim levers and work carefully.
- Assembly without detent control – after installation, always perform a winding and locking test with a sharp pull.
- Leaving dirt in the mounting area – clean the area before mounting to prevent chafing or poor seating.
Reasons why the part is damaged
- Normal wear and tear from long-term use
- Mechanical damage to the belt during careless handling
- Contamination of the mechanism with dust or dirt
- Damage after an accident or sudden load
- Deformation or wear of anchor and guide parts
- Incorrect previous assembly or disassembly