Description
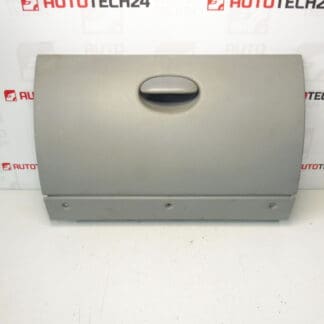
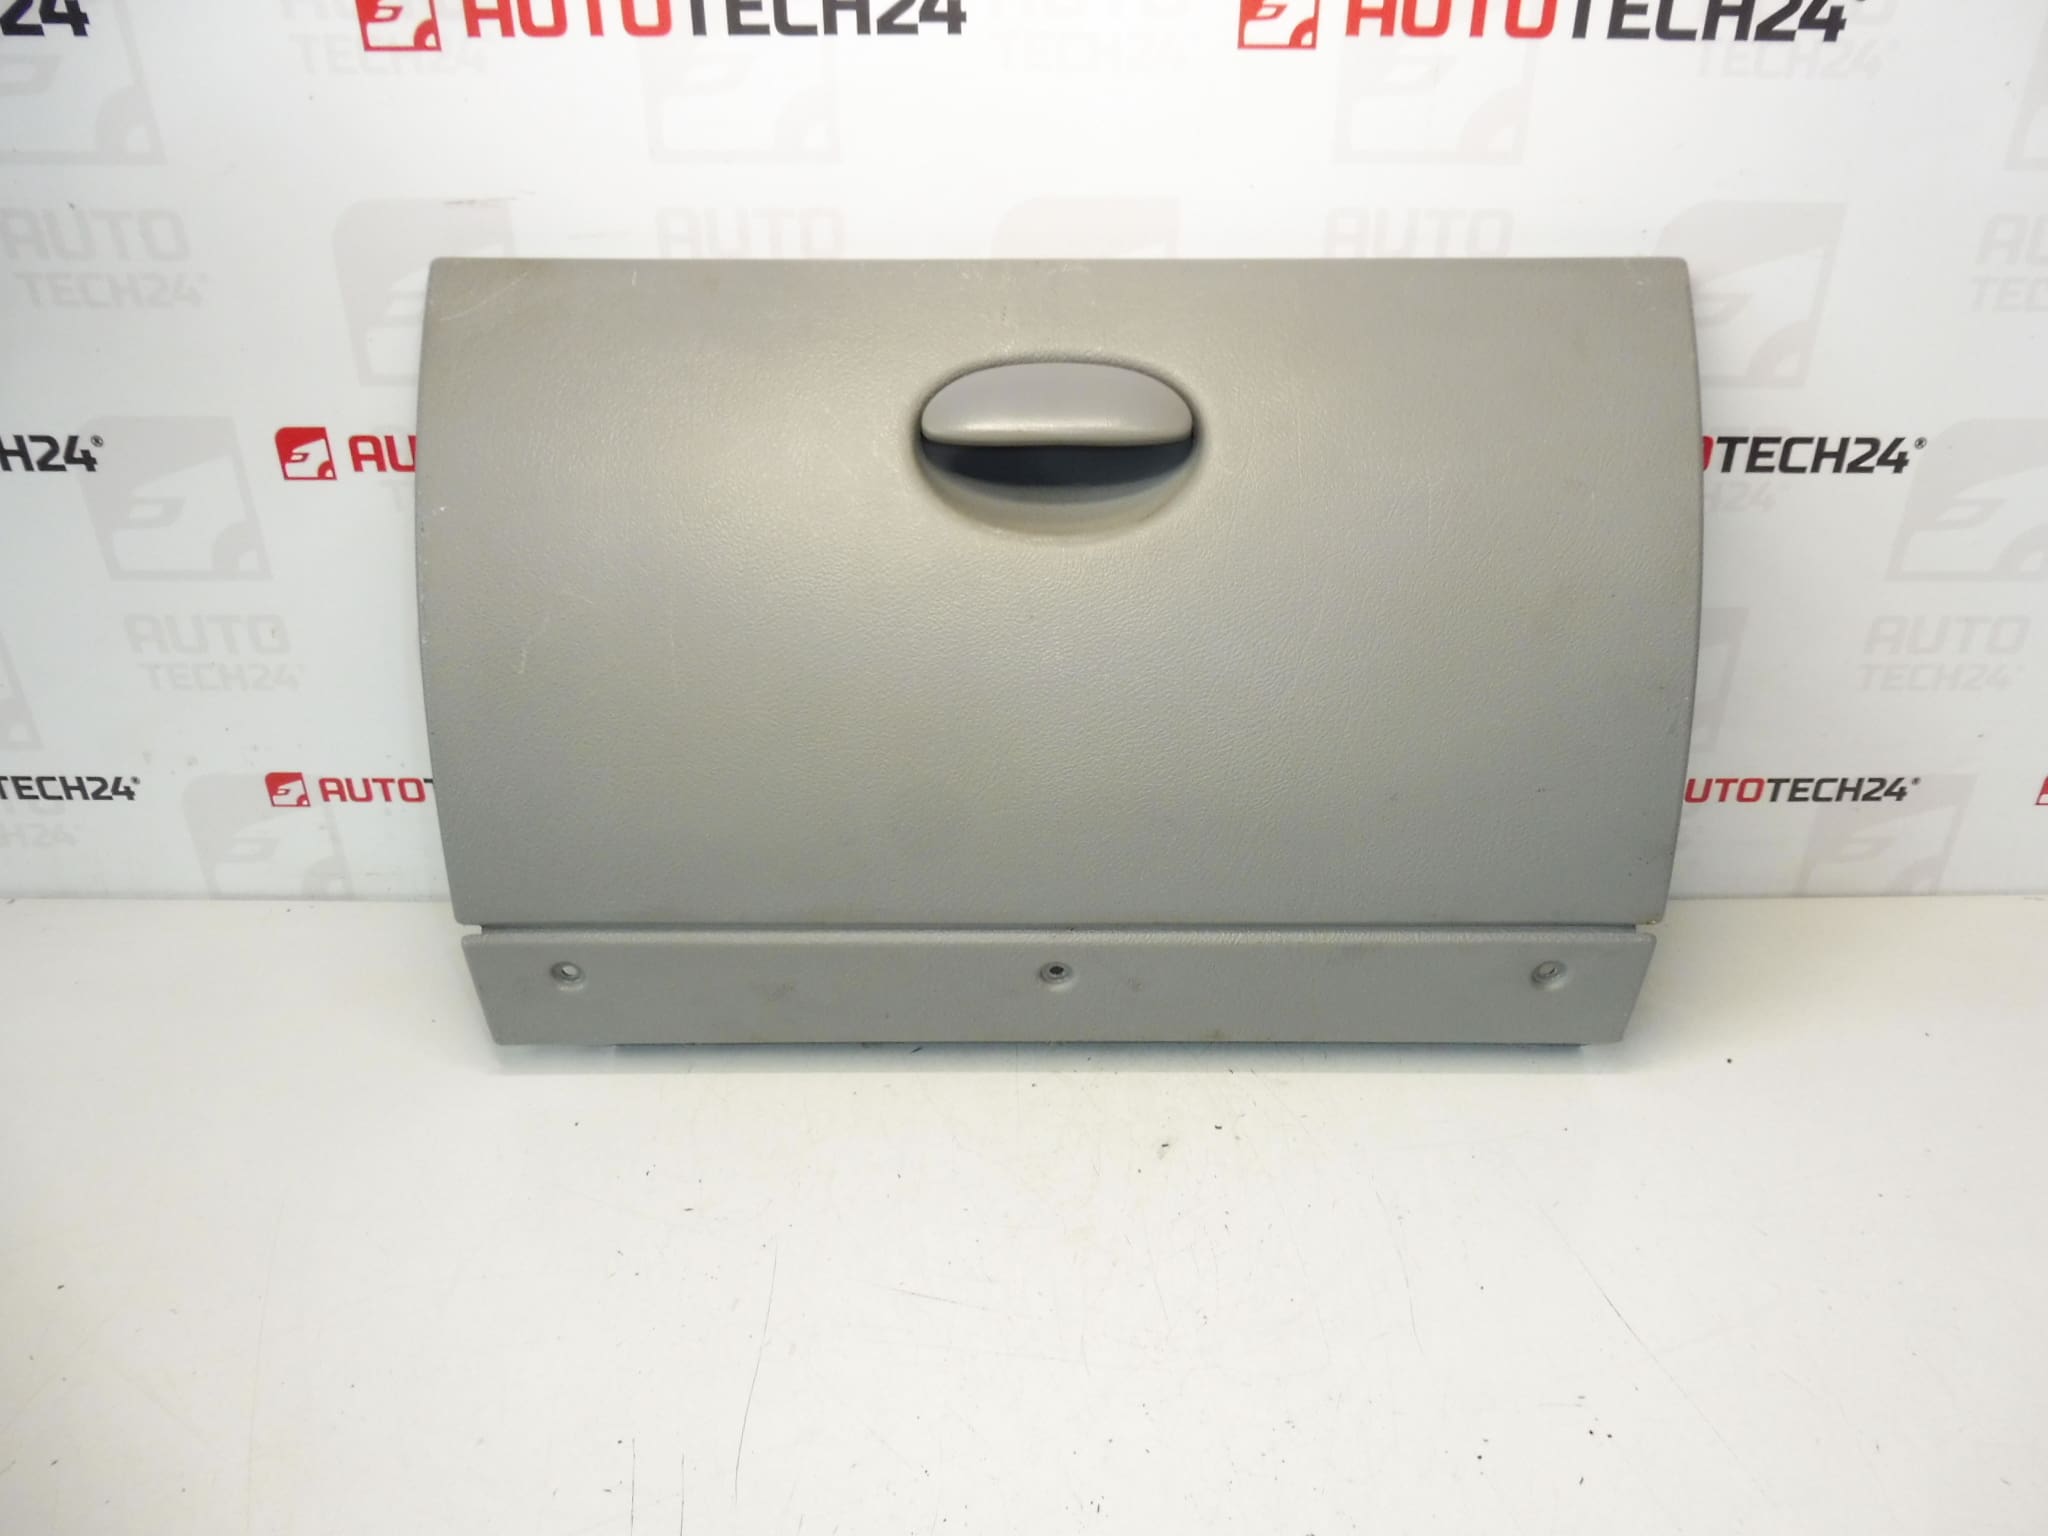
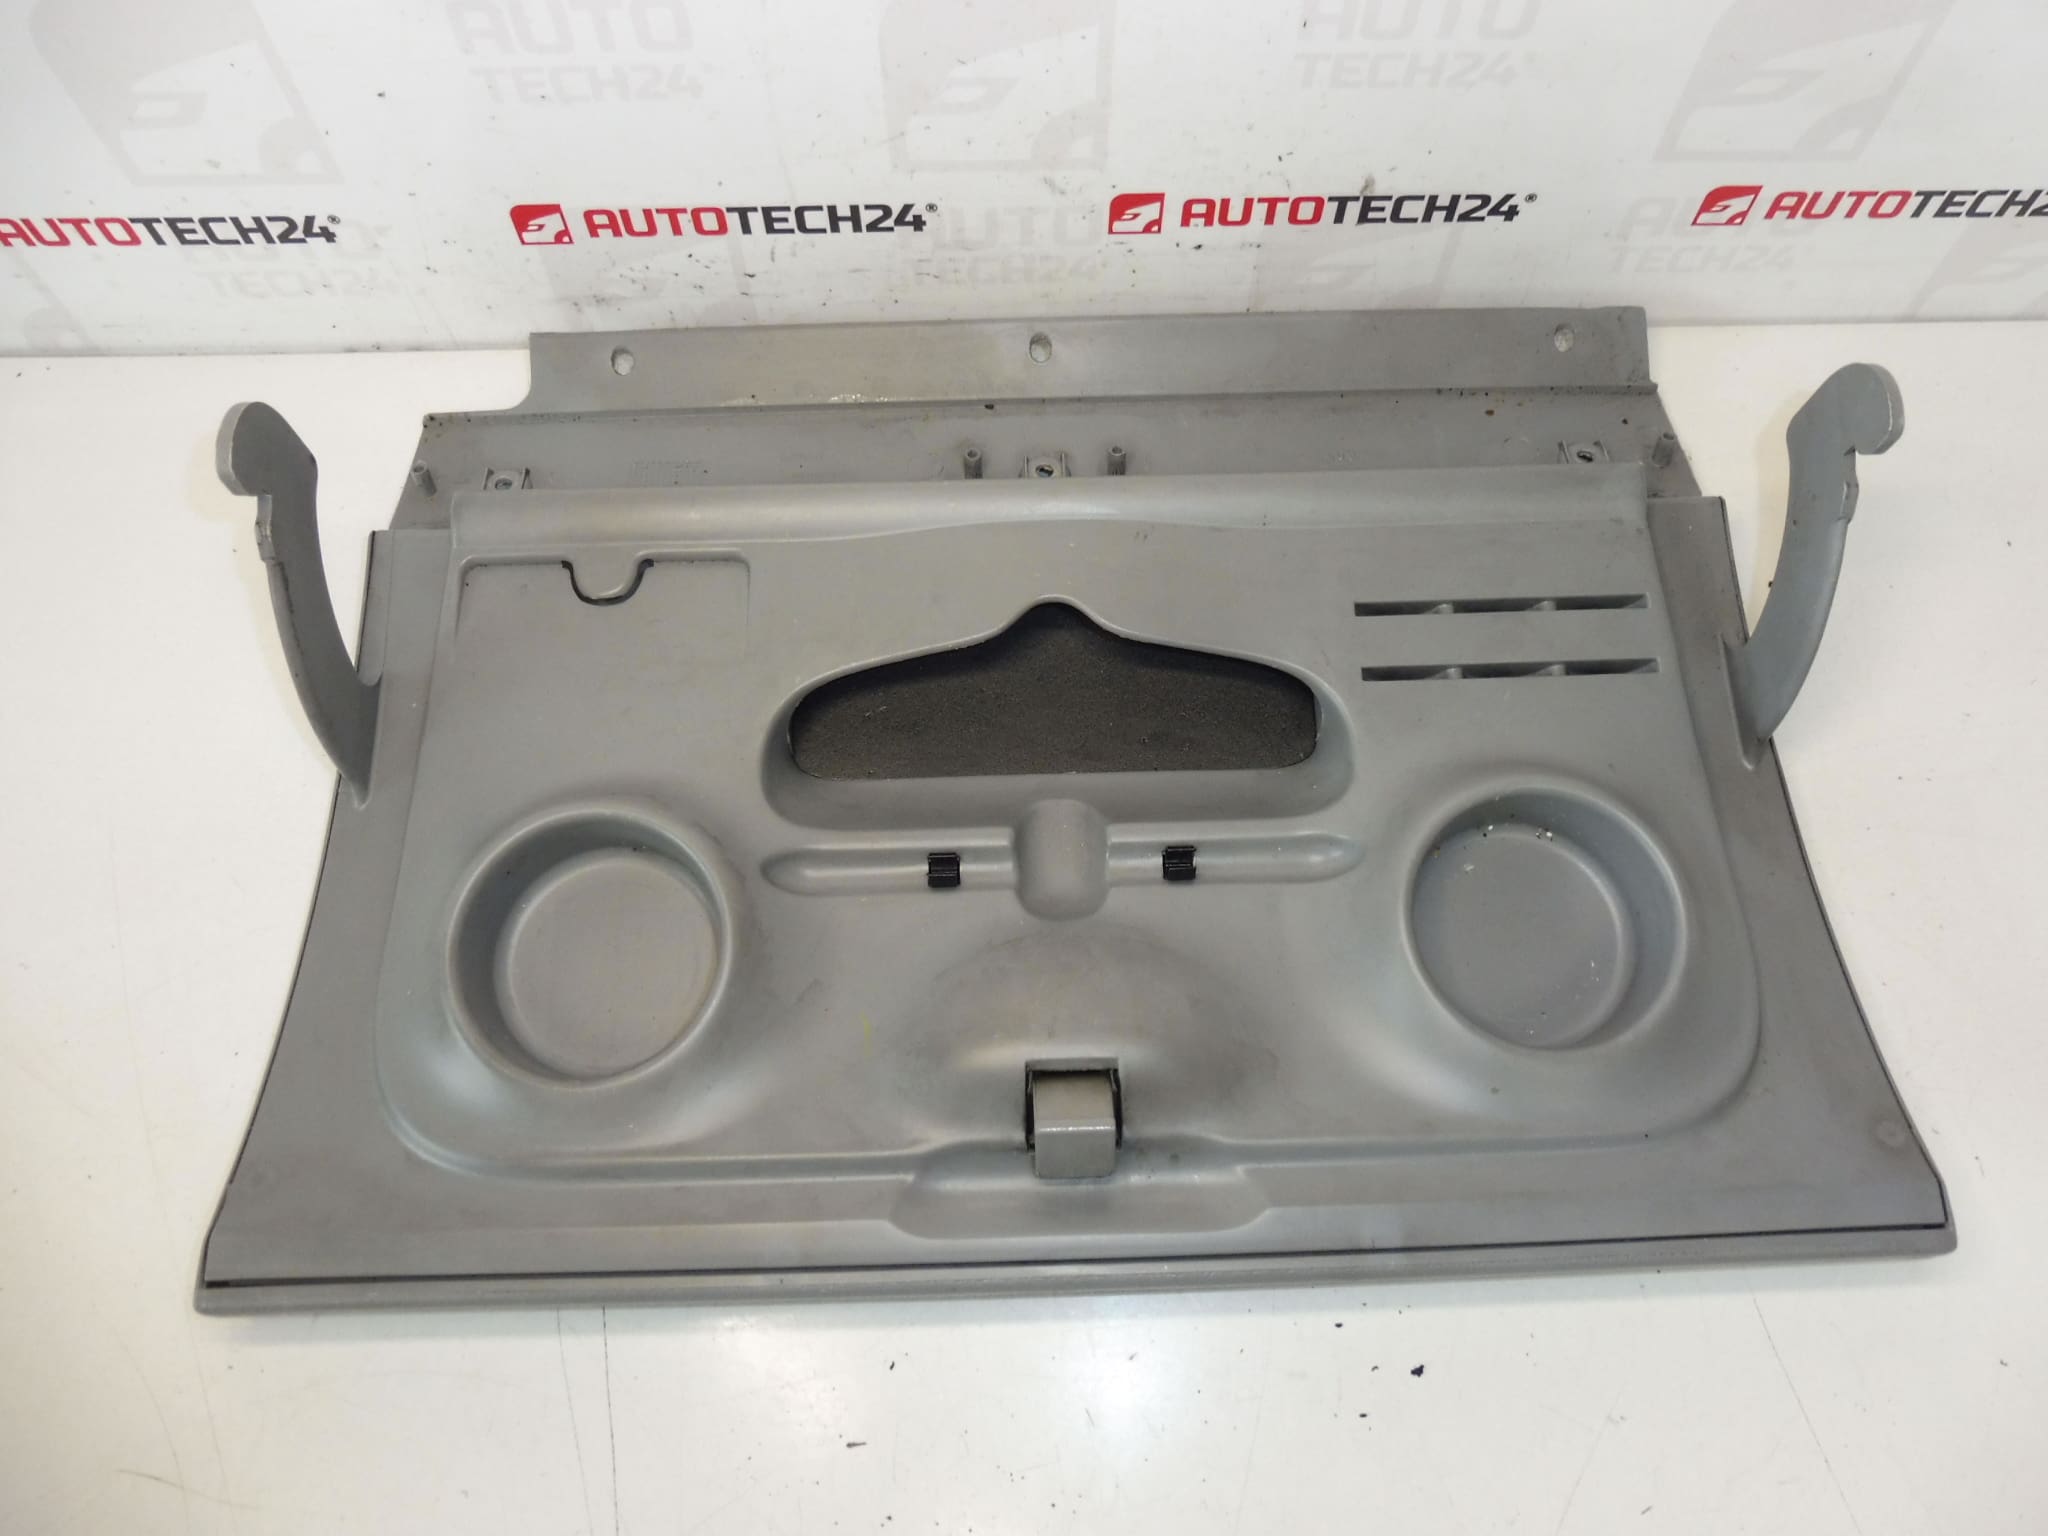
Dashboard storage compartment for Citroën Xsara Picasso vehicles. Color HZQ – Zephir Gray (Zephyr).
Upgrade or replace your worn glovebox with this direct-fit dashboard storage compartment designed for Citroën Xsara Picasso. Supplied under product codes 9637058577 and 821867, this glovebox restores interior appearance and functionality, matching the original HZQ Zephir Gray trim. Ideal for professional workshops and DIY mechanics, the part is made to the same dimensions and attachment points as the factory unit, ensuring straightforward installation and a clean finish.
Benefits
Restores interior aesthetics and passenger convenience. Improves storage capacity and secures loose items during driving. Compatible with original mounting points for quick replacement in service bays or home garages. Useful when the original box is cracked, faded, or the latch/hinge has failed.
Typical Application
Designed for Citroën Xsara Picasso models. Commonly searched by product numbers 9637058577 and 821867 — include these codes when ordering to improve fitment accuracy.
Technical Information
- Manufacturer: Citroën (Stellantis)
- Model: Citroën Xsara Picasso
- Product Codes: 9637058577, 821867
- Other Numbers: Color code HZQ – Zephir Gray; NFP
Installation Recommendations
- Prepare basic tools: Torx/Phillips screwdrivers, trim remover, and a small socket set.
- Empty the compartment and open the glovebox fully to access retaining screws and stoppers.
- Remove any visible screws along the hinge and inside the glovebox. Carefully release plastic clips using a trim tool to avoid damaging surrounding trim.
- If the glovebox has a damper or light connector, disconnect the electrical connector before full removal. If electrical connections are present, disconnect the negative battery terminal as a safety precaution prior to working.
- Remove the old unit, transfer any transferable parts (dampers, springs, latch assemblies) if required, then fit the new glovebox aligning mounting points and clips. Refit screws and test operation of the latch and damper.
- Final check: Ensure smooth opening/closing and secure fitment without rattles. Replace any worn fasteners or clips for the best result.
Why This Part Fails
Gloveboxes commonly fail due to mechanical wear of hinges and catches, plastic fatigue or cracking from repeated use, and UV/fade damage from sun exposure. Rough handling, overloading with heavy items, or snapped internal stops are frequent causes. Cosmetic wear (scratches, discoloration) also leads owners to replace the unit to restore the cabin appearance.
Advice For Professionals And DIYers
When replacing the glovebox in a workshop environment, inspect adjacent trim clips and the glovebox damper for wear — replacing these small components prevents future noise and premature failure. Keep the product codes handy to ensure correct replacement parts. For vehicles where the glovebox houses components linked to airbags or vehicle electronics, follow manufacturer safety procedures.