Description
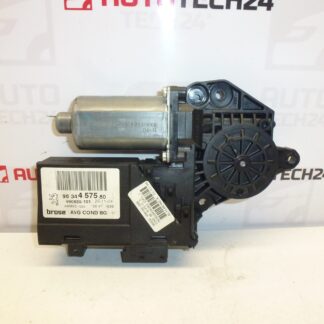
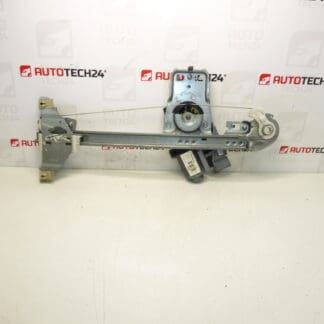
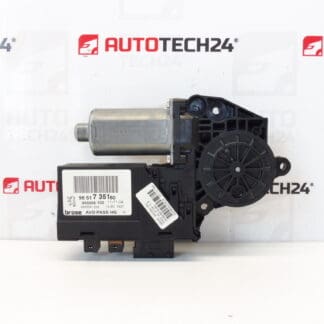
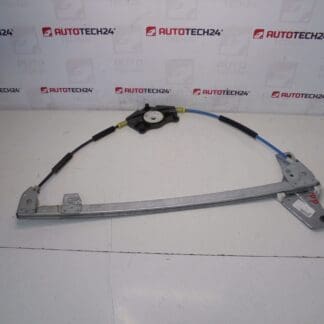
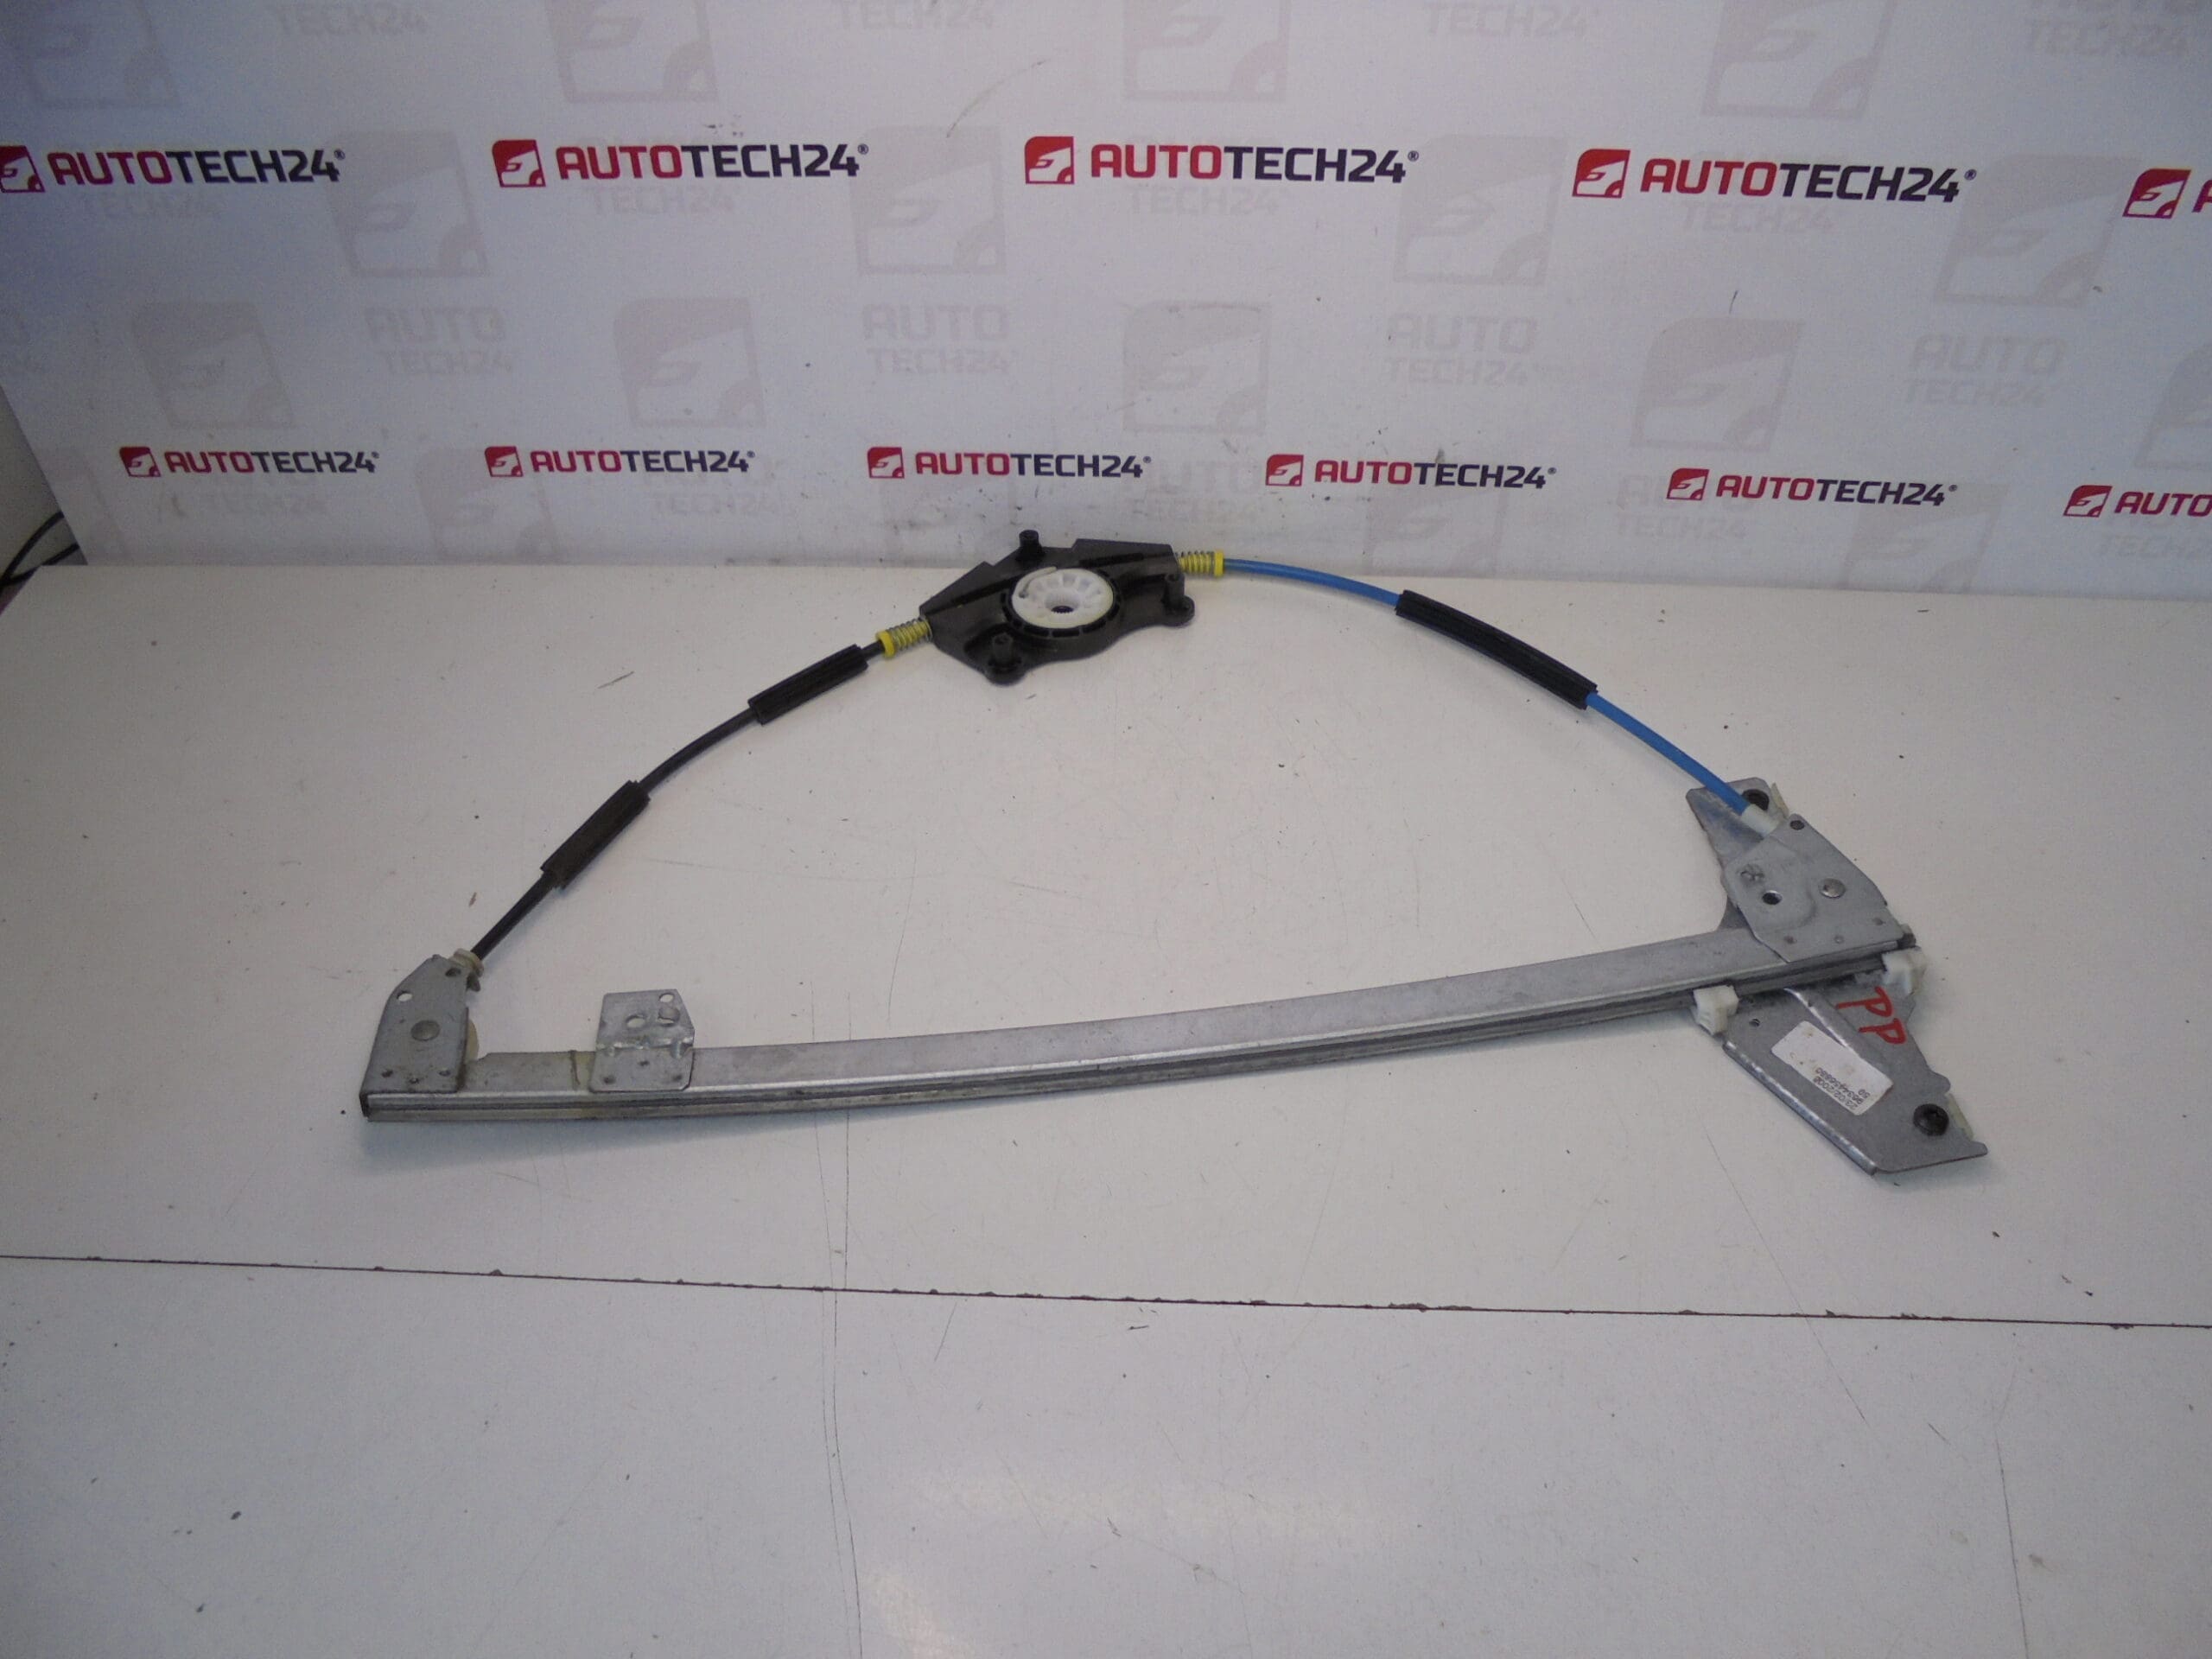
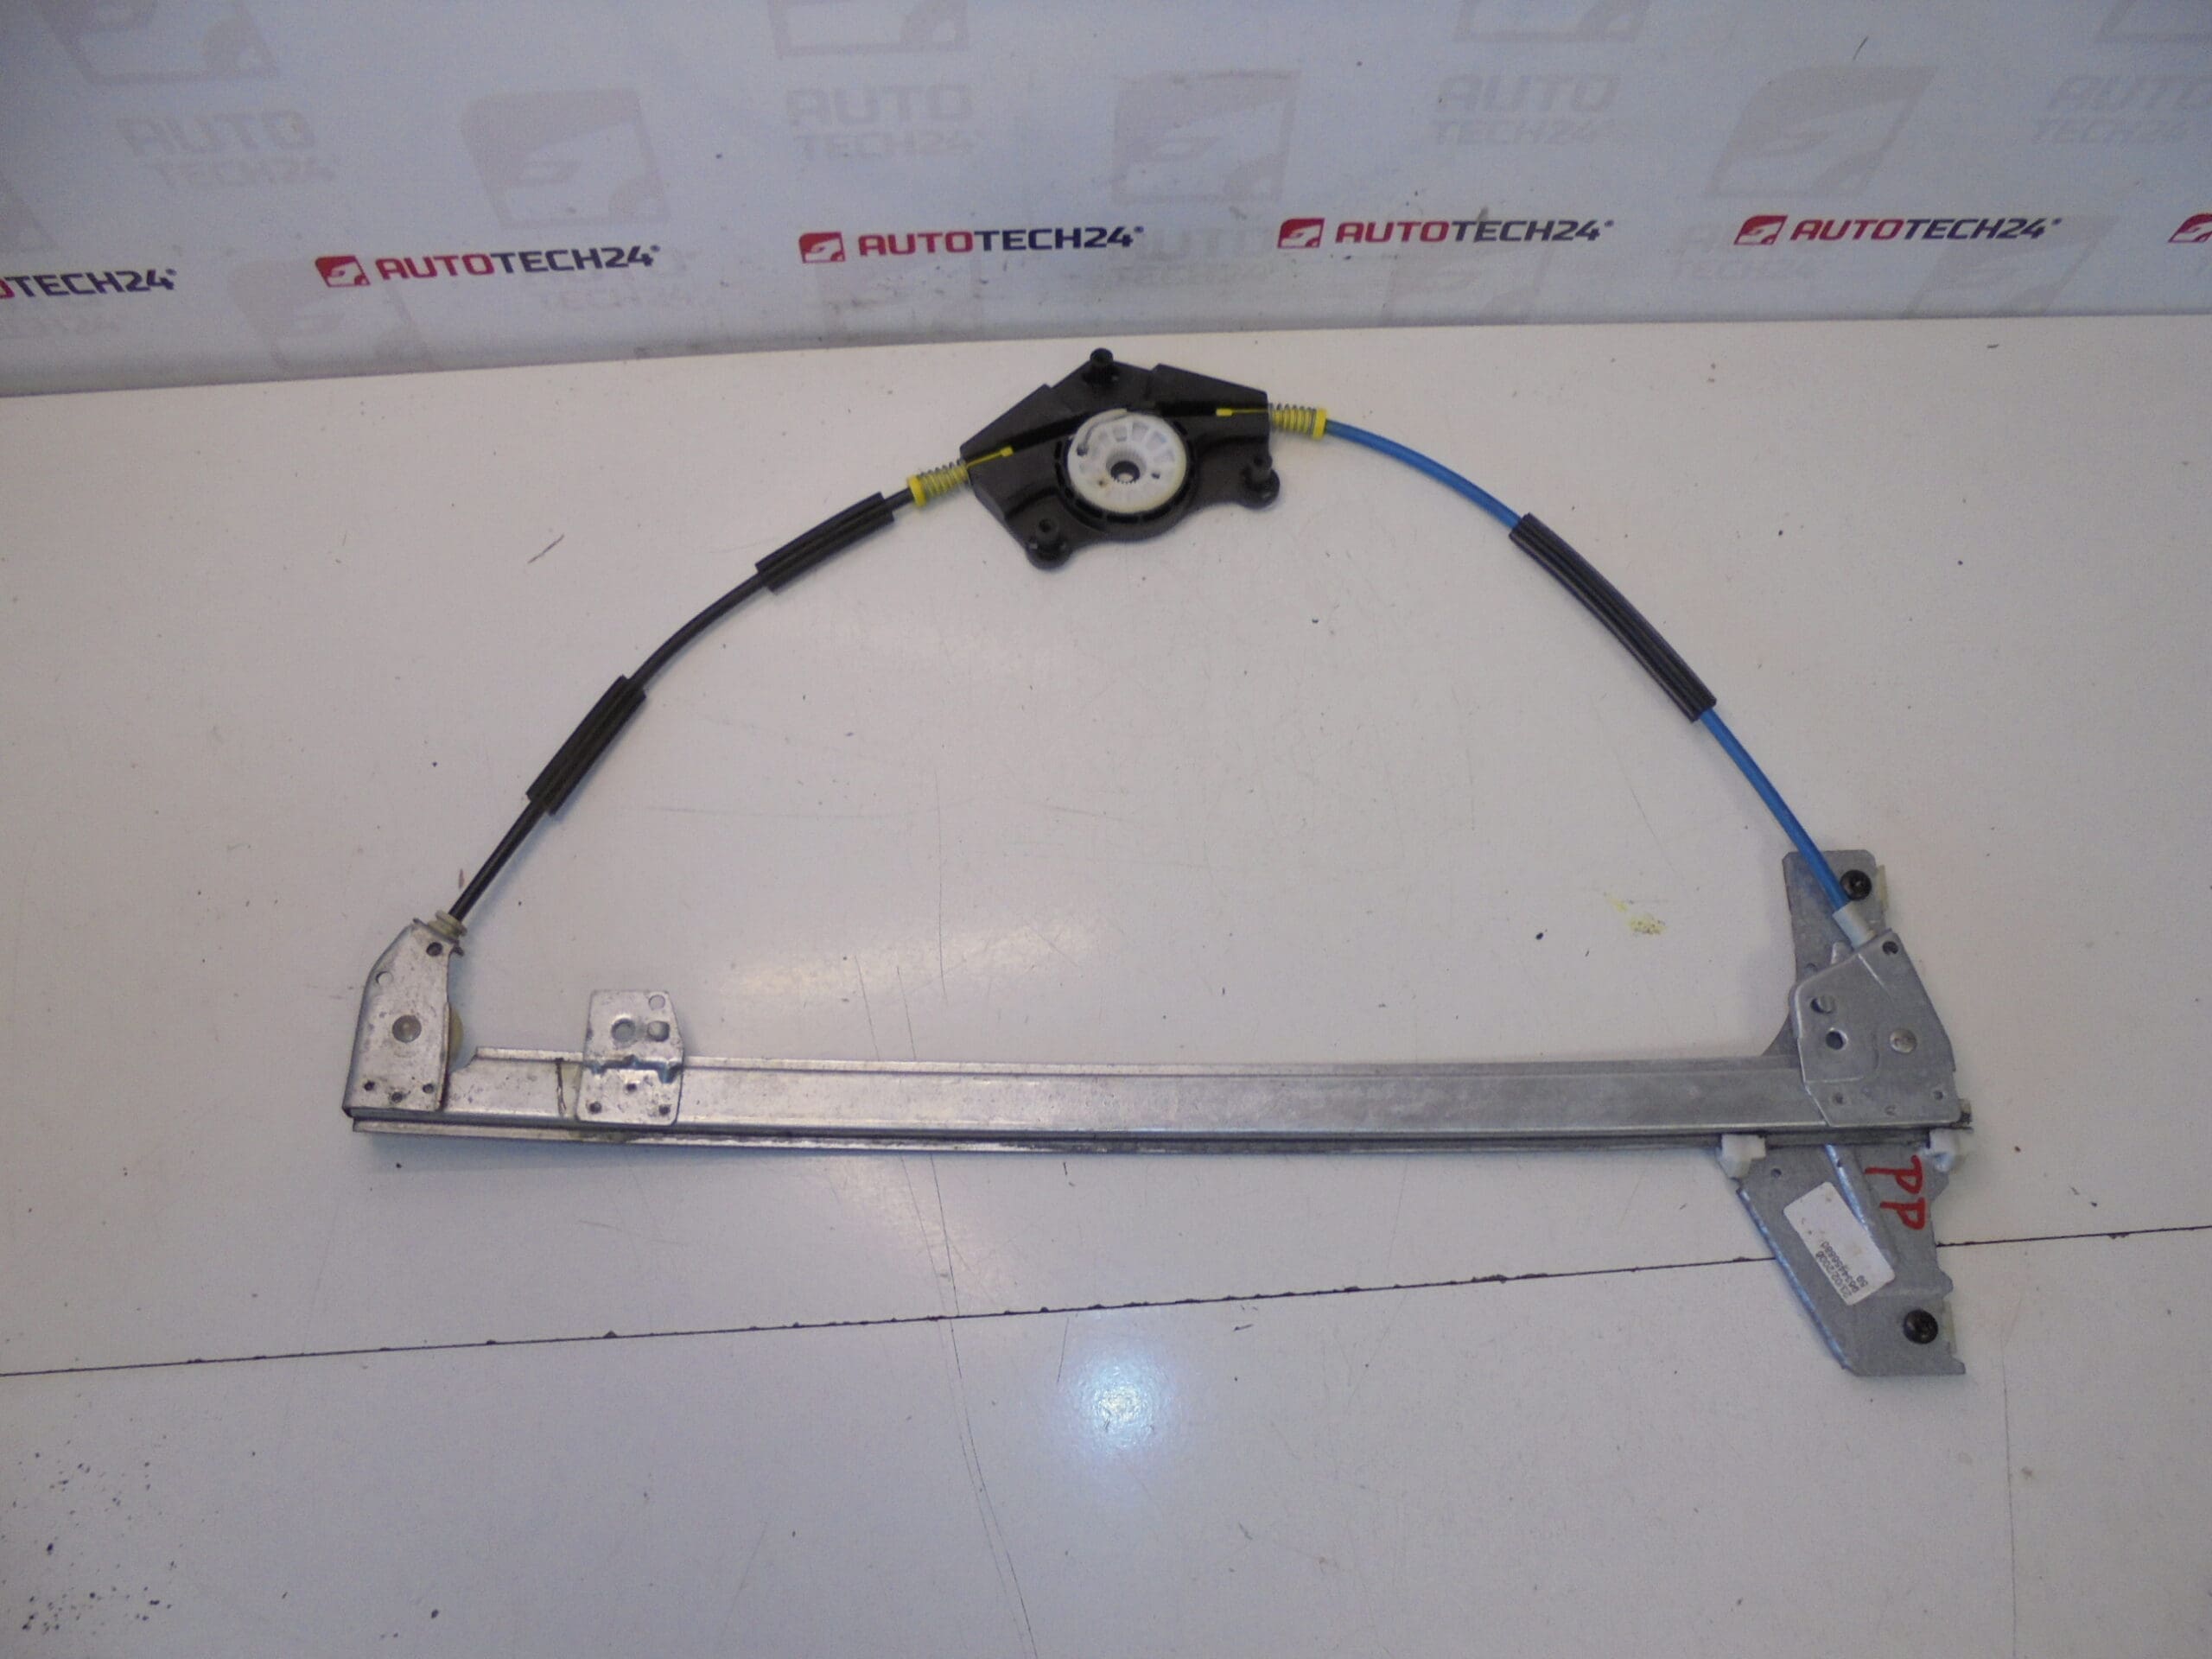
Window regulator mechanism for the right front window for PEUGEOT 307 5-Door Passenger Door
Description
This high-quality window regulator mechanism is designed for the right front (passenger) door of the Peugeot 307 5-door. The unit controls the vertical movement of the window glass, providing smooth and reliable opening and closing. It is a direct-fit replacement commonly searched by part numbers 9634456880 and 9222J9, making it easy for mechanics and DIY enthusiasts to find the correct part quickly.
Benefits And Application
- Direct replacement for the original equipment on Peugeot 307 5-door passenger front doors.
- Restores proper window operation: eliminates jerky movement, slipping glass, or complete failure to raise/lower.
- Ideal for professional workshops and competent home mechanics who perform body-door repairs or window maintenance.
- SEO-friendly identification by common part numbers to help locate the exact item fast.
Technical Information
- Manufacturer: Peugeot (Stellantis)
- Model: Peugeot 307 (5-Door) – Right Front / Passenger Door
- Product Codes: 9634456880, 9222J9
- Additional Numbers: NFP
Installation Recommendations
Before starting, ensure the vehicle is parked on a level surface and the ignition is off. For safety and to avoid electrical shorts, disconnect the vehicle battery while working on power-operated windows. Typical replacement steps:
- Remove the inner door trim and weather seals to access the regulator.
- Carefully support or lower the glass to an accessible position; if necessary, detach the glass from the regulator and secure it in the door frame.
- Disconnect the electrical connector (if fitted) and unbolt the regulator assembly from the door shell.
- Install the new regulator in reverse order, ensuring correct alignment of the glass and run channels.
- Reconnect wiring, briefly reconnect the battery to test full travel and smooth operation before final reassembly.
- Re-fit door trim and seals, and perform a final functional check.
Use correct torque values for fasteners and replace any damaged clips or seals. Lubricate guide channels with suitable silicone grease to prolong service life. If unsure about electrical connections or alignment, seek assistance from a qualified technician.
Why This Part Fails
Window regulators typically fail due to mechanical wear and environmental factors. Common causes include:
- Worn or frayed cables and torn belts that no longer move smoothly.
- Broken plastic sliders, guide clips, or gears that allow the glass to bind or drop out of track.
- Motor failure or reduced motor torque from long-term use or electrical issues.
- Corrosion and water ingress inside the door cavity causing increased friction or seizure.
- Physical damage from accidents or forced operation of the window.
Typical symptoms are grinding noises, slow or intermittent movement, the window getting stuck, or the glass dropping into the door.
Fitment Notes
Fits Peugeot 307 5-door passenger front applications listed under 307 I and 307 II categories. Verify the replacement by matching the part numbers 9634456880 or 9222J9 to your vehicle’s existing regulator.
Ordering Tips
Search by OEM numbers 9634456880 or 9222J9 to quickly find the correct regulator. Technicians will appreciate the clear fitment for the right front passenger door of the Peugeot 307 5-door when planning repairs or stocking parts.