Description
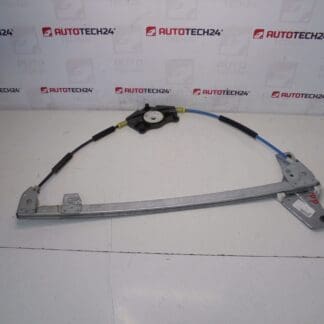
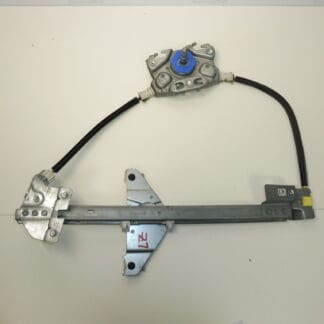
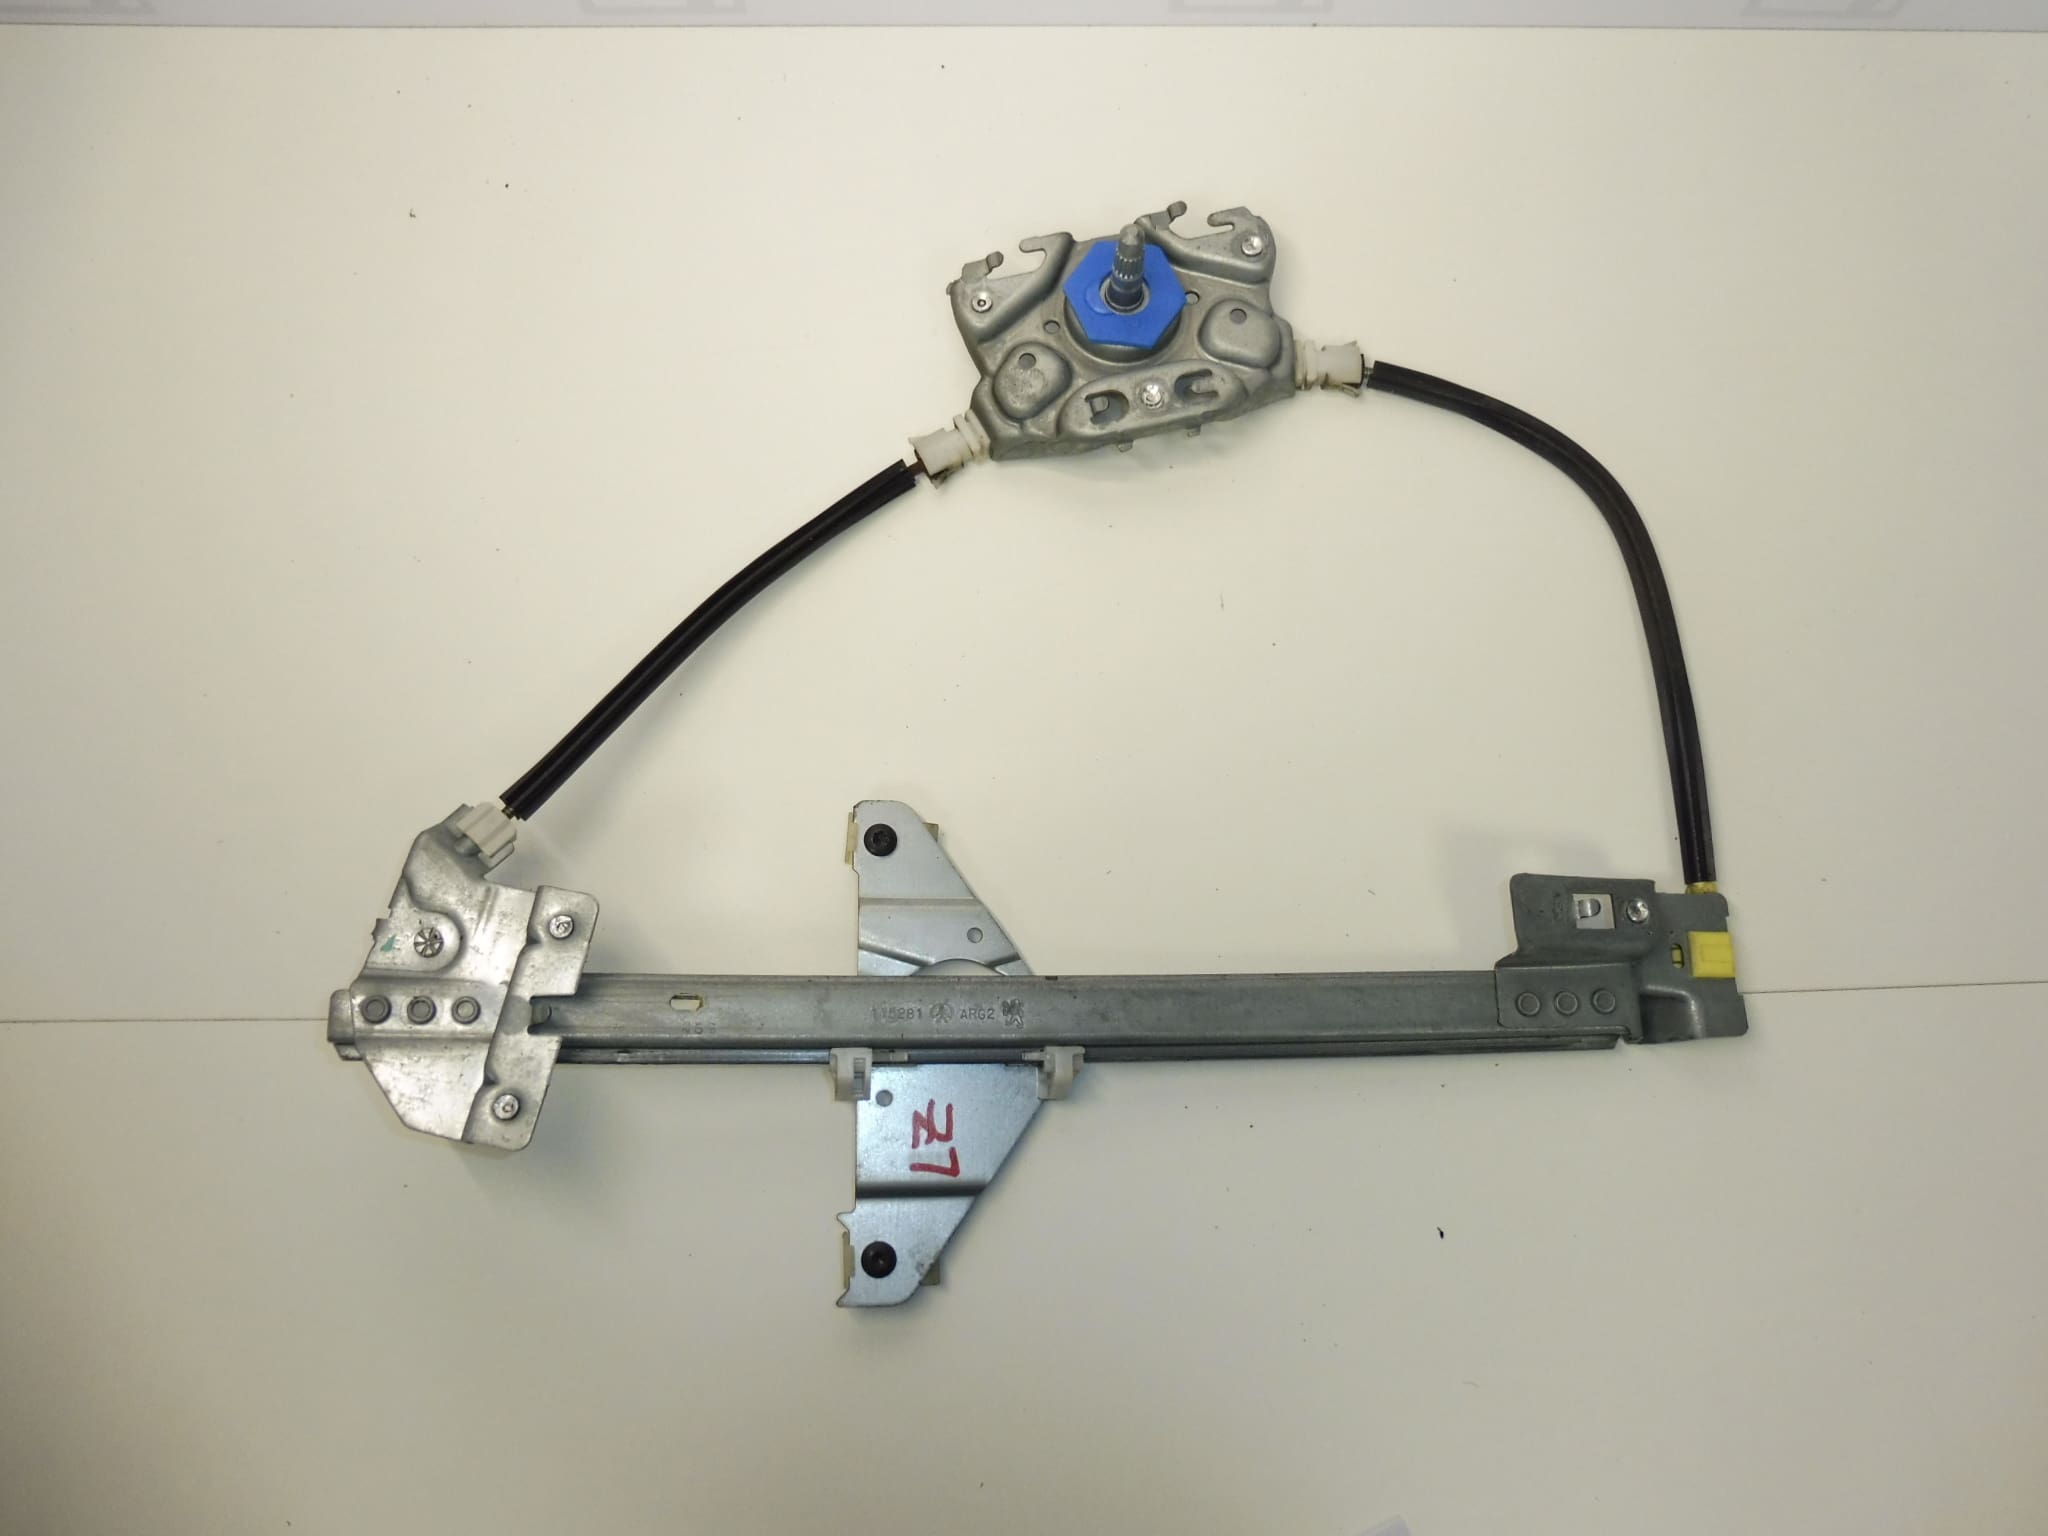
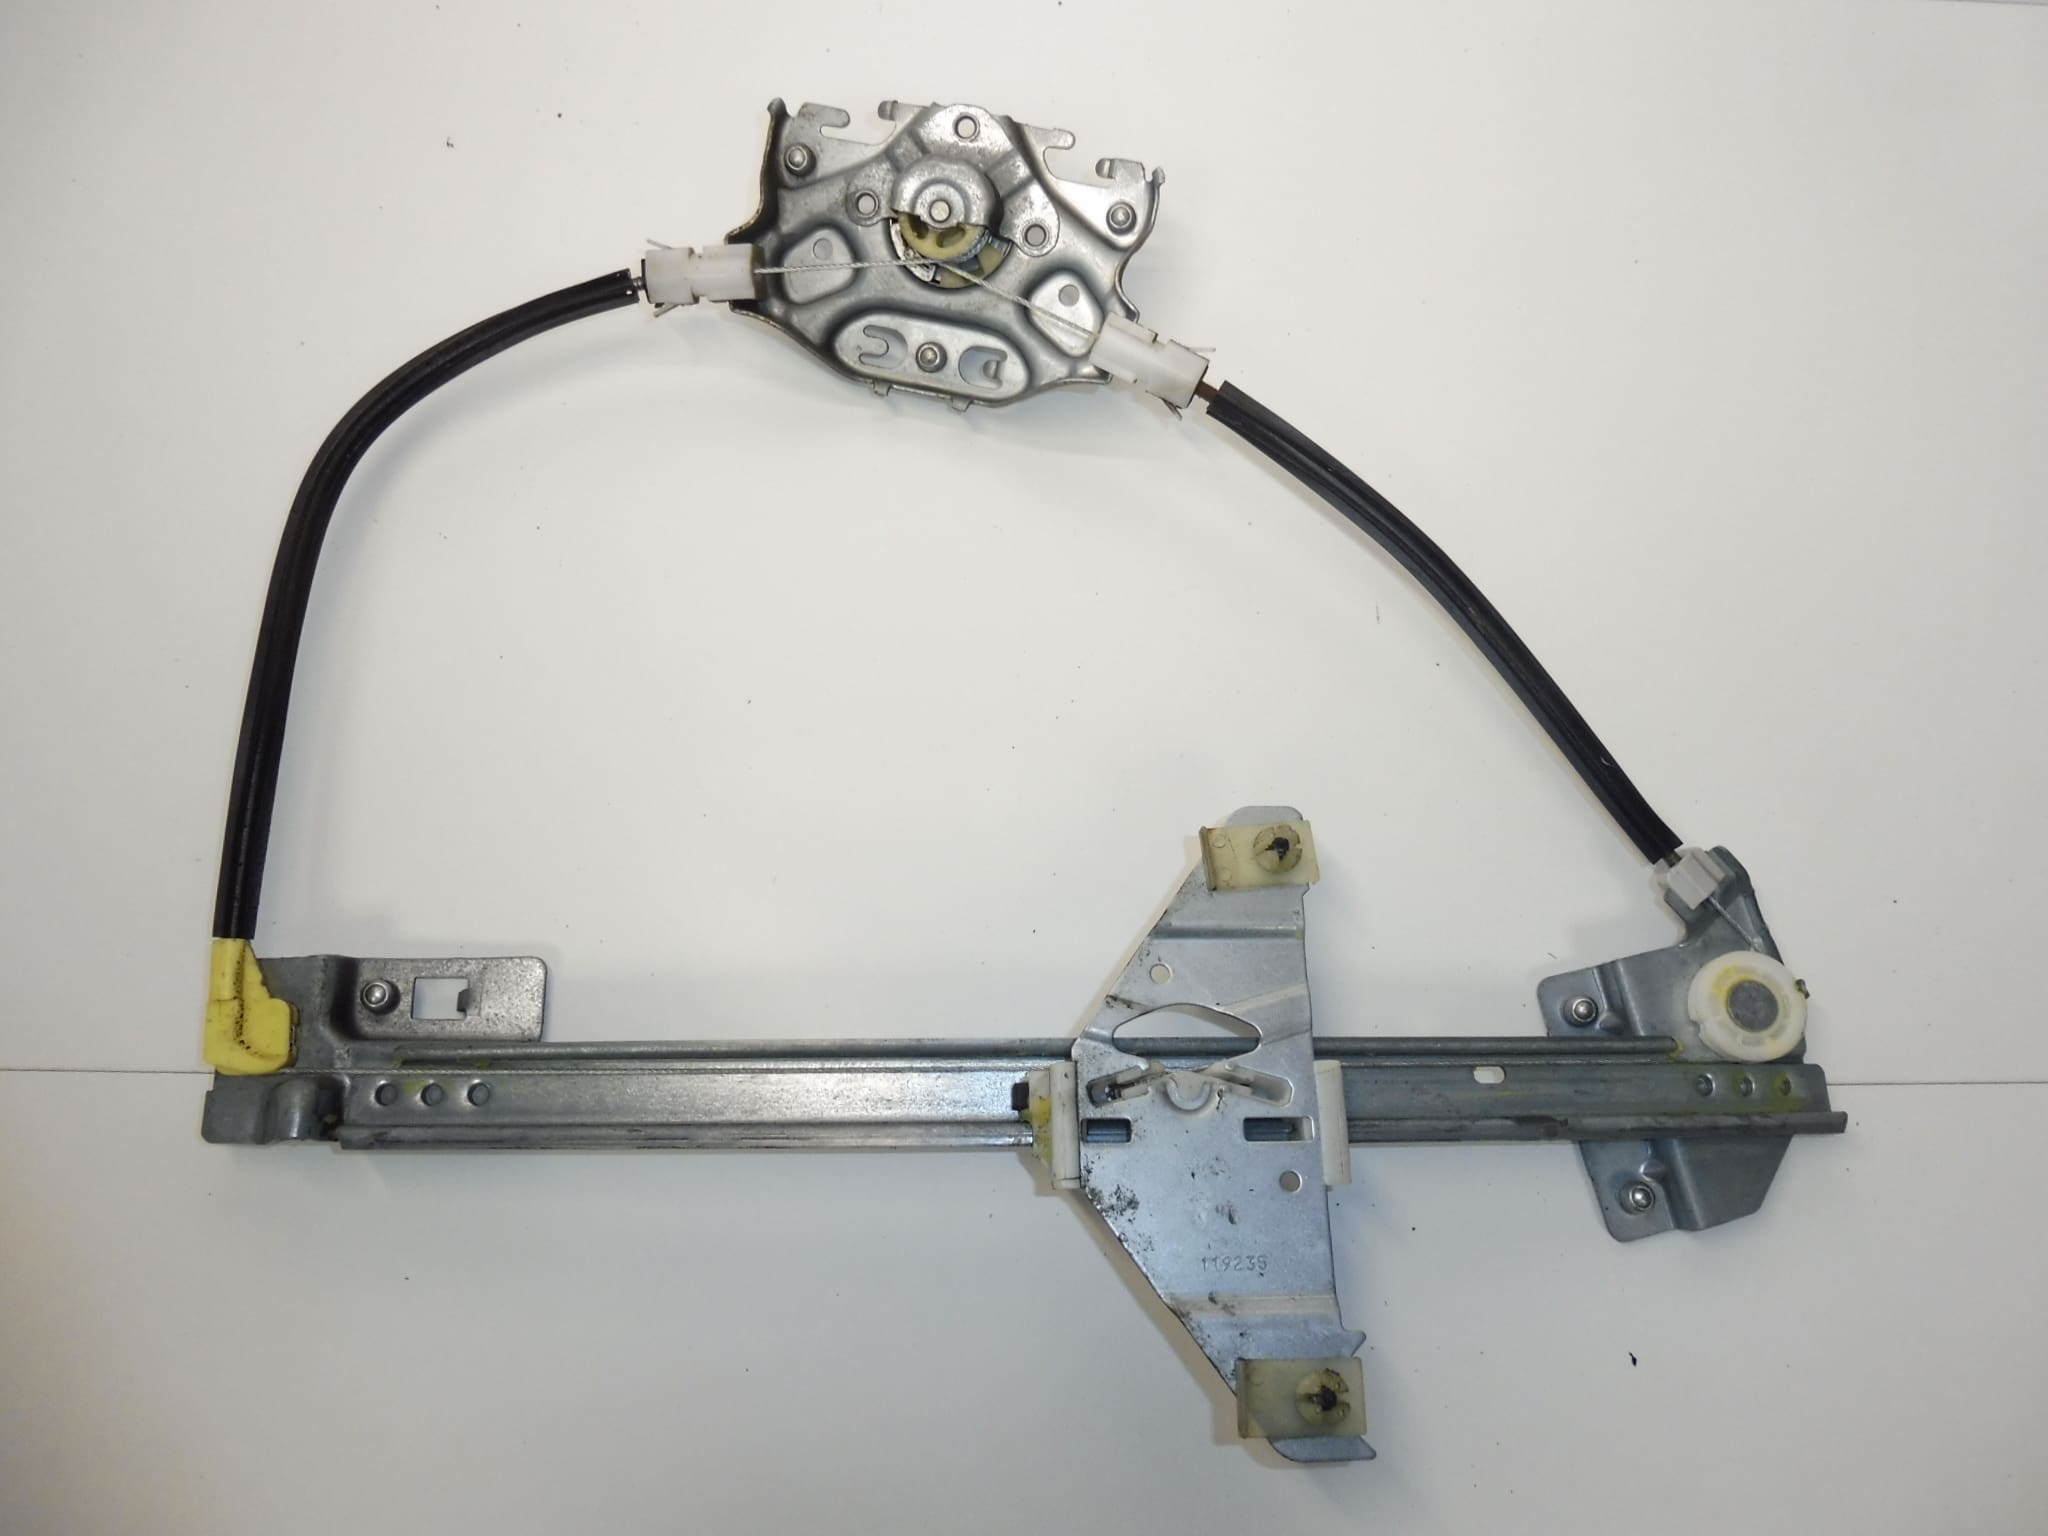
Left rear window regulator for PEUGEOT 307 vehicles
Driver’s side
Manual window operation
Part description
The used manual left rear window regulator for Peugeot 307 is used to raise and lower the glass with the window crank. It is a replacement part for repairing the window regulator in the door behind the driver, for example if the original mechanism jams or no longer transfers the movement of the crank to the glass.
The most important detail when searching for the part is the product number 9223A1. When selecting a part, also compare the design of the original mechanism, its mounting points and its connection to the glass. This part is intended for a manually operated window, not an electric window regulator.
Technical information
- Manufacturer: not specified
- Model: Peugeot 307
- Part type: window regulator mechanism
- Location: left rear door, driver’s side
- Operation: manual
- Condition: used part
- Additional numbers: not specified
Product codes
- Product codes: 9223A1
The number 9223A1 is the primary detail for identifying this window regulator. Check compatibility together with the vehicle model, door side and manual operation.
Installation recommendations
The following procedure is general for mechanical window regulators with manual operation. The exact method for removing the trim, releasing the glass and securing the mechanism depends on the specific vehicle design; follow the manufacturer’s service procedure.
1) Before installation
- Compare the product number, shape of the mechanism, mounting points, glass connection and window crank connection with the old part.
- Inspect the used part: check for any deformation, corrosion, cracks and excessive play in accessible joints.
- Check moving parts carefully, without forcing them to turn and without putting your fingers into the mechanism.
- Check the condition of the glass, its guides and the seals. Glass that catches can overload even a correctly installed window regulator.
2) Tools and materials required
- Standard hand tools suitable for the fasteners used and plastic trim removal tools.
- A tool for releasing the crank retaining clip, if used in that design.
- Suitable means of safely supporting or securing the glass.
- Protective gloves, work lighting and cleaning supplies.
- Material for restoring the seal of the door protective film, if it needs to be peeled back during the work.
3) Step-by-step installation procedure
- Park the vehicle safely, switch off the ignition and make sure there is enough room to work by the open door.
- Depending on the design, release the window crank and accessible trim fasteners. Keep small clips and fasteners together in an orderly manner.
- Carefully remove the door trim. If it has electrical connectors or other connections, disconnect them according to the service procedure; do not pull on the wires.
- Expose access to the mechanism. If there is a protective film, peel it back in a way that allows it to be properly resealed.
- If the condition of the mechanism allows, position the glass to access its mounting point. Do not force a jammed window to move.
- Before releasing the glass from the window regulator, secure it safely to prevent it from falling. Then disconnect its mounting from the mechanism according to the design of the joint.
- Release the original window regulator fasteners and remove it without damaging the glass, guides or other surrounding door components.
- Compare the removed part with the replacement. Clean accessible areas and check the glass guides and mounting surfaces.
- Position the replacement mechanism correctly and secure it as specified by the manufacturer. The mechanism must not be misaligned or under strain due to incorrect positioning.
- Connect the glass to the window regulator, check that it is correctly seated in the guides and remove the temporary support only after it has been securely fastened.
- Temporarily fit the crank and slowly check the movement of the glass. If it catches, stop work and correct its positioning; do not force it past the resistance.
- Restore the seal of the protective film, refit the trim and install the crank, including its retaining clip. Check the operation of the fully assembled door again.
4) Post-installation checks and function test
- Open and close the window smoothly several times. Check for even movement without slipping, binding or unusual noises.
- Check that the glass does not tilt in the guides, seats correctly against the seal when closed and does not drop on its own.
- Check that the crank and trim are secure. No loose parts should be heard when opening and closing the door.
- An on-site check is sufficient for a basic function test. A short test drive, if required, may reveal rattling trim or noise around the closed window.
5) Common installation mistakes and how to avoid them
- Insufficiently securing the glass: secure the glass before disconnecting it from the mechanism and regularly check that the support is stable.
- Choosing the wrong version: before installation, compare the door side, manual operation and all important mounting points.
- Incorrectly positioning the glass: before final assembly, check the guides and smooth movement throughout the full range.
- Forcing it past resistance: if movement is stiff, first identify the cause to avoid damaging the mechanism or glass mounting.
- Protective film not properly sealed: after the work, restore its continuous adhesion so water cannot get into the door trim.
Reasons why the part may be damaged
Common causes of damage to manual window regulators include:
- Long-term wear of moving parts, joints and the gear mechanism.
- Increased resistance from the glass caused by dirt, damaged guides or seals in poor condition.
- Forcing the crank when the window is jammed or frozen.
- Moisture and corrosion, which can impair the movement and strength of components.
- Loose mounting or incorrect installation, which can cause uneven stress on the mechanism.
- Deformation of the door or glass guides following mechanical damage.