Description
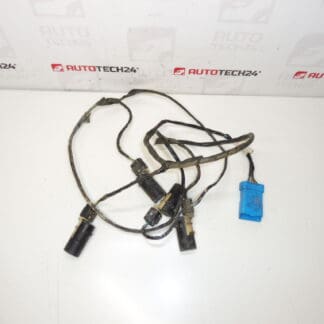
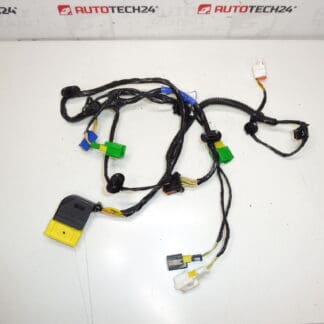
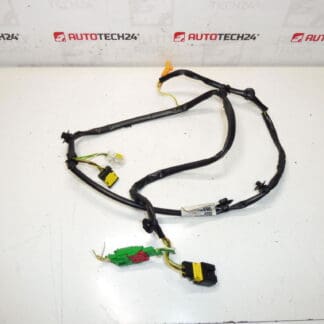
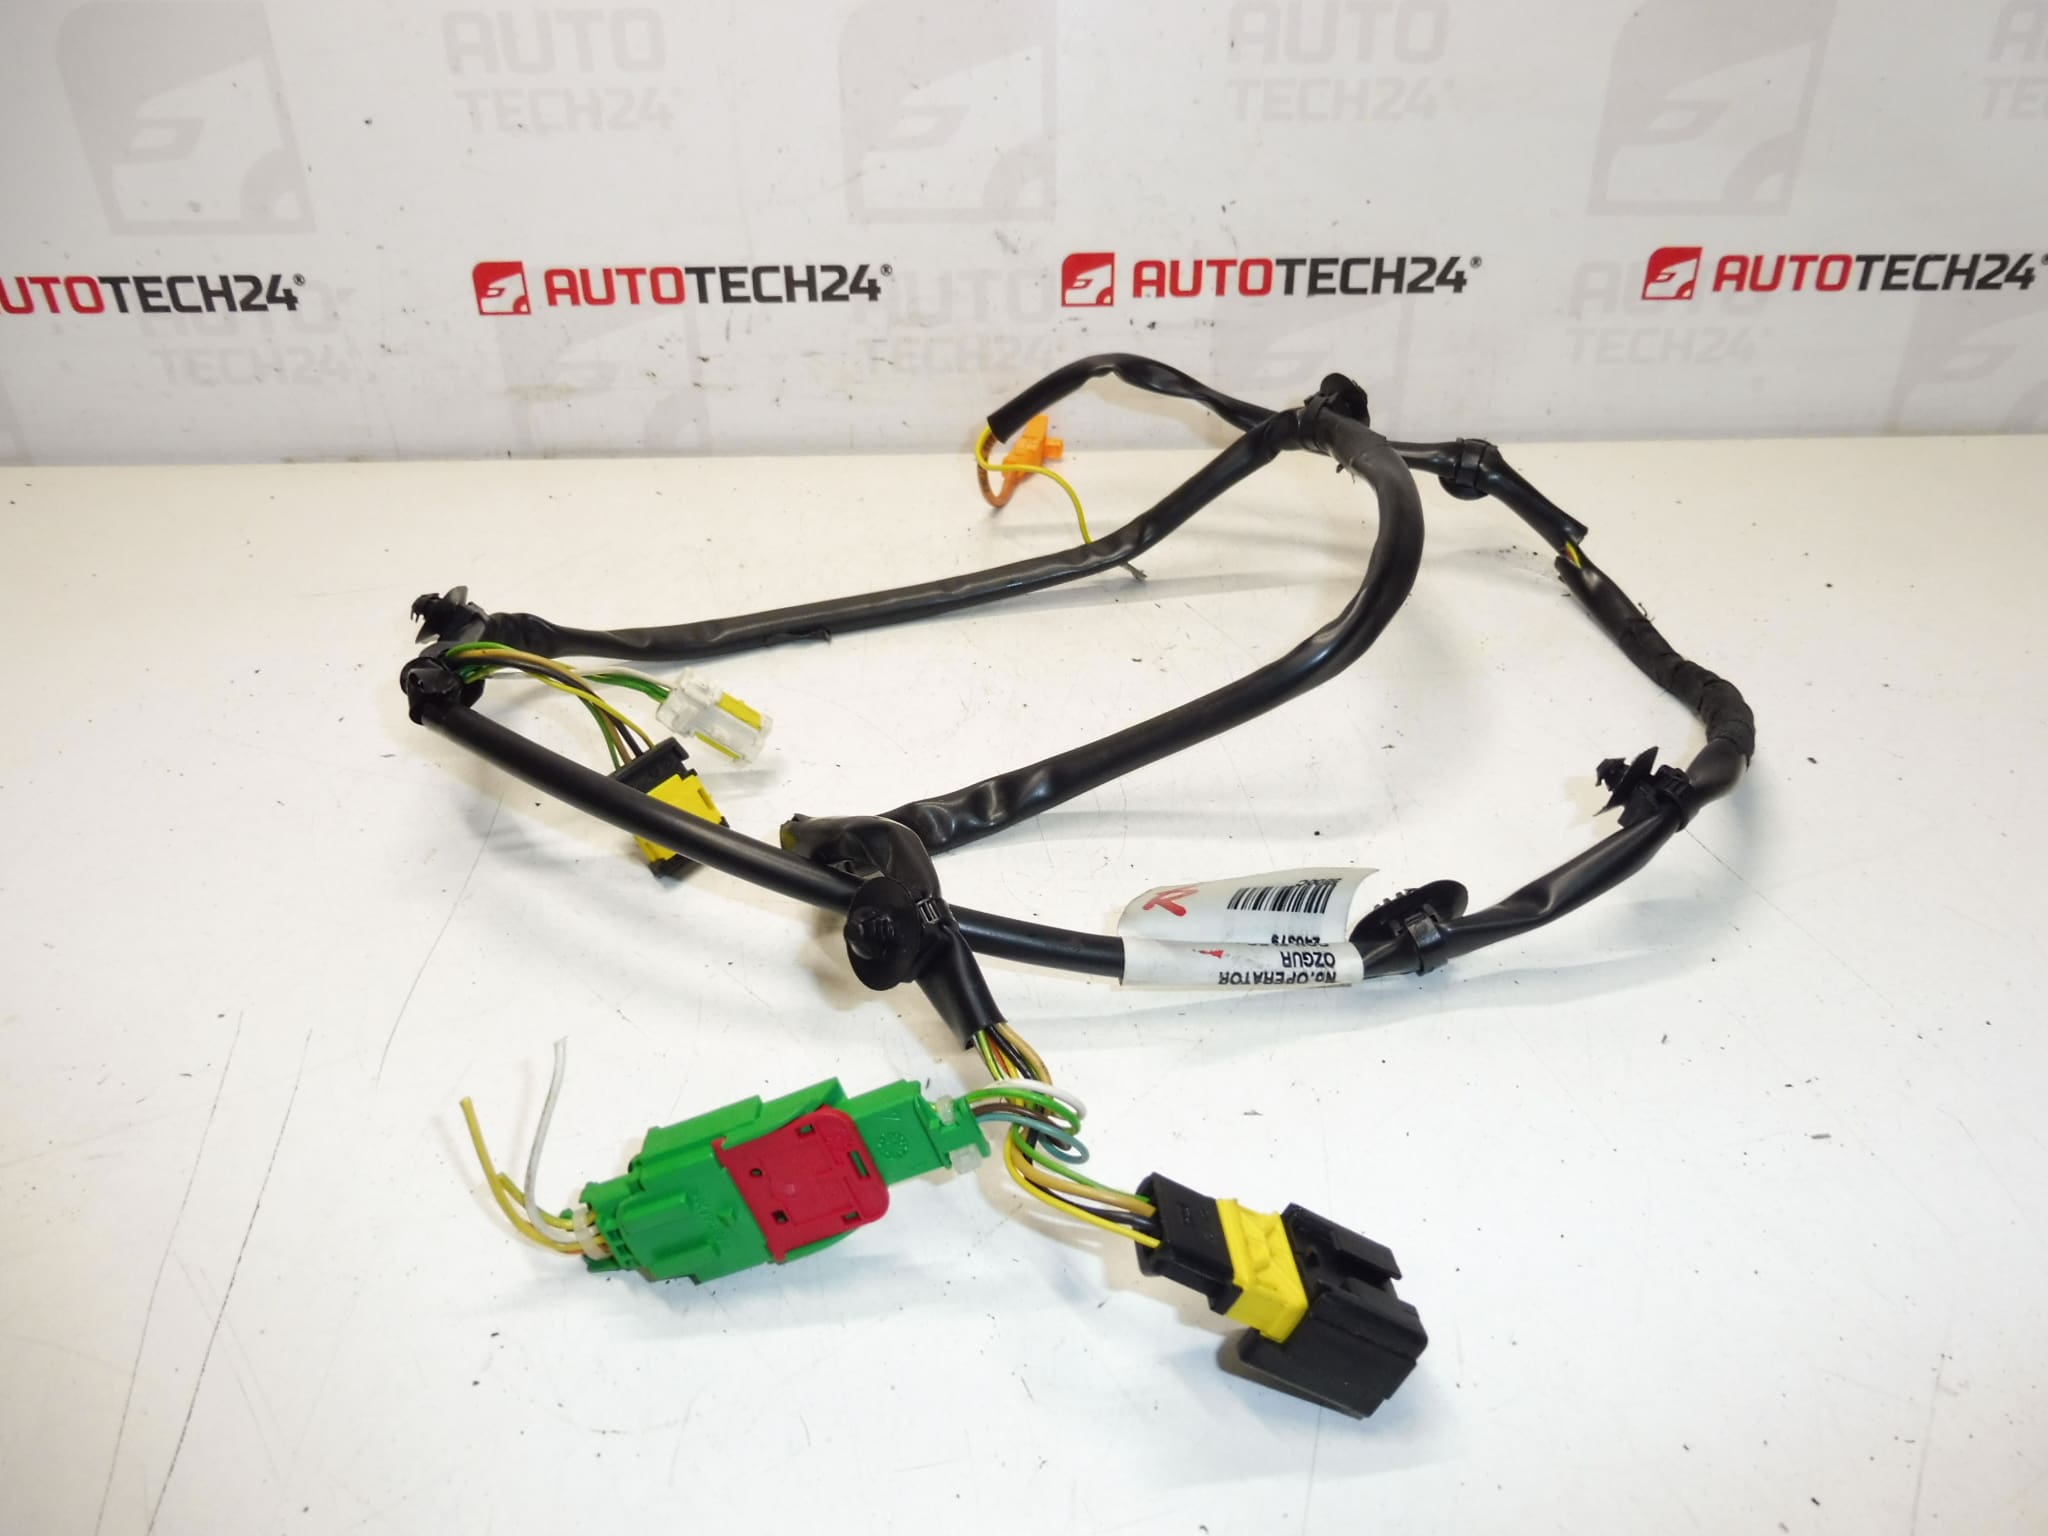
Complete bundle of front seats. It is the same for the left and right seats.
For PEUGEOT 307 CC cars
Part description
This front seat wiring harness is designed for the Peugeot 307 CC and solves the connection of the electrical installation of the seat to the car. Being the same for both left and right seats makes it easy to replace if the original harness is damaged (e.g. if the wires are broken or the connectors are faulty). Suitable as a replacement for seat wiring repairs without the need to assemble and repair individual wires.
Technical information
- Manufacturer: Stellantis (Citroën/Peugeot)
- Model: Peugeot 307 CC
- Other numbers: 0520995800, 6533SQ
Product codes
- Product codes: 9651080480, 0520995800, 6533SQ
Installation recommendations
Generally/typically for seat wiring harnesses, the exact procedure may vary depending on the equipment and design of the car. Below is a safe, practical procedure for replacing this type of part.
1) Before assembly (checks of used part)
- Compare the part numbers (9651080480 / 0520995800 / 6533SQ) with the old volume.
- Check that the types of connectors, their shape, number of pins and securing (latches/fuses) fit.
- Inspect the entire harness for cracked insulation, broken wires, pin oxidation and bend damage.
- Verify that the bundle is not stretched, shortened, or improperly repaired.
2) Necessary tools and materials (in general)
- Basic set of hand tools (screwdrivers, gola/ratchet as needed)
- Plastic pry bar for removing covers
- Pliers, cutting pliers
- Straps / textile tape for bundles
- Contact cleaner (as needed)
3) Step-by-step assembly procedure
- Turn off the ignition and disconnect the battery (this is standard safe practice for seat wiring).
- Prepare access to the seat and its wiring (moving the seat, possibly removing the covers depending on the design).
- Document the wiring: take photos of the connectors, harness routing and mounts.
- Disconnect all harness connectors (do not force; release fuses/latches first).
- Loosen the harness attachment (clips, holders, tapes) so that it can be removed without pulling on the wires.
- Remove the original bundle and compare it with the replacement piece (length, branching, connectors).
- Place the new bundle in the same route as the original and secure it in the holders/clips.
- Make sure that it is not pinched anywhere, does not lie near sharp edges and has a reserve in the places where the seat moves.
- Connect all connectors as far as they will go and check that they are properly secured with fuses.
- Additionally fix the bundle with zip ties/textile tape so that it does not move and does not rub.
- Connect the battery.
- Check the function of all elements that are routed through the harness (depending on the vehicle’s equipment).
-
4) Post-assembly checks and test drive/function verification
- Check that the harness does not stretch or rub anywhere when the seat is moved.
- Check the stability of the contacts: no dropouts when the seat moves and when the electrical circuits are loaded.
- After a short ride, visually check the fit and routing of the harness again.
5) The most common assembly mistakes + how to avoid them
- Exchanging the connectors → before disassembling the photo documentation, connect the connectors one by one.
- Squeezed harness in the runners/covers → check the entire route and clearance during seat movement.
- Unsecured connectors → always check fuses/latches and tightening “to the stop”.
- Poor fit (loose hanging) → use clips/tapes and guide as original.
Reasons why the part is damaged
- Conductor fatigue in the bends due to frequent movement of the seat (shifting, tilting).
- Abrasion of the insulation against the edges of the frame, runners or plastic covers.
- Tearing or loosening of connectors after improper handling during interior repairs.
- Oxidation of contacts and increased transition resistance (moisture, pollution).
- Additional intervention in the cabling (unprofessional connection, “twisted” connections, inappropriate insulation).