Description
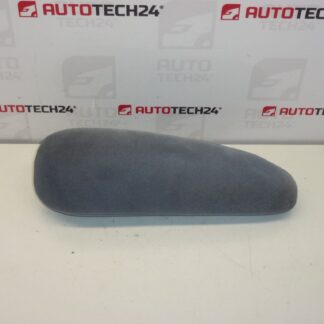
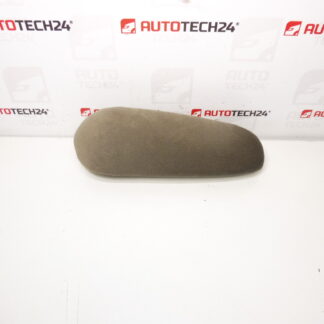
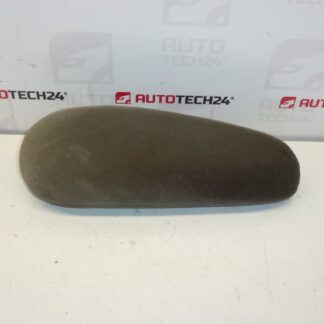
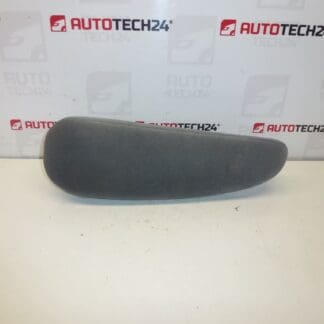
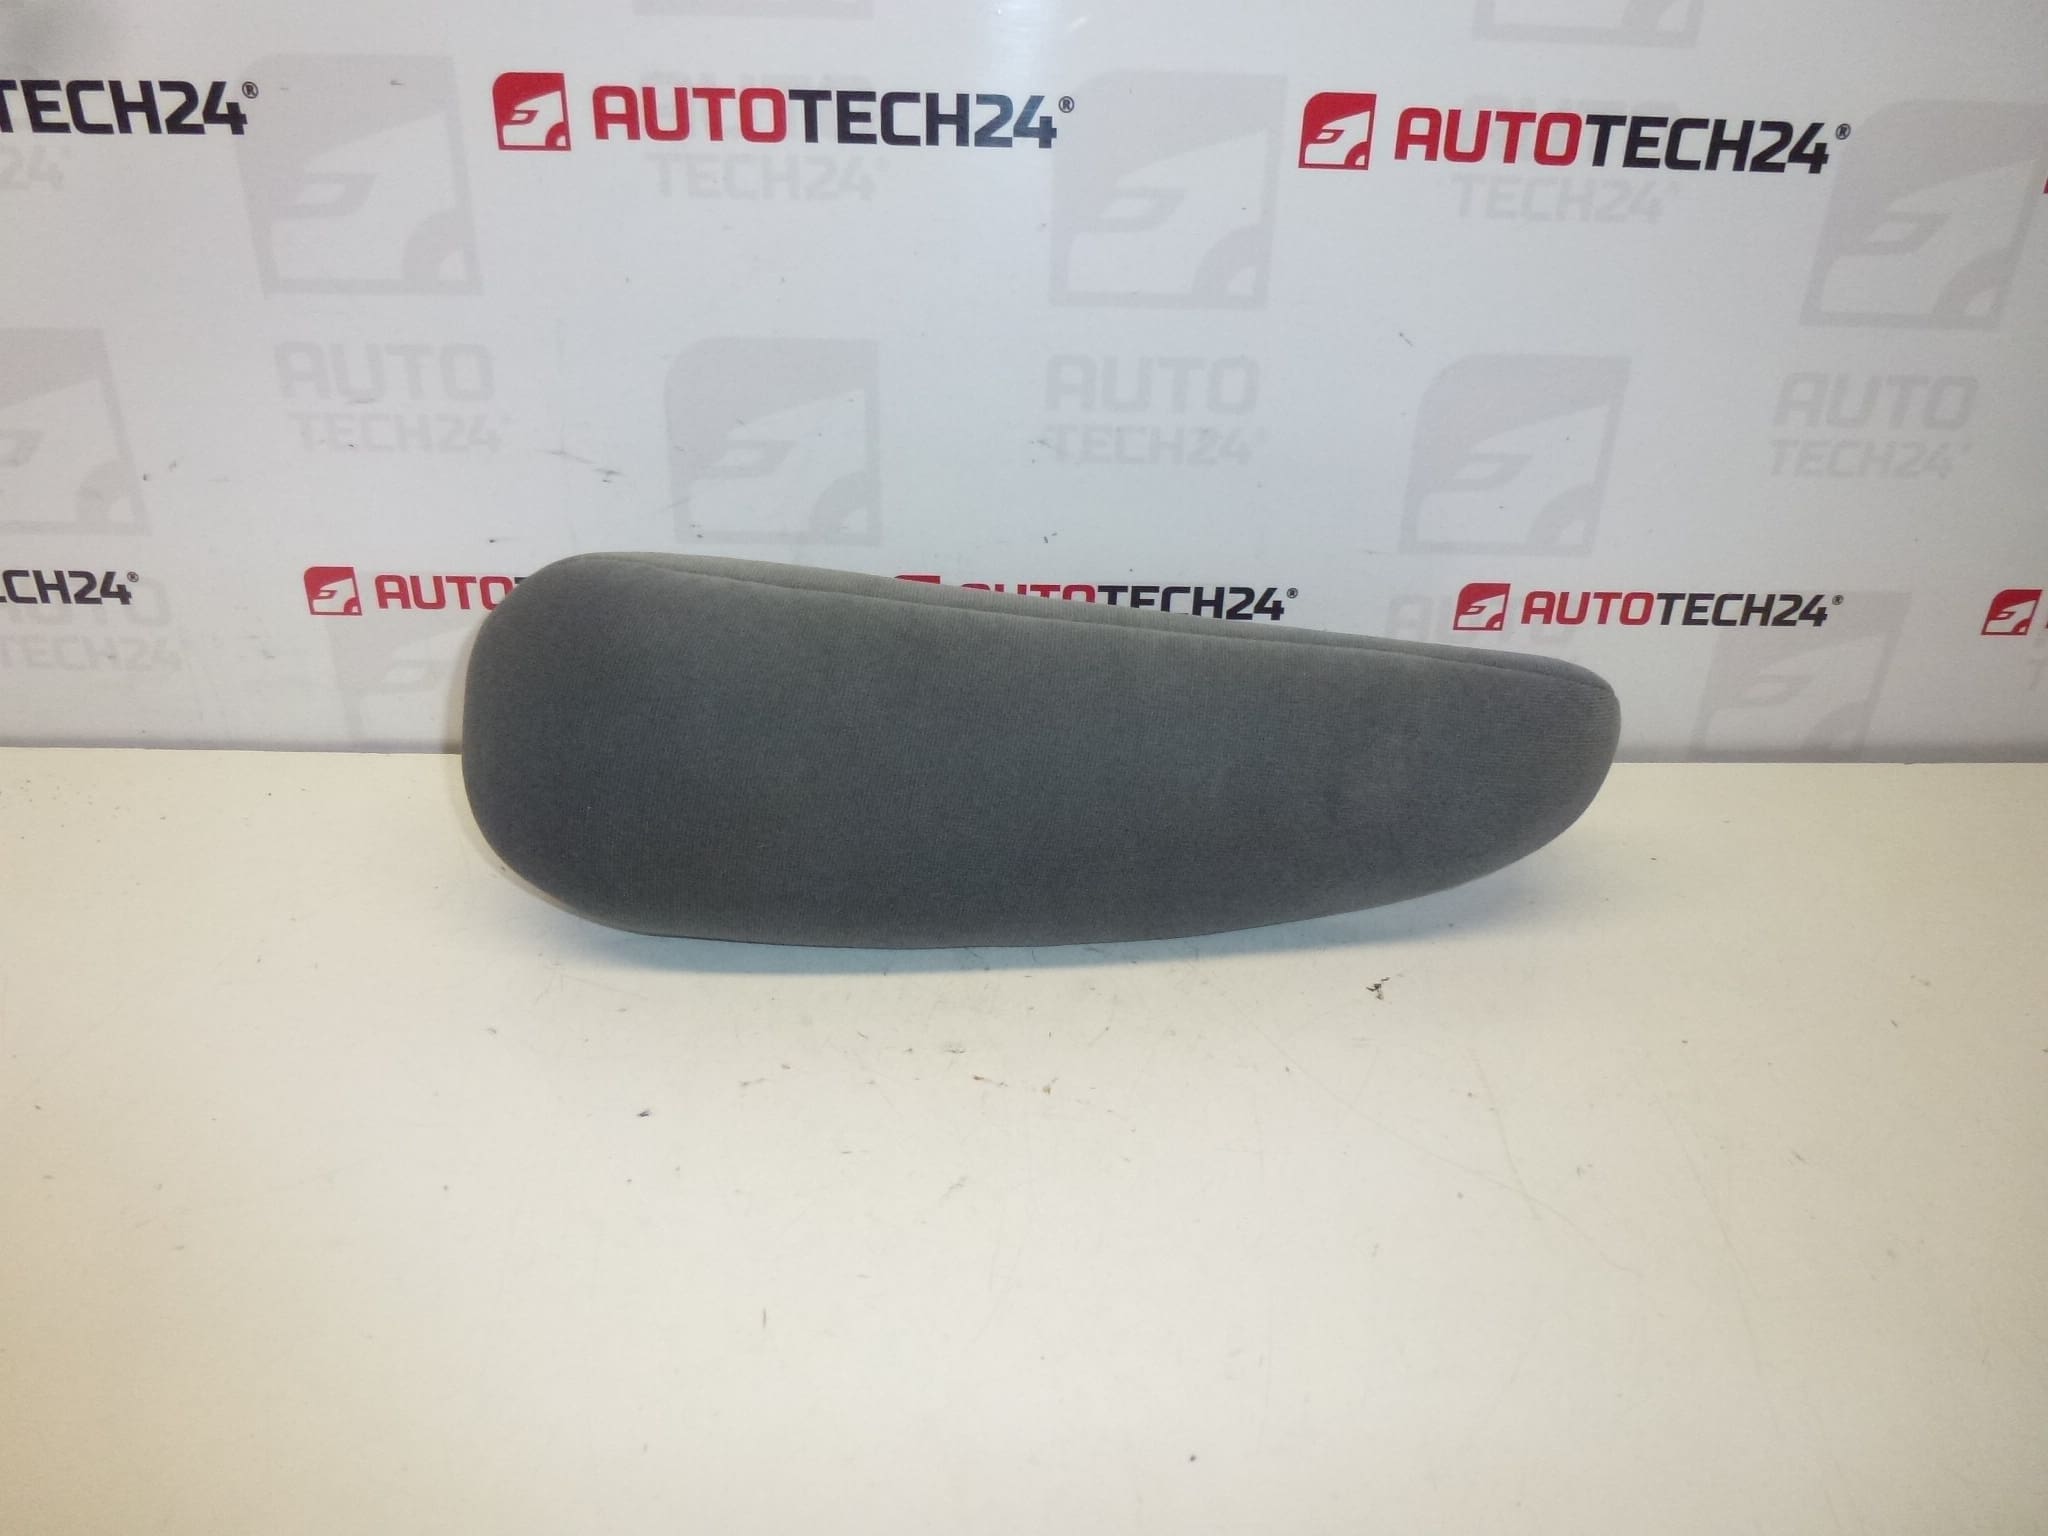
Left Armrest Citroën C3
Driver’s Seat
Grey Aquilon Fabric
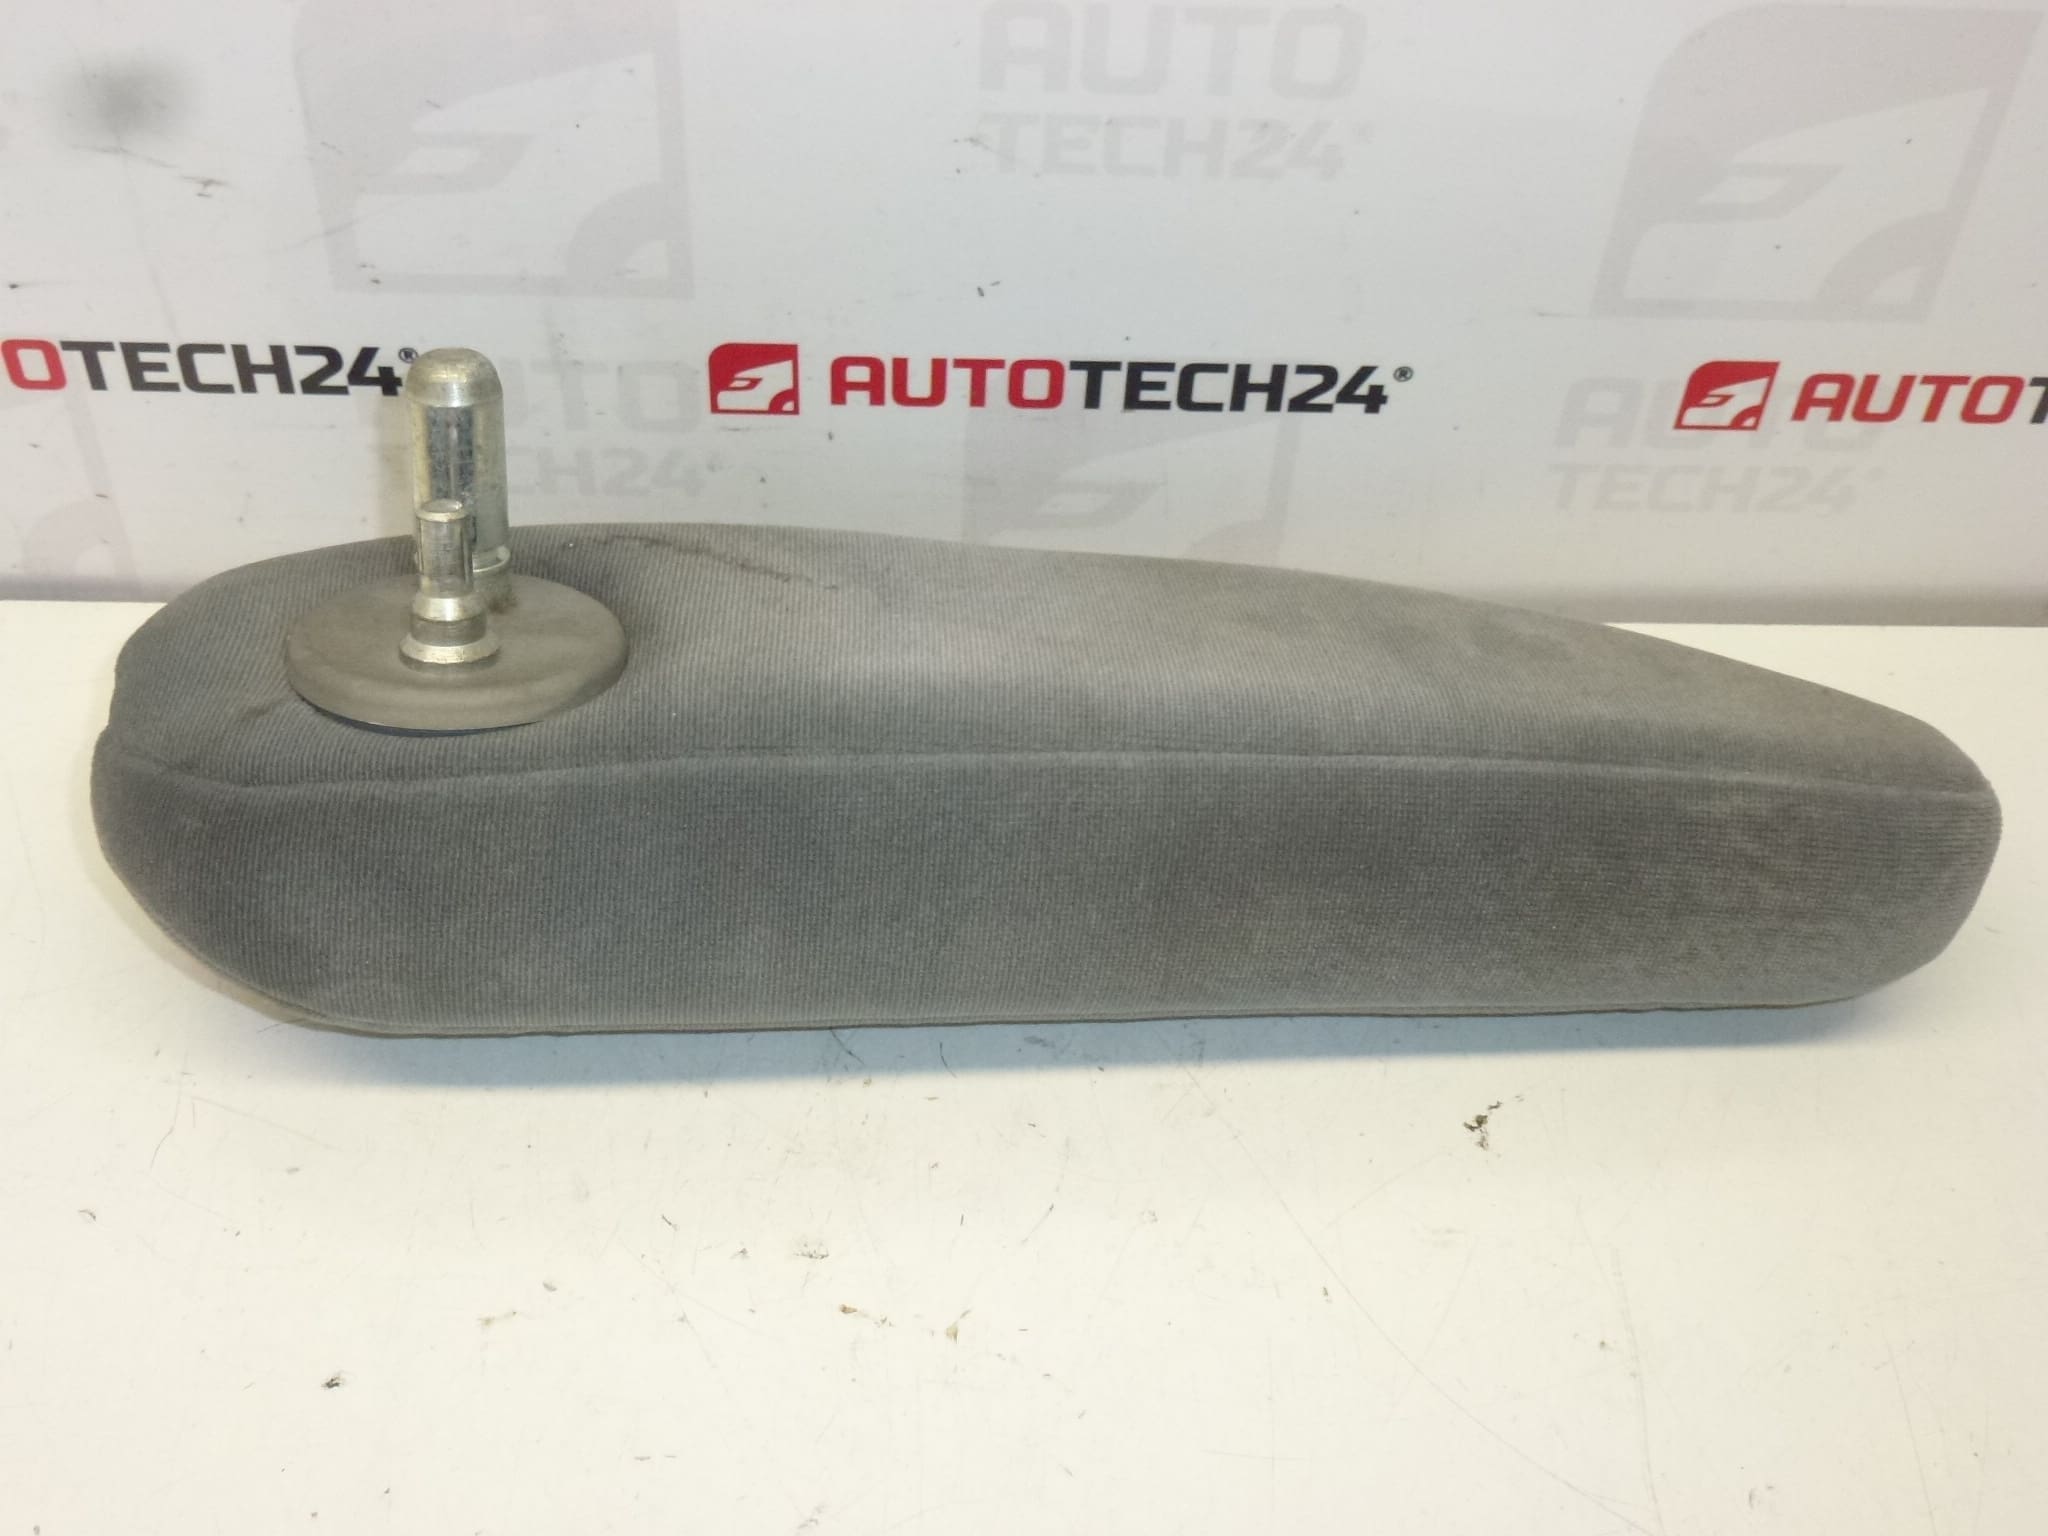
This is a used part, may show signs of wear; the hinge is solid.
Replace a worn or damaged left driver armrest with this genuine Citroën C3 component finished in grey Aquilon fabric. Designed for workshop fitment or confident DIY repairs, this armrest restores comfort and the original look of the driver’s seat. The hinge on this unit is firm, making it suitable for immediate installation after light cleaning and inspection.
This part is often searched for by part number 883086, so it is ideal to reference that code when locating compatible seats or ordering matching interior trims. Used condition parts like this offer a cost-effective way to repair interiors while keeping original factory fittings and materials.
Technical Information
- Manufacturer: Citroën (Stellantis)
- Model: Citroën C3 – Left Driver Seat Armrest
- Product Codes: 883086
- Additional Numbers: NFP
Installation Recommendations
- Perform Work On A Stable Surface: Recline the seat slightly to gain access to the trim and fixing points.
- Remove Trim Carefully: Pry off any plastic covers or retainers to expose screws or bolts. Use appropriate trim tools to avoid damage.
- Unscrew Fastenings: Typical fastenings are screws or bolts accessible from the underside or side of the seat; keep track of all fixings.
- Swap Armrests: Detach the old armrest and align the replacement. Ensure the hinge seating and mounting tabs engage correctly before tightening.
- Torque And Test: Tighten fasteners securely but avoid over-torquing plastic mounts. Operate the armrest through its full range to confirm smooth movement and correct positioning.
- Final Check: Refit trim panels and check for rattles. Clean the fabric with a suitable upholstery cleaner if needed.
Why This Part Fails Most Often
- Mechanical Wear: Repeated use causes hinge wear and loosening of fixings, leading to play or failure.
- Plastic Mount Breakage: Impact loads or aging make plastic brackets brittle and prone to cracking.
- Upholstery Degradation: Frequent contact, dirt, and spills wear the fabric and foam over time.
- Environmental Effects: UV exposure and temperature cycles can accelerate material fatigue on older vehicles.
Suitable For Mechanics And DIY Enthusiasts: This armrest offers a practical repair option for workshops and home mechanics who want original-fit restoration without replacing the entire seat. Reference part number 883086 when searching parts catalogues to ensure the best match.