Description
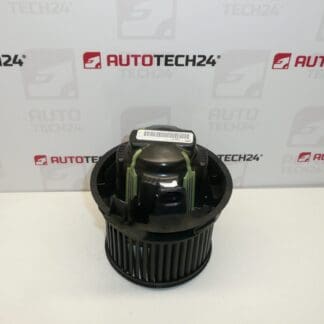
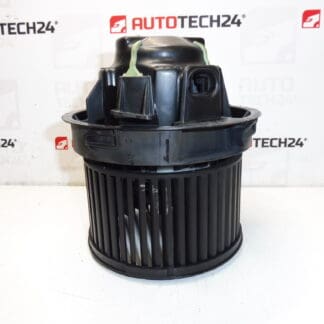
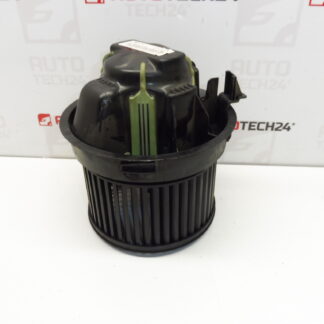
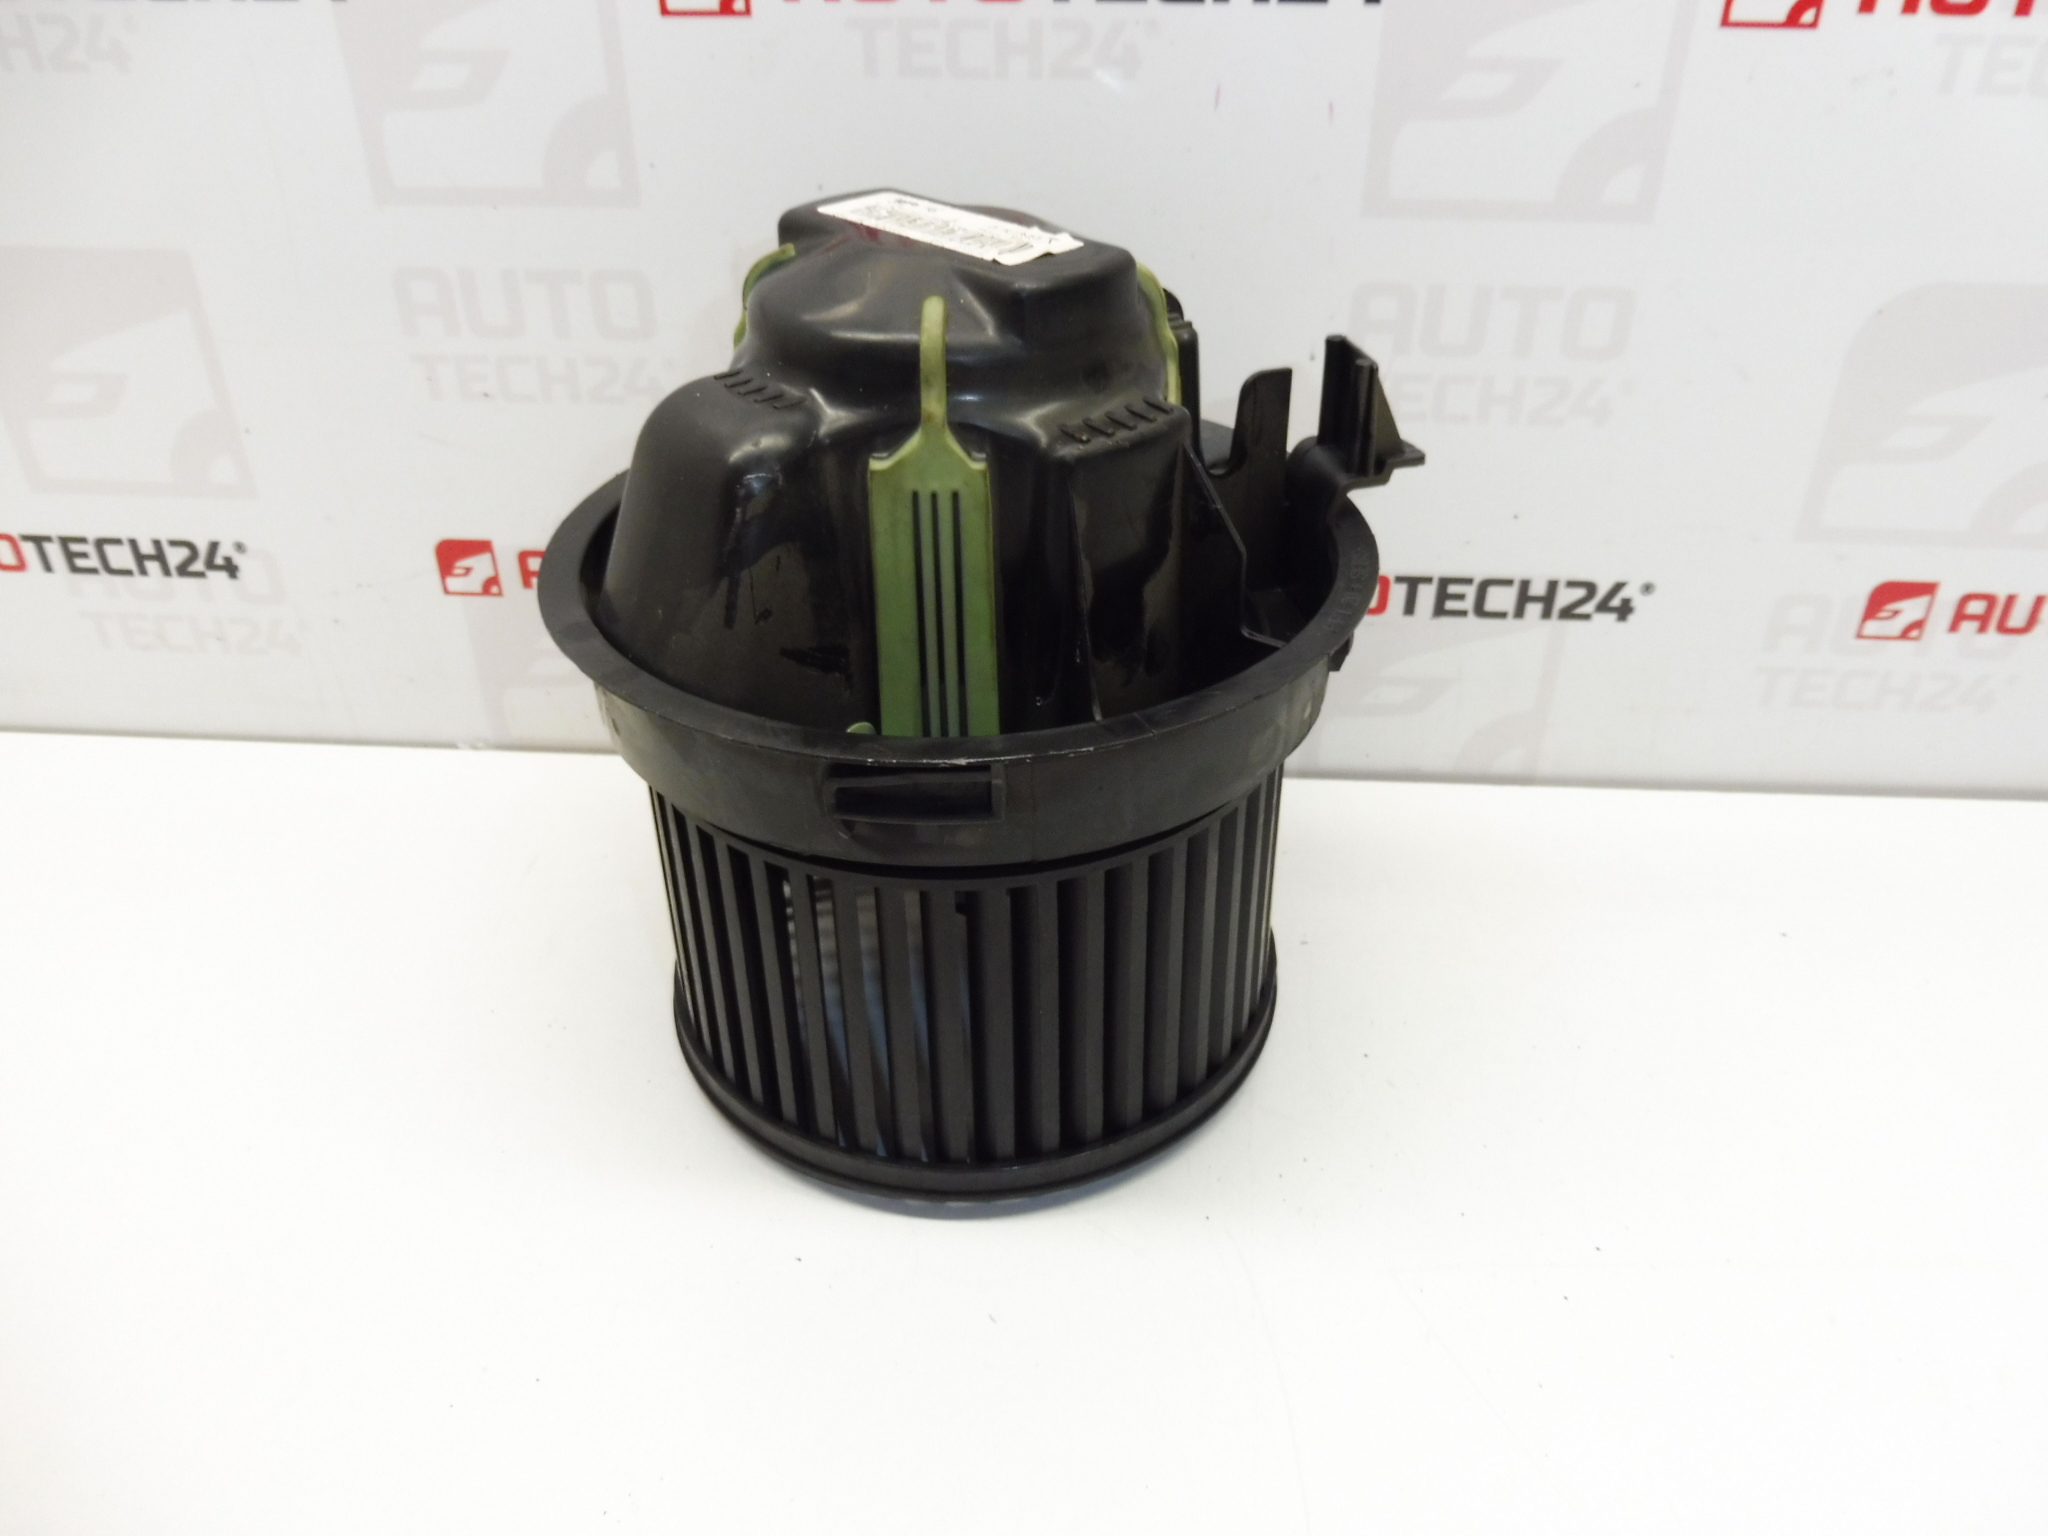
Heater fan from Valeo for Peugeot 207
Part description
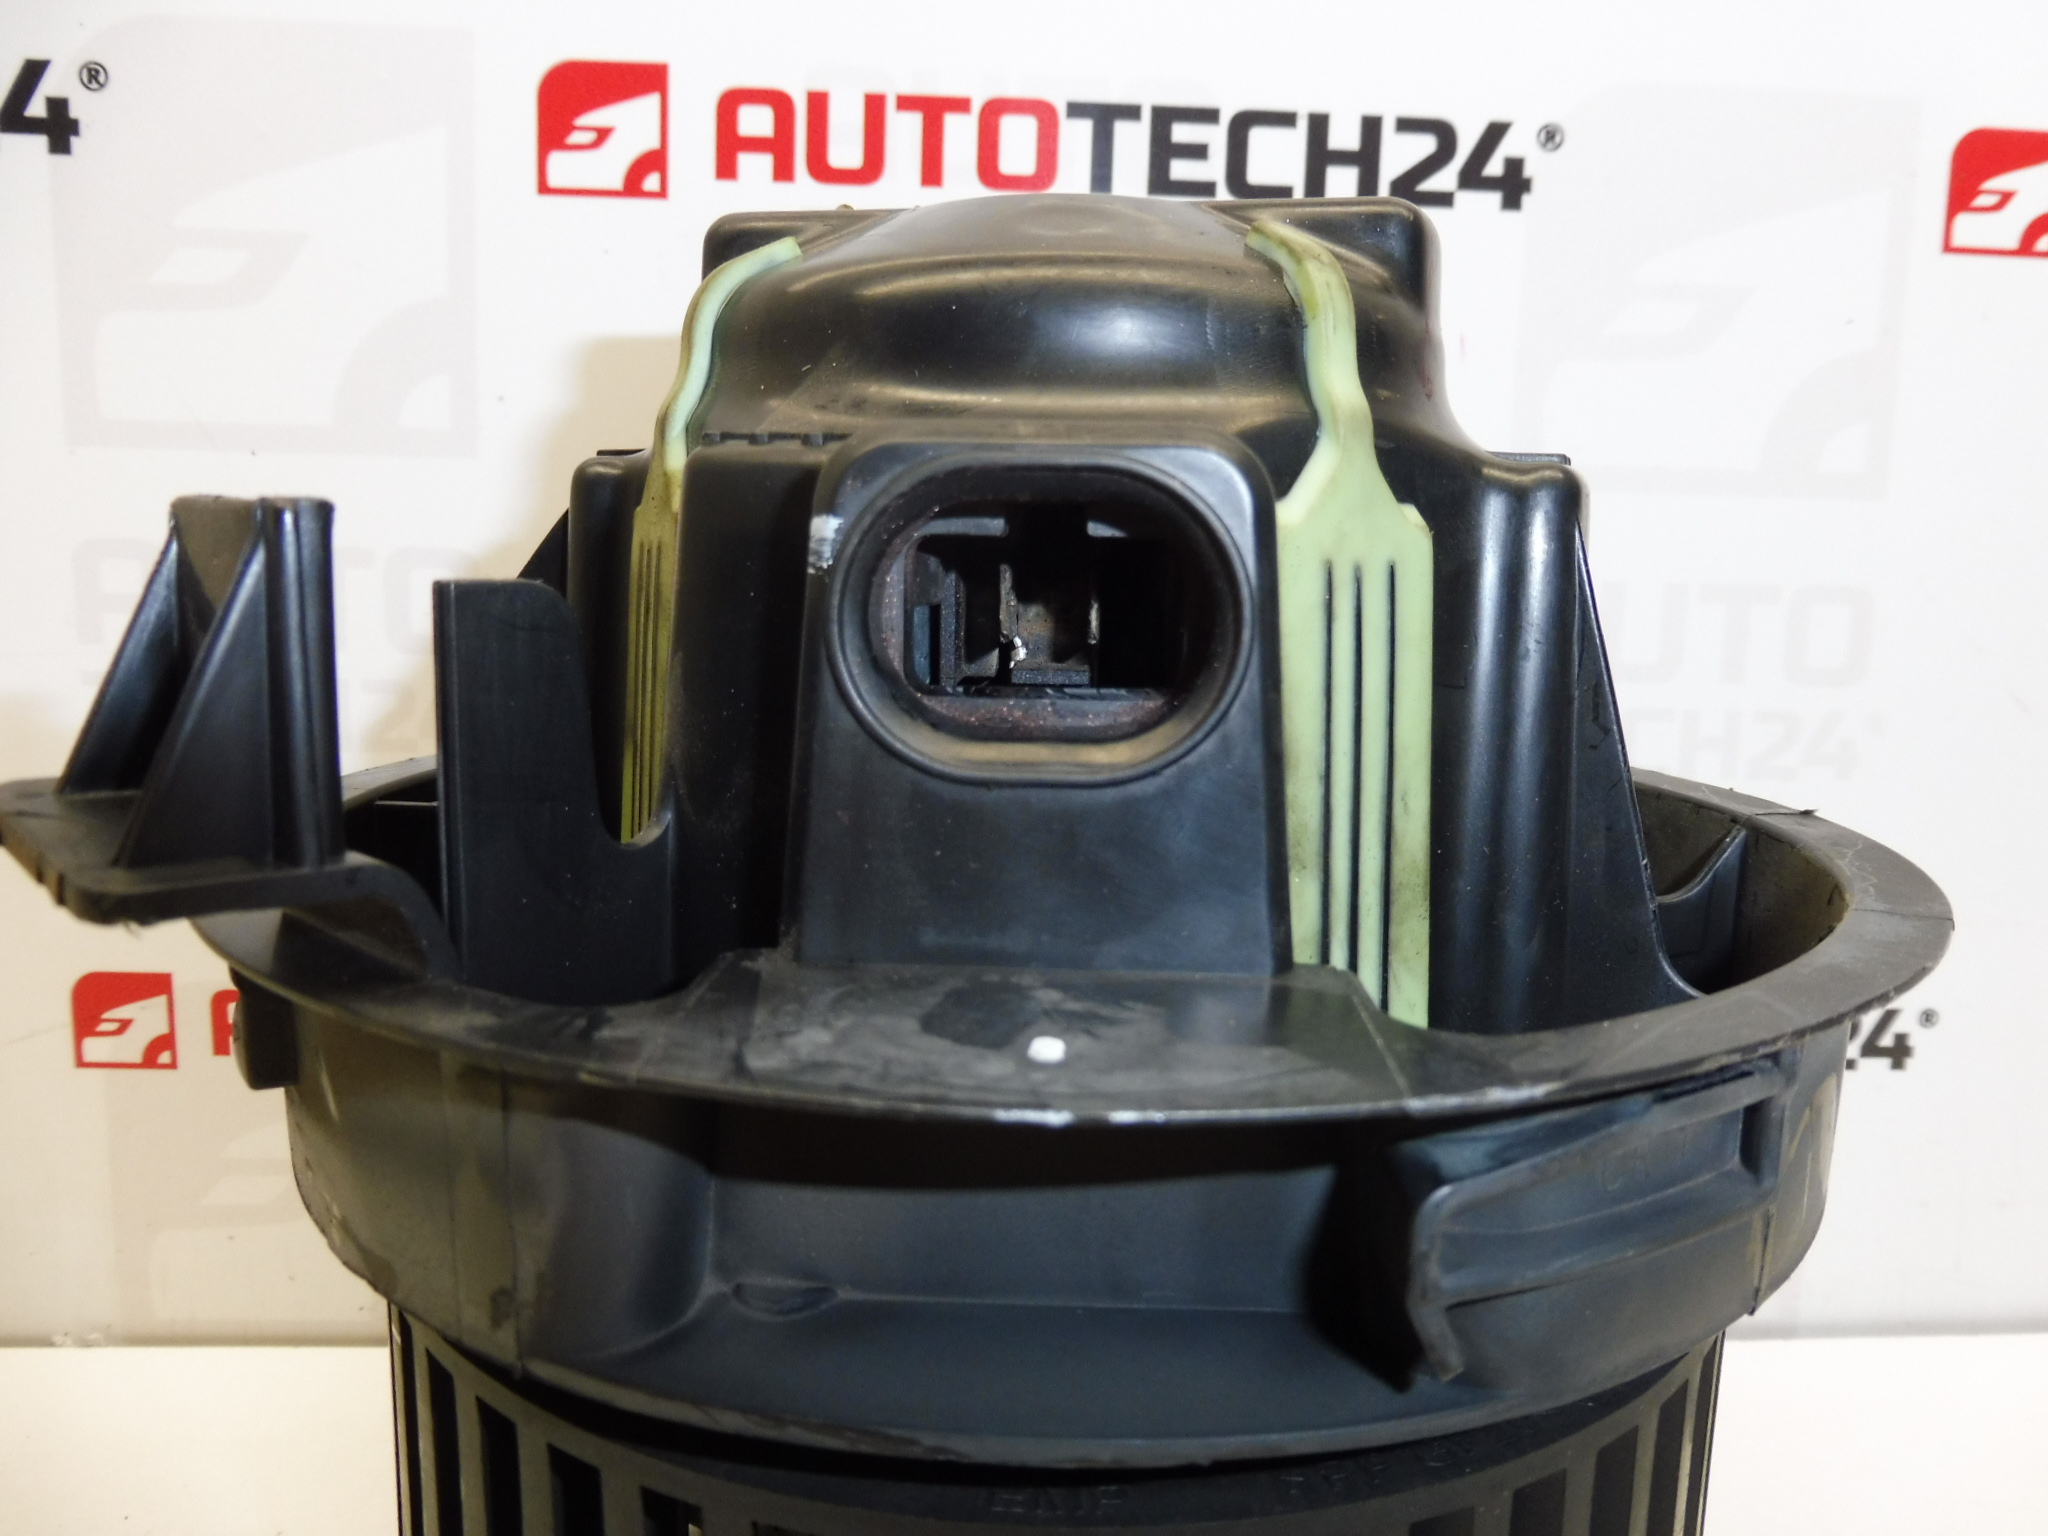
The heater fan (cabin fan motor) ensures air flow through the heater and possibly the air conditioner, so it affects both the blower speed and comfort in the cabin (demisting, heating and cooling depending on the car’s equipment). This used part is intended for Peugeot 207 cars and is suitable as a replacement for a malfunctioning, noisy or fluctuating fan.
When choosing, the key is to follow the product number – for these parts, matching the markings is the fastest way to a problem-free replacement.
Technical information
- Manufacturer: Valeo
- Model: Peugeot 207
- Other numbers: 6441V5
Product codes
- Product codes: N102993X, 6441V5
Installation recommendations
Generally/typically for a heater fan the following procedure applies. The exact design and access may vary according to the specific version of the Peugeot 207 and the equipment.
1) Before assembly (checks of the used part, what to compare with the old part)
- Compare the original and new part: codes N102993X / 6441V5, body shape, connector type and position, mounting and impeller diameter.
- Check that the impeller spins freely without rubbing and is not cracked or loose.
- Optically inspect the connector and wiring on the part (bent pins, plastic damage).
2) Necessary tools and materials (in general, without specific extra parts)
- Basic set of screwdrivers and attachments (according to the type of connecting material in the car)
- Plastic crowbar for removing upholstery/covers
- Flashlight or mirror
- Cleaning means for dust/leaves (vacuum cleaner, cloth)
3) Step-by-step assembly procedure (typically)
- Turn off the ignition and disconnect the battery for safety.
- Ensure access to the heating fan unit (dismantling the relevant covers in the interior according to the specific design).
- Disconnect the fan electrical connector – don’t pull on the cables, but on the body of the connector.
- Remove the fan attachment (screws or bayonet lock – depending on the version).
- Remove the fan carefully so as not to damage the surrounding plastic parts and sealing surfaces.
- Check the space around the fan and the ducts: remove leaves, dust and debris that cause noise and imbalance.
- Insert the new fan into the correct position, check fit and alignment.
- Reattach the fan (tighten gently to avoid cracking the plastic).
- Connect the electrical connector and verify that it is properly engaged.
- Reinstall all removed covers and interior parts.
- Connect the battery.
- Perform a function test of the fan in all stages/speeds (according to the car’s equipment).
-
4) Post-assembly checks and test drive/function verification
- Verify smooth operation without vibrations and unusual sounds.
- Check that the fan responds to changes in the fan setting and does not drop out.
- After a short ride, listen again for rustling (typically residual dirt in the ducts).
5) The most common assembly mistakes + how to avoid them
- Exchanging a part without checking the codes – always compare the marking N102993X / 6441V5 and the design of the connector.
- Connector damage when disconnecting – use correct connector release procedure.
- Fan not seated (leakage/resonance) – check correct position and mounting.
- Leaving dirt in the suction area – cleaning will significantly reduce noise and increase service life.
Reasons why the part is damaged
- Bearing wear of the fan motor – typically manifested by whistling, humming or vibration.
- Impurities (leaves, dust) in the intake and impeller – cause imbalance, noise and increased engine load.
- Long-term operation at high performance – higher thermal stress on the motor.
- Power fluctuations / bad contacts in the connectors – can lead to overheating of the connections and erratic operation.
- Moisture in the intake/fan area – accelerates corrosion and deteriorates the operation of mechanical parts.