Description
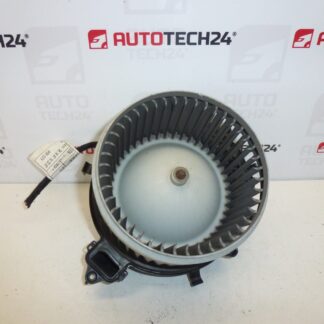
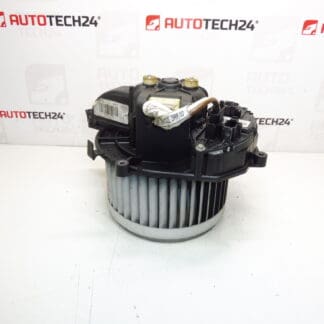
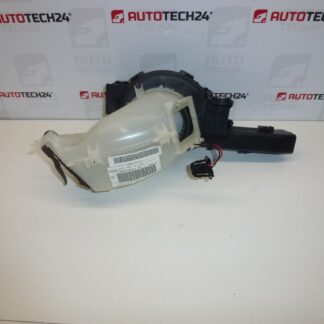
Electronic control for the heater blower for Citroën C4 Picasso and Grand Picasso (first generation).
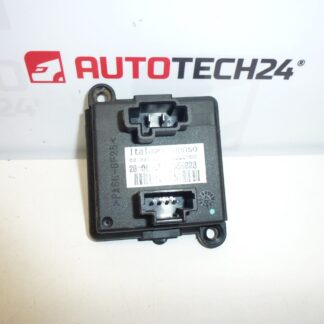
This heater blower regulator (fan speed controller) is designed for Citroën C4 Picasso models and Grand Picasso first-generation vehicles. Commonly searched under OE codes A43000700 or 6441X3, this electronic module controls the cabin fan speed to restore reliable heating and ventilation performance. Ideal for professional workshops and DIY enthusiasts who maintain Stellantis vehicles, the unit replaces faulty regulators that cause limited or erratic blower operation.
Key Features
- Direct fit for First-Generation Citroën C4 Picasso and Grand Picasso.
- OE Reference: A43000700, 6441X3 — frequently used as a search term by mechanics.
- Electronic speed regulation for smooth control of heater blower motor.
- Restores full range of blower speeds and improves HVAC reliability.
Technical Information
- Manufacturer: Stellantis (Citroën / Peugeot)
- Model: Citroën C4 Picasso; Citroën Grand Picasso (First Generation)
- Product Codes: A43000700, 6441X3
- Additional Numbers: Stellantis CITROEN PEUGEOT
Function And Typical Symptoms
The regulator electronically controls the blower motor speed, typically by varying voltage or using PWM control. When the regulator fails, common symptoms include:
- Blower only works on one speed (often full speed) or not at all.
- Intermittent operation with random stops or starts.
- Unusual noise from the blower area or a burning electrical smell.
- HVAC controls that change setting but produce no corresponding fan response.
Replacement Procedure
Basic replacement steps for competent mechanics and experienced DIYers:
- Disconnect the negative battery terminal before starting to prevent short circuits and protect vehicle electronics.
- Access the blower motor area—usually under the passenger-side dash or through the glovebox on C4 Picasso models; remove trim or glovebox as required to reach the regulator housing.
- Unplug the electrical connector and remove mounting screws or clips securing the regulator to the blower assembly.
- Install the new regulator in the correct orientation, secure fasteners, and reconnect the electrical connector.
- Reconnect the battery and test all blower speeds and HVAC functions before reassembling interior trim.
Installation Recommendations
- Always Disconnect The Battery Before Work To Protect Electronics.
- Inspect The Blower Motor And Cabin Filter While Replacing The Regulator—excessive motor wear or a clogged cabin filter can overload the regulator and cause premature failure.
- Clean And Check Connectors For Corrosion; Use Contact Cleaner And Apply A Thin Layer Of Dielectric Grease To Improve Long-Term Reliability.
- Avoid Applying Excessive Force To Plastic Tabs; use proper trim tools to prevent damage to dash components.
- Test All Fan Speeds And Diagnostics After Installation To Confirm Correct Operation.
Most Common Cause Of Failure
These regulators commonly fail due to overheating and electrical stress. Typical causes include restricted airflow from a blocked cabin filter, increased current draw from a failing blower motor (worn brushes or bearing drag), moisture ingress causing corrosion on connectors or the unit, and intermittent short circuits. Regular inspection of the cabin filter and blower motor can extend the regulator’s service life.
Why Choose This Unit
Providing a direct-replacement electronic regulator with OE reference numbers, this part helps restore full HVAC control quickly and cost-effectively. The inclusion of commonly searched product codes in the listing improves findability for professionals and DIYers searching by part number.