Description
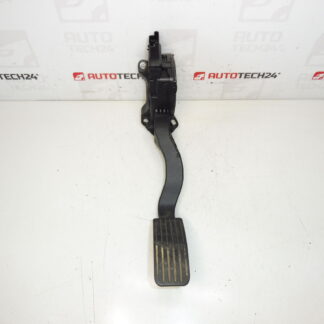
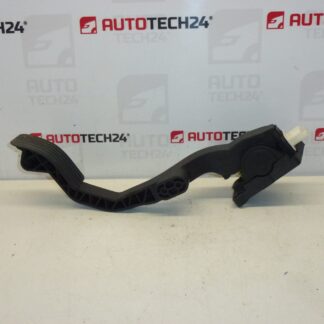
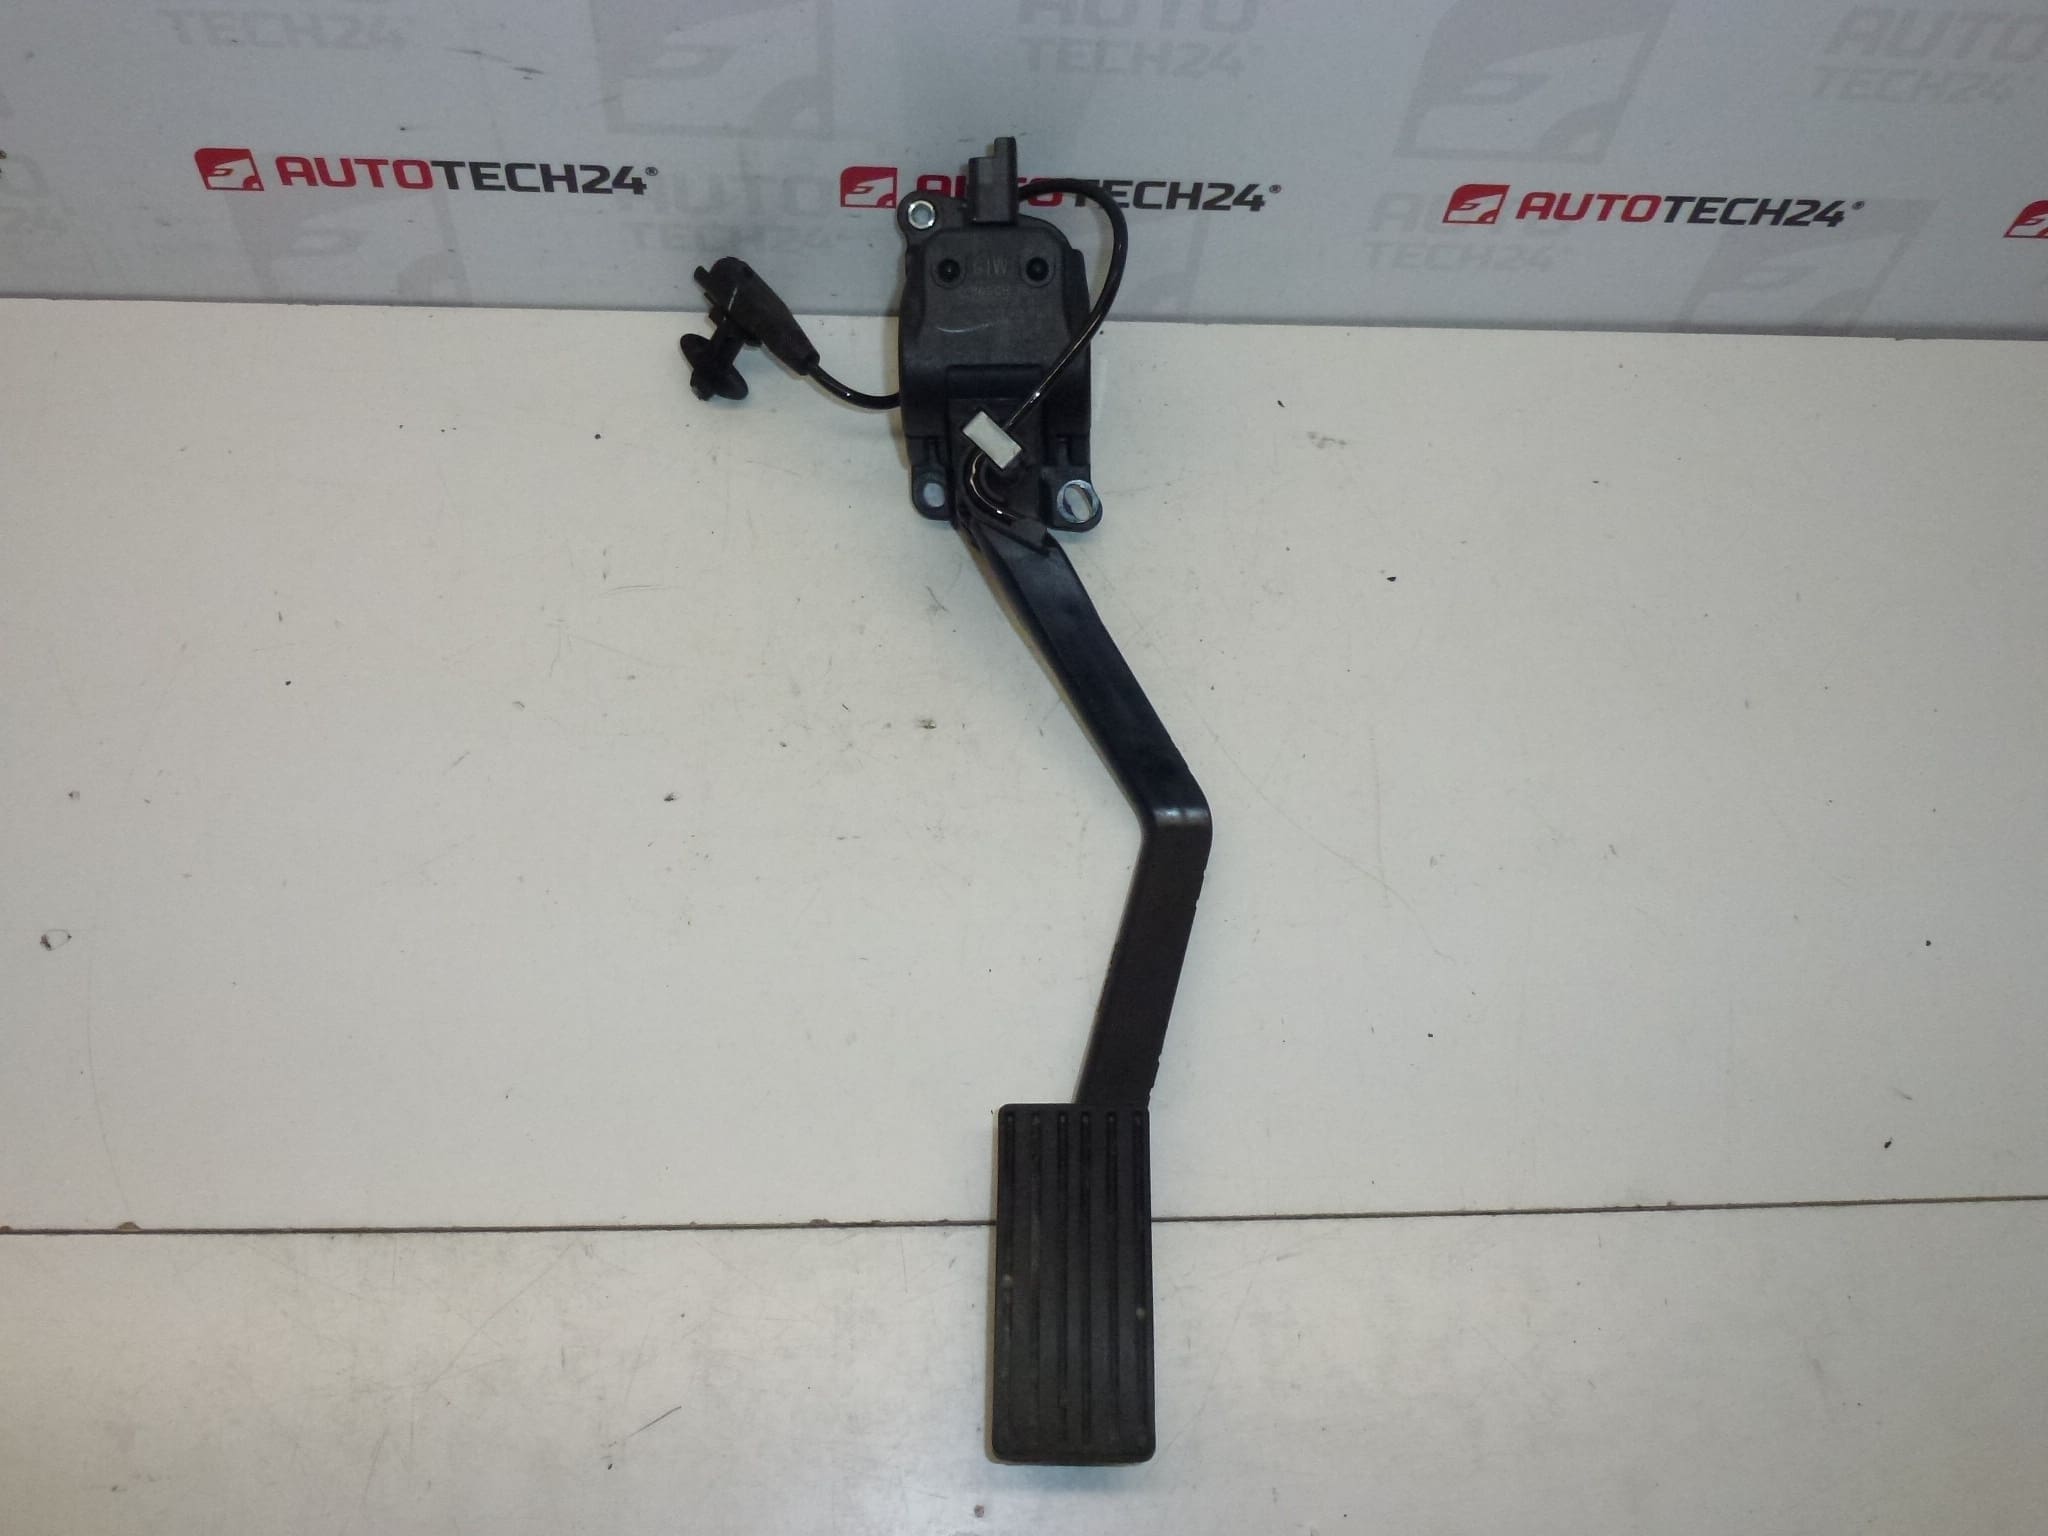
Throttle pedal, accelerator potentiometer for Citroën C5 III and Peugeot 407.
This electronic accelerator pedal assembly with integrated potentiometer is a direct-fit replacement commonly used on Citroën C5 III and Peugeot 407 models. Designed for workshops and DIY mechanics, the unit restores accurate pedal position feedback to the engine control system in modern drive-by-wire vehicles, improving throttle response and drivability. Many customers search by OE numbers such as Bosch 0280755171 or PSA 9672091080, so confirming the part code before ordering speeds up fitment and reduces downtime.
Technical Information
- Manufacturer: Bosch / Stellantis (OEM Application)
- Model: Citroën C5 III, Peugeot 407
- Product Codes: 0280755171, 9672091080
- Additional Numbers: 1601Z0, 1601EK
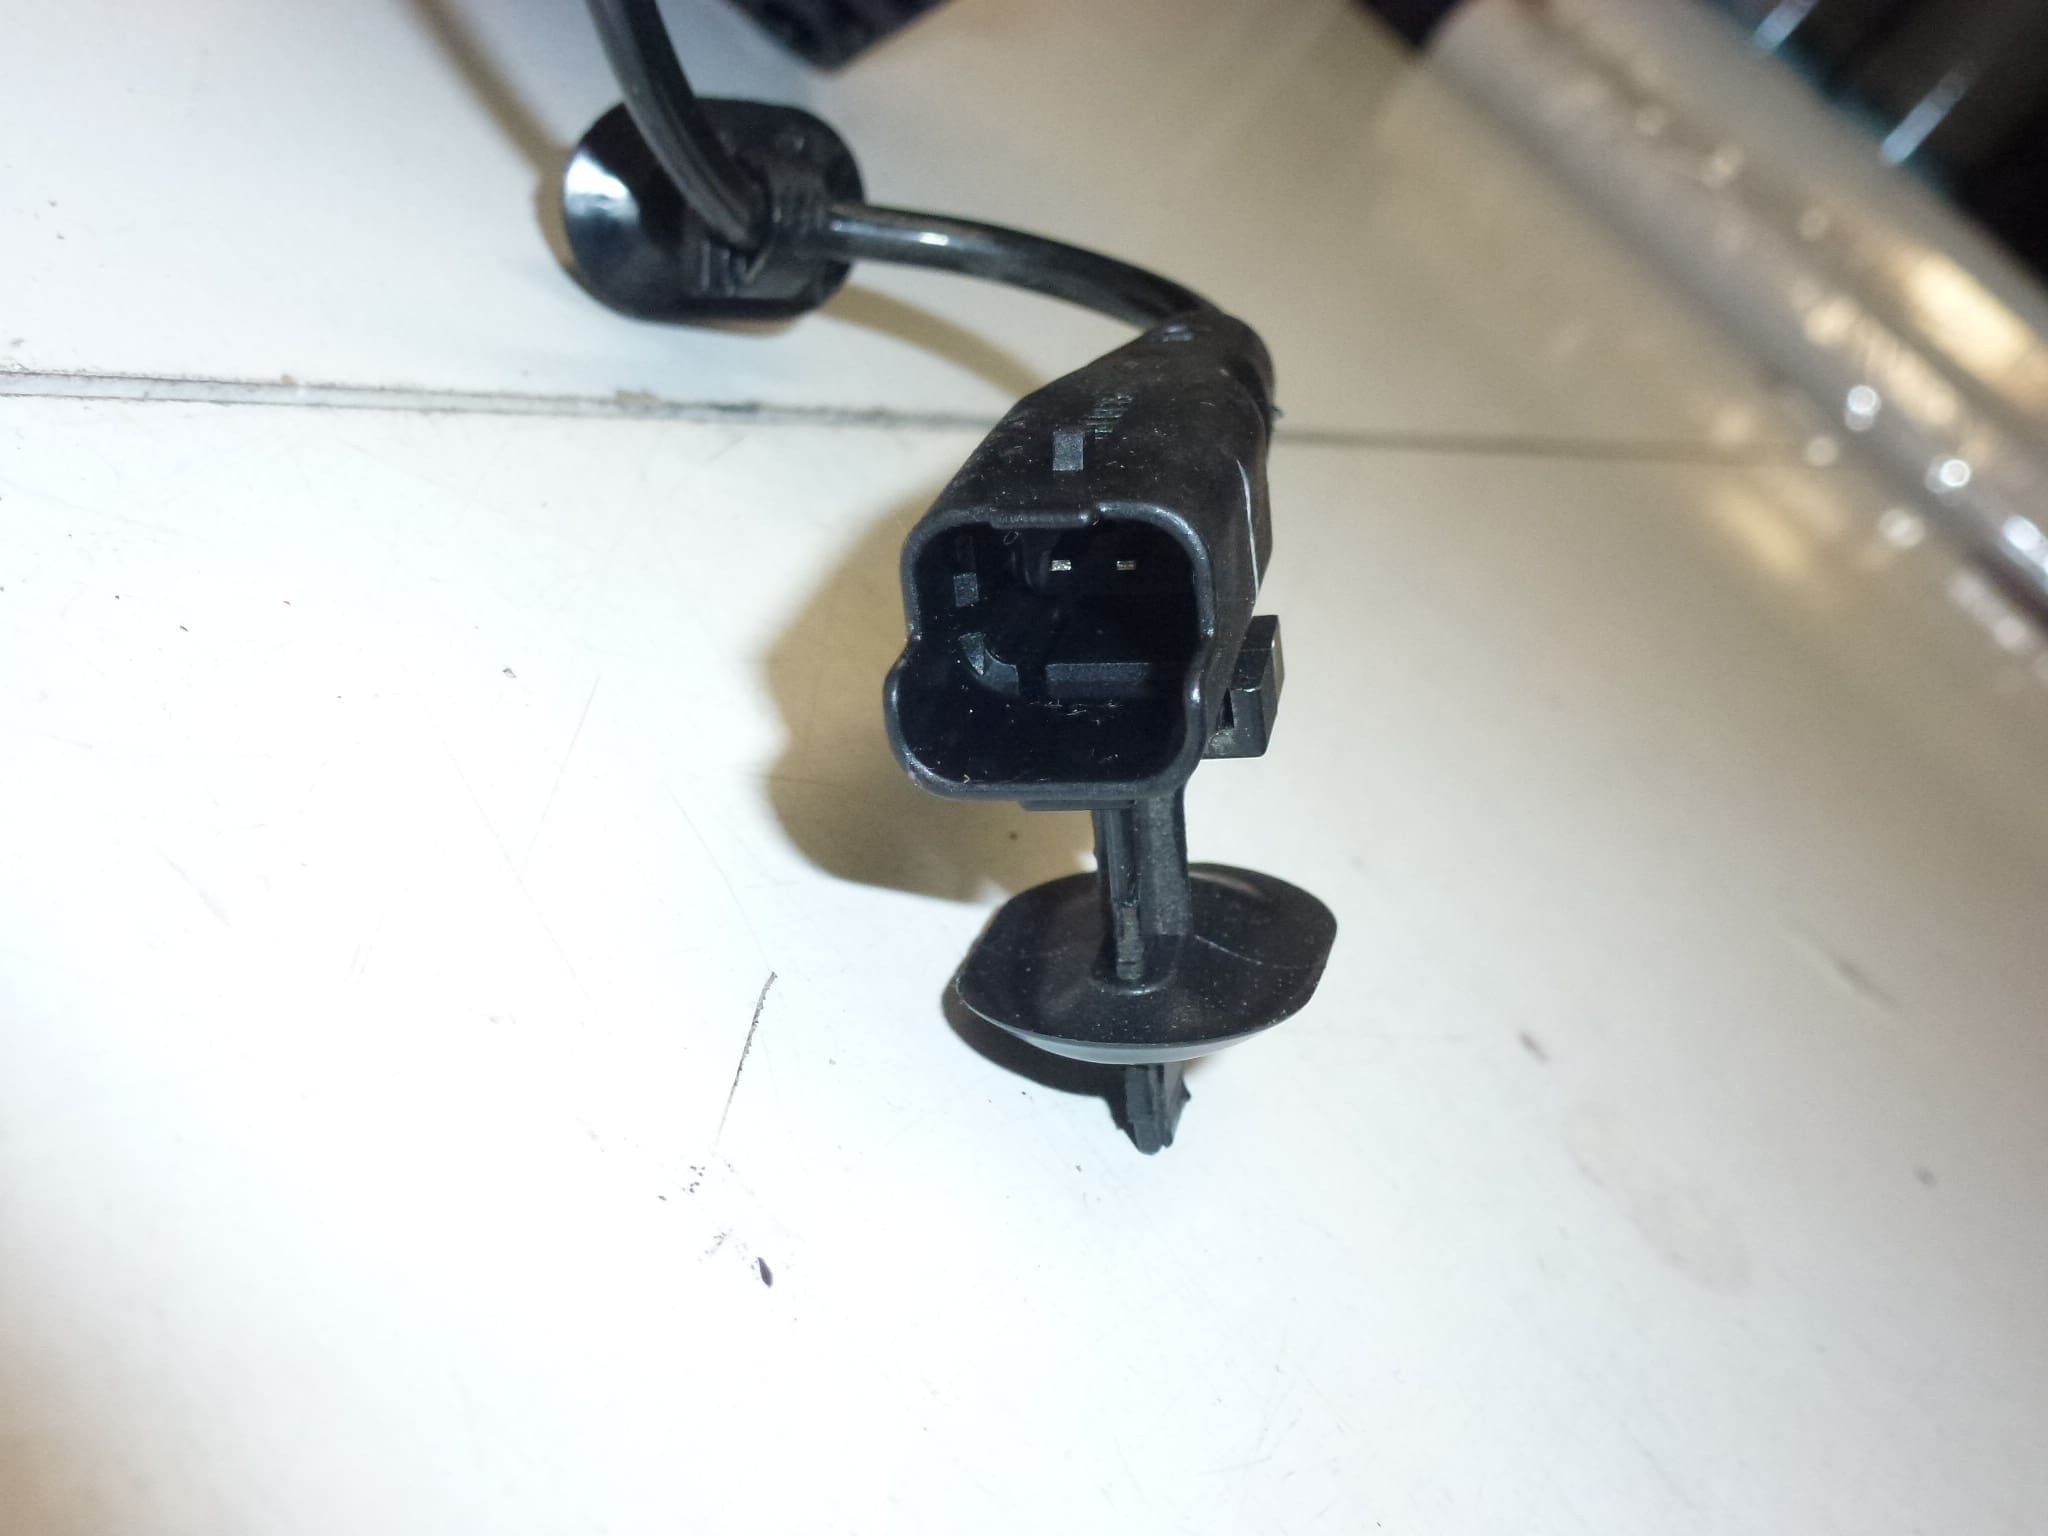
Functionally, the assembly converts the mechanical movement of the accelerator pedal into an electrical signal (potentiometer or position sensor) that the Engine Control Unit (ECU) uses to regulate throttle position. On vehicles with electronic throttle control, a faulty pedal may trigger fault codes, activate limp mode, or cause unstable acceleration.
Installation Recommendations
- Ensure Vehicle Is Secure And Ignition Is Off Before Starting Work.
- Disconnect The Negative Battery Terminal To Prevent Unwanted ECU Inputs While Removing The Unit.
- Remove Interior Trim Panels Or Floor Covers To Access The Pedal Assembly. Keep Fasteners Organized For Reassembly.
- Unplug The Electrical Connector Carefully And Inspect For Corrosion Or Bent Pins.
- Remove Mounting Bolts And Replace The Pedal Assembly With The New Unit. Tighten Fasteners To The Manufacturer Specifications Where Available.
- Reconnect The Connector And Battery. Clear Any Stored Fault Codes With A Diagnostic Tool If Present.
- Perform A Basic Throttle Adaptation Or Calibration If Required By The Vehicle Manufacturer Or Use A Diagnostic Tool To Confirm Sensor Readings And System Function.
- Test Drive The Vehicle To Verify Smooth Throttle Response And Absence Of Warning Lights.
Most Common Failure Reasons
- Wear Of Internal Potentiometer Contacts Causing Intermittent Or Incorrect Position Signals.
- Contamination From Dirt, Moisture Or Road Debris Leading To Corrosion Or Sensor Malfunction.
- Damaged Or Loose Electrical Connector Causing Loss Of Signal.
- Mechanical Damage From Impact Or Excessive Pedal Force.
- Electrical Faults In Wiring Harness Or Poor Ground Connection.
Signs That Indicate A Faulty Pedal Include Accelerator Lag, Erratic Throttle Response, Illumination Of The Engine Or Throttle Warning Light, And Entry Into Limp Mode. Replacement Of The Pedal Assembly Usually Resolves These Symptoms When The Issue Originates From The Sensor Unit.
Buy This Part If You Need A Direct Replacement For The Bosch 0280755171 / PSA 9672091080 Units Fitted To Citroën C5 III And Peugeot 407. Suitable For Professional Garages And Confident DIY Mechanics Looking For A Reliable Way To Restore Proper Throttle Control.