Description
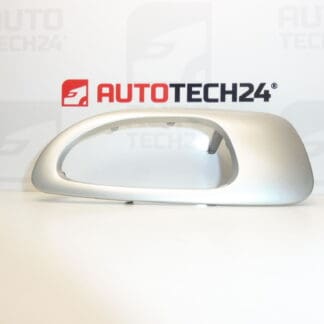
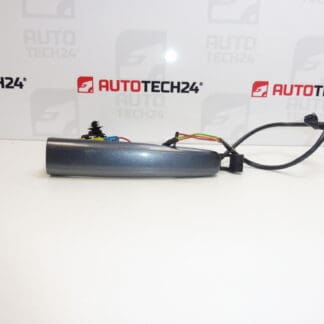
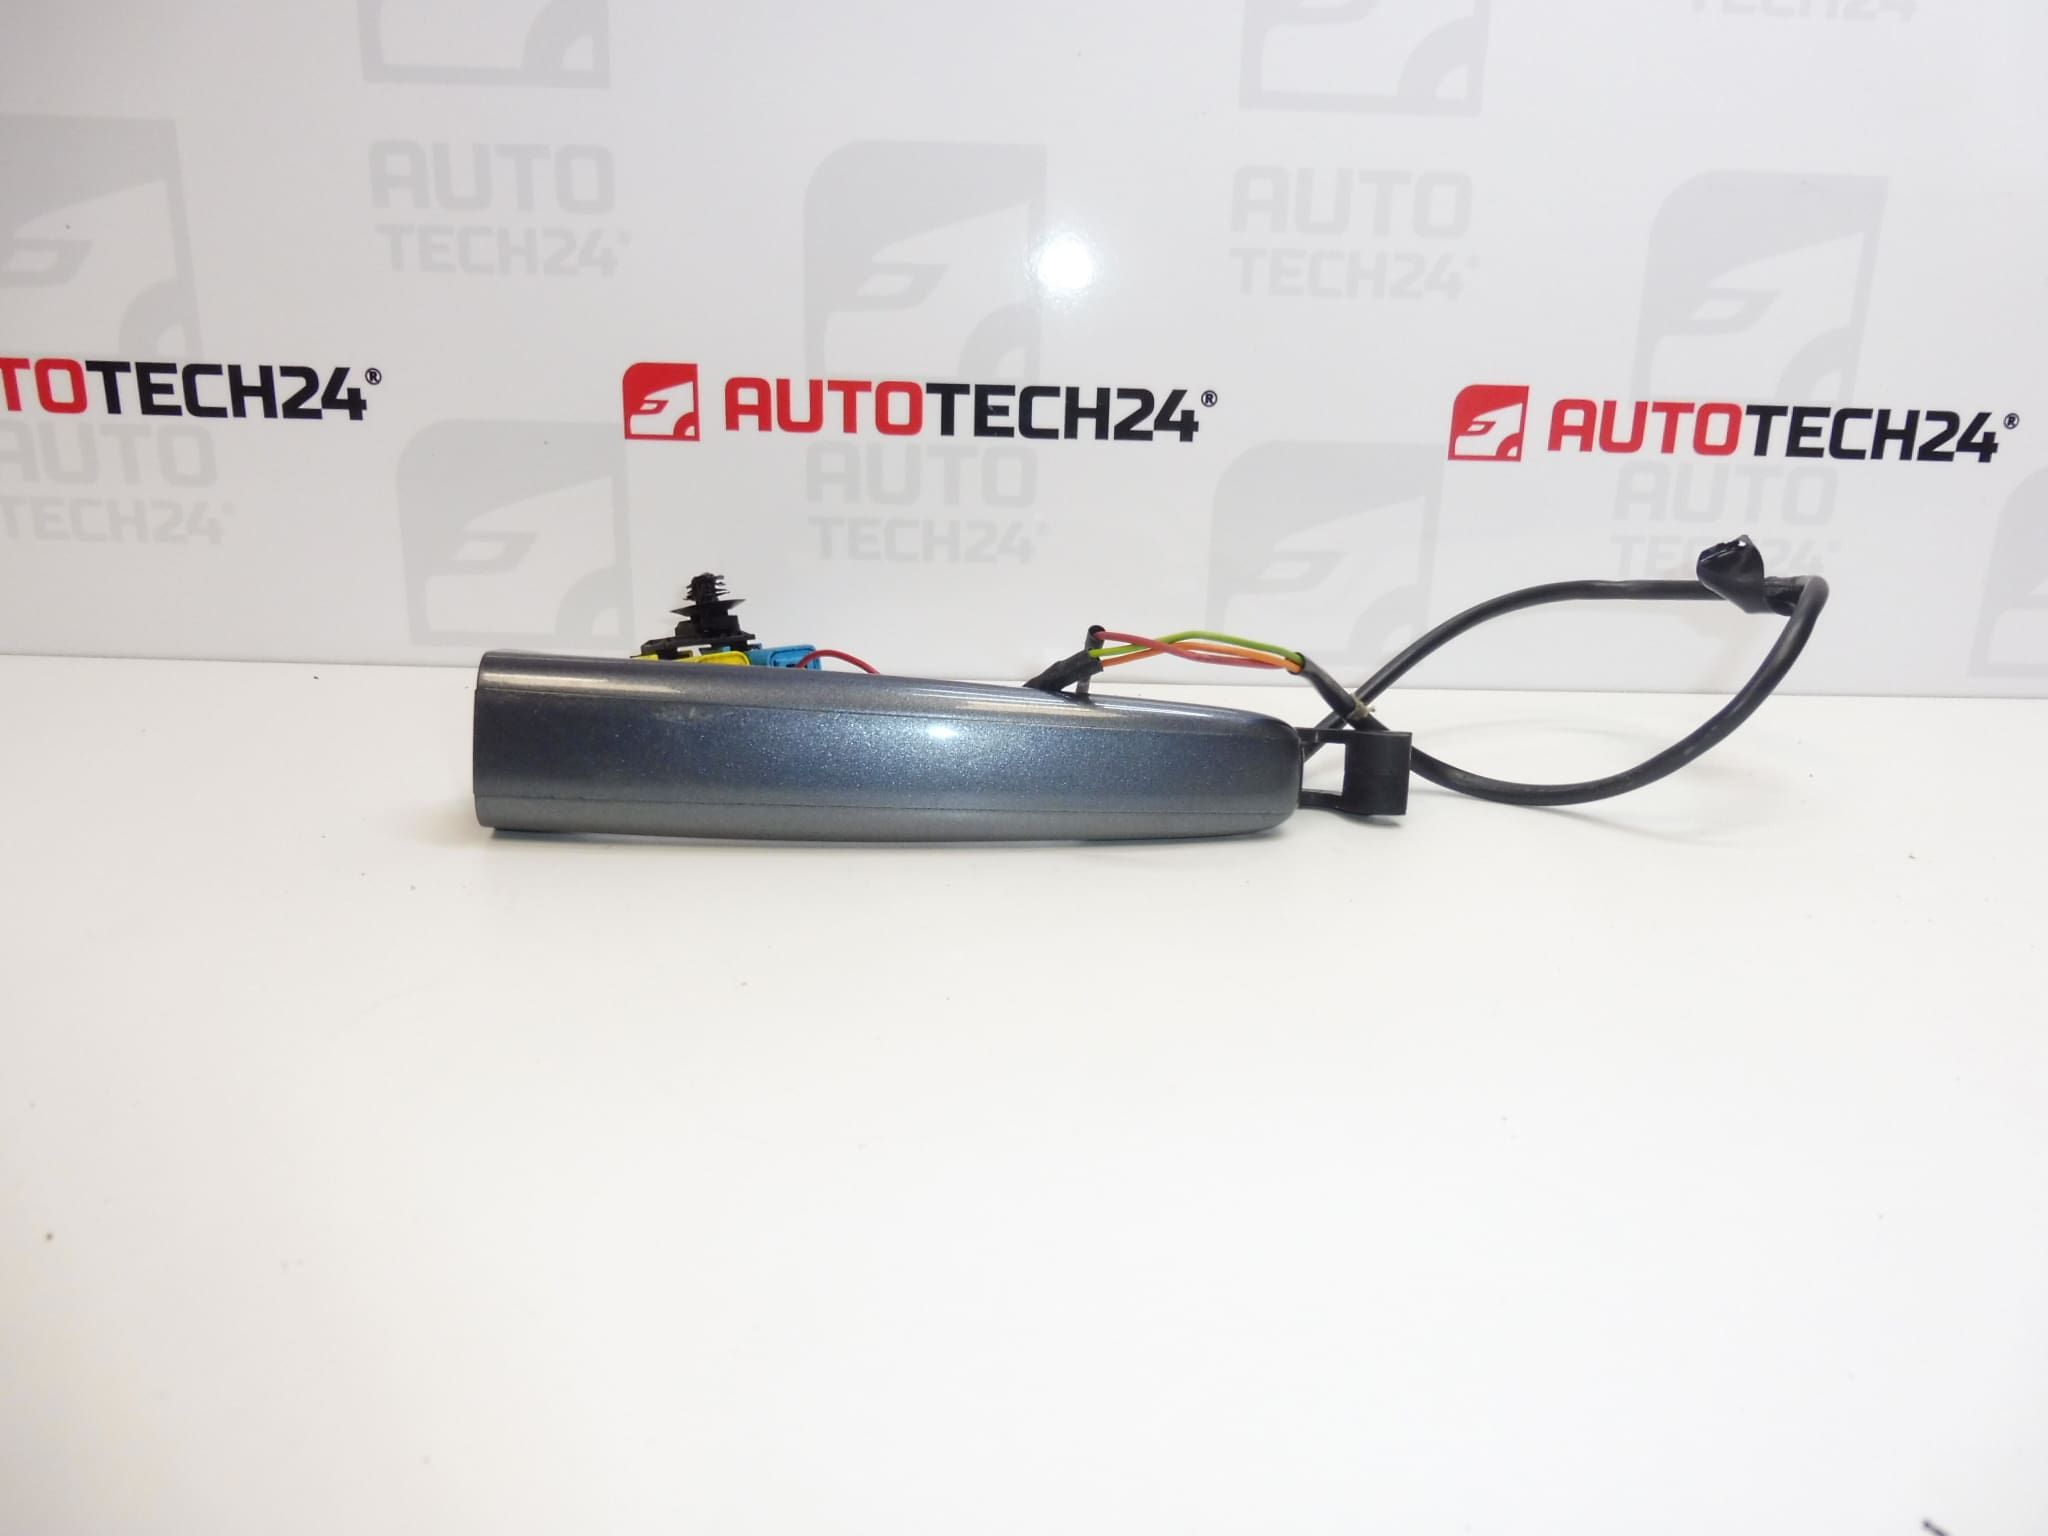
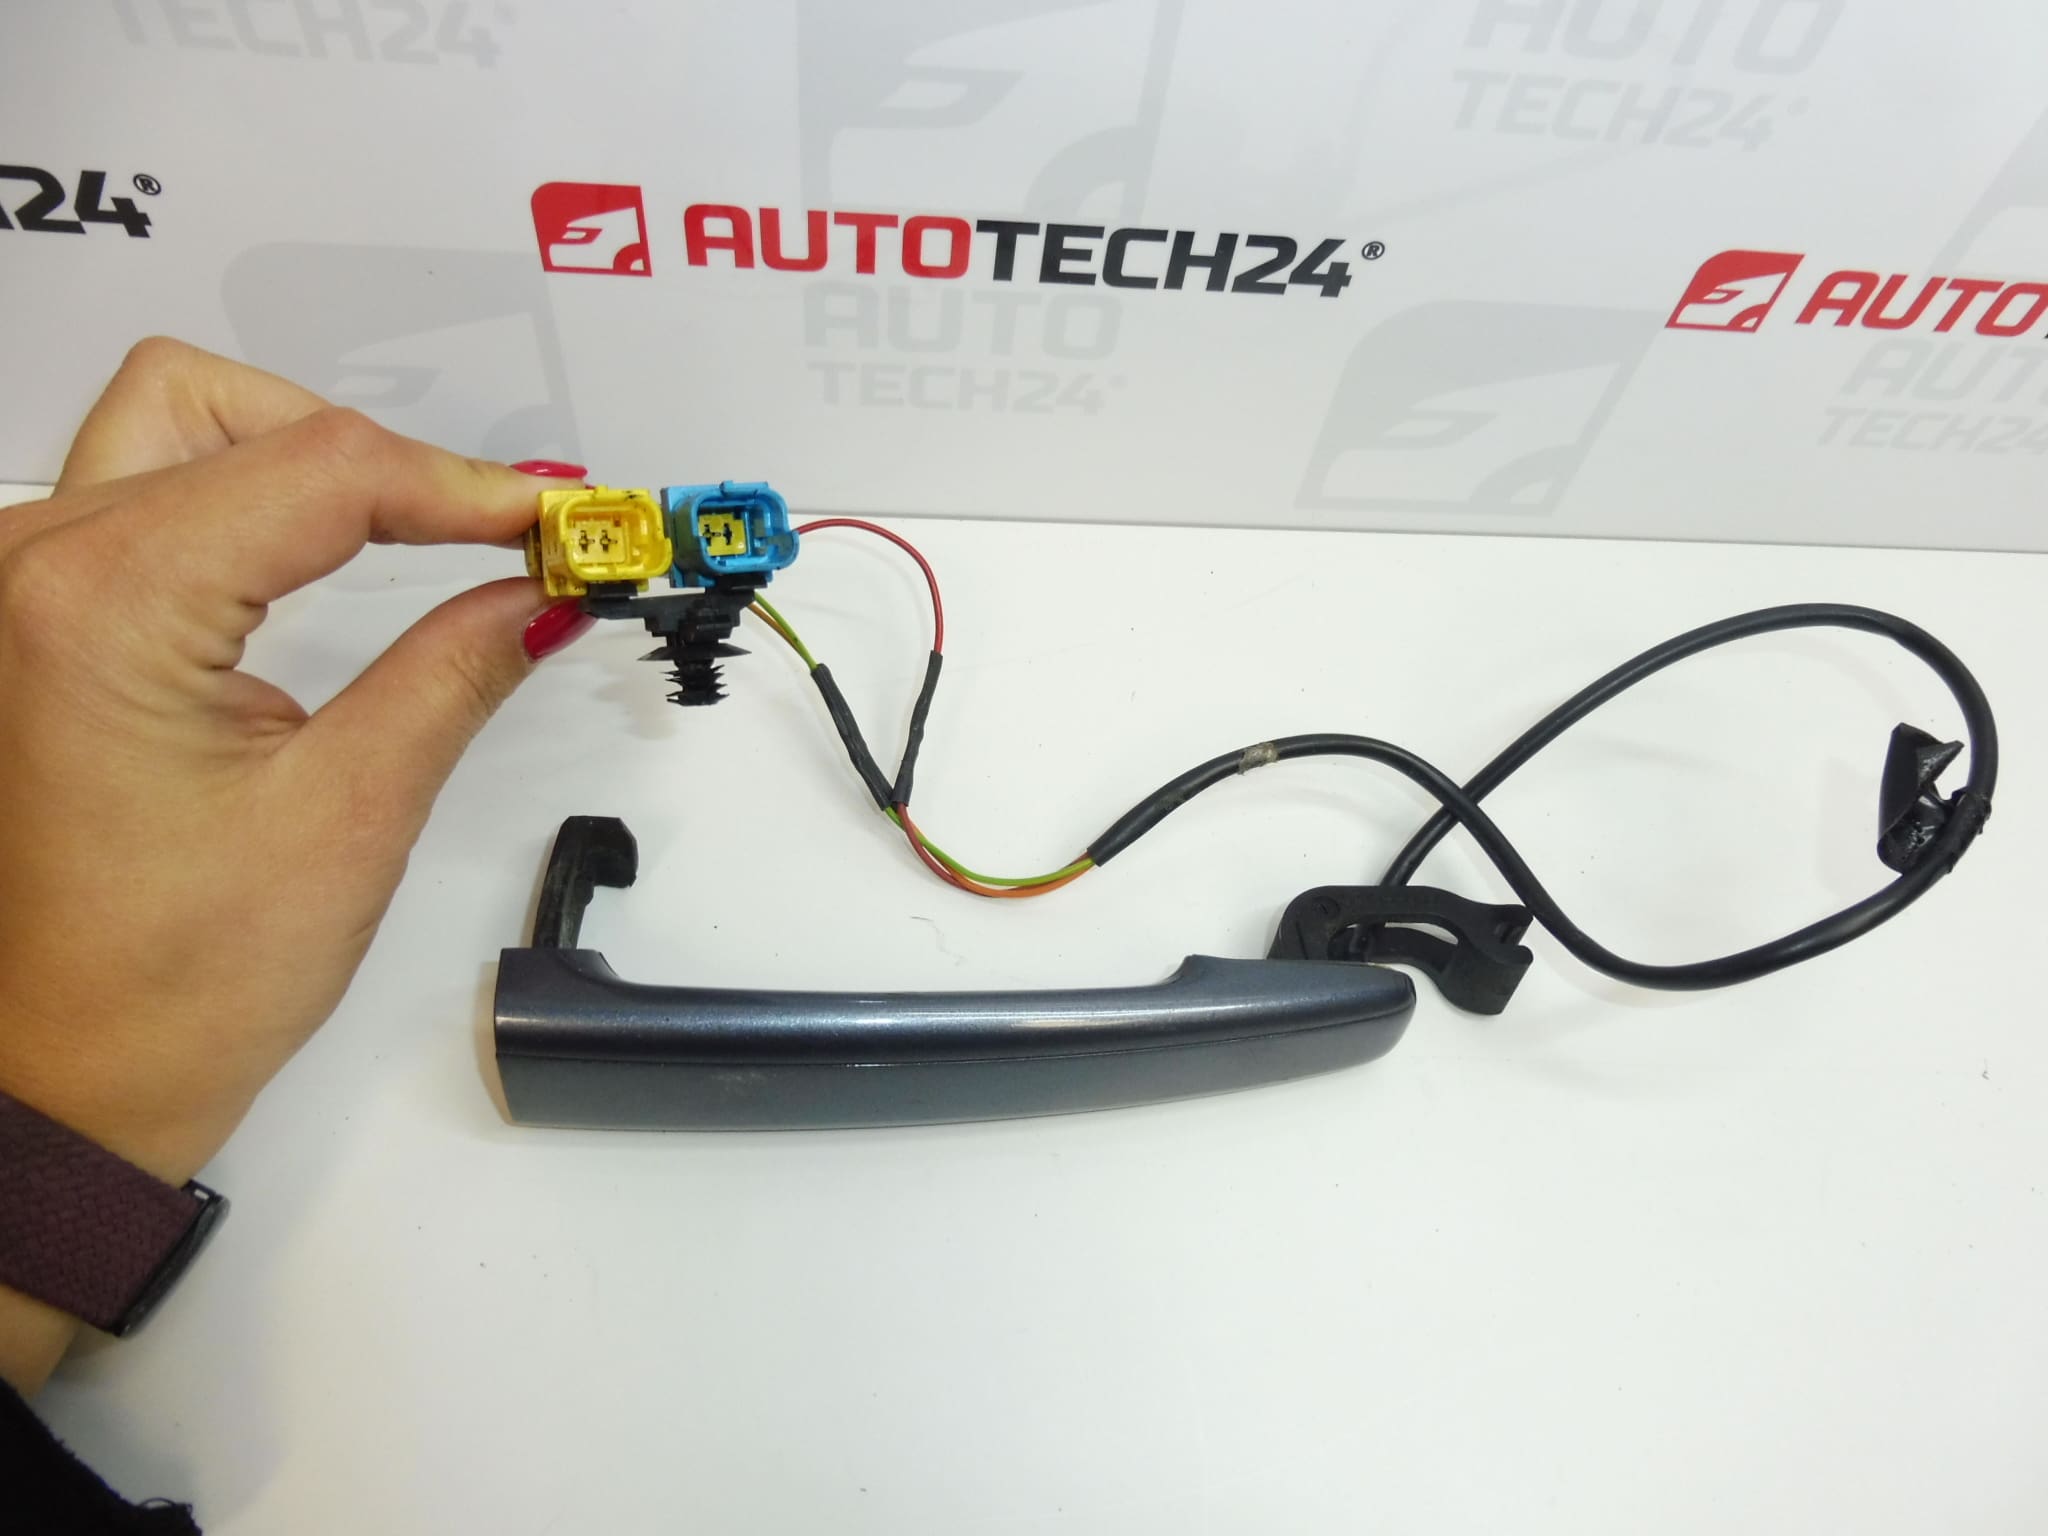
Door handle for PEUGEOT 307 CC vehicles, for both left and right doors
Colour EZW – FER GREY PAINT
Working, tested
We have various colours in stock under code 9101X2
Part description
This used door handle for the Peugeot 307 CC is a suitable solution for replacing a damaged or non-functional handle. According to the available information, it is intended for both left and right doors. This item is working and tested, offering a practical repair option without the need to purchase a new part.
The handle is listed in EZW – FER grey; the product name uses the designation EZWD. When choosing, compare the product numbers, design and mounting with the original handle. The colour code alone does not guarantee an identical paint appearance, which can be affected by age and sun exposure.
Technical information
- Manufacturer: not specified
- Model: Peugeot 307; PEUGEOT 307 CC version according to the description
- Part type: door handle
- Application: left and right doors according to the available information
- Colour: EZW – FER GREY PAINT
- Designation in the name: EZWD
- Condition: used part, working and tested
- Additional numbers: 9647831280
Product codes
- Product codes: 9651421577, 9651421477, 9647831280, 9101X2
- Model: Peugeot 307; PEUGEOT 307 CC according to the description
- Colour designation: EZW; EZWD in the product name
Product numbers help identify the part. Before installation, compare them with the markings on the original item and also check the handle’s design.
Installation recommendations
The following procedure is general and is typically applicable to door handle replacement. The exact method of access, releasing the fasteners and connecting to the lock depends on the specific vehicle version. Follow the manufacturer’s service procedure and do not loosen components whose function you do not understand.
1) Before installation
- Compare the markings, shape, dimensions, mounting points and method of connection to the lock mechanism with the old handle.
- Inspect the used part, especially the mounts, moving parts and any mating surfaces. Check for cracks or deformation.
- Check that the handle moves freely without force, and assess the paint colour and finish before fitting.
- Also check the mechanism inside the door. A stiff lock or damaged linkage can cause problems even with a working handle.
2) Required tools and materials
- Standard hand tools with suitable screwdriver bits for the actual fasteners used.
- Plastic trim removal tools, if the trim needs to be removed.
- Paint-safe protective tape, a soft cloth and a gentle cleaning agent.
- A work light and a container for removed fasteners.
3) Step-by-step installation procedure
- Park the vehicle safely and secure the door against unintended movement. Leave it open to check the mechanism.
- Cover the painted surfaces around the handle to prevent tools from damaging them during the work.
- Access the handle fasteners according to the service procedure. Remove covers or trim only as much as necessary, without forceful prying.
- If the work requires disconnecting electrical components, follow the vehicle manufacturer’s instructions for switching off the power supply.
- Before disconnecting, note or photograph the routing and attachment of rods or cables, if fitted.
- Carefully release the handle’s connection to the lock and its fasteners. Prevent fasteners from falling inside the door.
- Remove the original handle in a manner appropriate to its mounting. If it resists, first check that all retaining clips have actually been released.
- Clean the mating surfaces and inspect the surrounding mechanism and any seals. Address any damage found before installation.
- Fit the replacement handle without placing it under strain, connect the operating mechanism and secure all retaining clips. Rods and cables must not be twisted or incorrectly tensioned.
- Tighten the fasteners according to the manufacturer’s service instructions. Check that the handle is seated correctly and moves freely.
- Before refitting the covers, check the handle’s operation and return with the door open. Then refit the removed parts and check that nothing obstructs the mechanism.
- Only close the door carefully for the first time after checking its operation. Test opening from both outside and inside, as well as locking and unlocking.
4) Post-installation checks and functional testing
The handle must move smoothly, return to its initial position and have no unusual play. Test opening, closing, locking and unlocking the door several times. Do not drive the vehicle if the door does not reliably stay closed. Checking the handle while stationary is essential; a short drive afterwards may reveal rattling from loose trim.
5) Common installation mistakes and how to avoid them
- Choosing based on appearance alone: also compare the numbers, mounts and mechanism connections.
- Forcing retaining clips free: first determine how they are secured, otherwise they may break.
- Incorrect rod or cable routing: refer to the recorded original position and check for movement without strain.
- Overtightened fasteners: follow the service instructions to avoid deforming or cracking the mounts.
- Closing the door before checking: first test the mechanism with the door open to prevent it from becoming stuck shut.
- Overlooking a lock fault: if operation remains stiff, do not force it; check the connected mechanism.
Reasons why the part becomes damaged
Common causes of door handle damage generally include mechanical stress, material ageing and increased resistance in the lock mechanism. The following overview does not describe faults in the item offered, which is listed in the available information as working and tested.
- Repeated sharp pulling: overloads the handle’s mounts and moving parts.
- A stiff lock or operating mechanism: increases the force needed to open the door and accelerates wear.
- Frost, moisture and dirt: can restrict movement; forcing open a frozen door can then damage the handle.
- Impact or careless removal: can cause cracked mounts, deformation or paint damage.
- Age and weather exposure: gradually affect the strength of the material and the appearance of the surface.
- Incorrect fitting during a previous repair: can create constant strain and prevent the handle from returning correctly.