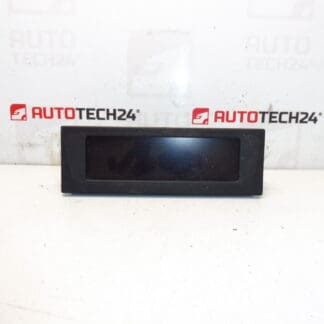
Description
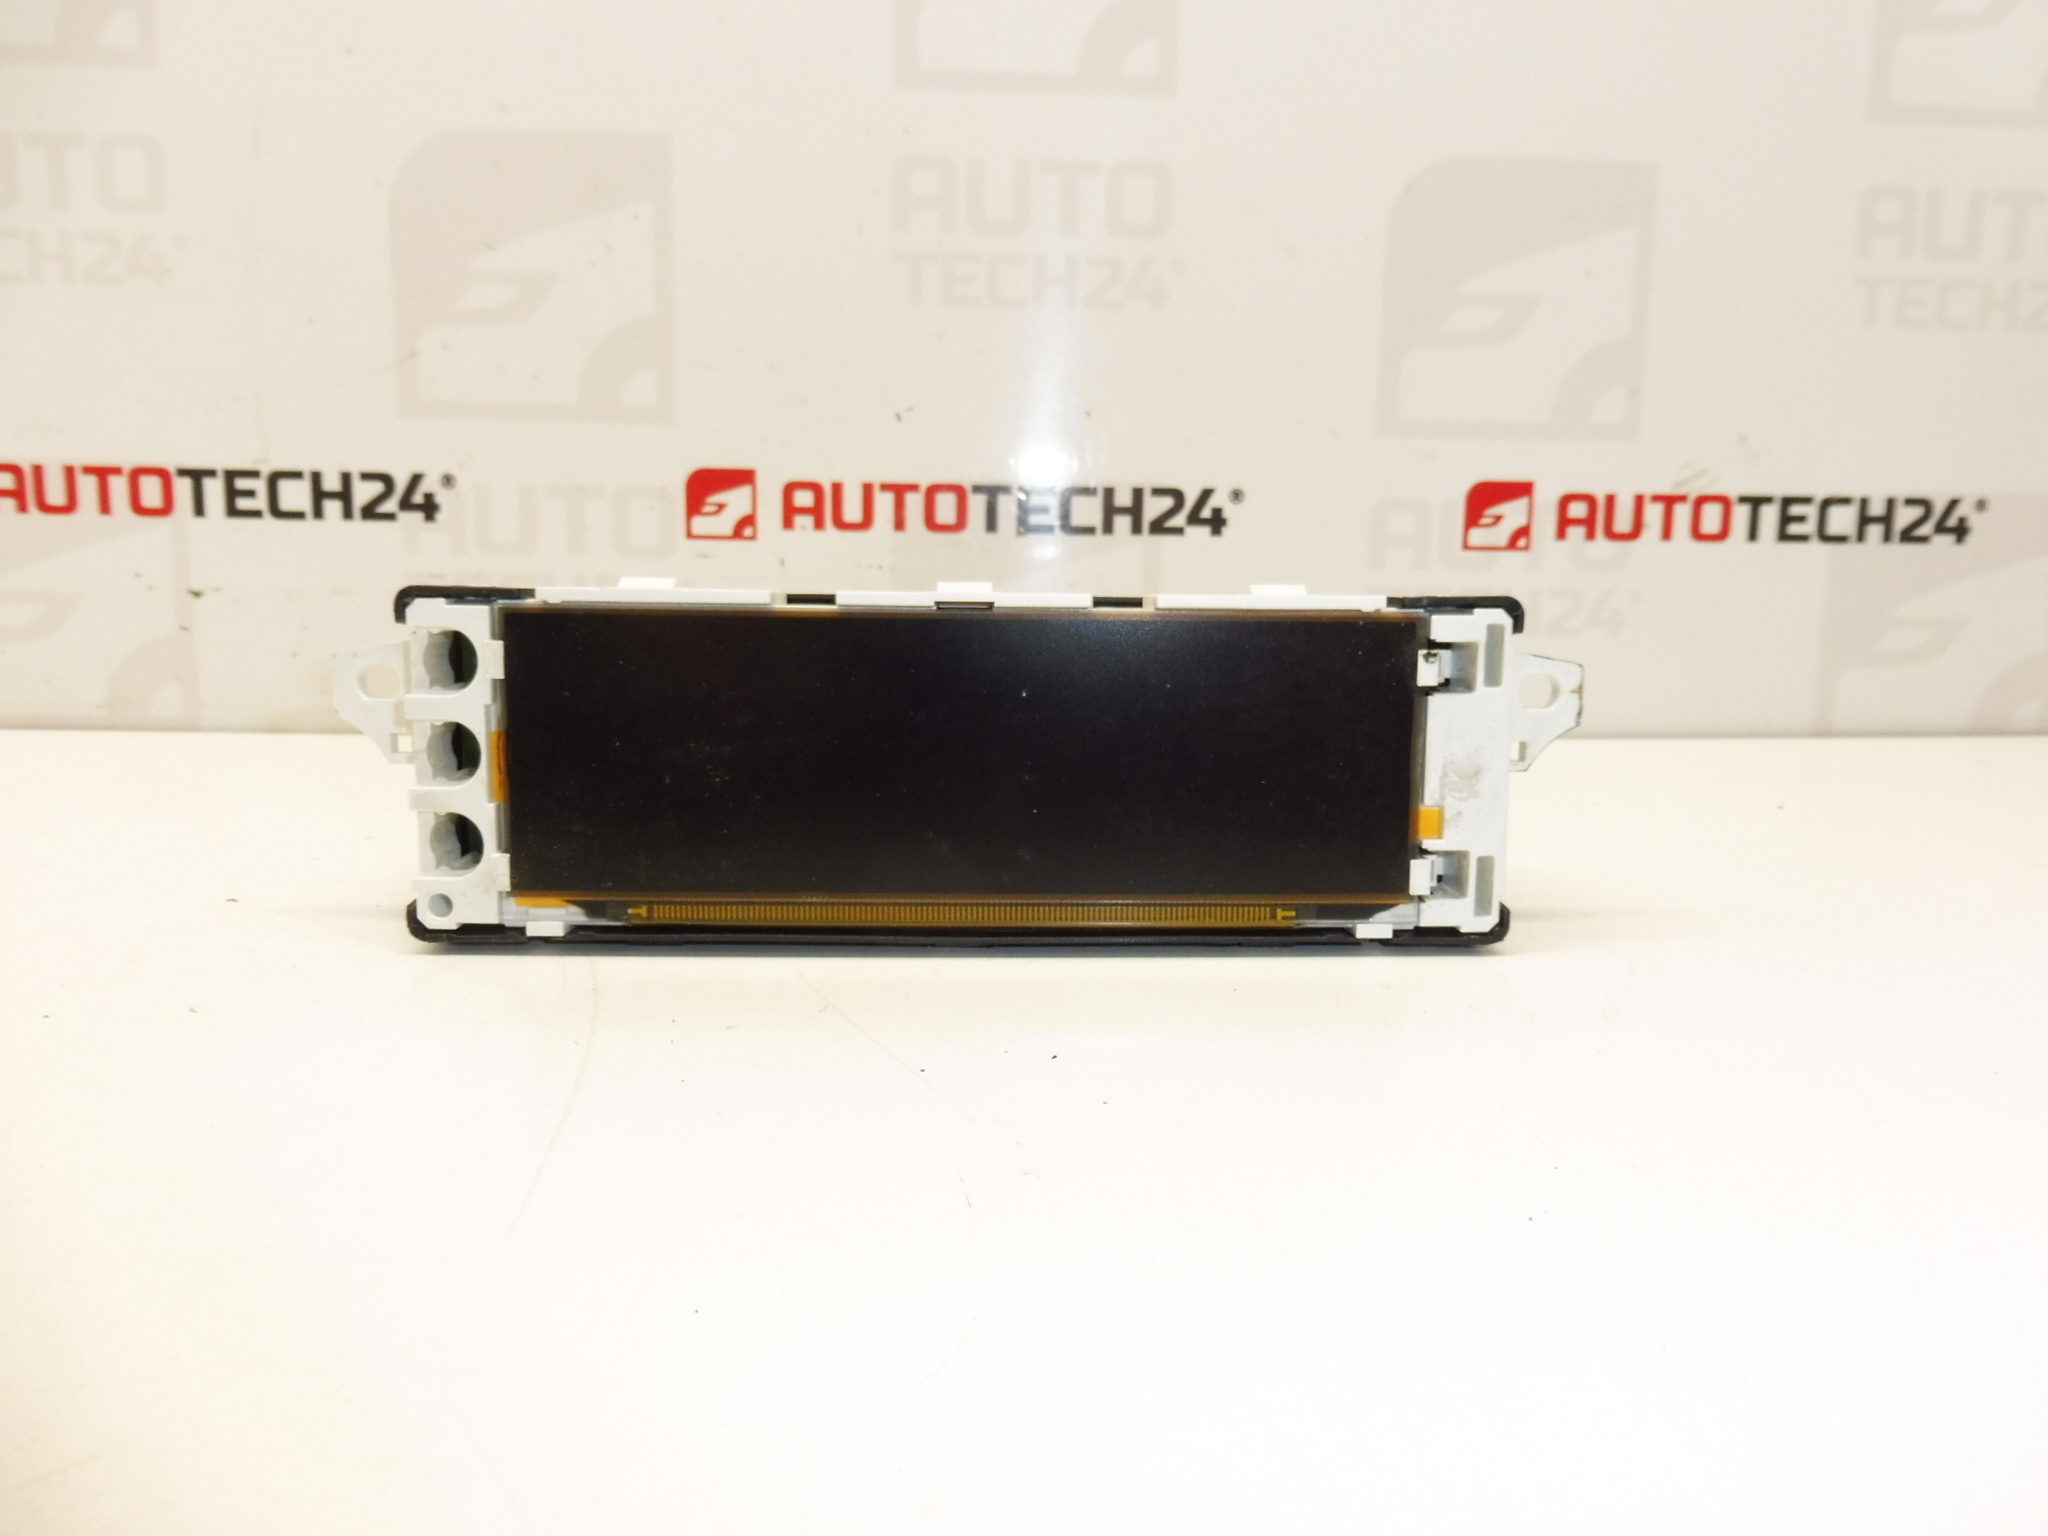
Radio/computer display for CITROËN and PEUGEOT vehicles
Product Overview
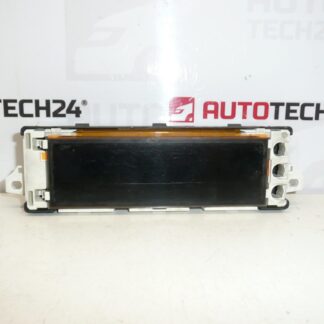
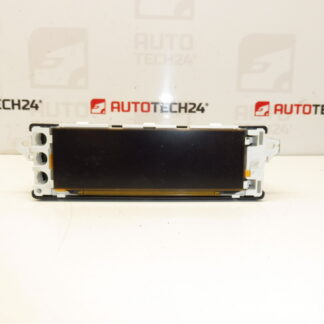
This replacement radio/display unit (Stellantis part number 9800132680-01) is designed for use in selected Citroën and Peugeot models. It provides clear readout for audio, trip computer and vehicle information, restoring visibility and functionality when the factory display is faded, damaged or unresponsive. Ideal for professional workshops and DIY mechanics who search and order parts by part number.
Why Choose This Display
- Direct-fit replacement for original dashboard radio/computer displays used in multiple Citroën and Peugeot models.
- Supplies the same basic display functions as the original: radio/menu text, trip and vehicle information, clock and basic diagnostics readout.
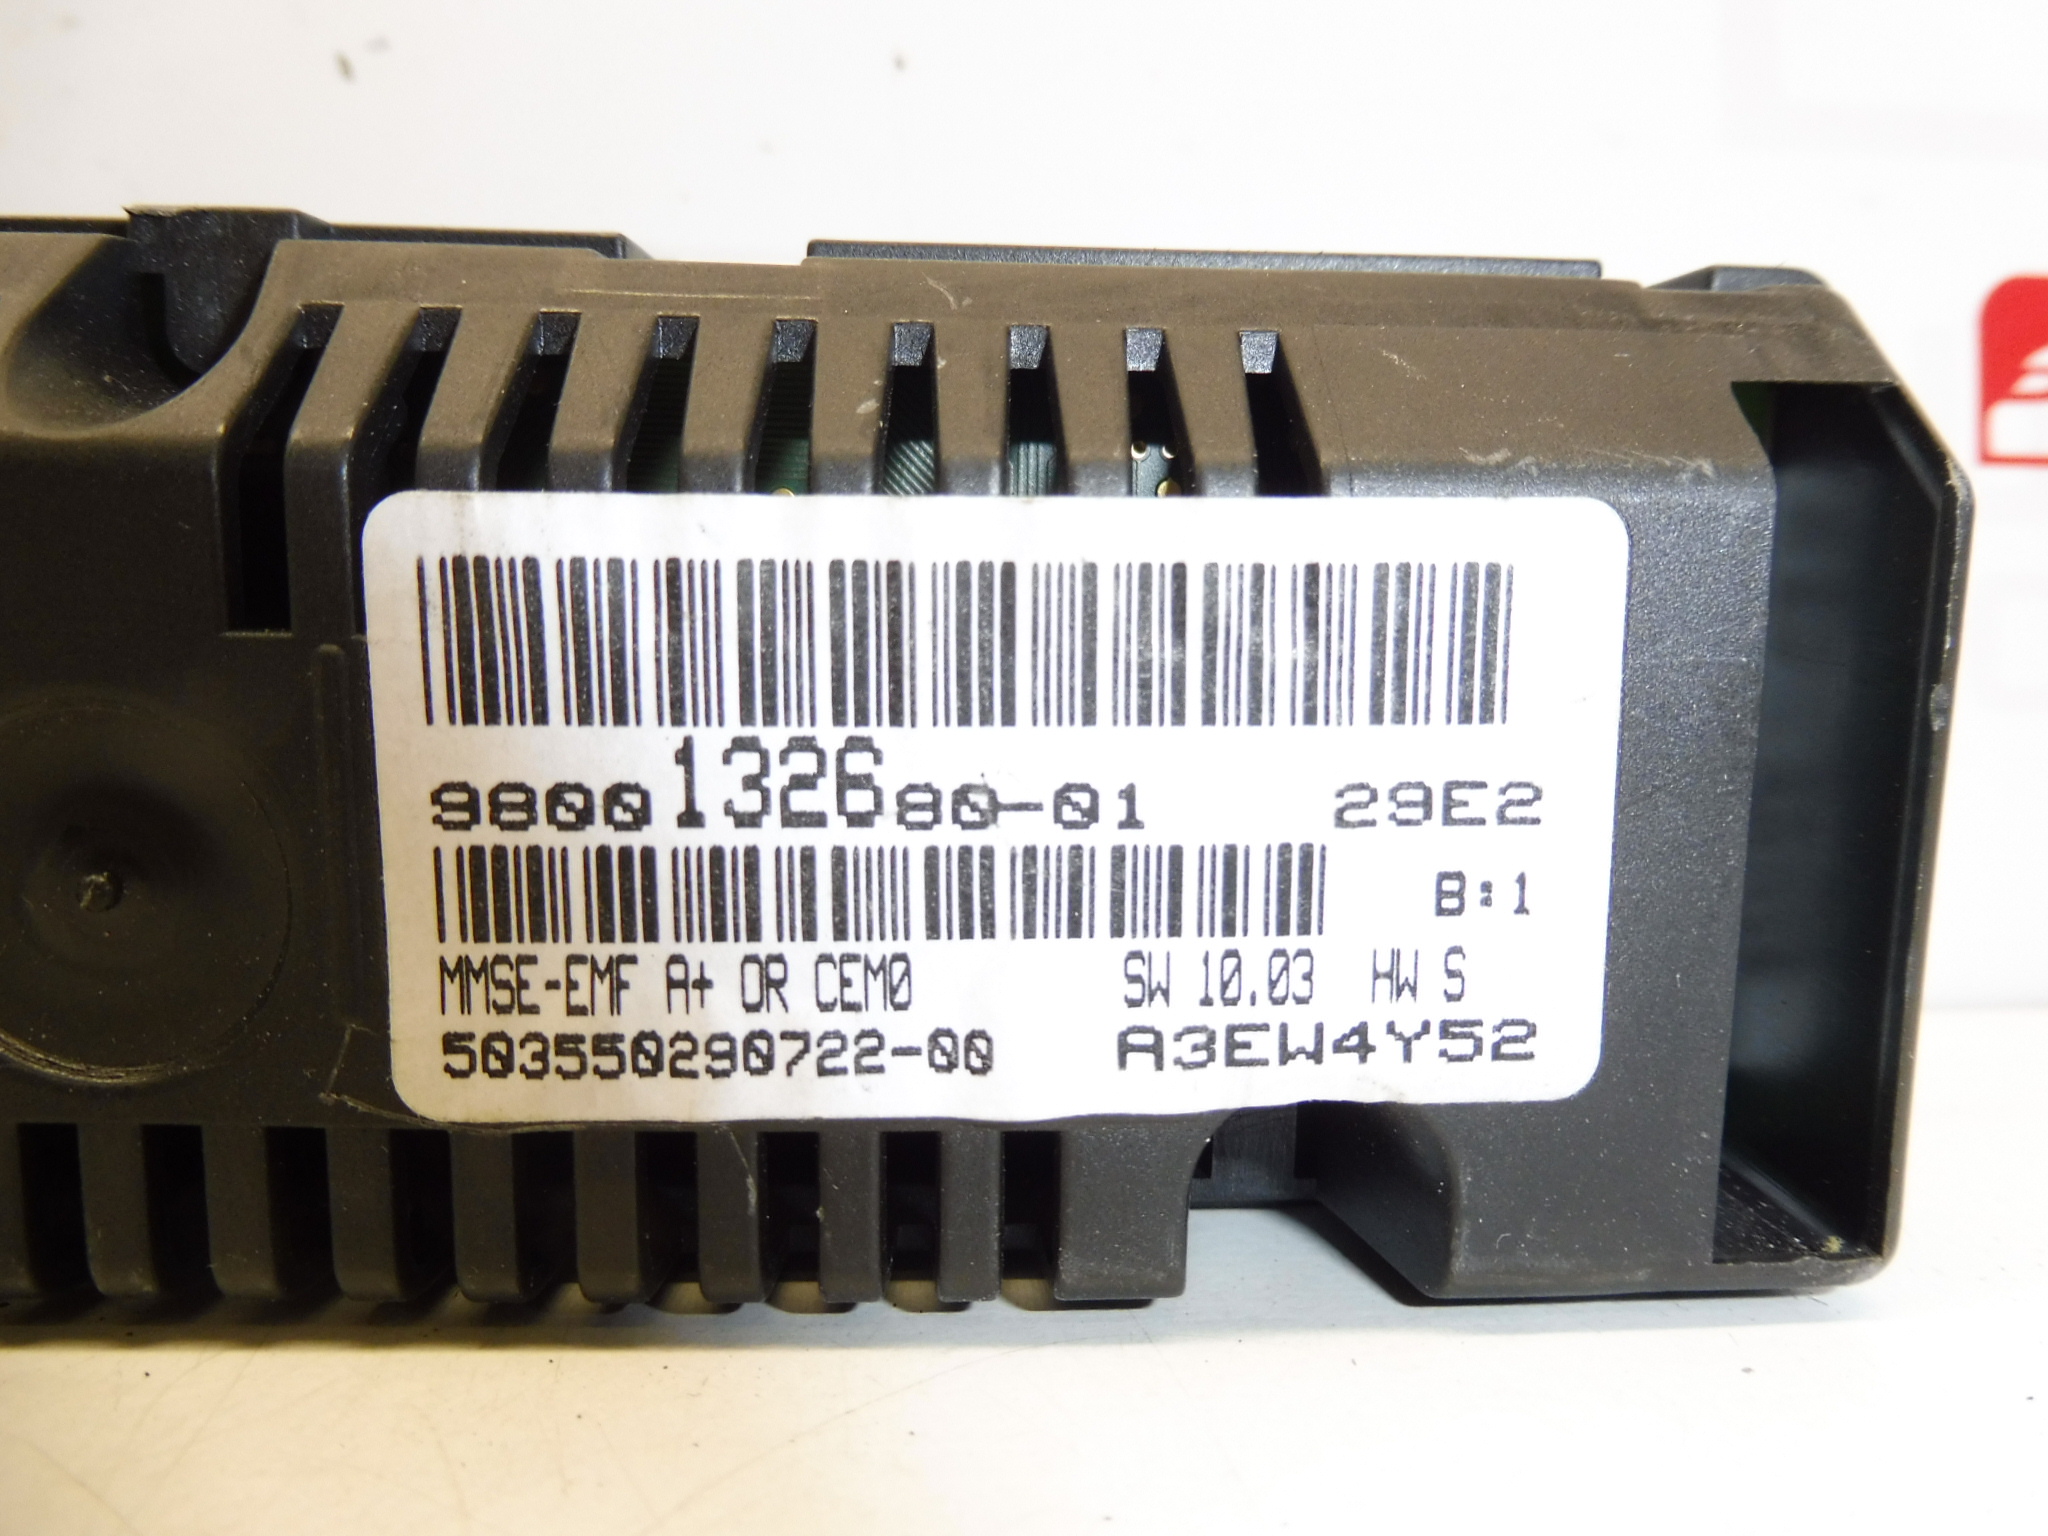
- Part number search friendly — commonly listed as 9800132680-01.
Technical Information
- Manufacturer: Stellantis
- Model(s): Citroën Berlingo B9, Citroën C3 II, Citroën C3 Picasso, Peugeot 207, Peugeot Partner Tepee
- Product Codes: 9800132680-01
- Additional Numbers: Not provided
Installation Recommendations
Follow these general steps and precautions for safe installation. If unsure, have the work performed by a qualified technician.
- Always disconnect the negative battery terminal before starting to avoid short circuits and potential damage to electronic modules.
- Carefully remove surrounding trim panels using suitable plastic trim tools to avoid breaking clips.
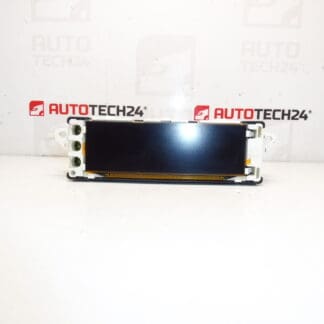
- Unscrew and extract the display module; gently unplug connectors and any ribbon cables. Avoid pulling on wires — use connector release tabs where present.
- Inspect connectors and mating pins for corrosion or bent contacts and clean if necessary before fitting the new display.
- Fit the replacement display, reconnect all plugs and test its functions (radio text, clock, menu navigation) before reassembling the trim.
- Observe electrostatic discharge (ESD) precautions when handling electronic boards and display panels.
How The Part Is Replaced On The Vehicle
Typical replacement takes place from the center of the dashboard. Remove bezel and fasteners holding the display unit, disconnect harnesses and ribbon cables, then install the new unit in reverse order. Testing should include powering the radio/display and checking all visible functions before final reassembly.
Most Common Failure Causes
- Backlight or display panel degradation over time — dimming, dead pixels or uneven illumination.
- Faulty or loose ribbon cable / connector contacts leading to intermittent or no display.
- Water ingress or excessive humidity causing corrosion or short circuits.
- Electrical surges (e.g., jump-starting, poor battery connections) that damage display electronics.
- Physical damage from impact or improper removal/installation.
Notes For Mechanics And DIYers
Customers often search by part number 9800132680-01 — include this in your order to speed identification. Check connector condition and harness integrity when replacing the display to prevent repeated failures. Replacing the display usually restores full readability and basic menu operation, but if there are related faults in the radio or vehicle electronics, further diagnosis may be required.