Description
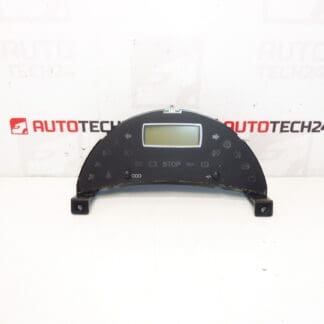
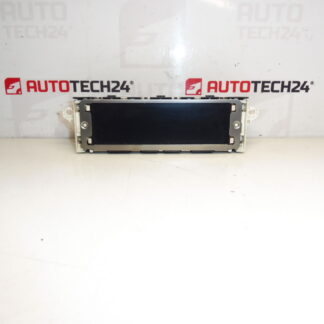
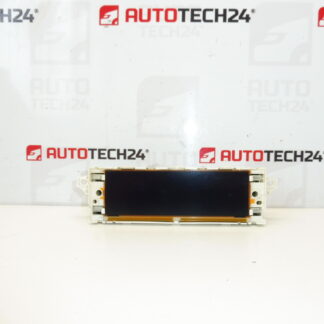
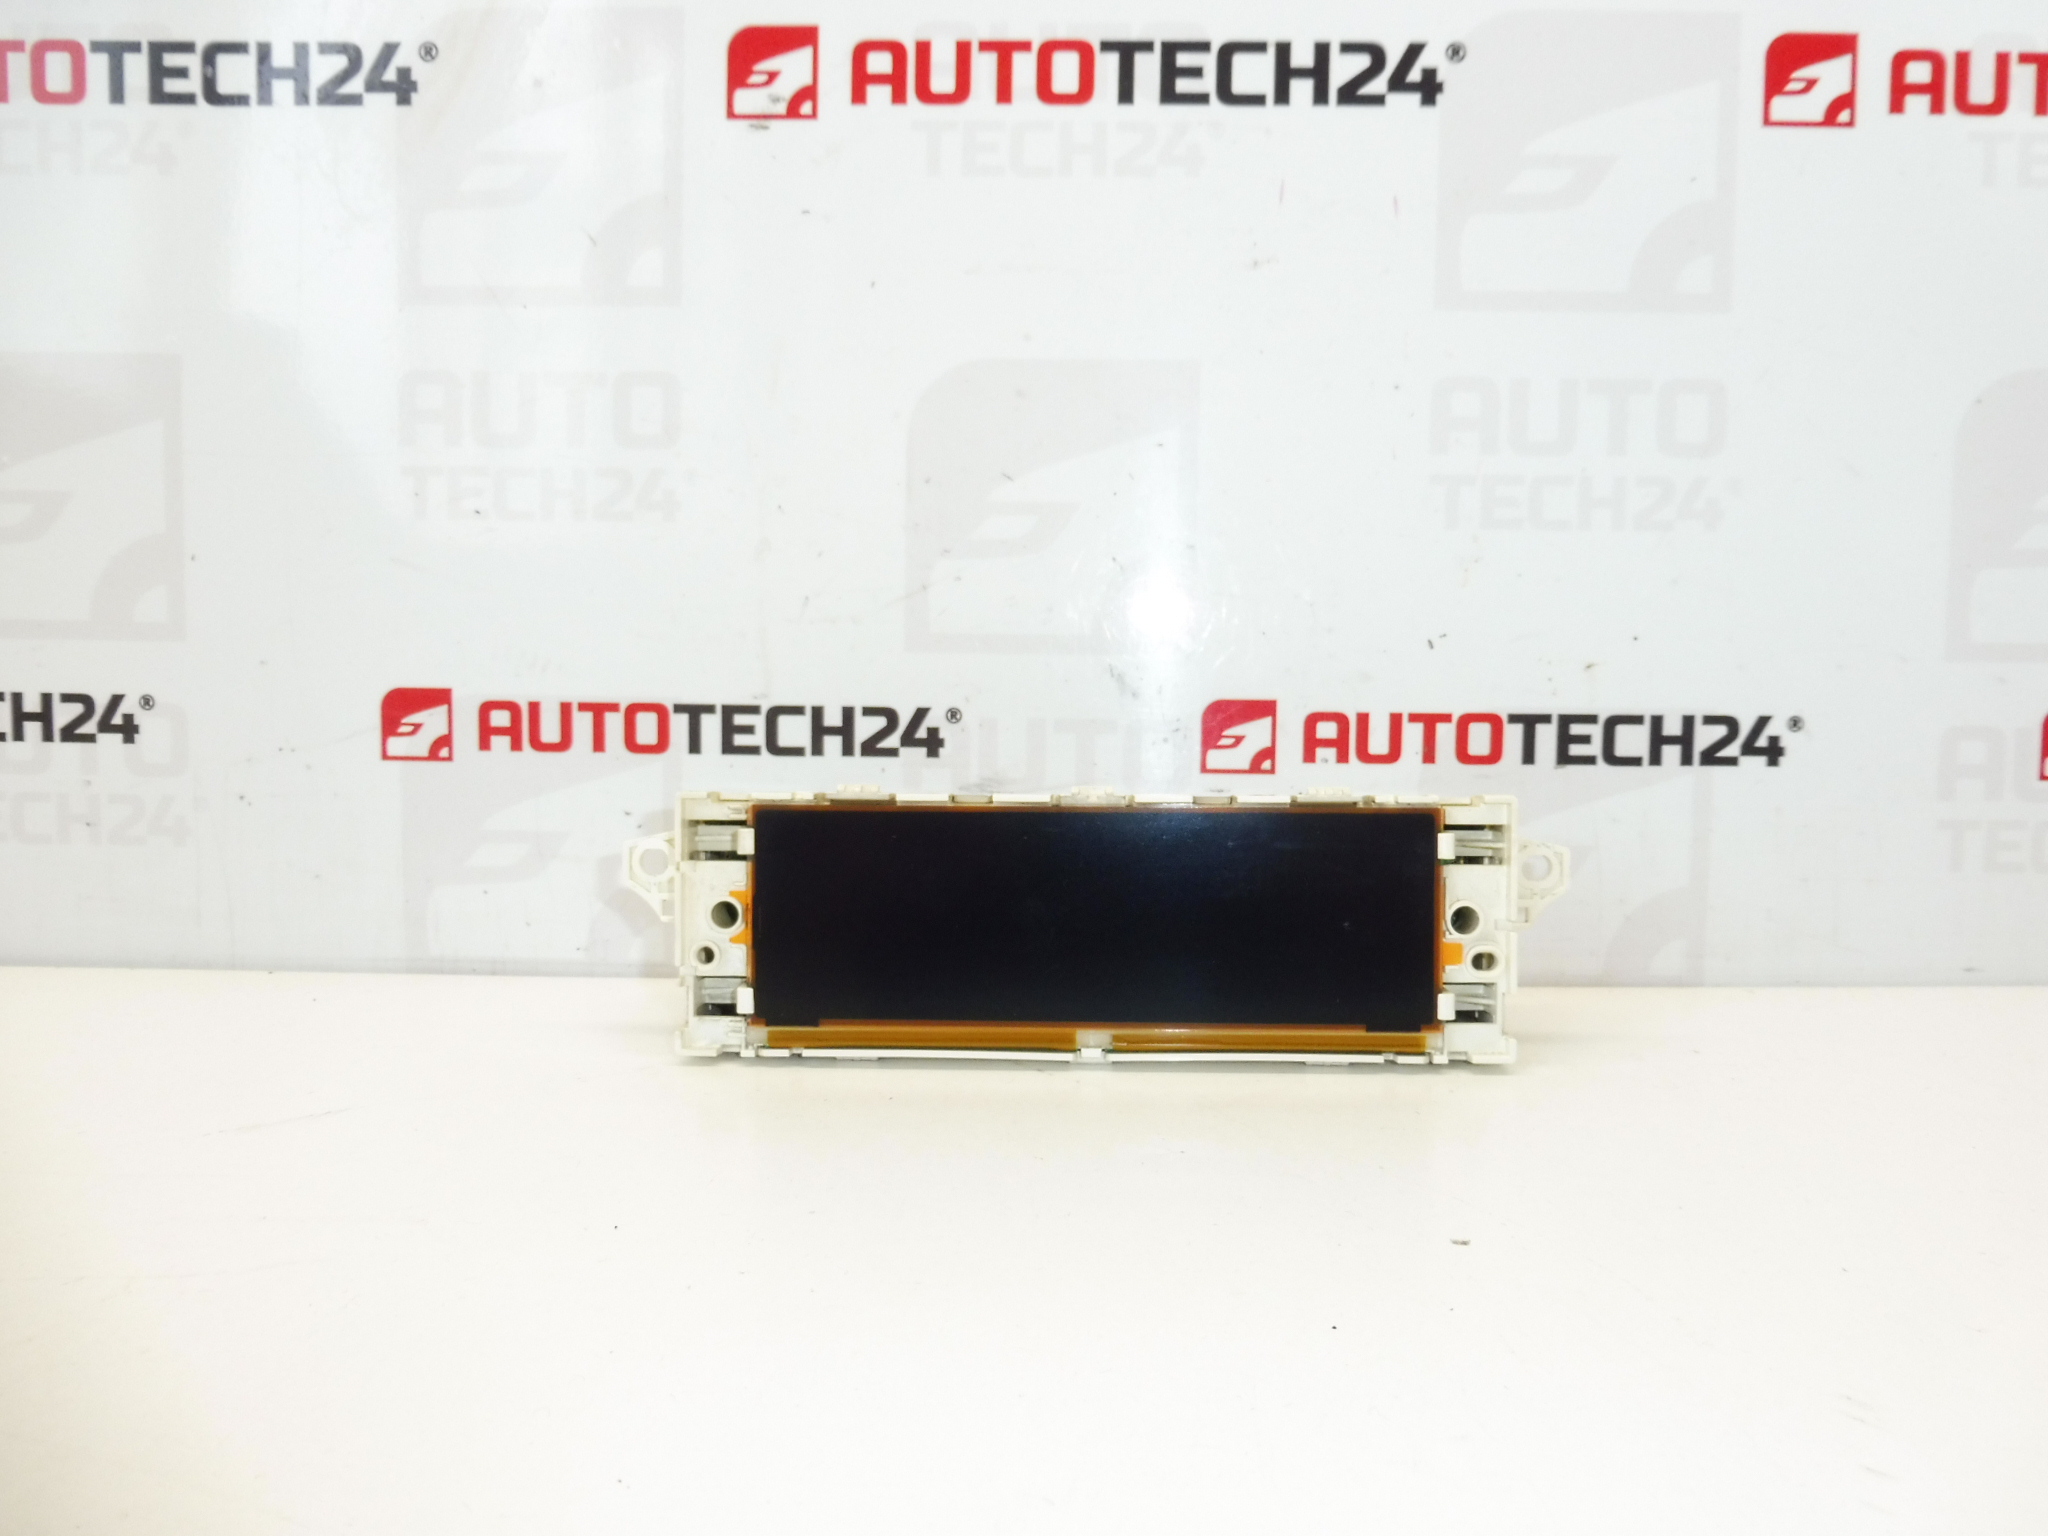
Radio and computer display for Citroën and PEUGEOT cars
This display may need to add diagnostics to the car to turn on individual functions
It is from a Citroen C8 2007
Part description
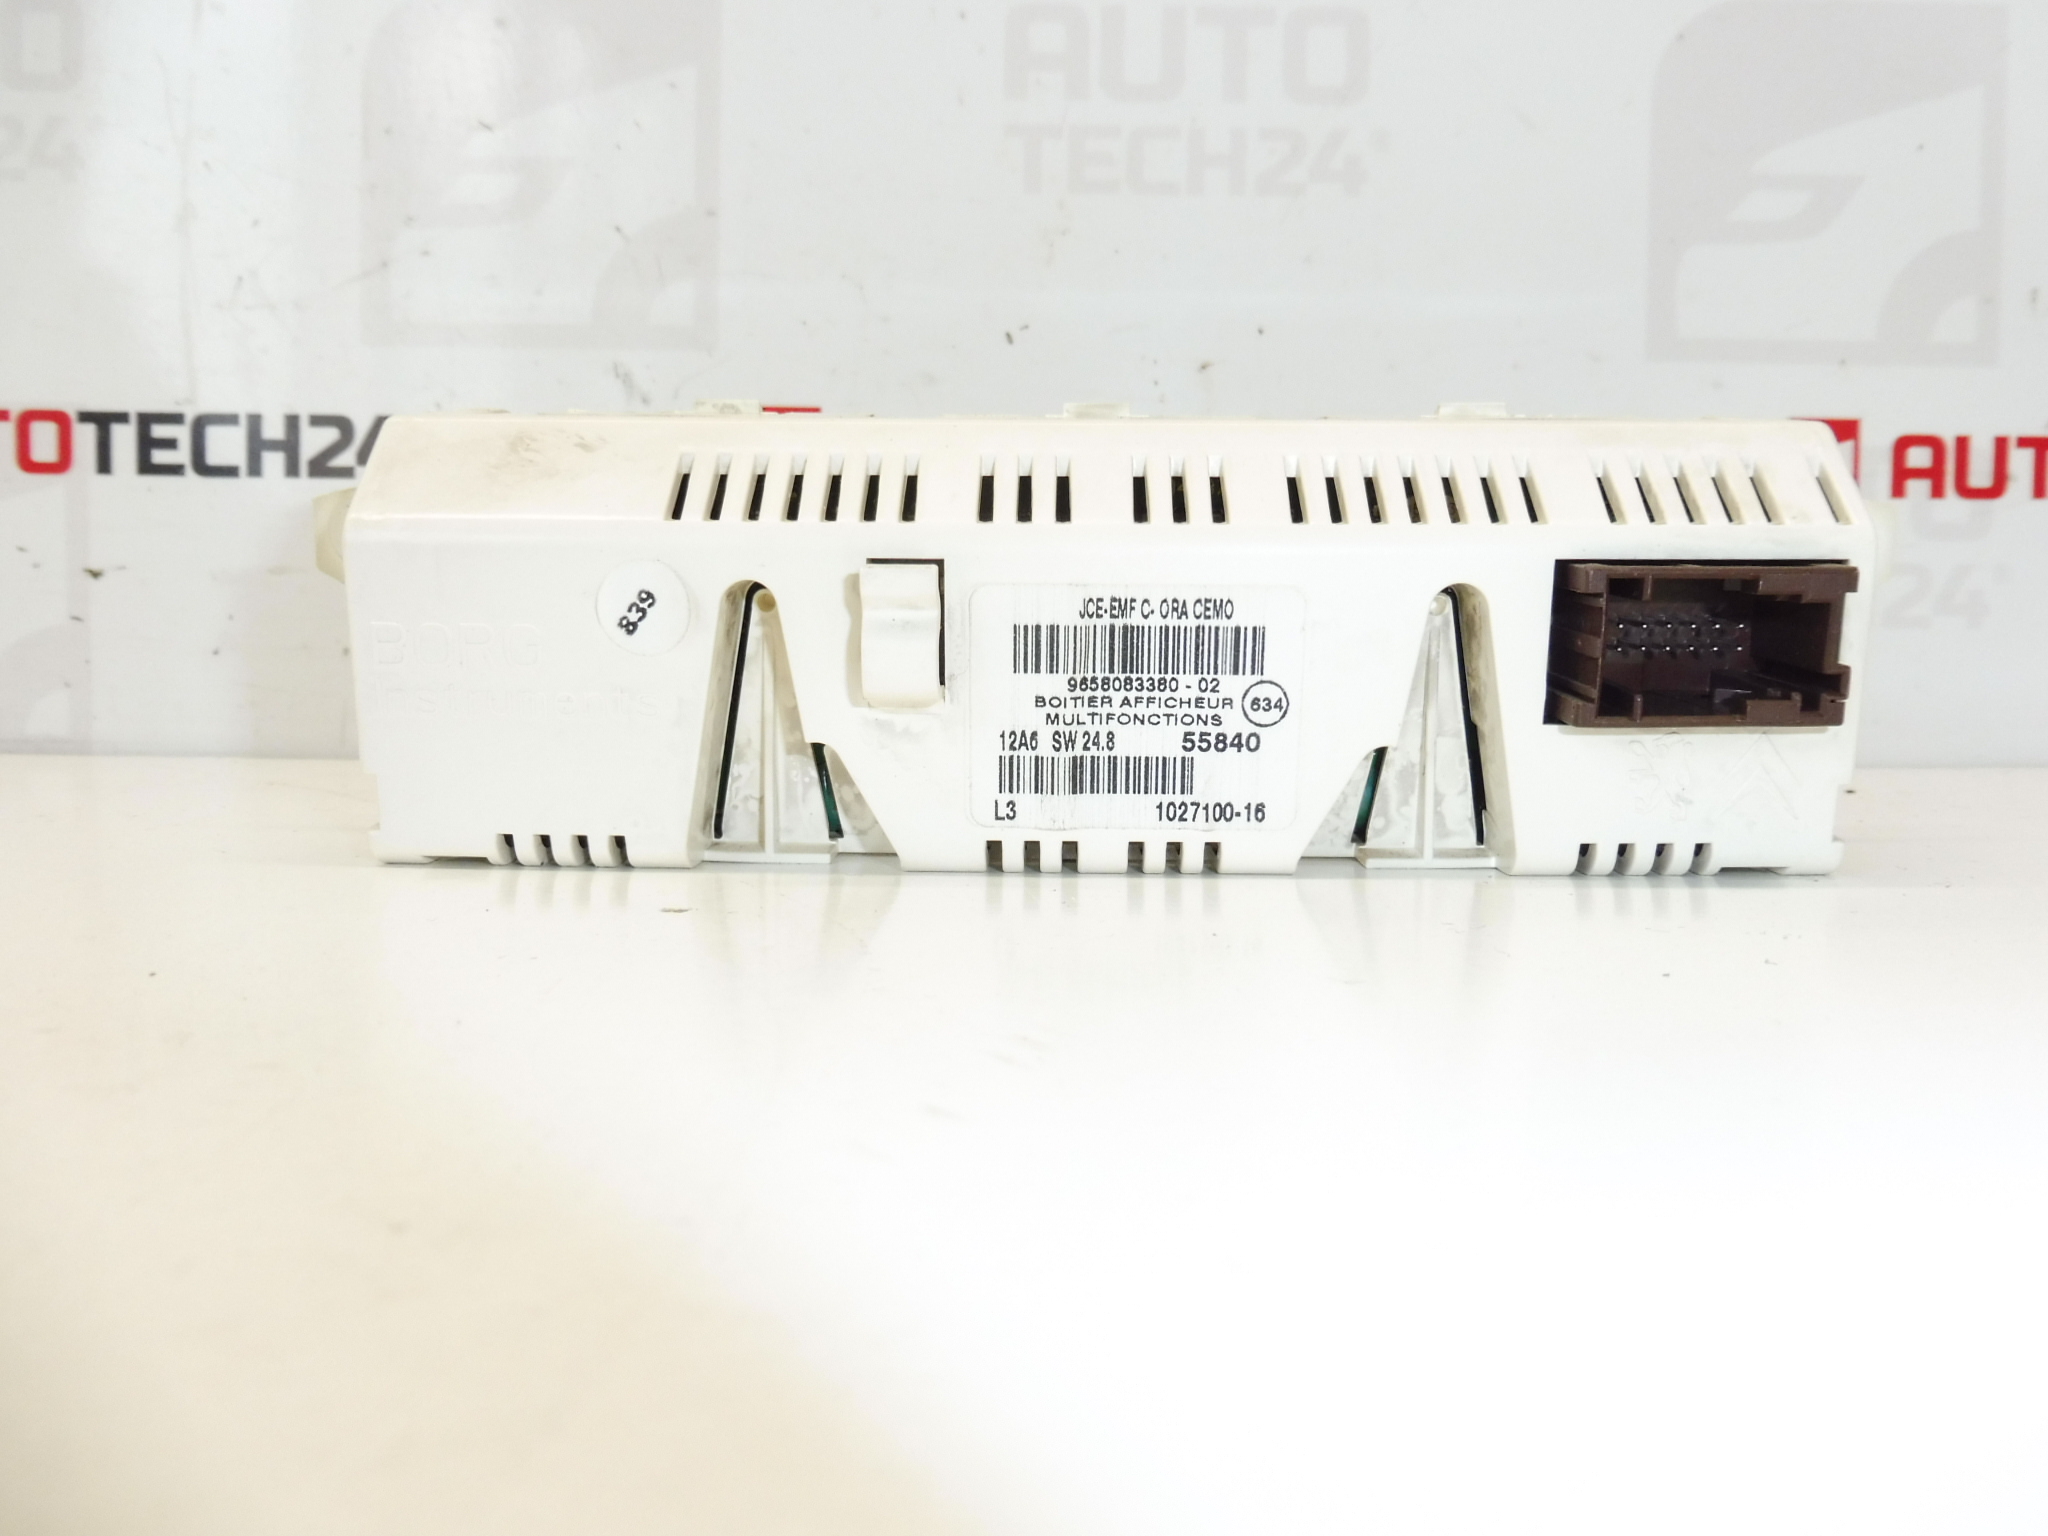
Used radio and on-board computer display for Citroën/Peugeot cars, suitable as a replacement for a non-functional, cracked or illegible display. It is a part from a Citroën C8 (2007). It is common for this type of display that after installation, diagnostic activation/loading of functions may be required in order for all displayed items to turn on and function properly.
Technical information
- Manufacturer: Stellantis
- Model: Citroën/Peugeot (specific models: not specified)
- Other numbers: 9658083380-02, 9821852480, 659330, 659331
Product codes
- Product codes: 9658083380, 9658083380-02, 9821852480, 659330, 659331
Installation recommendations
Warning: After installation, this display may require setting/activation by diagnostics to turn on individual functions (depending on the equipment and configuration of the car).
1) Before assembly (checks)
- Compare the product numbers (especially 9658083380 and other numbers listed) with the old part.
- Check the connectors (shape, number of pins, locks) and whether they are broken.
- Optically check the condition: cracks in the cover, damage to the display, oxidation of the pins, signs of moisture.
- If brightness/segment fluctuations were the original problem, consider checking the wiring and connectors – to prevent the problem from recurring.
2) Necessary tools and materials (in general)
- A set of common hand tools (screwdrivers, bits according to design)
- Plastic crowbar for dismantling interior parts
- Electrical contact cleaner (as needed)
- Diagnostics for possible loading/activation of functions (if necessary)
3) Step-by-step assembly procedure (typical for this type of part)
- Turn off the ignition and wait until the electronics in the car go to sleep.
- To be safe, disconnect the battery (to minimize the risk of short circuits and errors in the electronics).
- Remove the surrounding dash covers/panels to access the display (use a plastic pry bar).
- Unfasten the display (screws/latches depending on the design).
- Carefully pull the display out of its seat.
- Disconnect the connector(s) – unlock the connector lock first, do not pull on the wiring.
- Compare the old and new piece again (numbers, connectors, mounting).
- Connect the connector(s) to the new display and check for proper snapping/locking.
- Place the display back and fix it in the original way.
- Reinstall the removed covers/panels.
- Connect the battery.
- Turn on the ignition and verify the function of the display; if some functions are missing, make the necessary settings with diagnostics.
-
4) Post-assembly checks and test verification
- Verify readability, backlight and display stability (no dropouts with slight cable movement).
- Check that the expected information is displayed and the radio/on-board system controls are responsive.
- If some functions are not displayed or are not active, diagnostic settings according to the car configuration are typically needed.
5) The most common assembly mistakes + how to avoid them
- Confusion by appearance instead of part number → always compare product numbers primarily.
- Damage to the connector by pulling it out without unlocking it → always unlock the latch and pull straight out.
- Assembly without disconnecting the battery → may cause electrical errors; it is safer to disconnect the battery.
- Setting not carried out by diagnostics → some functions may not be active; expect upload/configuration option.
Reasons why the part is damaged
- Aging of backlight and electronics (weak brightness, segment failures, unreadability).
- Temperature stress in the interior (heat in summer, frost in winter) leading to cracked joints.
- Moisture and subsequent oxidation of contacts/connectors.
- Mechanical damage during disassembly of onboard parts or careless handling.
- Cabling or connector fault causing power fluctuations and subsequent display problems.