
Description
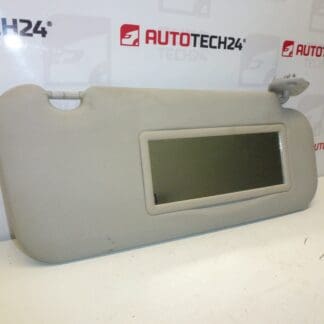
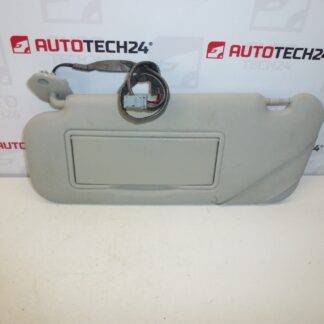
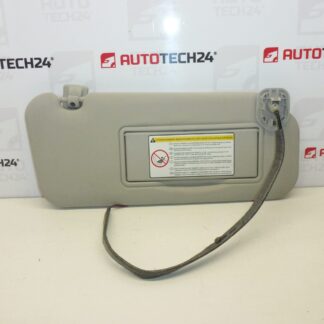
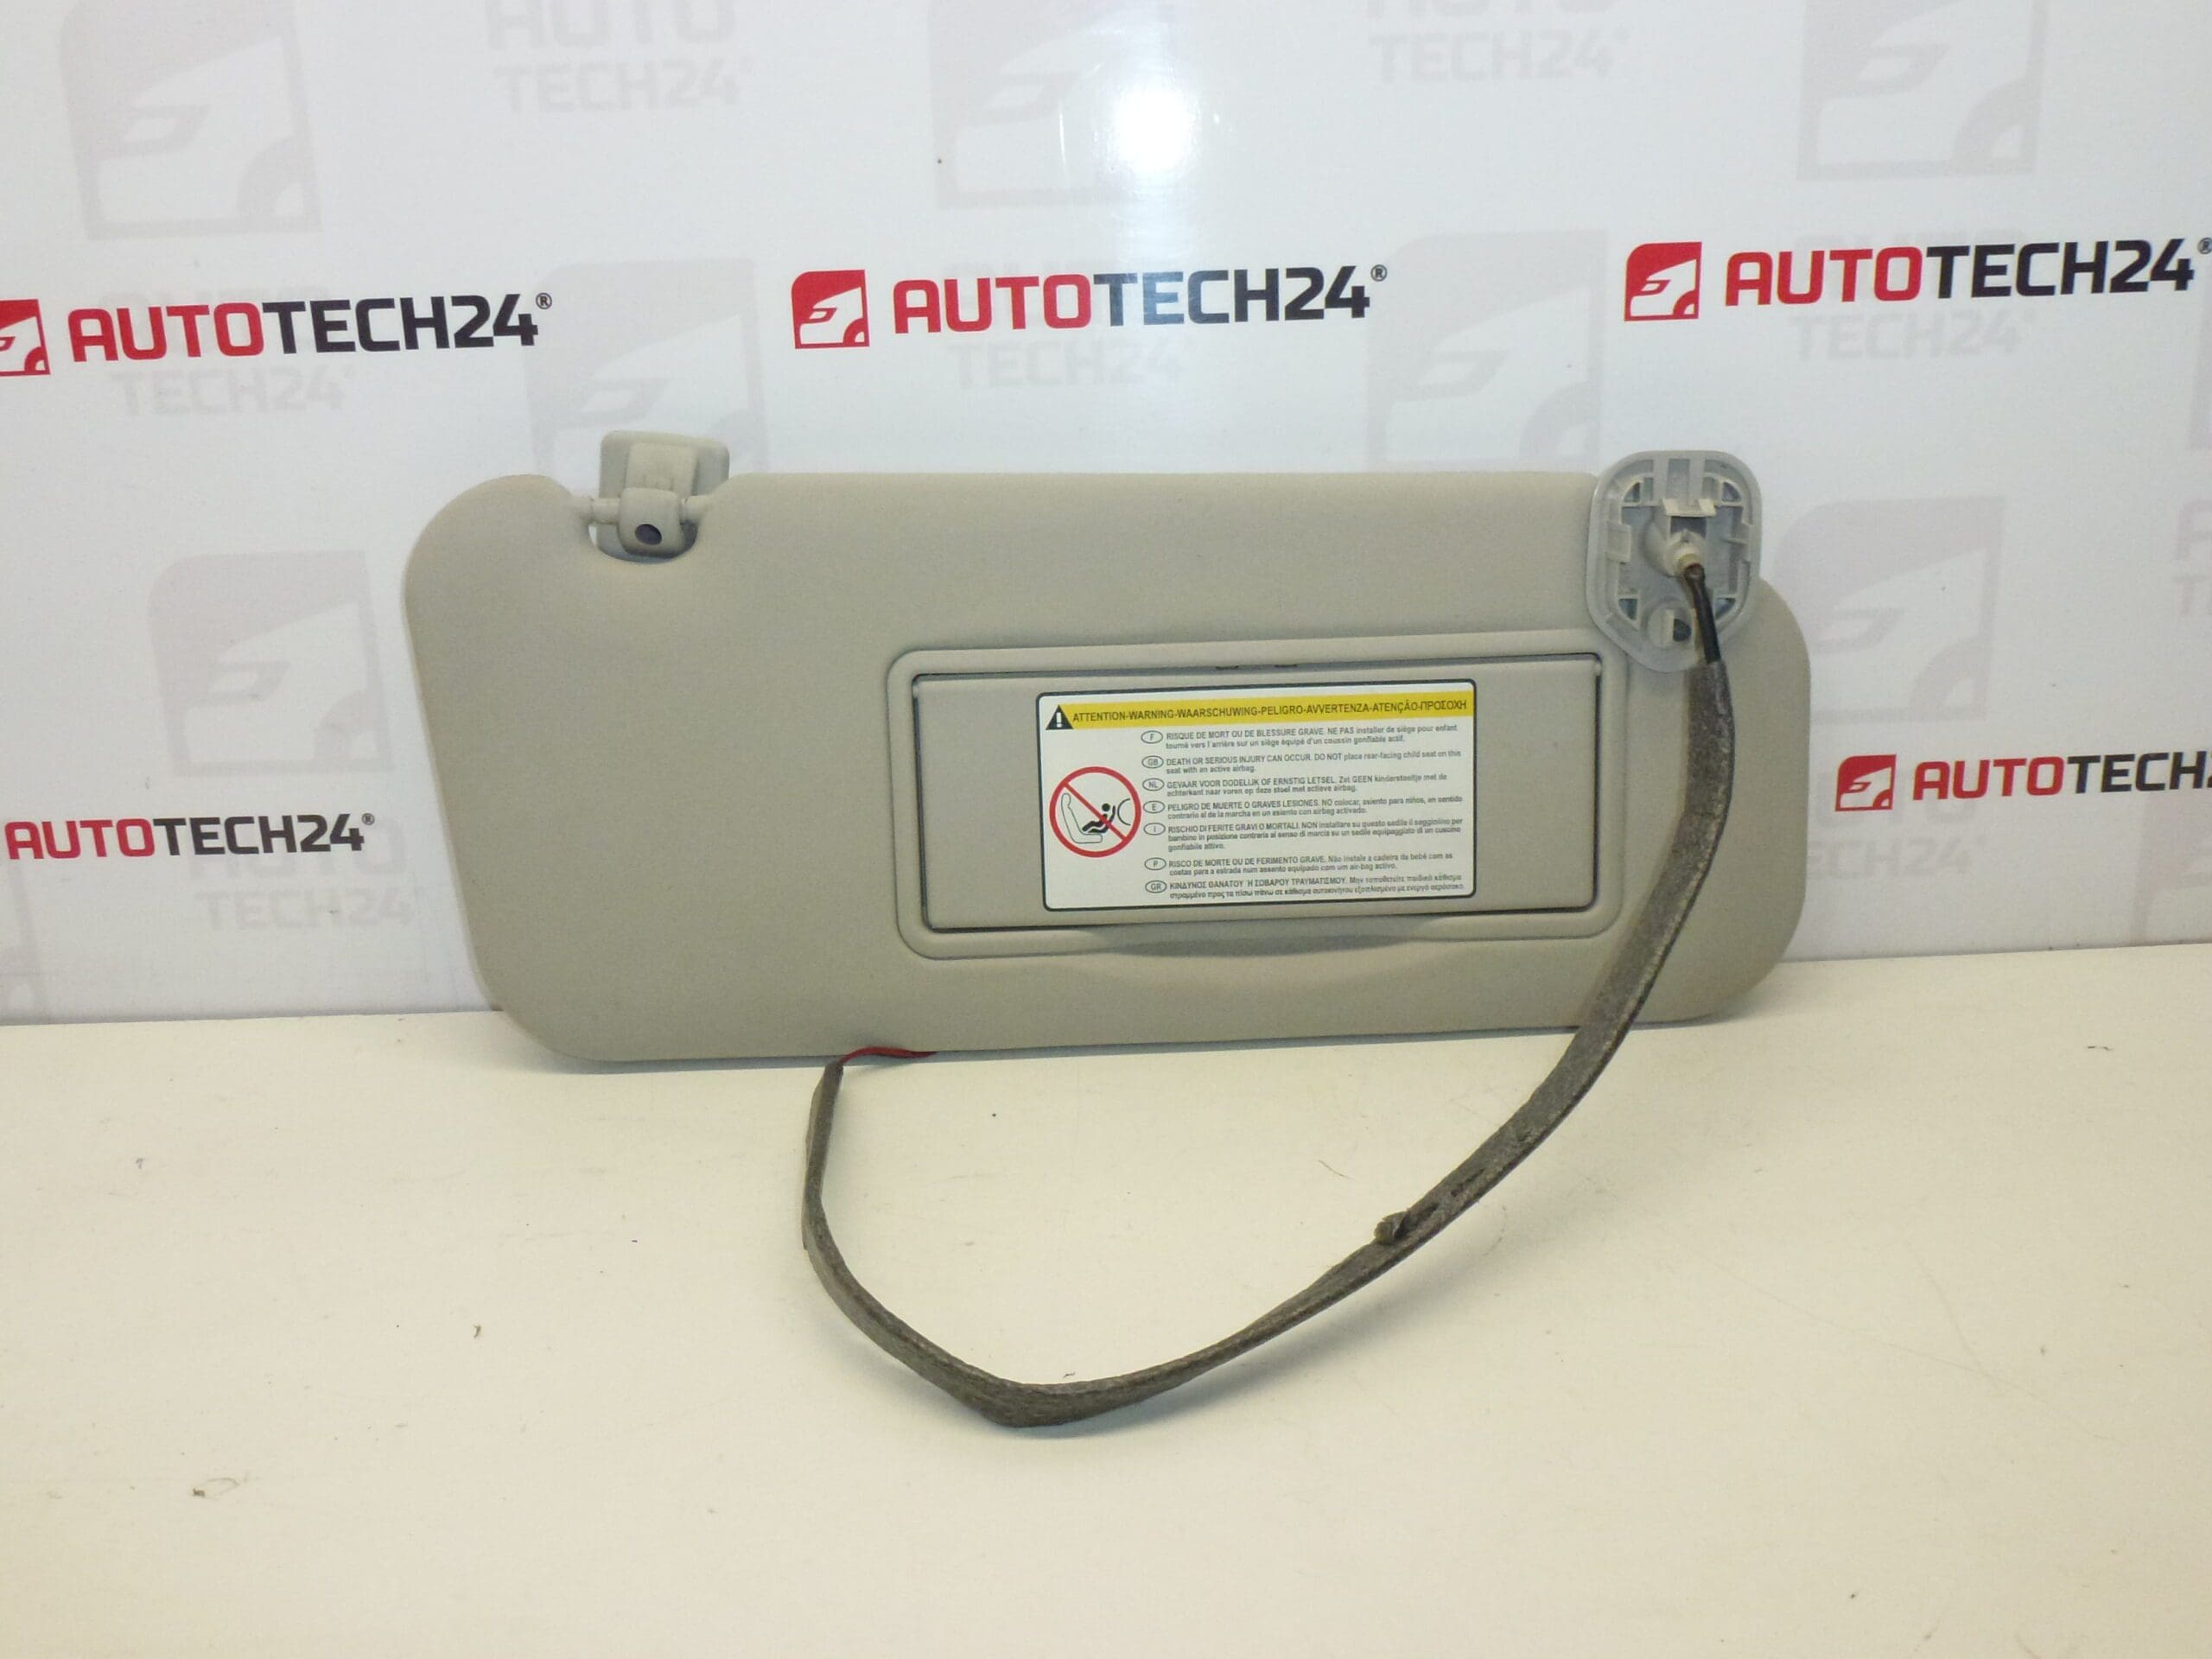
Passenger sun visor for Citroën and Peugeot vehicles. This is a used part – minor soiling possible. With vanity mirror and lighting.
Right-hand passenger sun visor, OE reference 8143LX, designed for interior restoration or replacement in compatible Citroën and Peugeot models. The visor includes a built-in vanity mirror with illumination, providing both practical glare protection and convenience for passengers. Ideal for professional garages and DIY enthusiasts who need a direct-fit used part to maintain original interior appearance. Keywords: sun visor, passenger sun visor, Citroën sun visor, Peugeot sun visor, 8143LX, vanity mirror, illuminated mirror.
Technical Information
- Manufacturer: Stellantis (Citroën/Peugeot)
- Model: Citroën Xsara Picasso; Peugeot 307
- Product Codes: 8143LX
- Other Numbers: NFP
Function
The sun visor protects occupants from sun glare and improves driving comfort. The integrated vanity mirror with lighting illuminates the passenger area for convenience. The visor mounts to the roof rail on the passenger side and pivots to block direct sunlight from the front or side.
Compatibility And Fitment
Supplied as a right-hand (passenger) sun visor for compatible Citroën and Peugeot interiors. Confirm fitment against the vehicle model list and part number 8143LX when ordering. Fits are typically based on interior trim generation and electrical connector type for illuminated mirrors.
Installation
- Prepare Tools: Trim removal tool, Torx or Phillips screwdriver, small flat prying tool and a flashlight.
- Remove Trim Cover: Carefully pry off the small plastic cover hiding the mounting screws.
- Unscrew Mounting: Support the visor while removing the fixing screws to prevent it dropping.
- Disconnect Wiring: If the visor has illumination, unplug the electrical connector behind the bracket.
- Install New Visor: Position the replacement, connect the wiring, tighten screws evenly and snap the trim cover back into place.
- Function Check: Verify mirror illumination and visor pivot function before finalizing installation.
Mounting Recommendations
When Installing an Illuminated Visor, Isolate The Circuit To Avoid Short Circuits — Disconnecting The Battery Is Recommended If You Are Unsure. Handle Clips And Trim Gently To Prevent Breakage. Use Original Fasteners Or Equivalent Quality Fixings And Avoid Over-Tightening Screws To Prevent Cracking The Mounting Bracket.
Most Common Reasons For Failure
- Mechanical Wear: Repeated pivoting causes hinge or spindle wear leading to looseness or detachment.
- Broken Clips Or Brackets: Plastic clips and mounts can become brittle with age or after impact.
- Fabric And Foam Degradation: UV exposure and heat cause fading, delamination or sagging of the covering material.
- Electrical Faults: Illuminated mirrors fail due to burned bulbs/LEDs, corroded contacts or damaged wiring.
- Accidental Damage: Forceful handling or collisions with luggage can crack the visor body or mirror housing.
Maintenance And Practical Tips
Clean fabric and plastics with gentle, car-interior friendly cleaners. Avoid hanging heavy items from the visor. If illumination is intermittent, check connector contacts and wiring harness before replacing the entire visor. For professional installations, inspect mounting points and surrounding headliner for hidden damage.