Description
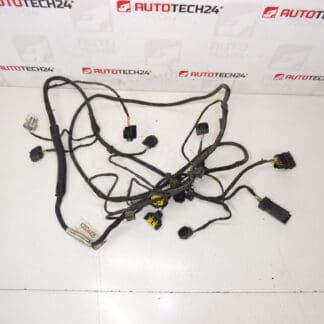
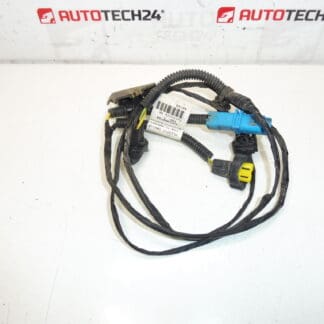
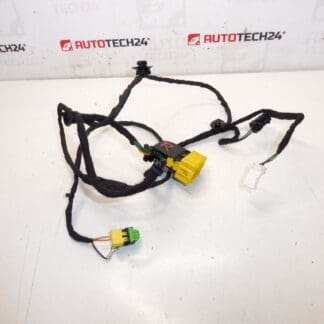
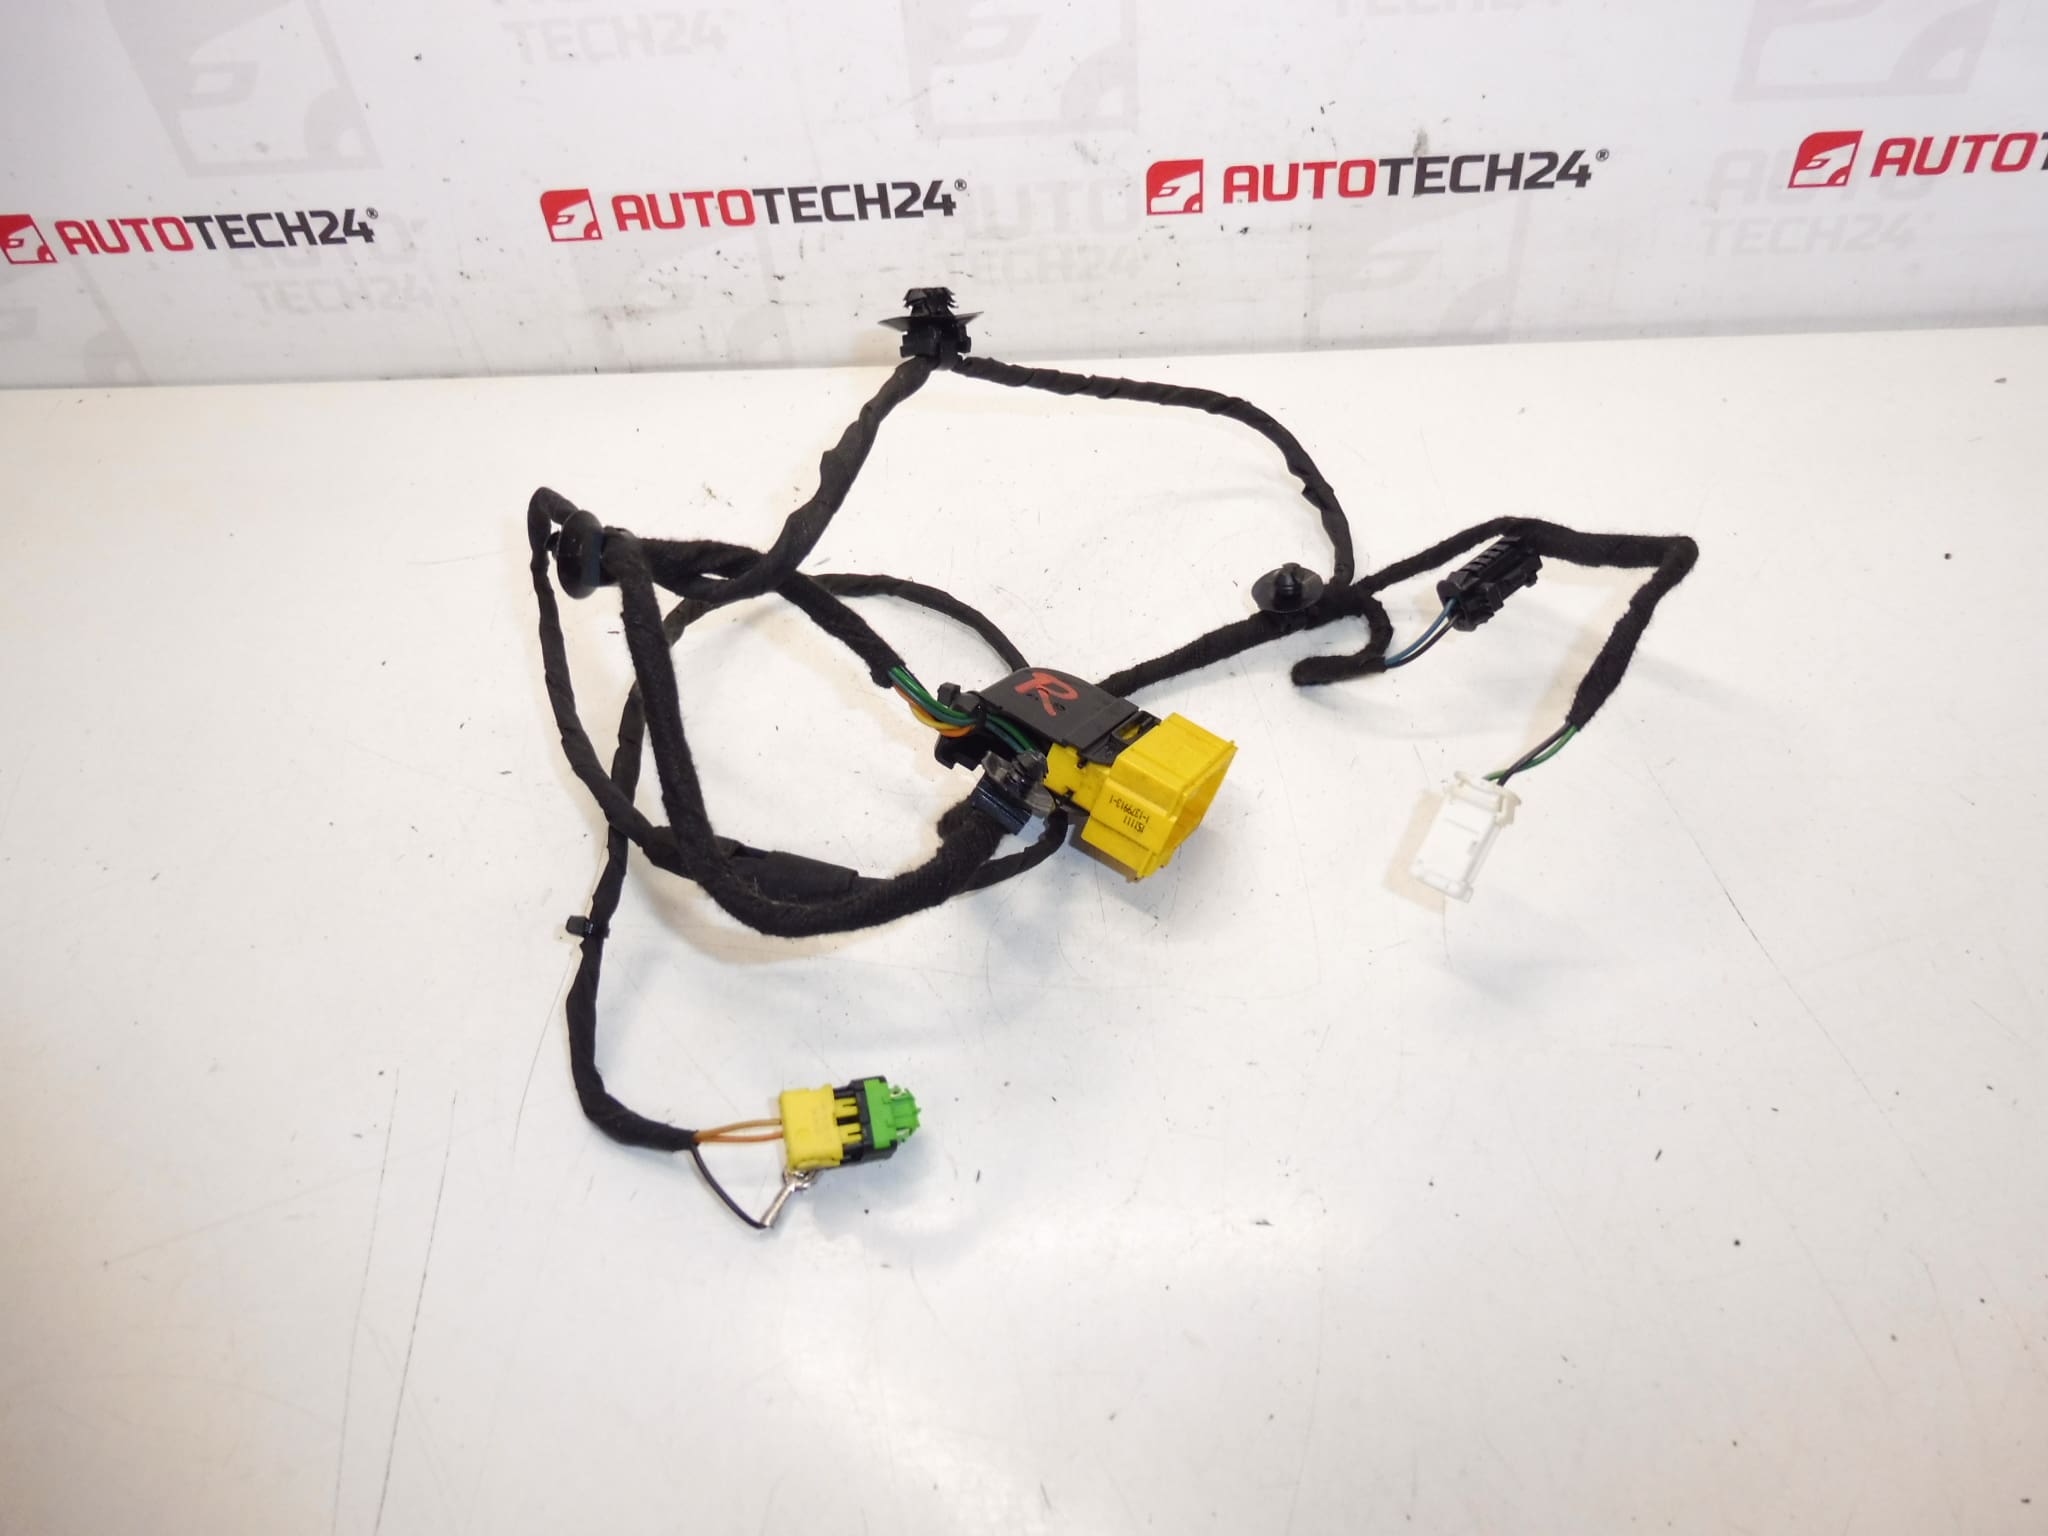
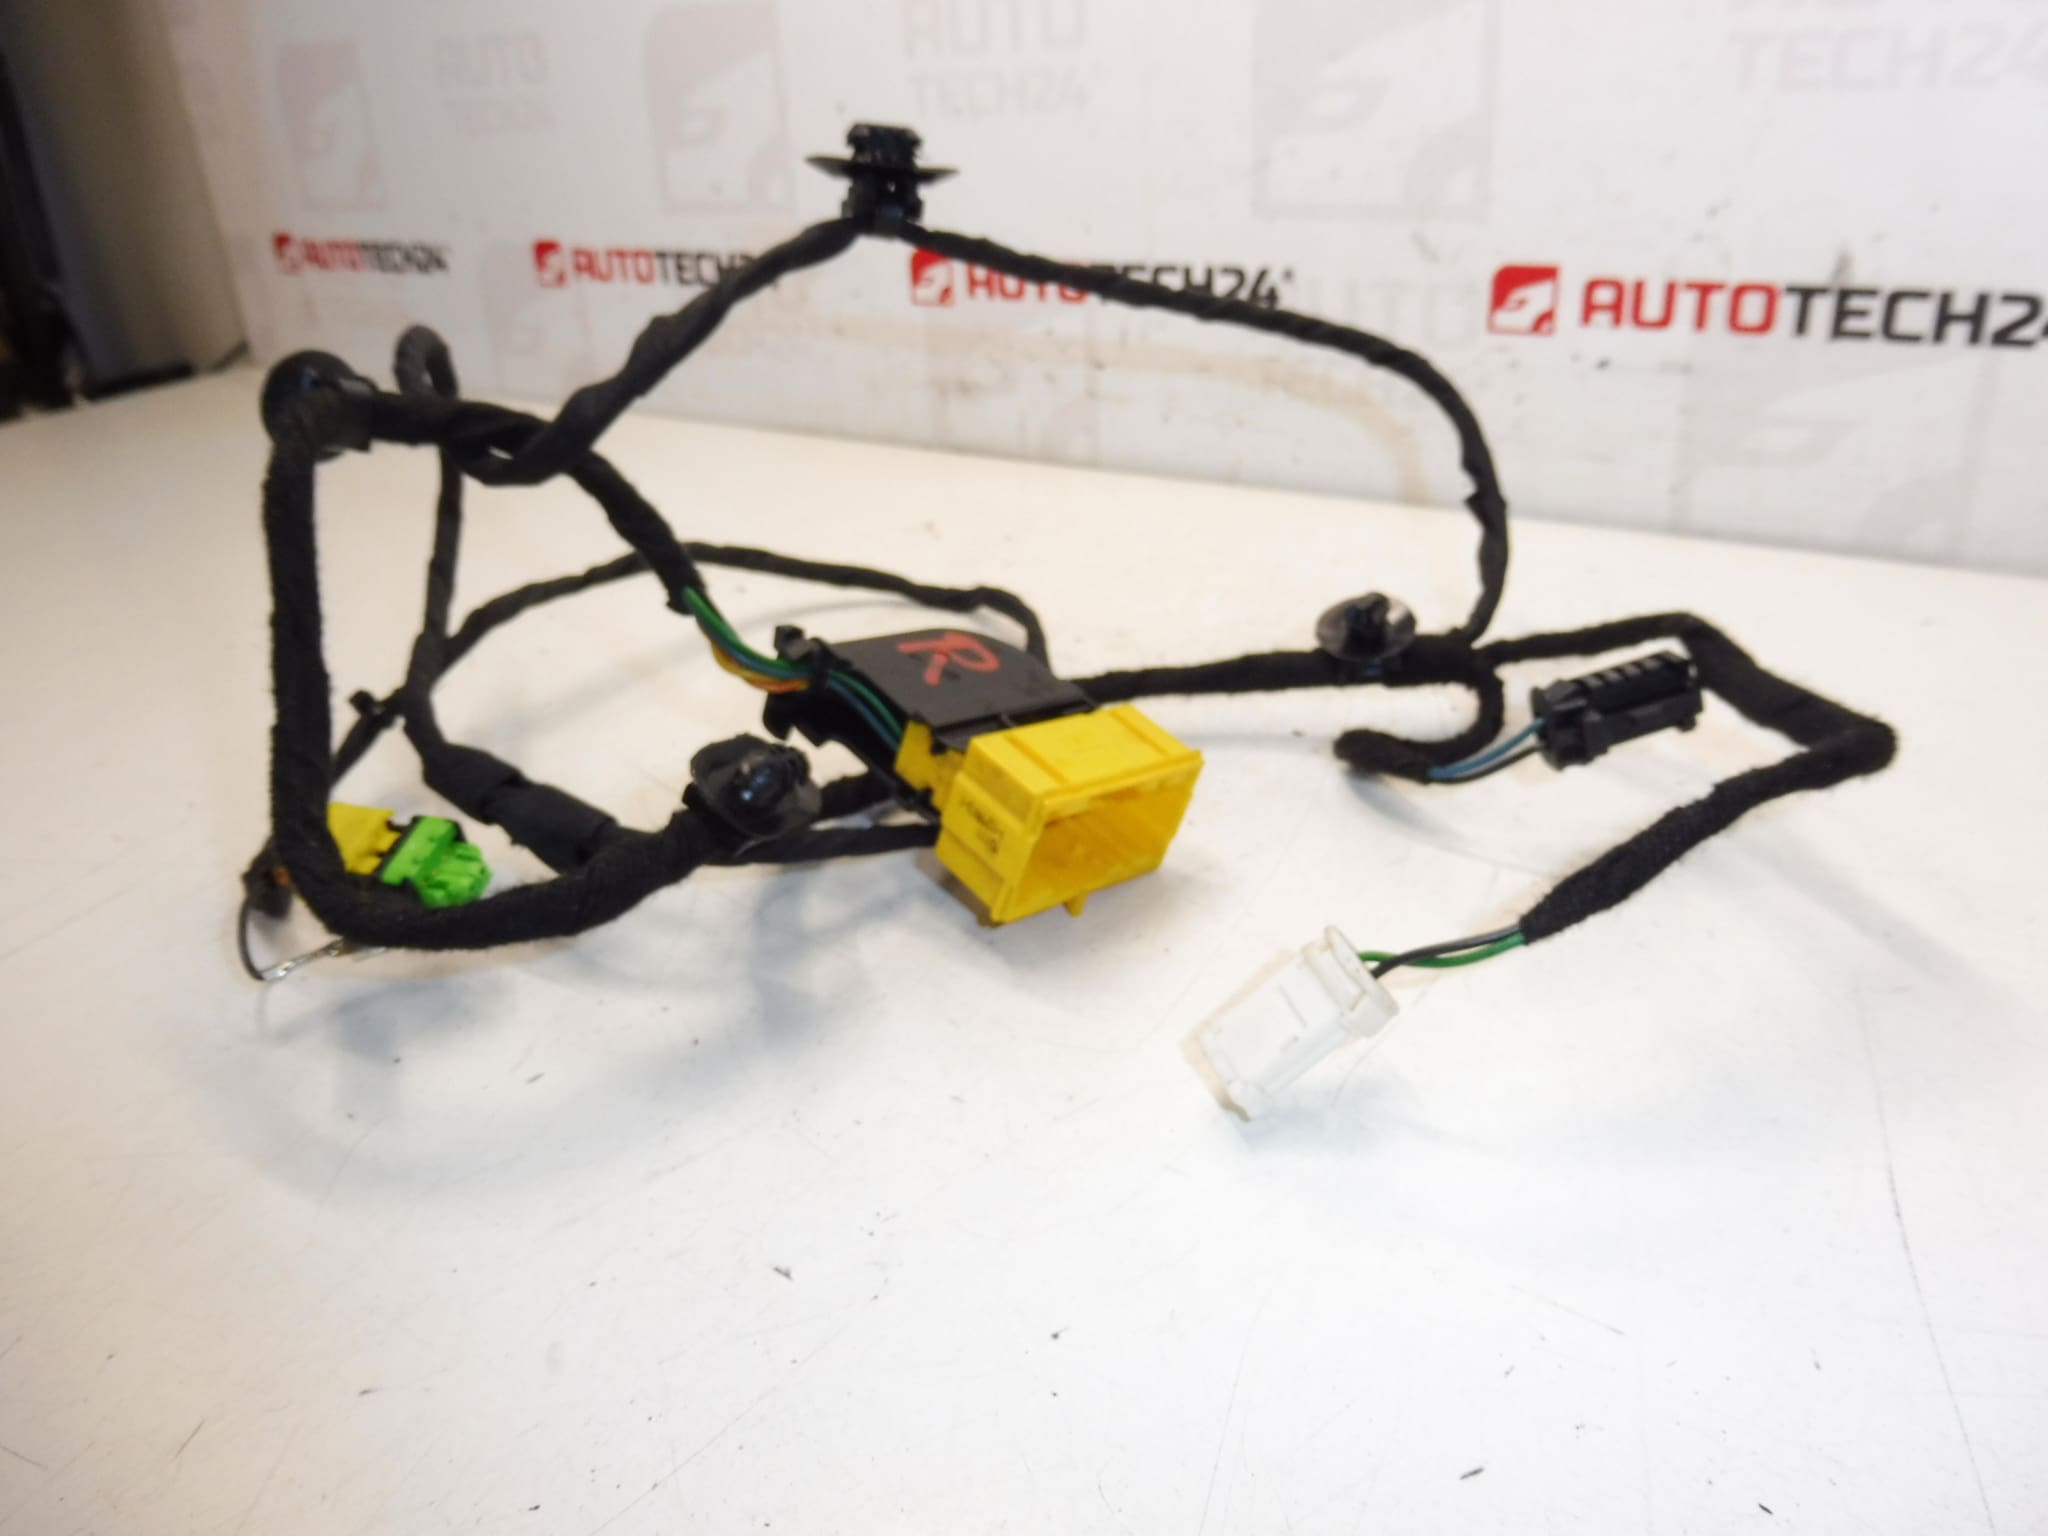
Passenger seat harness for Citroen C3 II A51 cars
Part description
This used passenger seat harness is designed for Citroen C3 II A51 cars. It is an electrical component designed to connect the electrical elements of the seat, where the correct matching of connectors, wiring and the overall design of the harness is important. Parts of this type are often also searched by serial number, so it is important to follow the exact designation 1608078780 when choosing.
A used original part is a suitable choice for repairing damaged cabling without the need to purchase a new component. For auto mechanics and home repairmen, the possibility to preserve the original solution of the car’s electrical installation and replace the defective part with a suitable part is an advantage.
Technical information
- Manufacturer: Stellantis Citroen Peugeot
- Model: Citroen C3 II A51
- Other numbers: 1608078780, NFP
Product codes
- Product codes: 1608078780, NFP
- Models listed in the documents: Citroen C3 II A51
Installation recommendations
Since the documents do not contain the exact assembly procedure for a specific car design, below is a general procedure typically for replacing the seat wiring harness. Exact steps may vary depending on equipment, seat attachment and wiring design.
1) Before assembly
- Check that the part number 1608078780 and the overall design of the bundle match.
- Compare the number of connectors, their shape, cable length and attachment method with the original piece.
- Inspect the used part for damage to the wire insulation, connector latches or bundle protective cover.
- Before starting work, disconnect the battery and wait a reasonable time before handling the electrical connectors.
2) Necessary tools and materials
- Basic set of hand tools
- Plastic pry bar for removing covers
- Flashlight or workshop lighting
- Electrical contact cleaner
- Protective gloves
- Tie tapes or means to secure the wiring, if needed
3) Step-by-step assembly procedure
- Secure the vehicle against movement and disconnect the battery.
- Create access to the seat area and cable routing, or remove any obstructing covers.
- Carefully document the original wiring of the bundle, for example with photos before disassembly.
- Disconnect all connectors of the old harness without using excessive force and check the condition of the mating parts.
- Release the original bundle from the brackets, clamps and guide points.
- Compare the old and new harness side-by-side, especially length, branching and connector placement.
- Place the new bundle in the original route so that it is not pinched, stretched or in contact with moving parts.
- Connect the individual connectors and verify that they fit properly and are locked in place.
- Fix the wiring in the original holders or clamps so that it does not come loose when the seat is moved.
- Reinstall all the removed covers and check that the cables are not pinched anywhere.
- Connect the battery.
- Verify the function of all elements that are connected via the given bundle.
-
4) Post-assembly checks and test drive/function verification
- Check that the seat does not pull on the wiring during normal shifting or handling.
- Make sure the connectors are tight and nothing is loose.
- Listen for cables catching or rubbing when the seat moves.
- After a short test drive, visually check the wiring harness and its attachment again.
5) The most common assembly mistakes + how to avoid them
- Swapping connectors – mark or take a picture of everything before disconnecting.
- Clamping of wiring – always check the wiring route before final assembly.
- Insufficient fastening of the bundle – cables must be routed stably and away from moving parts.
- Damage to the connector latches – disconnect the connectors carefully and without prying with an inappropriate tool.
- Assembly without checking part compatibility – compare the part number and physical design before the actual installation.
Reasons why the part is damaged
- Repeated strain on the wiring when moving or manipulating the seat
- Pinching of the bundle during previous unprofessional assembly
- Damage of conductor insulation by rubbing against surrounding parts
- Loose or broken connectors and clips
- Moisture, dirt or oxidation of electrical contacts
- Interference with the electrical installation during previous vehicle repair