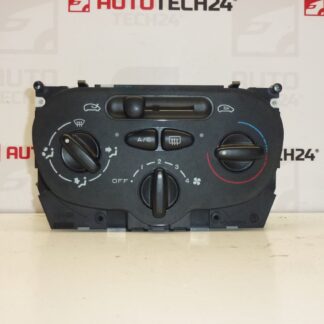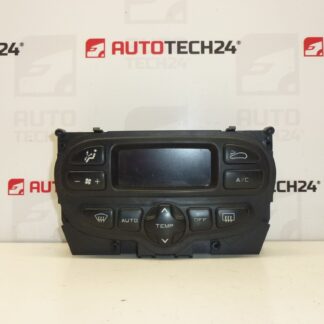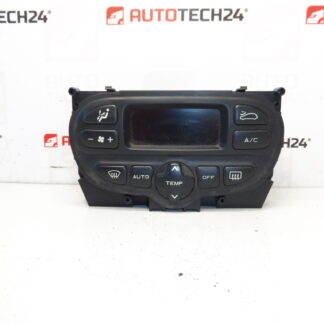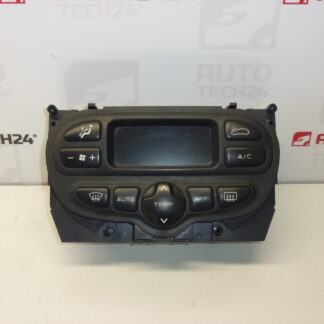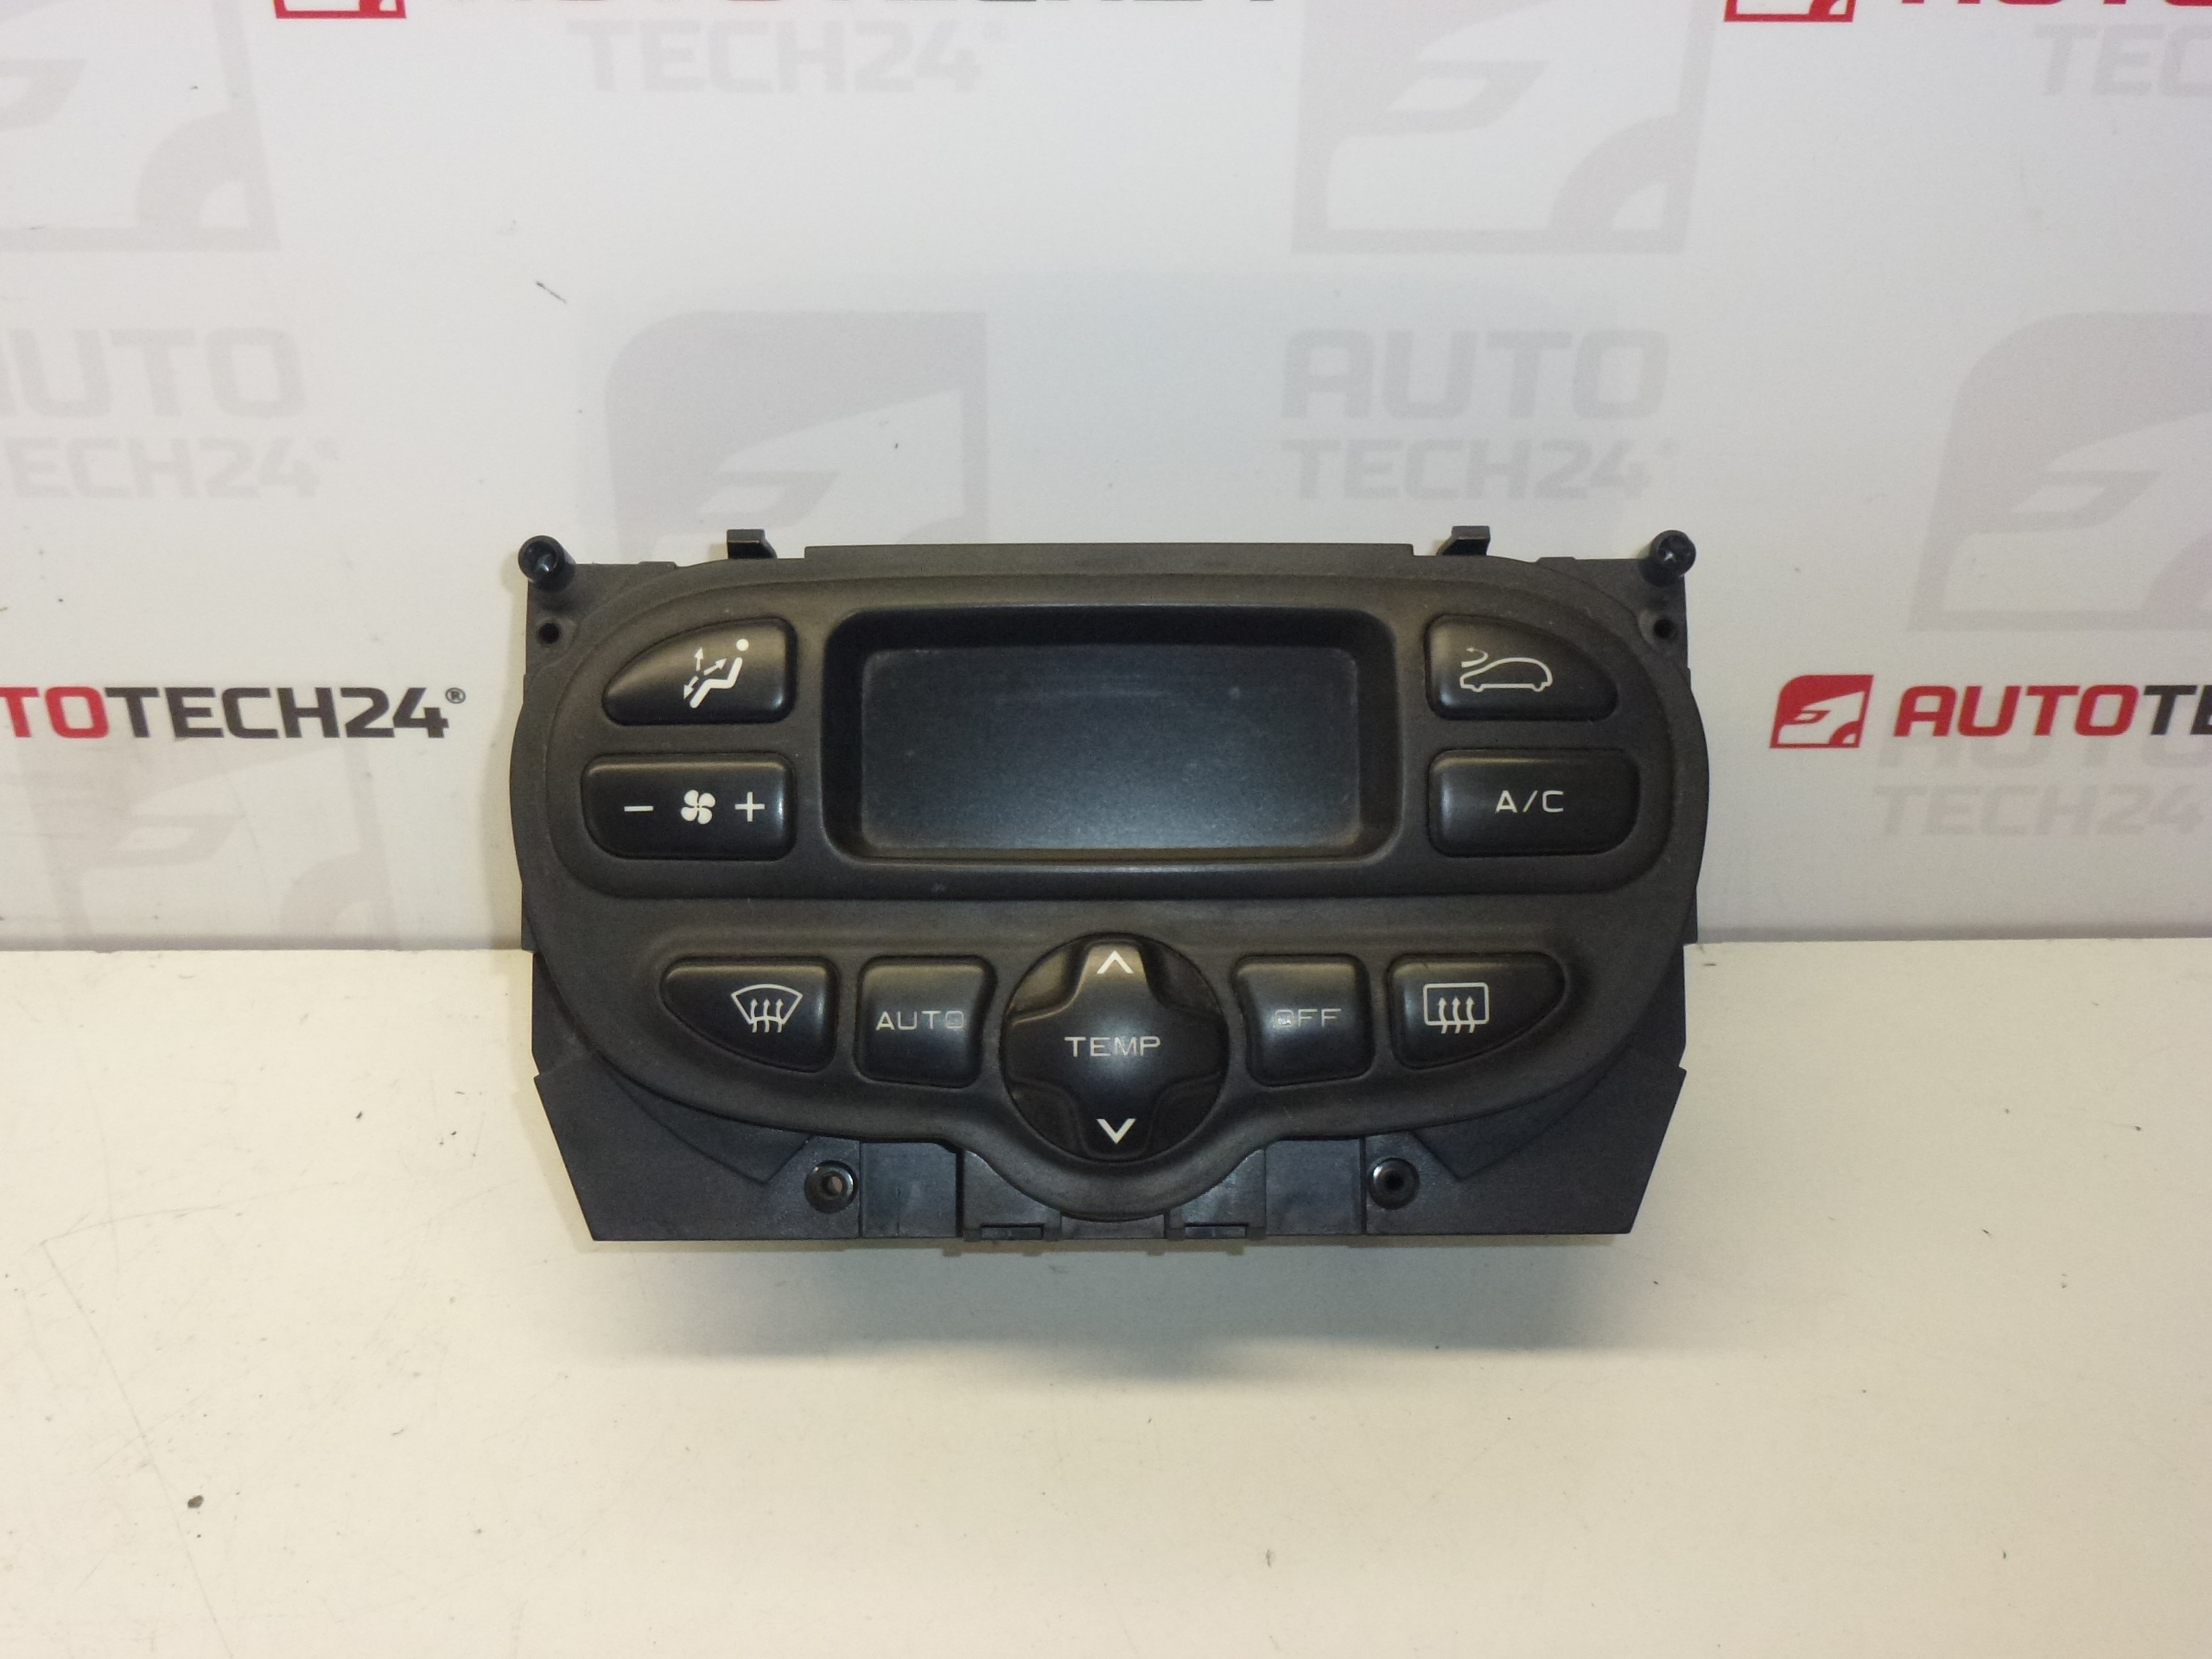
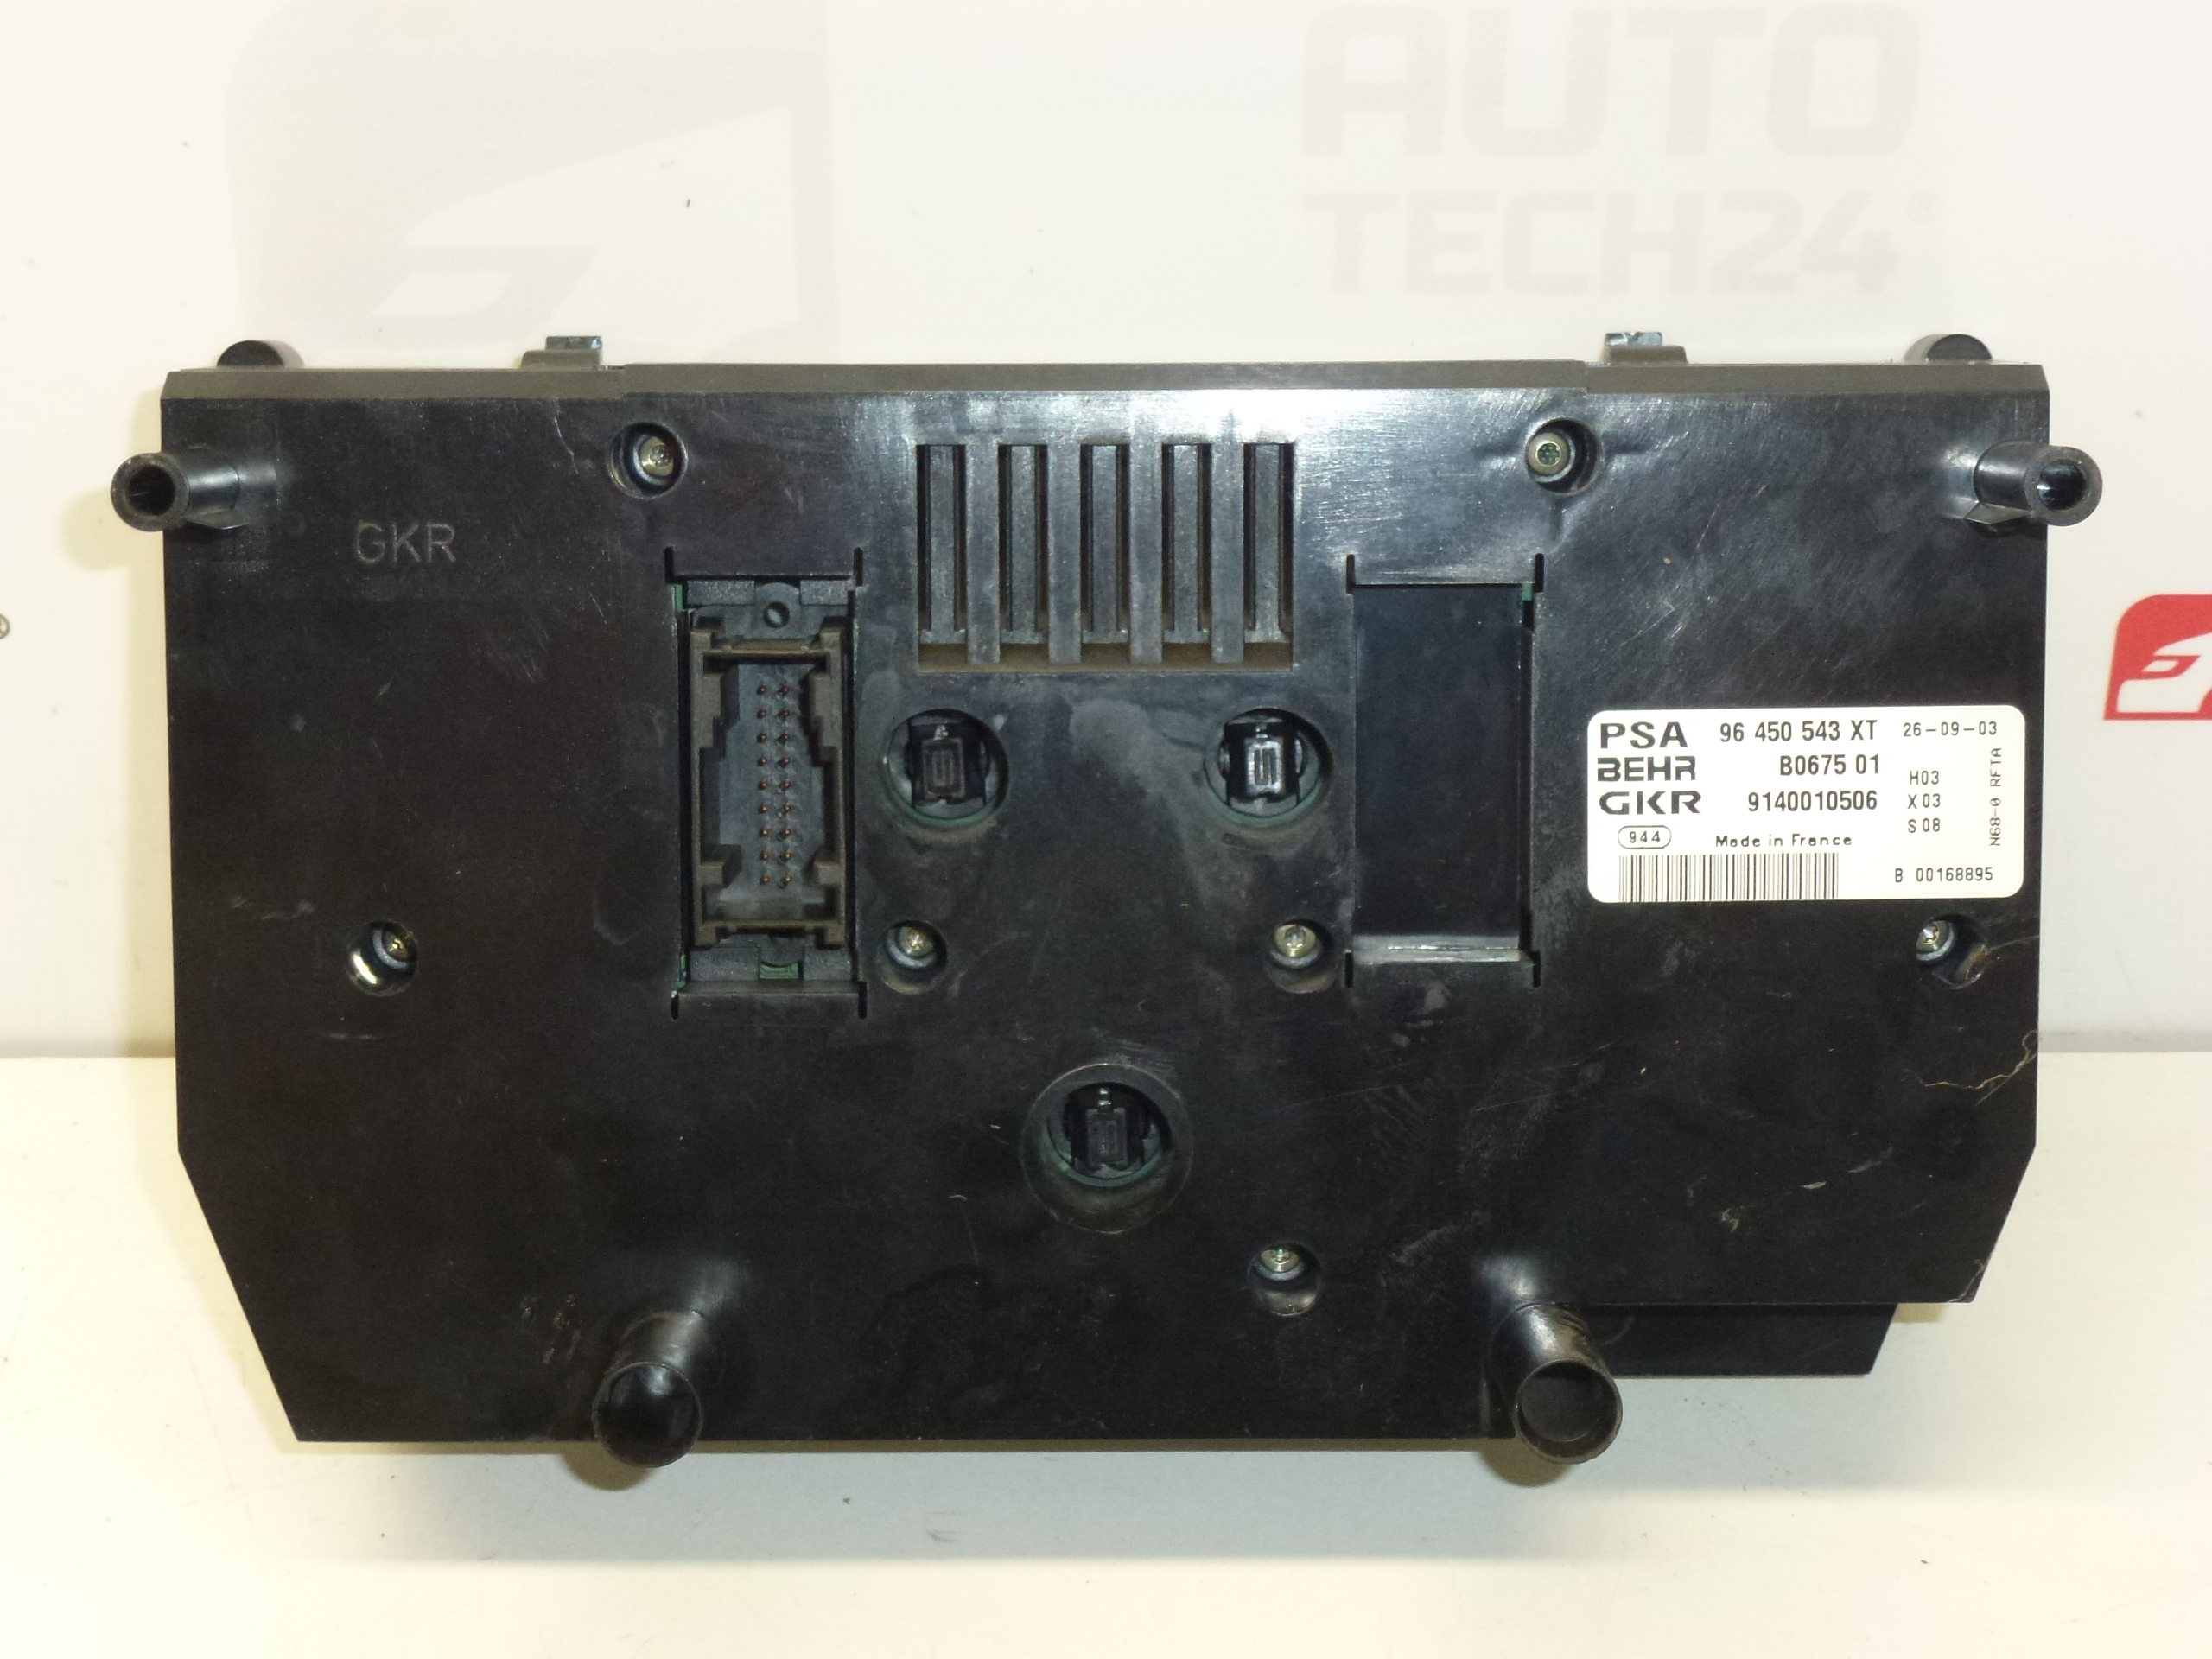
Air Conditioning Control Unit Citroën Xsara Picasso 96450543XT 6451NV 6451NW

36.00

Stellantis Citroën Peugeot
96450543XT 6451NV 6451NW

2 in stock

Description

Heating and Air Conditioning Control for Citroën Xsara Picasso

Overview

This climate control panel is designed for the Citroën Xsara Picasso and carries original part codes used by Stellantis/Citroën. The unit manages cabin temperature, fan speed, airflow distribution and air conditioning engagement, giving reliable control over the vehicle climate system. Ideal for professional workshops and competent DIY enthusiasts looking for a direct replacement control module.

Key Benefits

  • Direct fit to Citroën Xsara Picasso dashboards where listed part numbers match.
  • Restores full control of heating, ventilation and air conditioning functions.
  • Simple swap procedure for mechanics and experienced DIYers — no body modifications required.
  • Commonly searched by part numbers for fast lookup and correct ordering.

How It Works

The control unit interfaces with the vehicle’s HVAC actuators, blower motor and air conditioning system. Depending on the vehicle equipment level, it regulates blower speed, temperature blend (mechanical or servomotor-driven), recirculation mode, and communicates status to the dash display. Faults in the unit typically manifest as lack of response from knobs/buttons, loss of display/backlight, or inability to change airflow modes.

Technical Information

  • Manufacturer: Stellantis / Citroën
  • Model: Citroën Xsara Picasso
  • Product Codes: 96450543XT, 6451NV, 6451NW
  • Additional Numbers: Stellantis CITROEN PEUGEOT

Installation Recommendations

Before starting work always disconnect the vehicle battery to avoid short circuits. Typical replacement steps:

  1. Remove trim around the center console to access the climate control unit (carefully pry plastic clips to avoid damage).
  2. Unscrew the fasteners securing the control panel and gently pull it forward.
  3. Unplug the electrical connectors and any vacuum or sensor lines (note connector orientation for reassembly).
  4. Fit the replacement unit, reconnect all plugs and test all HVAC functions (blower speeds, temperature change, vent selection, A/C engagement) before reassembling trim.

Use basic hand tools and take care with fragile plastic trim. If the vehicle has complex electronic options, consider professional installation.

Why This Part Commonly Fails

Common failure causes include long-term wear of rotary switches and push buttons, degraded contact tracks or potentiometers, failed stepper motors or servos that control flaps, display/backlight failure, connector corrosion and heat-related degradation of internal electronics. Moisture ingress or liquid spills into the console accelerate faults. In some cases the blower motor or related fuses/relays are mistaken for a control panel fault—troubleshoot those items as part of diagnosis.

Practical Notes

  • When replacing the unit, verify that all connectors seat fully and that actuator motions are unobstructed.
  • If the vehicle shows intermittent operation, inspect connectors for corrosion and wiring harness for damage before replacing the control panel.
  • Keep the dashboard and controls dry — liquids are a frequent cause of permanent damage.

Additional information

Weight 0.7 kg

Unless otherwise specified in the description, all photos are for illustrative purposes only.

We reserve the right to replace the ordered reference with the manufacturer's replacement reference.

The parts come from crashed vehicles, are carefully inspected, and we provide a 12-month warranty on functionality for them.