Description
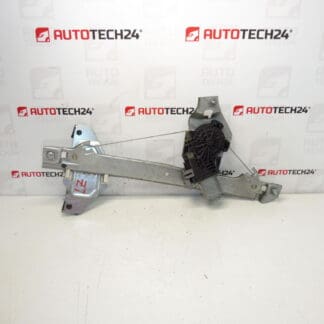
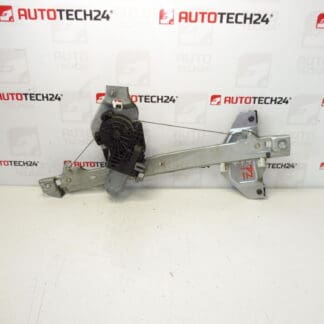
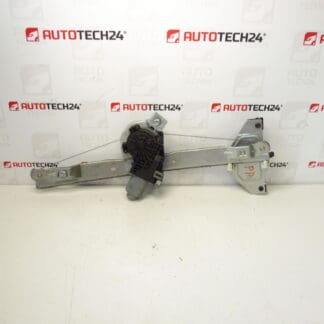
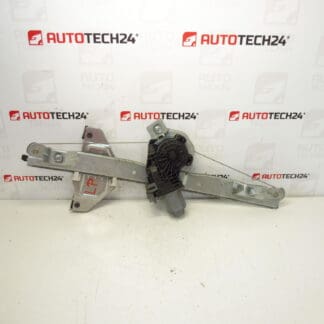
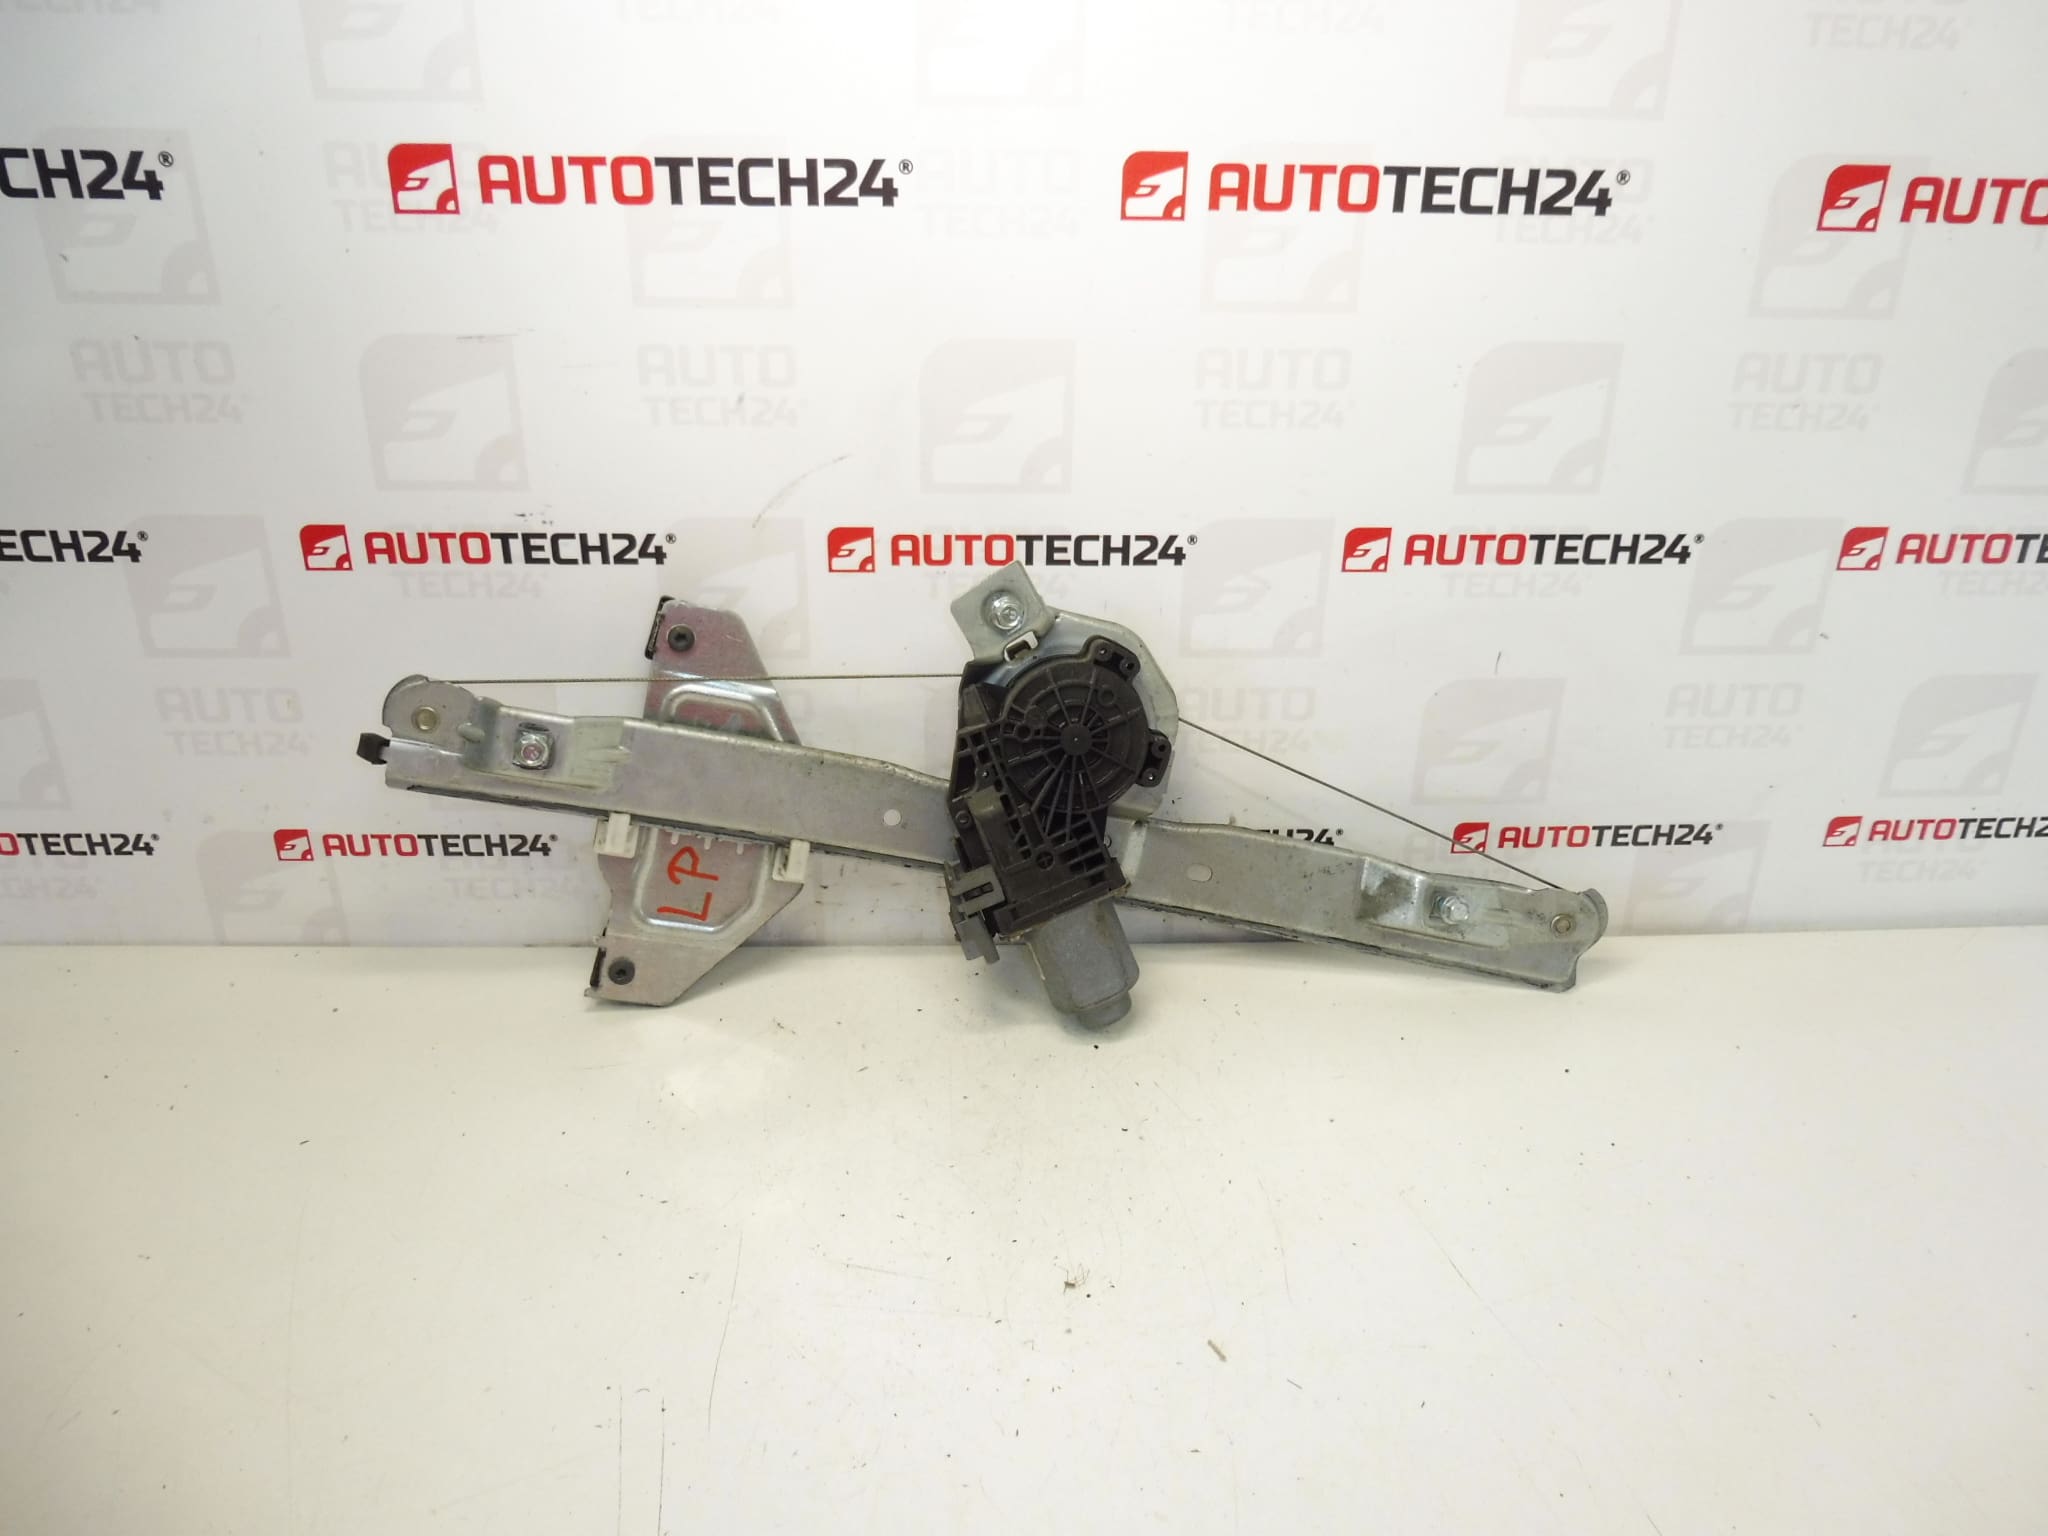
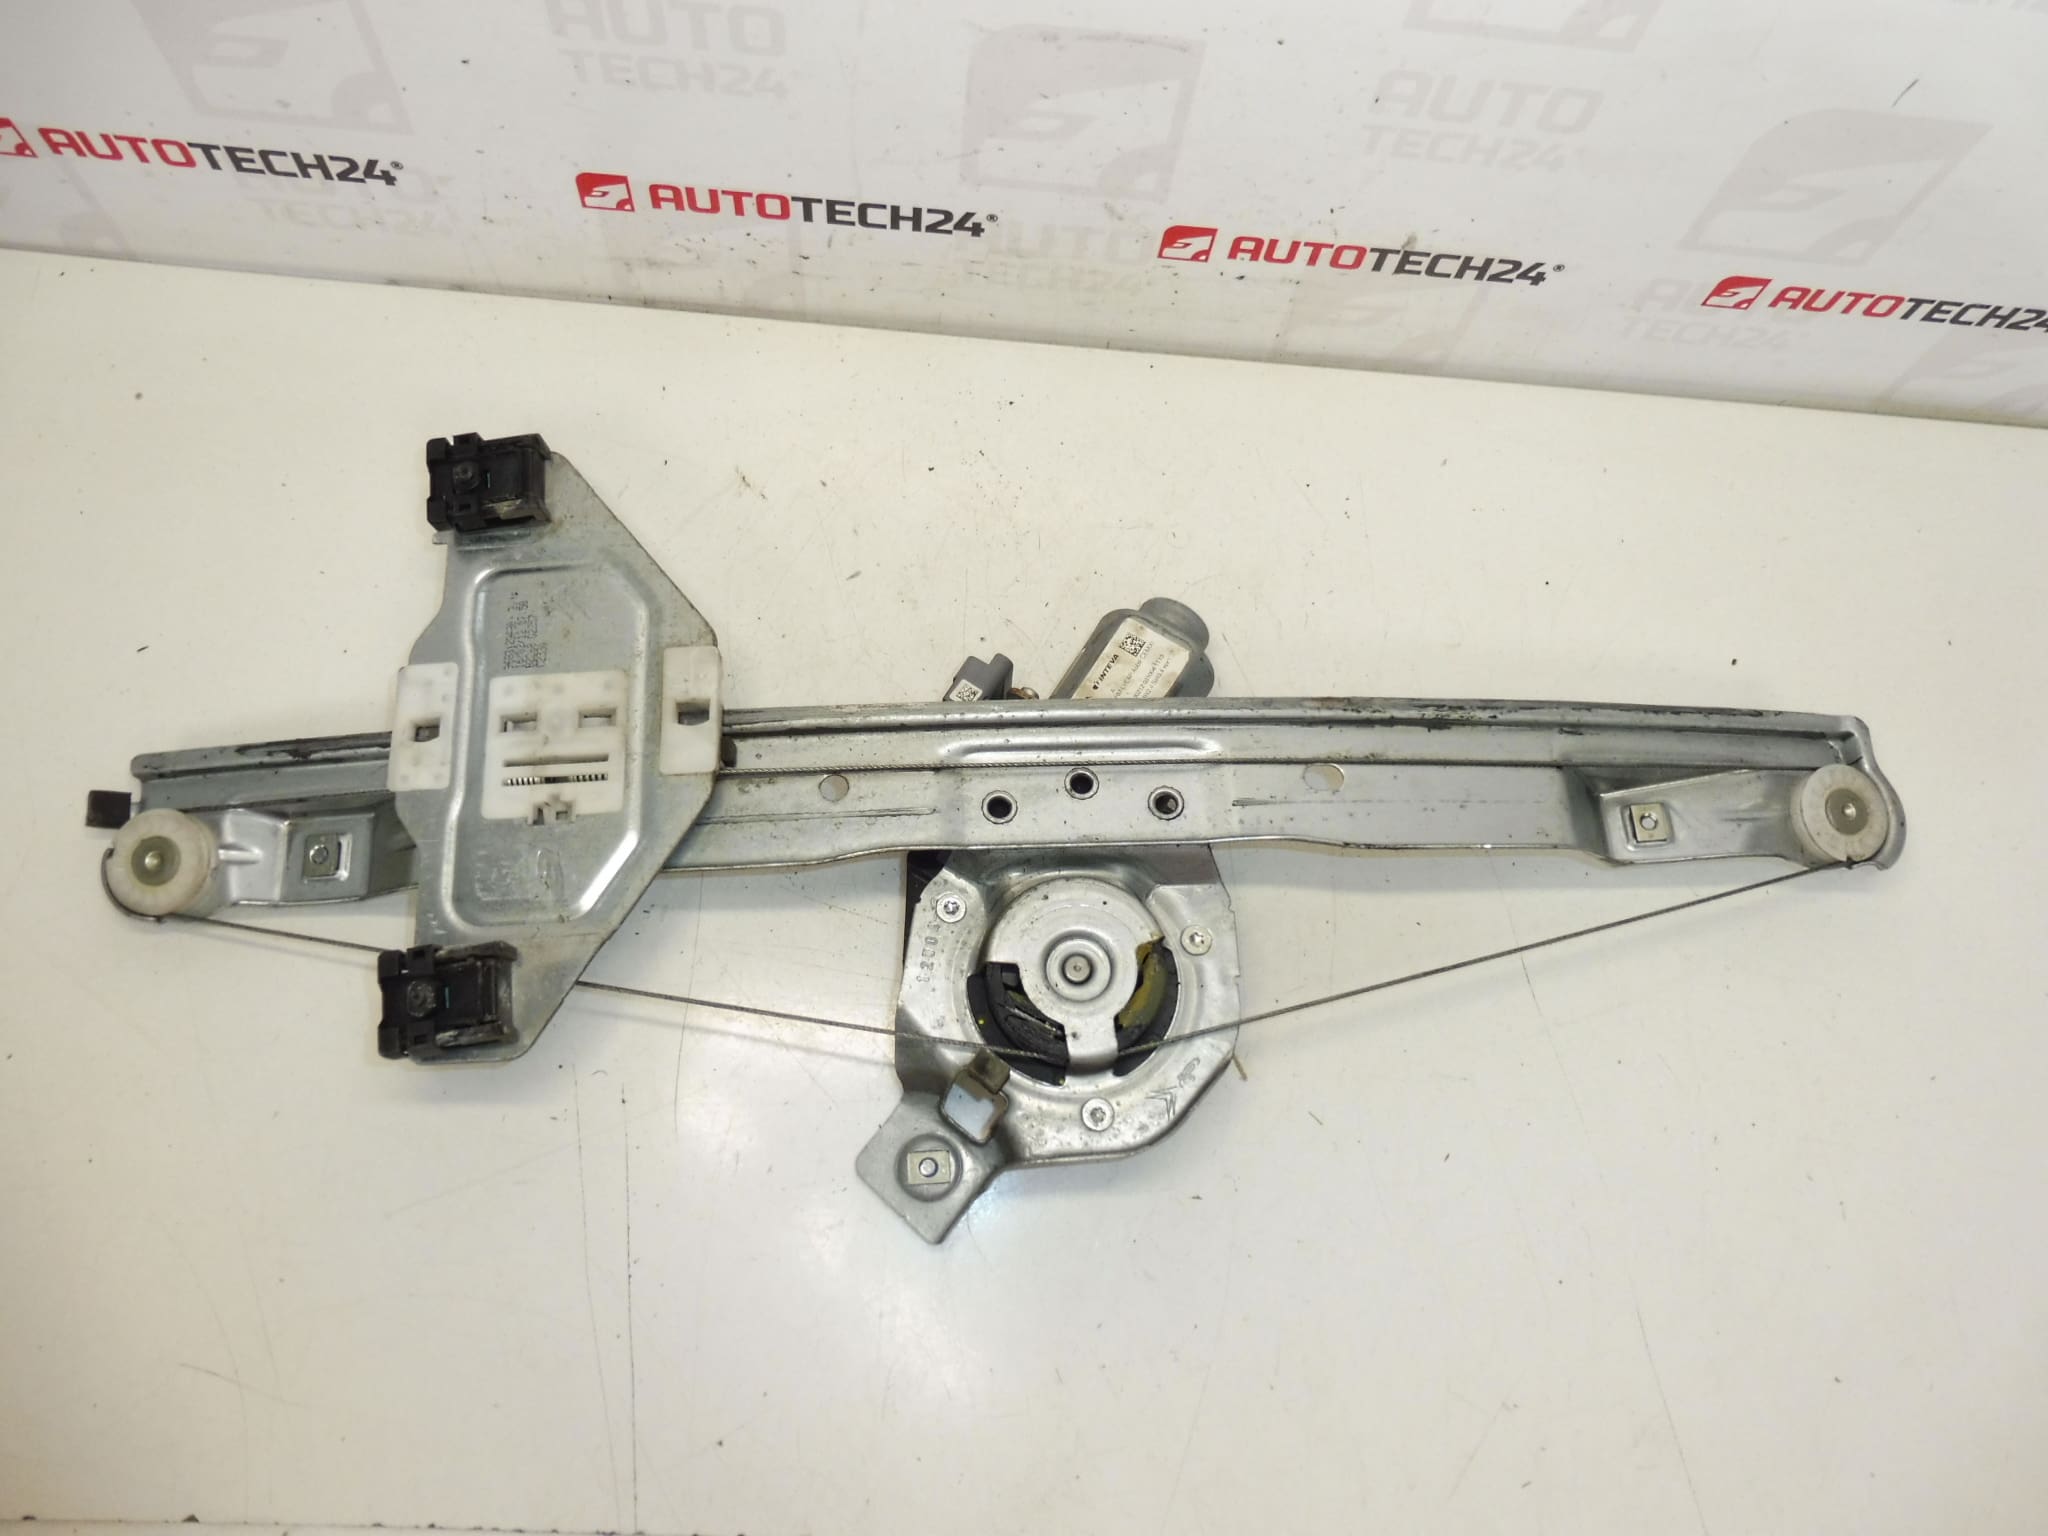
Mechanism for electric lowering of the left front window for Citroën C3 II A51 cars
Side – driver’s door
Including electric motor
6PIN
Part description
The used left front window lowering mechanism is intended for Citroën C3 II A51 cars. It is a complete part including an electric motor, which ensures smooth electric control of the window on the driver’s side. Thanks to the design with a 6PIN connector, it is suitable as a replacement for the original damaged or non-functional mechanism.
This car part is also searchable by product number, which makes it easier to find the right part during the repair. It is important for auto mechanics and home repairers that it is a unit with the engine, so there is no need to deal with another part of the pull-down drive separately.
Technical information
- Manufacturer: Stellantis Citroën Peugeot
- Model: Citroën C3 II A51
- Other numbers: 9802617780
- Location: left front door, driver’s side
- Design: electric window lowering mechanism
- Part of package/part: including electric motor
- Connector: 6PIN
Product codes
- Product codes: 9221FR, 9802617780
- Model names: Citroën C3 II, Citroën C3 II A51
Installation recommendations
Generally/typically for this type of part, the exact replacement procedure may vary depending on the specific design of the car and the door, but the basic principle of installing the electric window mechanism is similar.
1) Before assembly
- Check whether the new used part corresponds to the original piece in terms of shape, fit and design of the 6PIN connector.
- Compare the mounting side – it must be the left front driver’s door.
- Verify the visual condition of the guide parts, cables, attachment and electric motor.
- Before installation, it is recommended to check whether the mechanism is mechanically stuck or visibly deformed.
2) Necessary tools and materials
- set of common hand tools
- screwdrivers and socket wrenches
- plastic levers for panel removal
- detergent for removing dirt
- protective gloves
- or tape or a tool to secure the glass during work
3) Step-by-step assembly procedure
- Disconnect vehicle power according to normal service practice to avoid unwanted activation when working on electrical parts.
- Remove the inner door trim to gain access to the window retract mechanism.
- Carefully disconnect the electrical connector of the original mechanism.
- Ensure the glass is in a safe position so that it does not fall or be damaged during disassembly.
- Unfasten the old mechanism and possibly separate the glass from the mechanism holders if the design requires it.
- Remove the original mechanism including the electric motor from the door.
- Compare the old and new part side by side, especially attachment points, mechanism routing and connector type.
- Insert the replacement mechanism into the door and seat it into the correct position without force.
- Sequentially attach the mechanism to all mounting points.
- Attach the glass to the mechanism according to the design of the original solution and check that it fits straight.
- Connect the electrical connector of the electric motor.
- Before final assembly of the door, test the function of lowering and raising the window in its full range of motion.
- If the operation is smooth and without stuttering, refit the protective elements and door trim.
-
4) Post-assembly checks and functional test verification
- Check that the window moves up and down smoothly.
- Verify that the mechanism does not make excessive noise, clicks or rubs.
- Check that the glass fits correctly and does not deviate when moving.
- After the door is fully assembled, perform a repeated functional test with the window controller.
5) The most common assembly mistakes + how to avoid them
- Swapping part side – always verify that it is the left front side before assembly.
- Connector Mismatch – check that the connector matches the 6PIN design before seating.
- Insufficient securing of the glass – glass or mechanism may be damaged during work.
- Assembly without preliminary test – always check the functionality first before fitting the door paneling.
- Forced seating of the part – if the mechanism does not fit naturally into the mounting points, recheck the position and alignment of the part.
Reasons why the part is damaged
- normal wear and tear of the mechanism and electric motor during long-term use
- increased stress when frequently pulling in and out of the window
- cling or resistance in the movement of the glass, which puts excessive strain on the mechanism
- damage to cables, guide parts or attachment
- moisture and dirt inside the door, which can impair the operation of the part
- electrical defect in the supply or connector, which can affect the function of the electric motor