Description
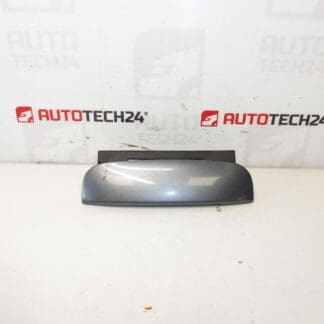
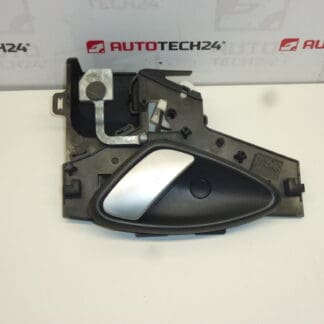
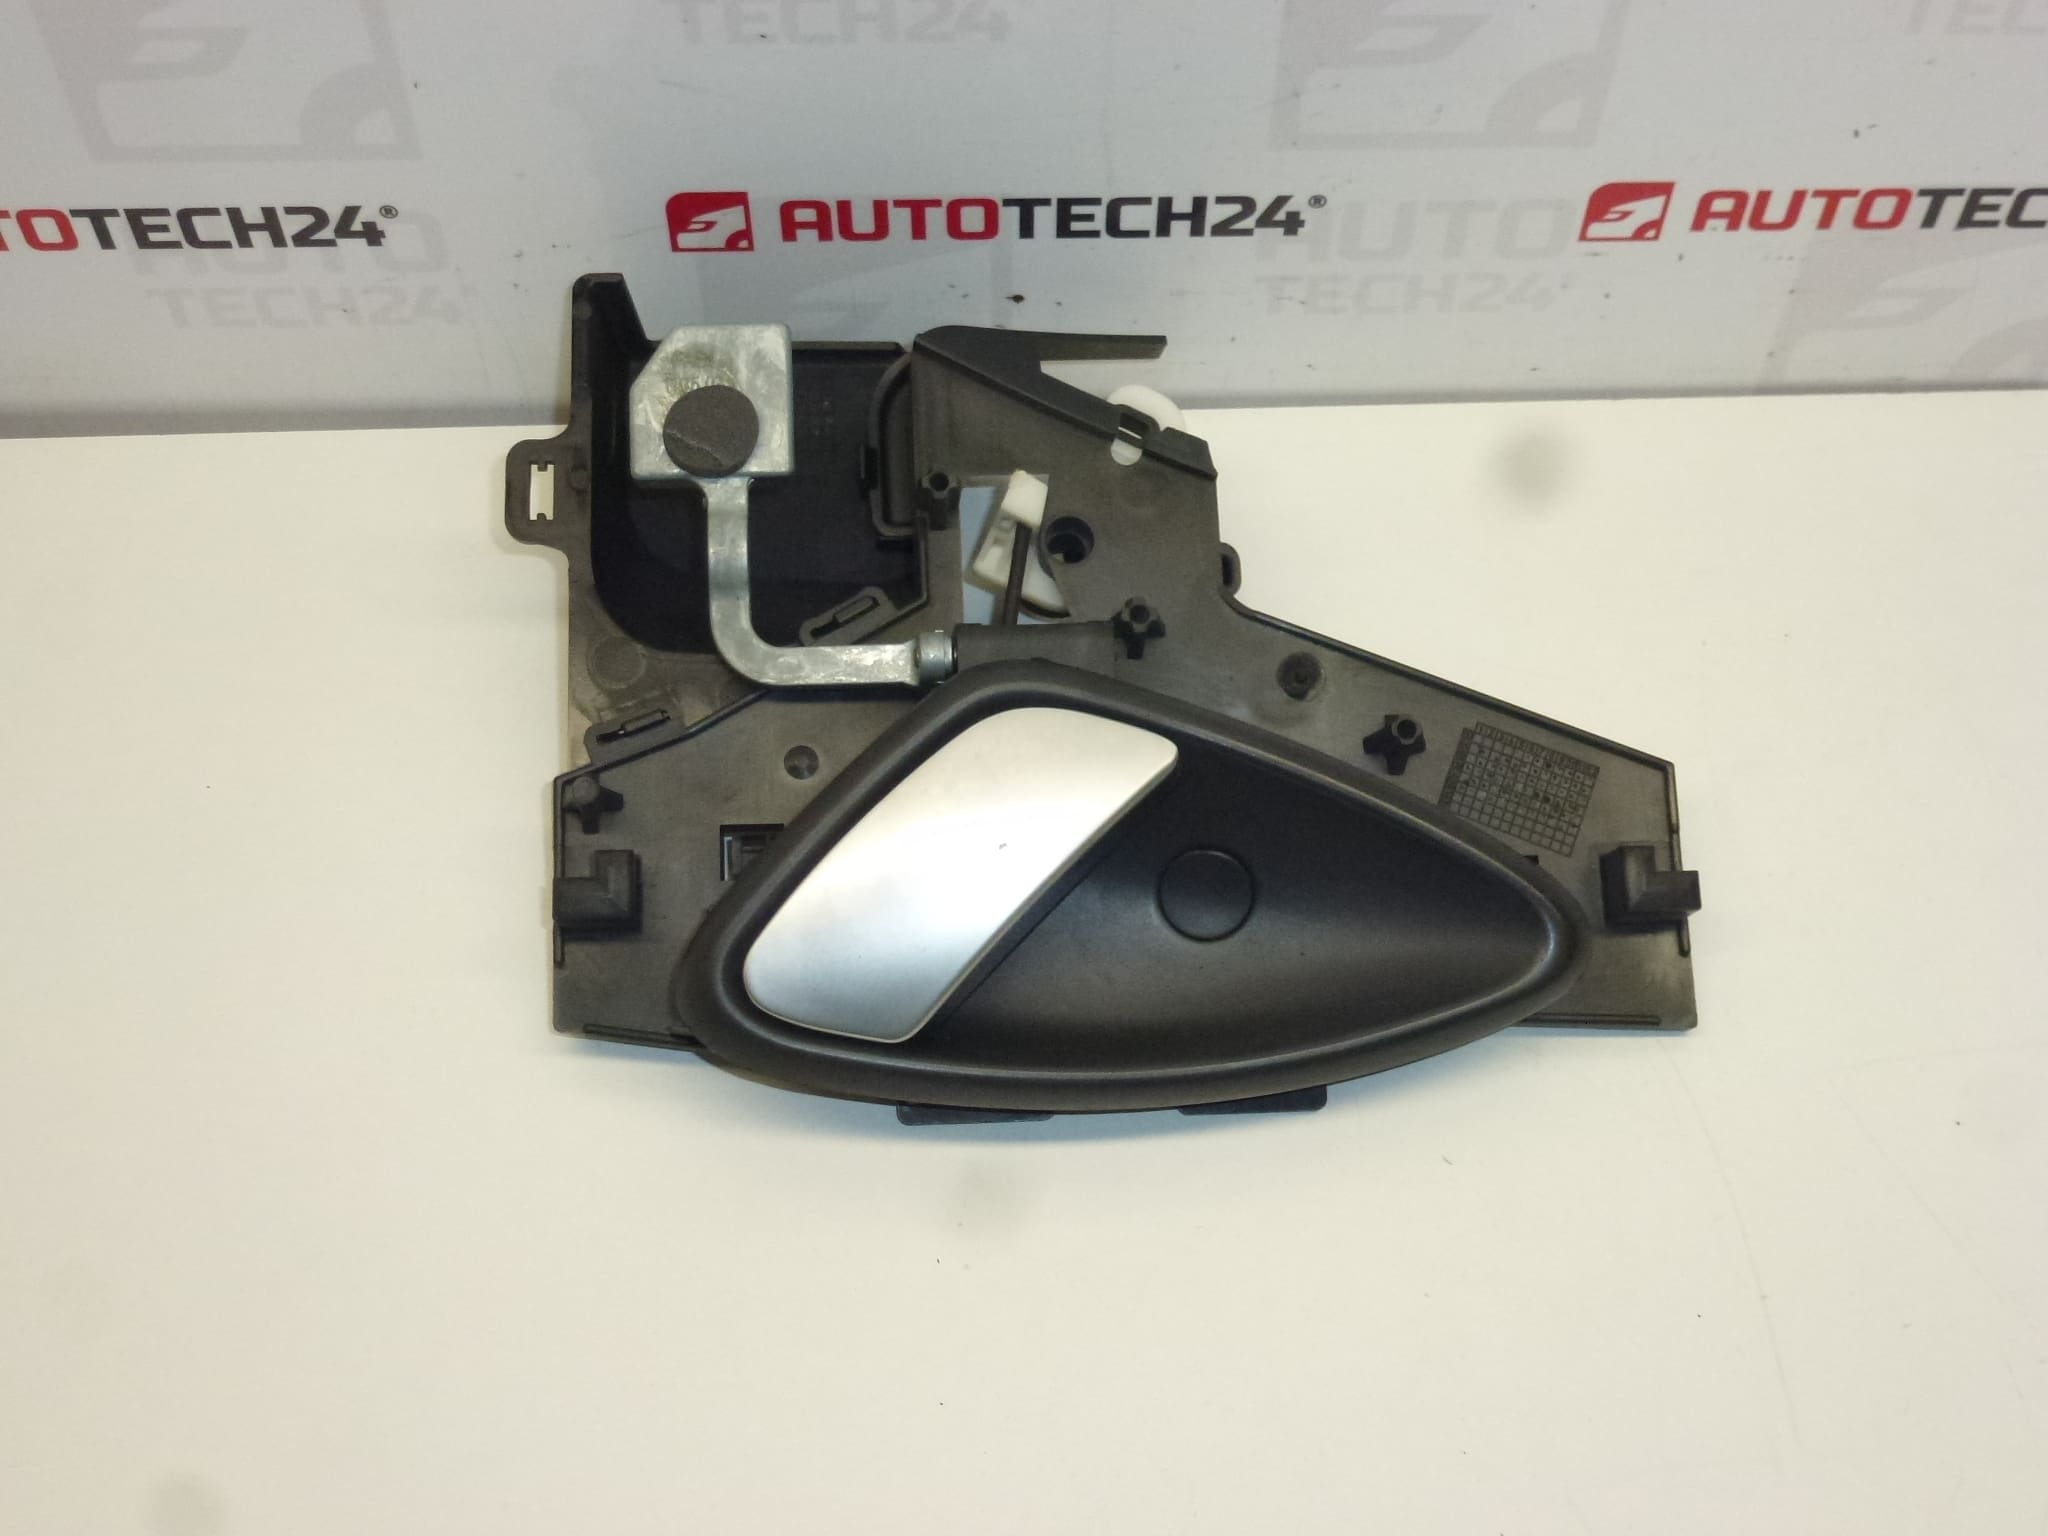
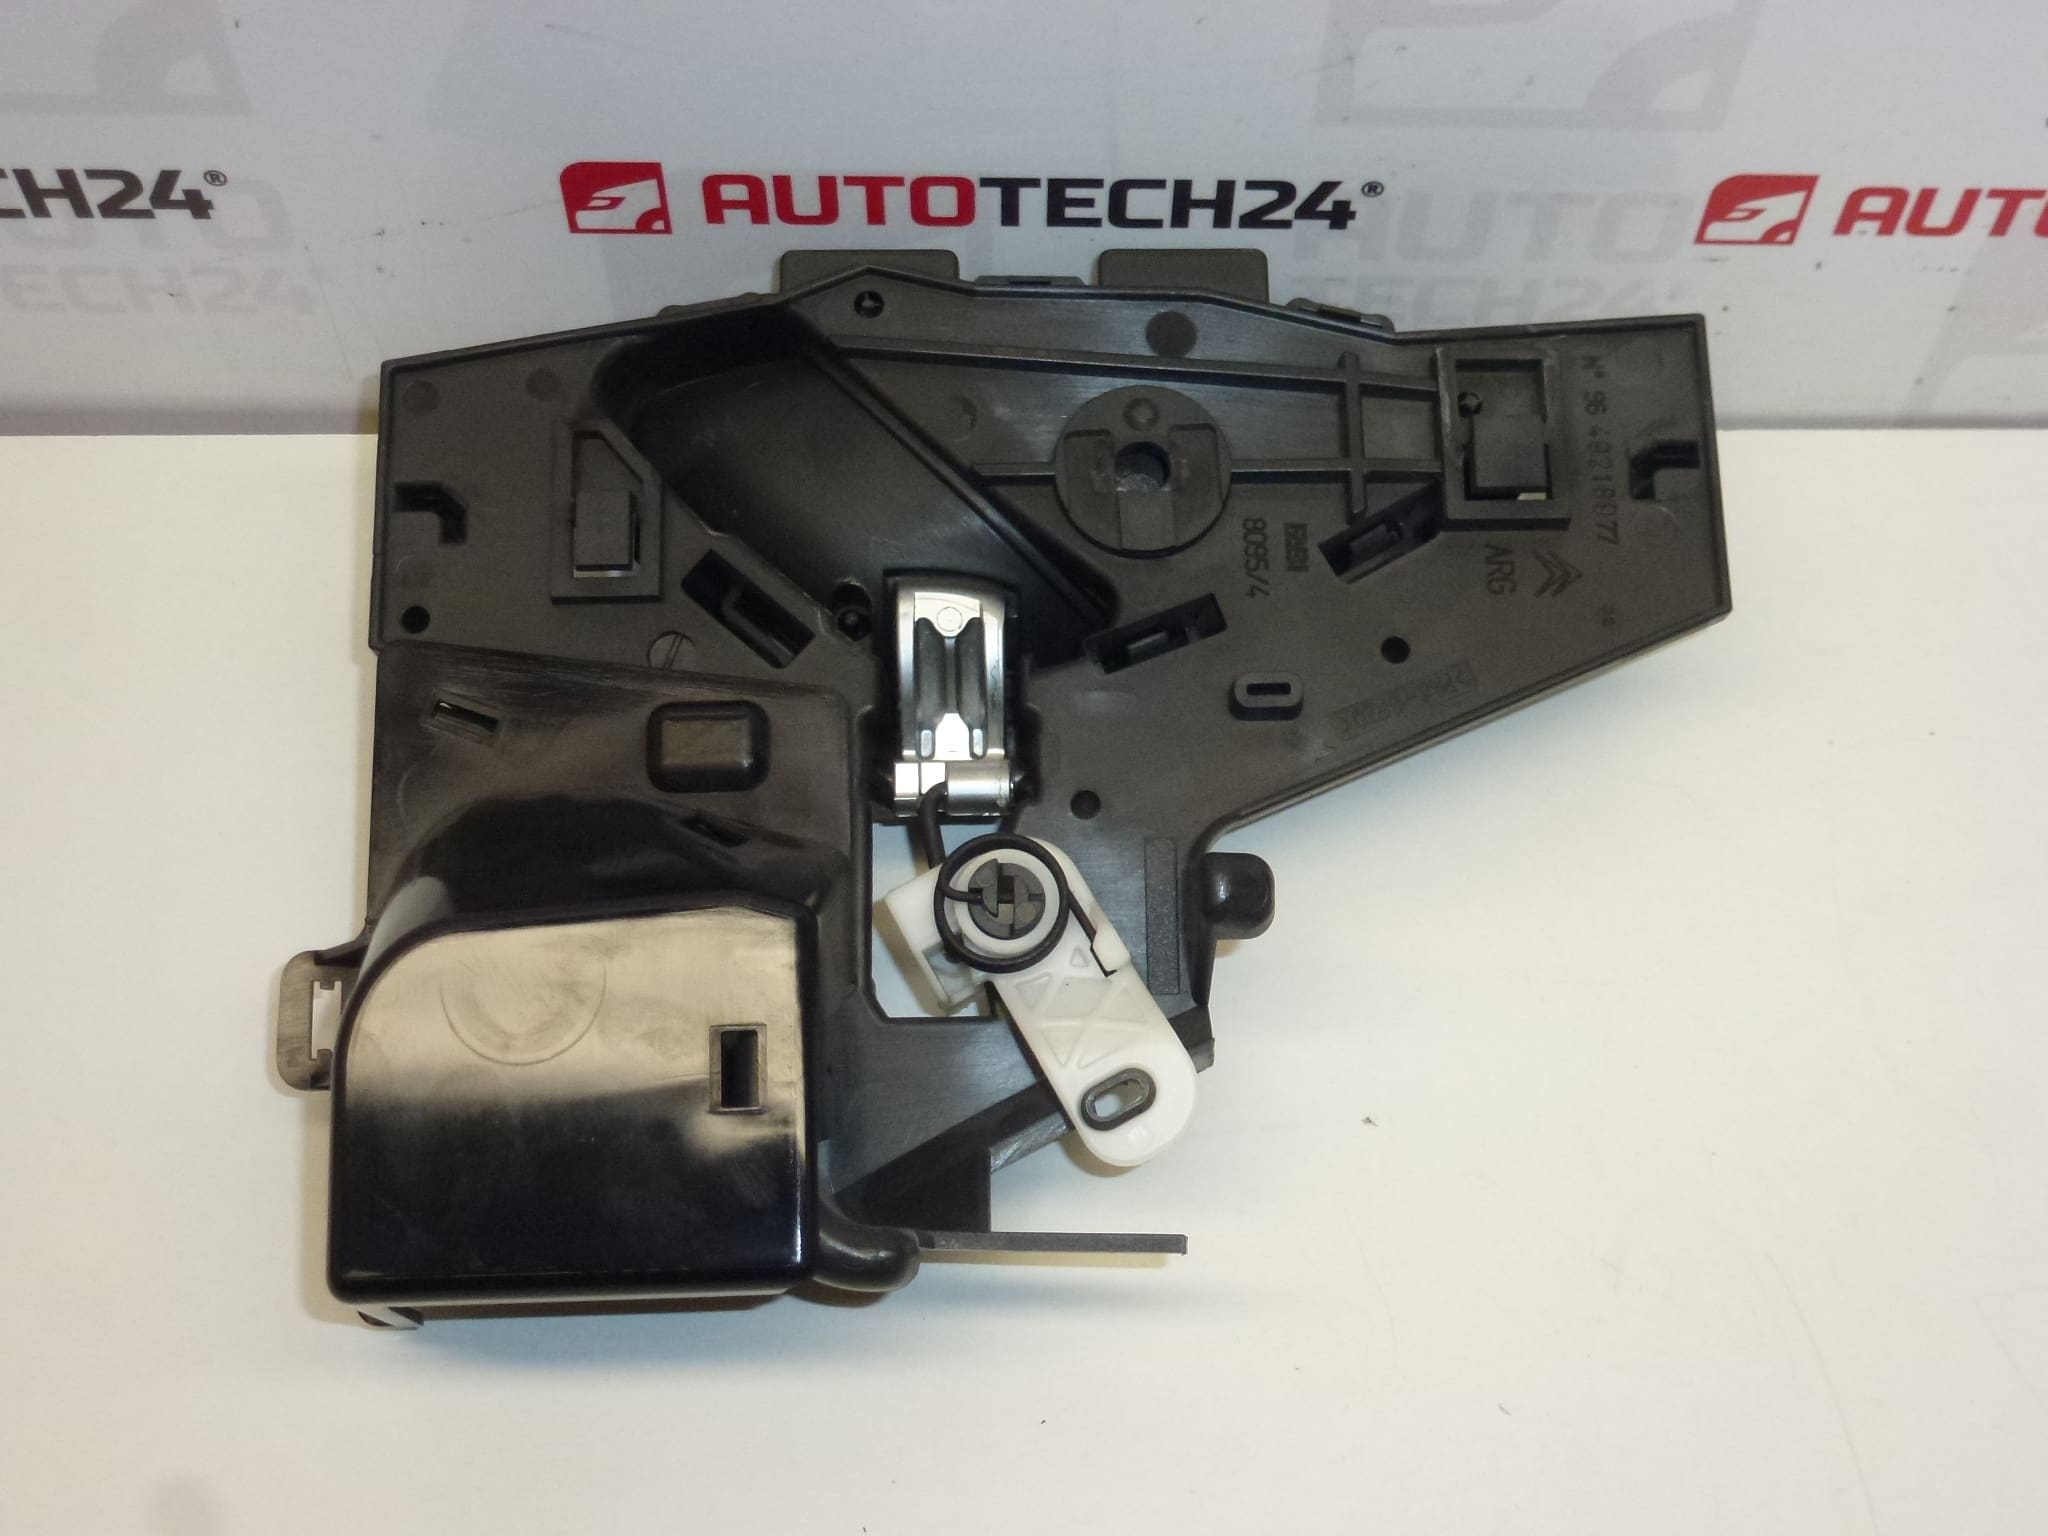
Complete inner rear passenger door handle including inner trim and screw cover for Citroën C5 vehicles. Color HVV – Grey Lion.
Product Overview
This complete inner door handle assembly is intended for the left rear passenger door of Citroën C5 models (first and second generation). The kit includes the inner handle, the surrounding trim escutcheon and the protective screw cover. Supplied in factory shade HVV – Grey Lion, it is a direct-fit style replacement designed for easy installation by professional technicians and competent DIYers.
Features And Benefits
- Complete Assembly: Handle, inner trim and screw cover supplied as one unit for a clean finish and faster replacement.
- Original-Style Fit: Matches factory mounting points for reliable alignment and operation.
- Durable Construction: Designed to withstand repeated use and typical interior stresses.
- OEM Reference Numbers Included: Commonly searched by part number for quick identification (see Technical Information).
Technical Information
- Manufacturer: Stellantis / Citroën
- Model: Citroën C5 I & II
- Product Codes: 9641315777
- Additional Numbers: 9649218977, 9143H9, 9143E0, 9119N9
Fitment And Replacement
Suitable for the left rear (driver-side or passenger-side depending on market) inner door on Citroën C5 first and second generation vehicles. Typical replacement procedure:
- Remove the door trim panel: carefully release the trim clips using a plastic trim tool to avoid damage.
- Unscrew any visible screws and remove the inner trim escutcheon to access the handle mounting.
- Disconnect the mechanical linkage or rod from the old handle—note the orientation for reassembly.
- Unbolt or unclip the old handle assembly and fit the new unit in the same position.
- Reconnect the linkage, check the mechanism for smooth operation and refit the trim panel, securing all clips and screws.
- Verify correct door locking/unlocking and interior release operation before completing the job.
Common Failure Causes
- Plastic Fatigue And Breakage: Repeated use and age can cause internal levers or mounting ears to crack.
- Clip Or Fastener Failure: Trim clips and small plastic fixings can wear or snap during removal or over time.
- Mechanical Wear Of Linkage: Rods and connectors can loosen or deform, leading to intermittent operation.
- Impact Or Forced Operation: Doors slammed with the handle engaged or misuse can damage the mechanism.
Installation Recommendations
- Use A Plastic Trim Tool To Avoid Panel Damage And Replace Any Broken Clips During Reassembly.
- Lightly Grease Moving Points Of The Linkage To Ensure Smooth Operation And Reduce Wear.
- Check Alignment And Handle Travel Before Fully Reinstalling The Door Panel.
- If Mounting Hardware Is Rusted Or Damaged, Replace Fasteners To Ensure Secure Fitment.
- Perform A Functional Test Of Locking, Unlocking And Interior Release After Installation.
Why Buy This Part
Ordering by OE or reference number (e.g. 9641315777) makes finding the correct interior handle fast and reliable. This complete assembly minimizes repair time and restores the original appearance and function of the rear left door on Citroën C5 vehicles, making it a practical choice for workshops and DIY enthusiasts.