Description
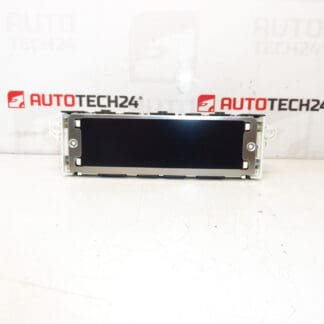
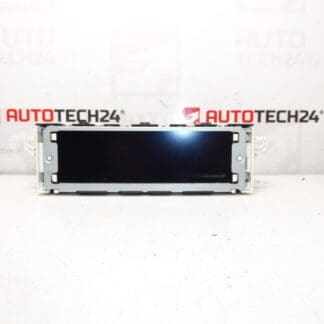
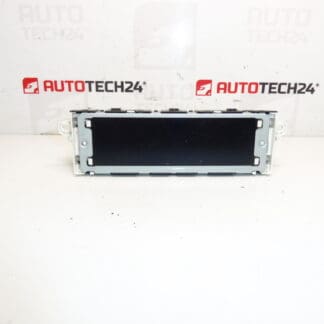
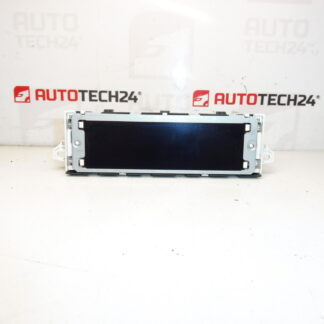
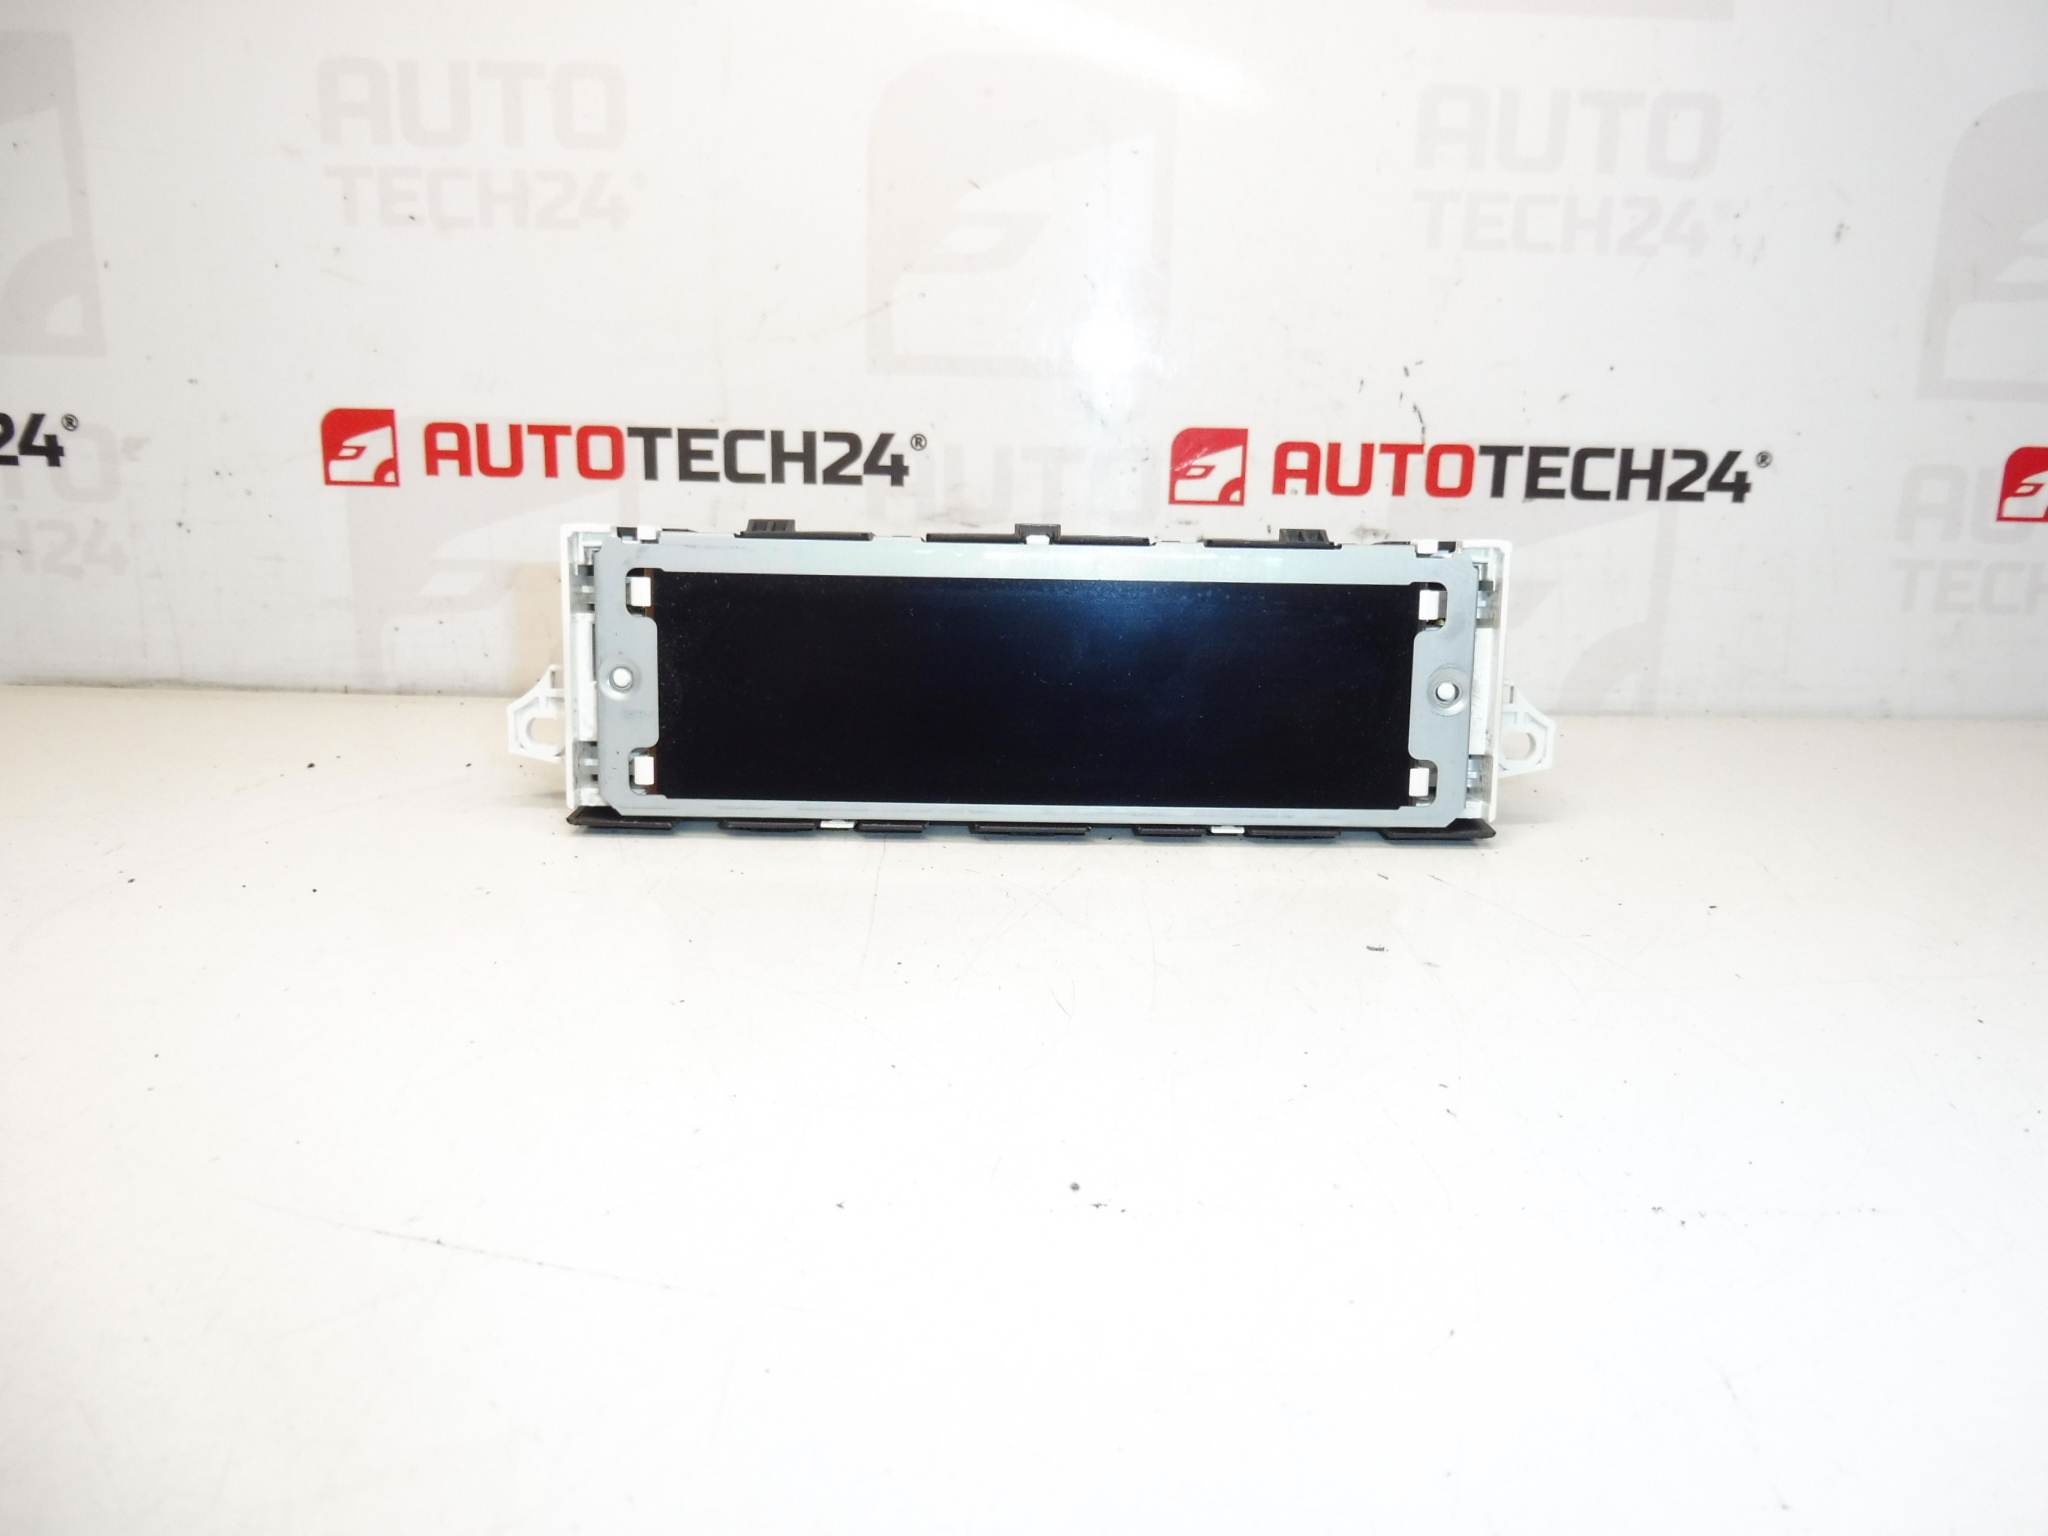
Computer radio display for PEUGEOT 308 T7
Some functions may need to be enabled by diagnostics
Part description
This computer radio display is a used original part designed for Peugeot 308 T7 cars. It is an important part of the on-board system, which ensures the display of information from the radio and on-board computer. Parts of this type are often searched by serial number, so when choosing, it is advisable to compare the markings on the original part with the offered piece.
The advantage is the original design for Citroën and Peugeot cars from the Stellantis group, thanks to which the correct processing, connectors and appearance corresponding to the car’s serial equipment are preserved. For this type of part, it is also true that some functions may need to be activated by diagnostics after assembly.
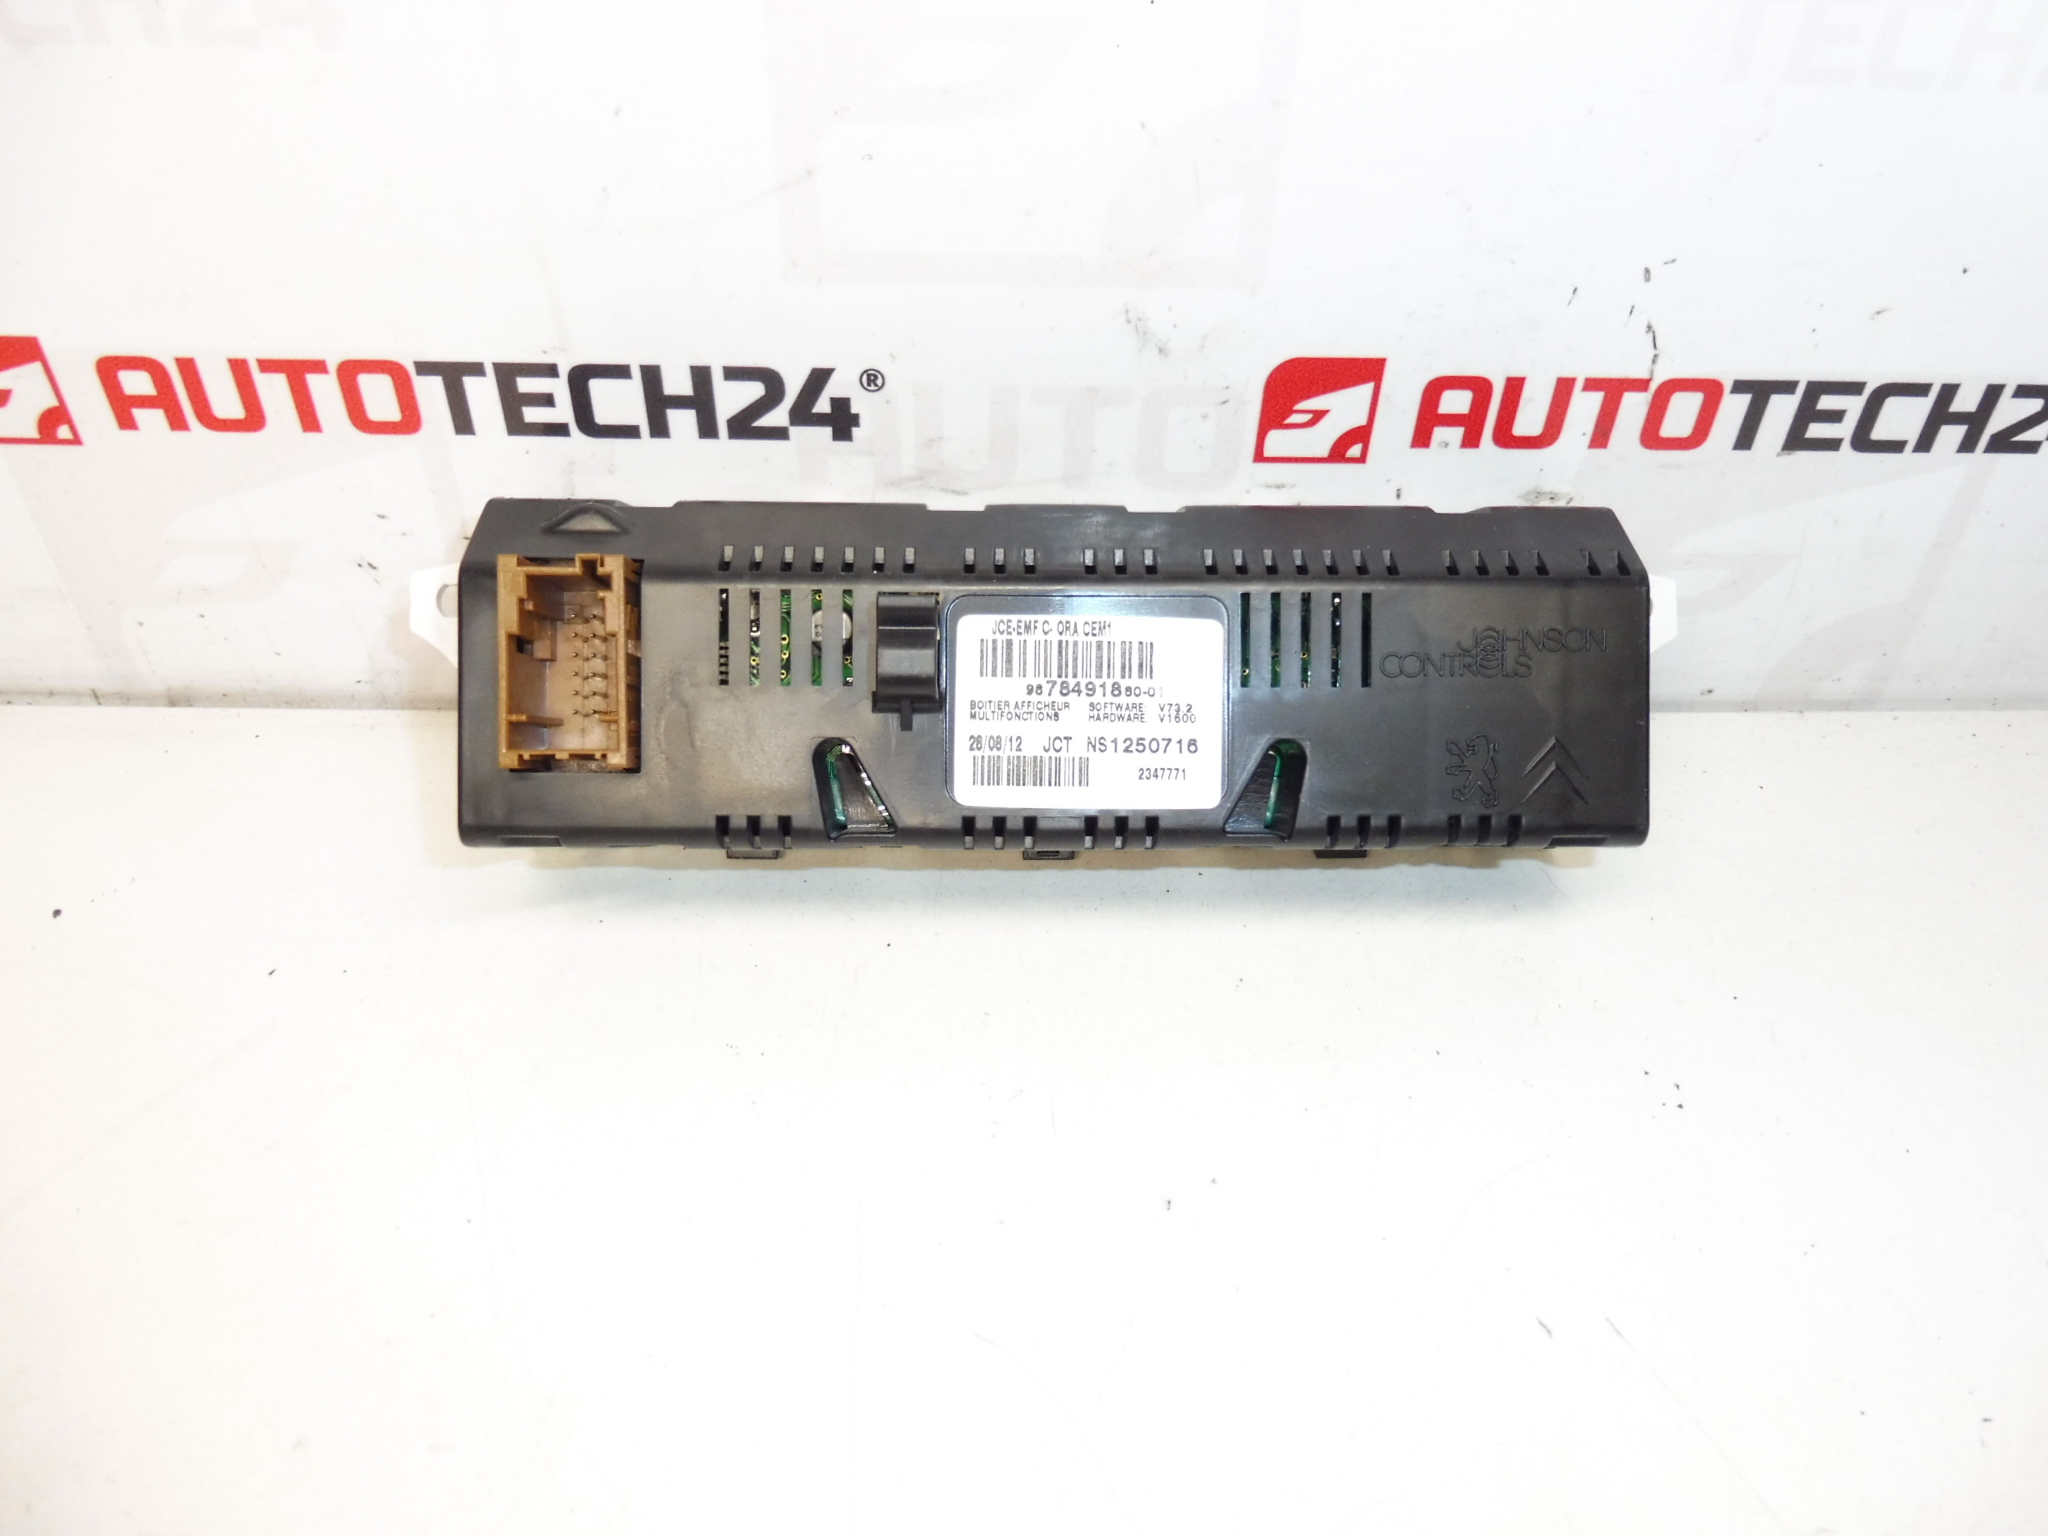
Technical information
- Manufacturer: Stellantis Citroën Peugeot
- Model: Peugeot 308 T7
- Other numbers: 9678491880-01
Product codes
- Product codes: 9678491880, 9821851780, 9678491880-01
- Models from labels/backgrounds: Peugeot 308
Installation recommendations
Generally/typically for replacing this type of electronic part, the exact procedure may vary depending on the specific car design and equipment. It is important to proceed carefully with the display of the computer radio in order not to damage the plastic covers, connectors or the display unit itself.
1) Before assembly
- Check that the product number of the original part and the new part match.
- Compare the part shape, attachment, connectors and overall design.
- Inspect the used part for cracks, damaged display, broken holders or oxidized contacts.
- Before starting work, we recommend disconnecting the battery according to normal service practice for electrical components.
2) Necessary tools and materials
- set of common hand tools
- plastic pry bar for panel removal
- screwdrivers or bits corresponding to the used connecting material
- cleaning agent for electrical contacts
- clean cloth or tea towel
3) Step-by-step assembly procedure
- Turn off the ignition and prepare the vehicle for safe work.
- Disconnect the battery if it is in accordance with normal procedure for working on the vehicle’s electrical installation.
- Carefully remove the cover elements of the dashboard or the surrounding paneling that prevents access to the display.
- Unfasten the original display.
- Gently slide out the old part so as not to strain the wiring.
- Disconnect the electrical connector or connectors and check their condition.
- Compare the original and new display according to the number, connectors and mounting.
- Connect the connector to the new part and verify proper seating without excessive force.
- Place the display in place and fasten it in the original way.
- Reinstall all removed covers and trim.
- Connect the battery.
- Turn on the ignition and check the basic display functions.
-
4) Post-assembly checks and function verification
- Verify the readability of the display and the correct display of the data.
- Check the responses to the radio and on-board computer controls, if they are connected to the display.
- Check the display for flickering, blackouts, or display errors.
- If some functions are not active, depending on the documents, they may need to be turned on by diagnostics.
5) The most common assembly mistakes + how to avoid them
- Part replacement by appearance instead of by code – always compare product numbers.
- Plastic damage during disassembly – use a plastic pry bar and work without unnecessary force.
- Poorly seated connector – check for proper click after connection.
- Overview of contact damage – check the condition of the pins and wiring before assembly.
- Expecting full functionality without settings – for this part, it may be necessary to activate some functions with diagnostics.
Reasons why the part is damaged
- normal wear and tear of electronics and display during operation
- voltage fluctuations in the vehicle’s on-board network
- moisture, condensation or contamination of the contacts
- mechanical damage during unprofessional disassembly of the dashboard
- Internal failure of the display unit or connector connection