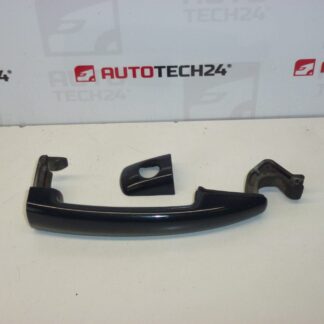
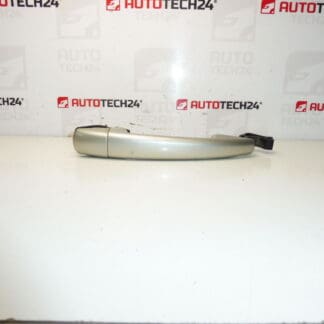
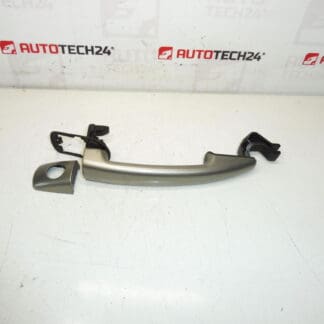
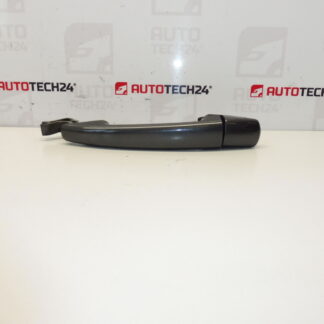
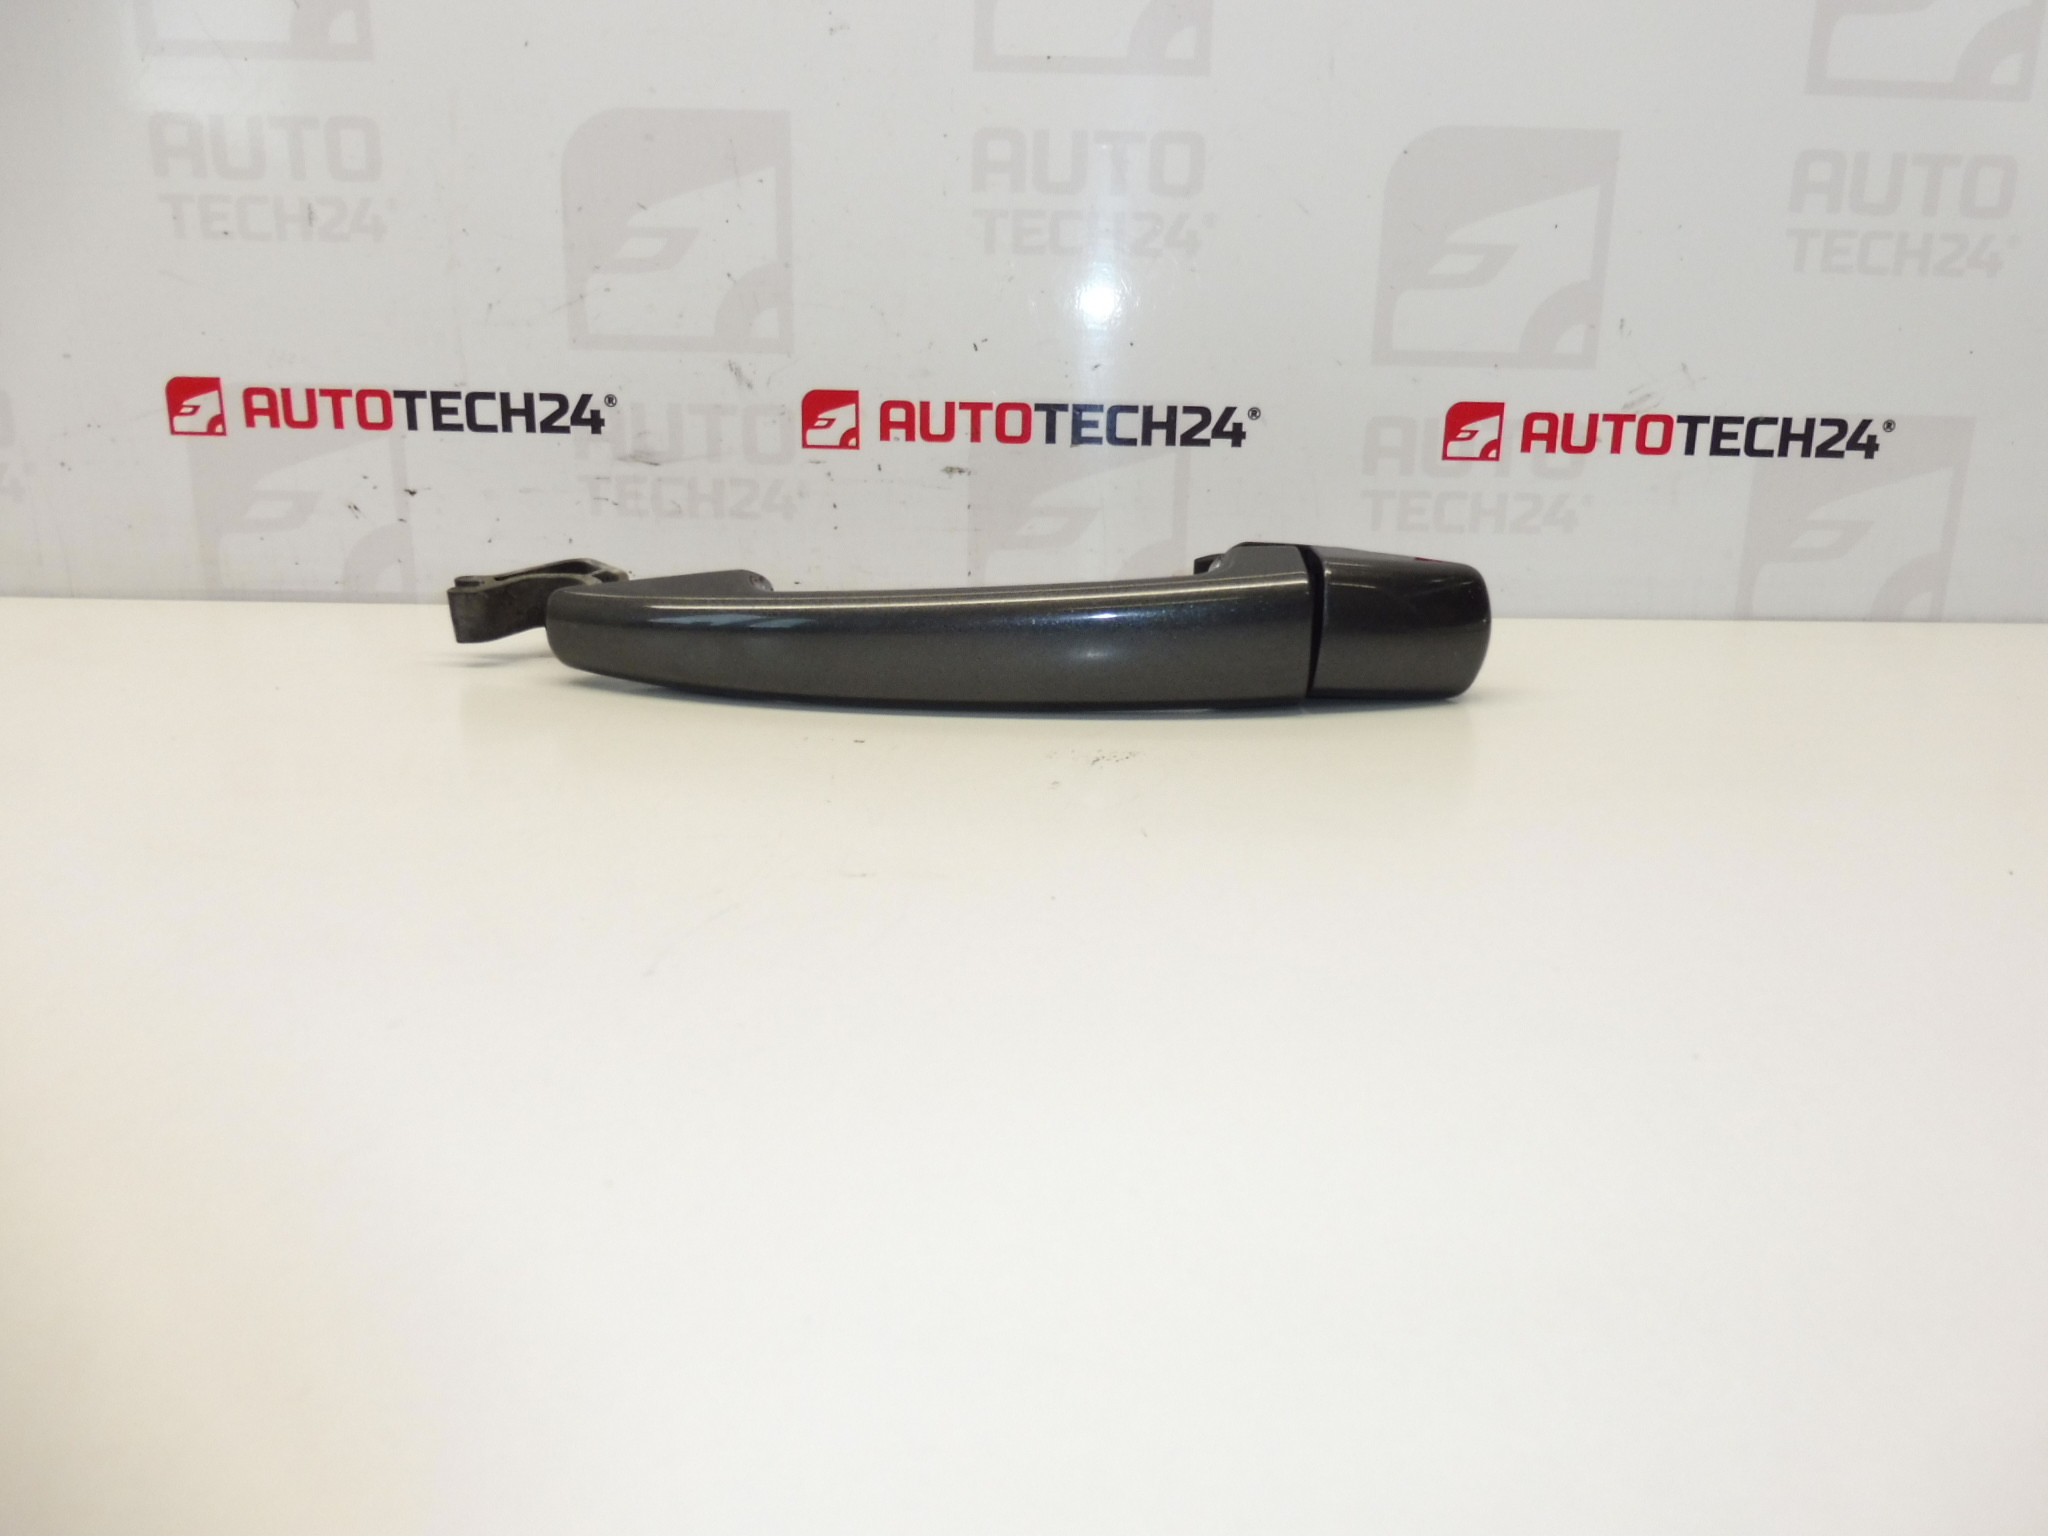
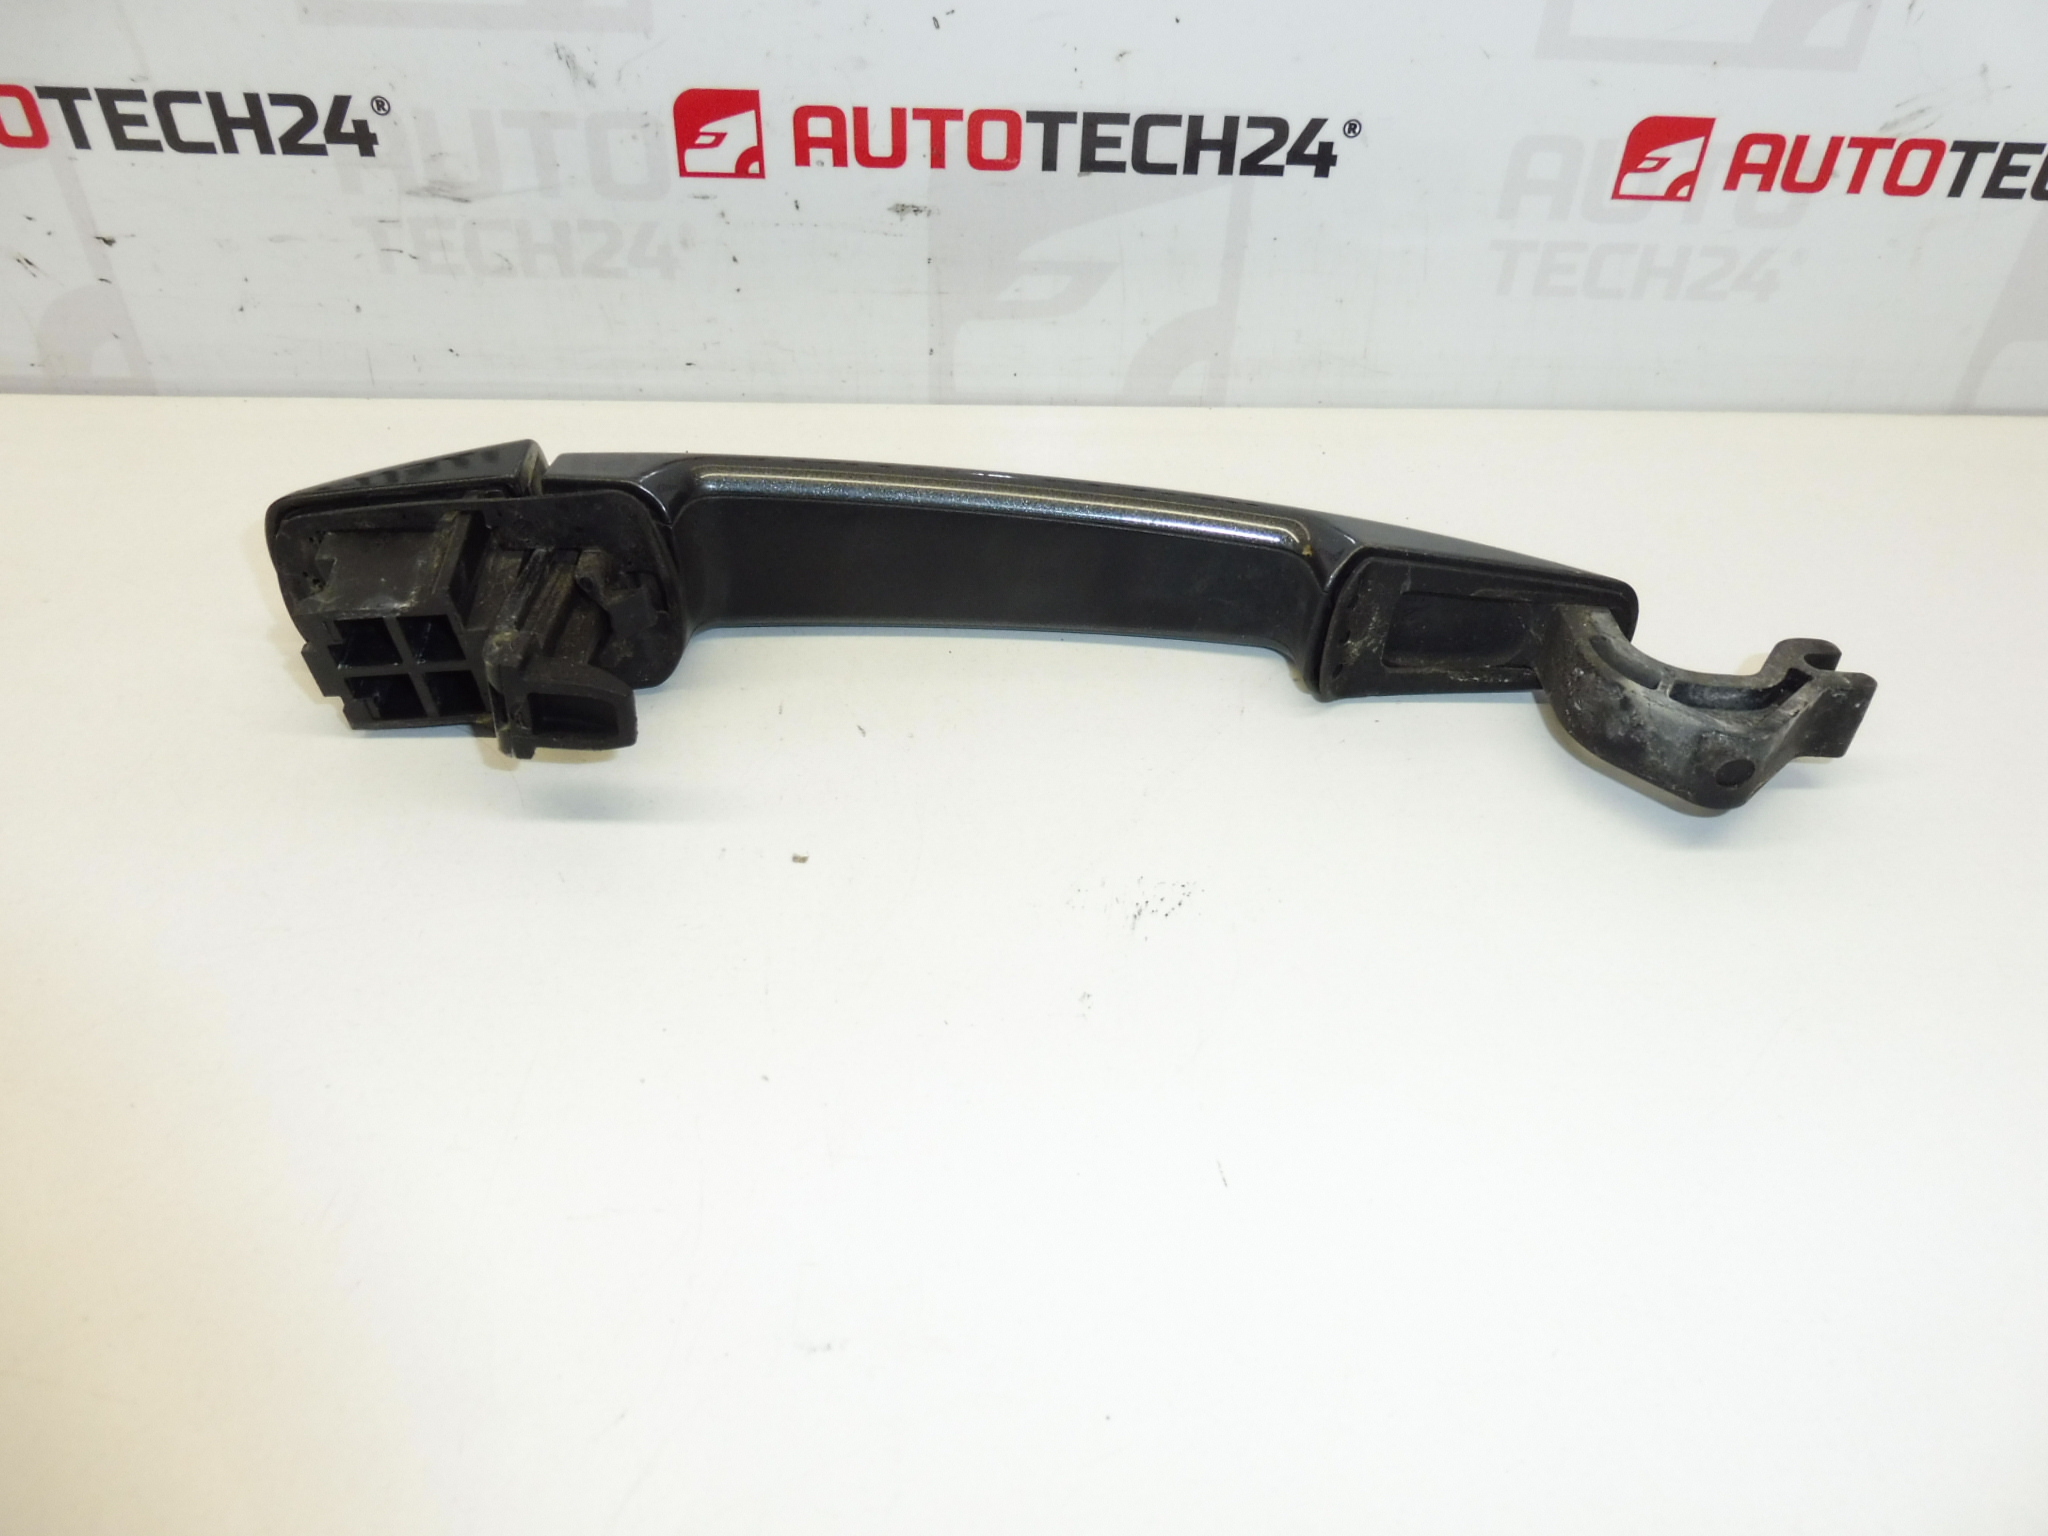
Antenna Citroën C2 C3 9653389980 6567W7

48.00

Stellantis CITROEN PEUGEOT
9653389980 6567W7 6561W5 NFP

1 in stock

Description

Antenna for CITROEN C2 and C3

Part description

Original car antenna for Citroën C2 and Citroën C3, suitable as a replacement for a damaged or non-functional piece. If you are dealing with weak radio reception, signal drops or a broken/cracked antenna, this part is a practical solution without unnecessary modifications. Due to its unambiguous designation, it is often searched for by part number 9653389980 or 6567W7.

Technical information

  • Manufacturer: Stellantis (Citroën / Peugeot)
  • Model: Citroën C2, Citroën C3
  • Other numbers: 6561W5, NFP

Product codes

  • Product codes: 9653389980, 6567W7

Installation recommendations

Generally/typically applies to the replacement of the car antenna in Citroën/Peugeot cars – the exact procedure may vary according to the specific design of the car and the type of antenna base.

1) Before assembly

  • Compare with the old part numbers 9653389980 / 6567W7 and possibly other markings (6561W5, NFP).
  • Check the condition of the used antenna: cracks, damage to the thread/fitting, oxidized contacts, damaged cable/connector (if included).
  • Check that the problem is not only caused by a loose antenna rod, a bad contact or a damaged antenna cable in the car.

2) Necessary tools and materials

  • A basic set of hand tools (typically screwdrivers and keys depending on the design)
  • Plastic pry bar for removing upholstery/covers (to minimize damage)
  • Contact cleaner (as needed) and a clean cloth

3) Step-by-step assembly procedure

  1. Turn off the ignition and disconnect the battery to be safe (especially if you are going to tamper with the wiring).
  2. Provide access to the antenna according to the car design (it may be necessary to partially loosen the inner cover/upholstery at the antenna location).
  3. Disconnect the antenna connector/wiring (if accessible at the base of the antenna).
  4. Allow antenna attachment (nut/screw/fixing according to design).
  5. Remove the old antenna and inspect the seating surface and grommet/seal (if used).
  6. Clean the mating surfaces and check that they are not dirty or corroded.
  7. Place the new antenna in the correct position so that it sits straight and without tension.
  8. Tighten the fastening sufficiently so that the antenna holds, but does not damage the plastic or the thread.
  9. Reconnect the connector/wiring and check that the connection is tight.
  10. Put back the removed covers/upholstery.
  11. Connect the battery and turn on the car radio.
    • 4) Post-assembly checks and test drive/function verification

      • Verify the reception of several stations (FM/AM depending on the equipment) – signal stability, without dropouts when handling the antenna.
      • Check that the antenna is firmly in place and has no play.
      • If reception is still poor, focus on the antenna cable, connectors and possibly the radio itself.

      5) The most common assembly mistakes + how to avoid them

      • Under-tightened or over-tightened fastening → tighten with sensitivity to avoid cracking or tearing.
      • Poorly seated connector → always check that the connector is clicked/tightly inserted.
      • Not addressing the cause (cable/oxidation) → when replacing, clean the contacts and check the cable routing.
      • Upholstery damage during disassembly → use plastic disassembly tools and proceed slowly.

      Reasons why the part is damaged

      • Mechanical damage (breakage, cracking) – dishwasher, vandal damage, caught on an obstacle.
      • Oxidation of contacts – moisture and age can deteriorate conductivity and reception quality.
      • Cabling damage – broken/abraded antenna cable or loose connector.

Additional information

Weight 0.7 kg