Description
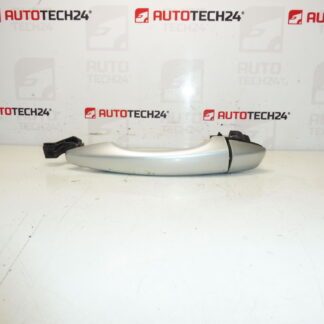
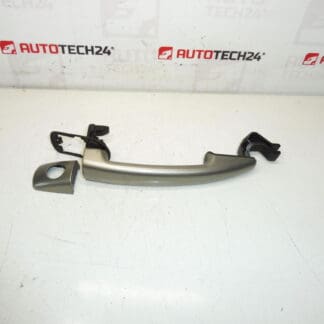
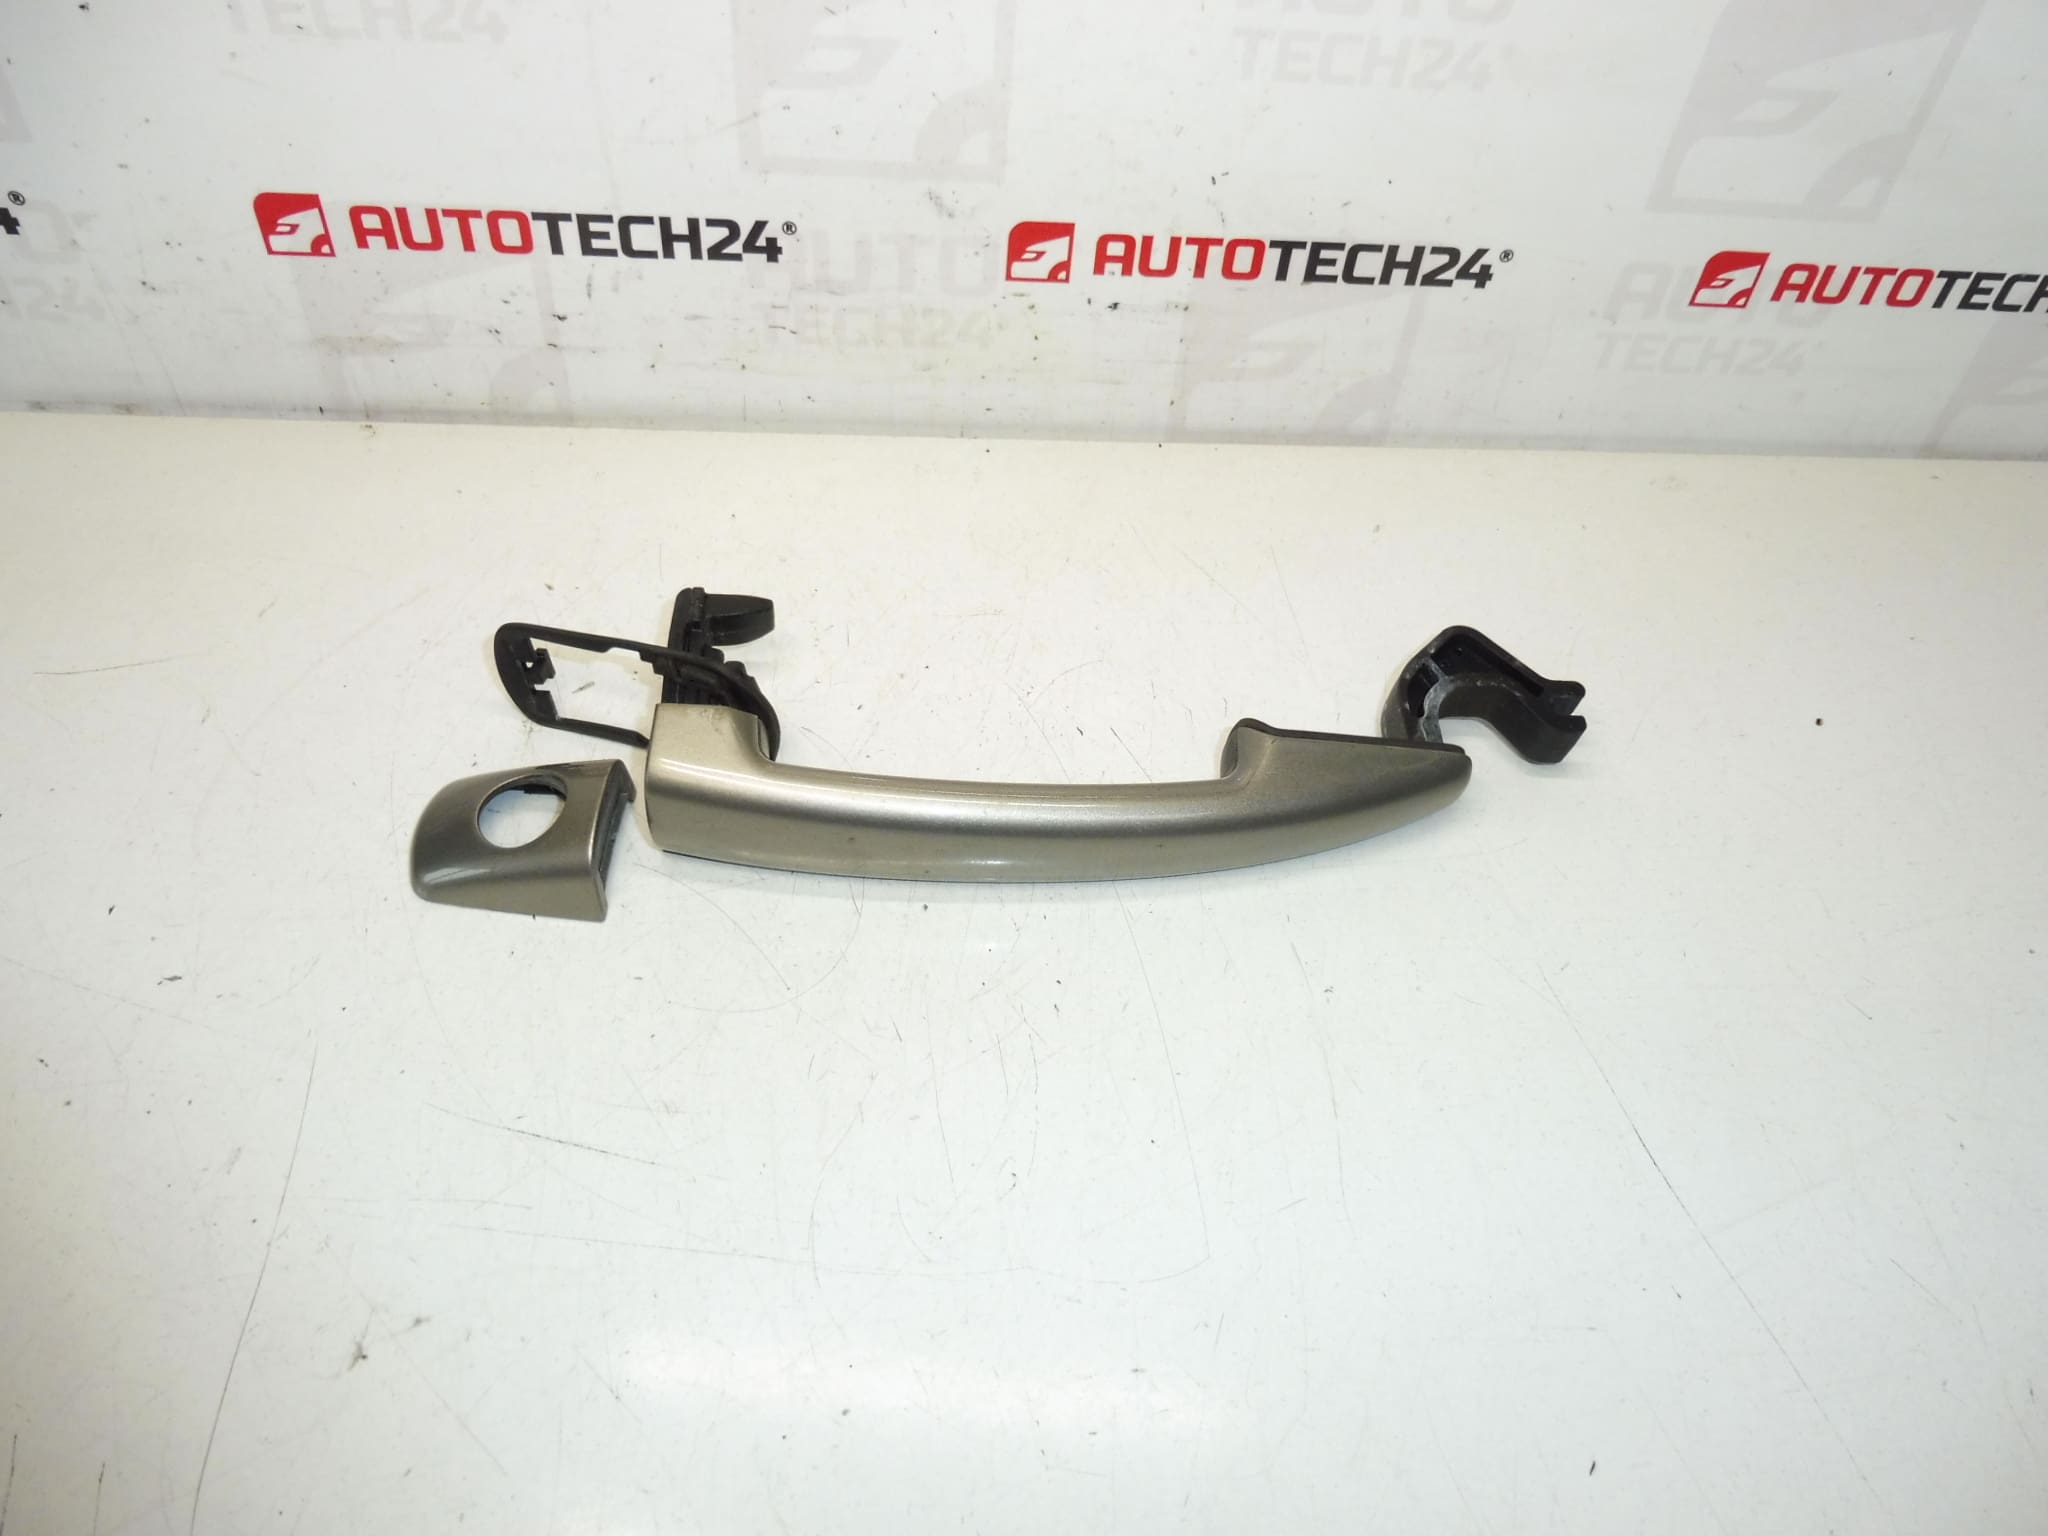
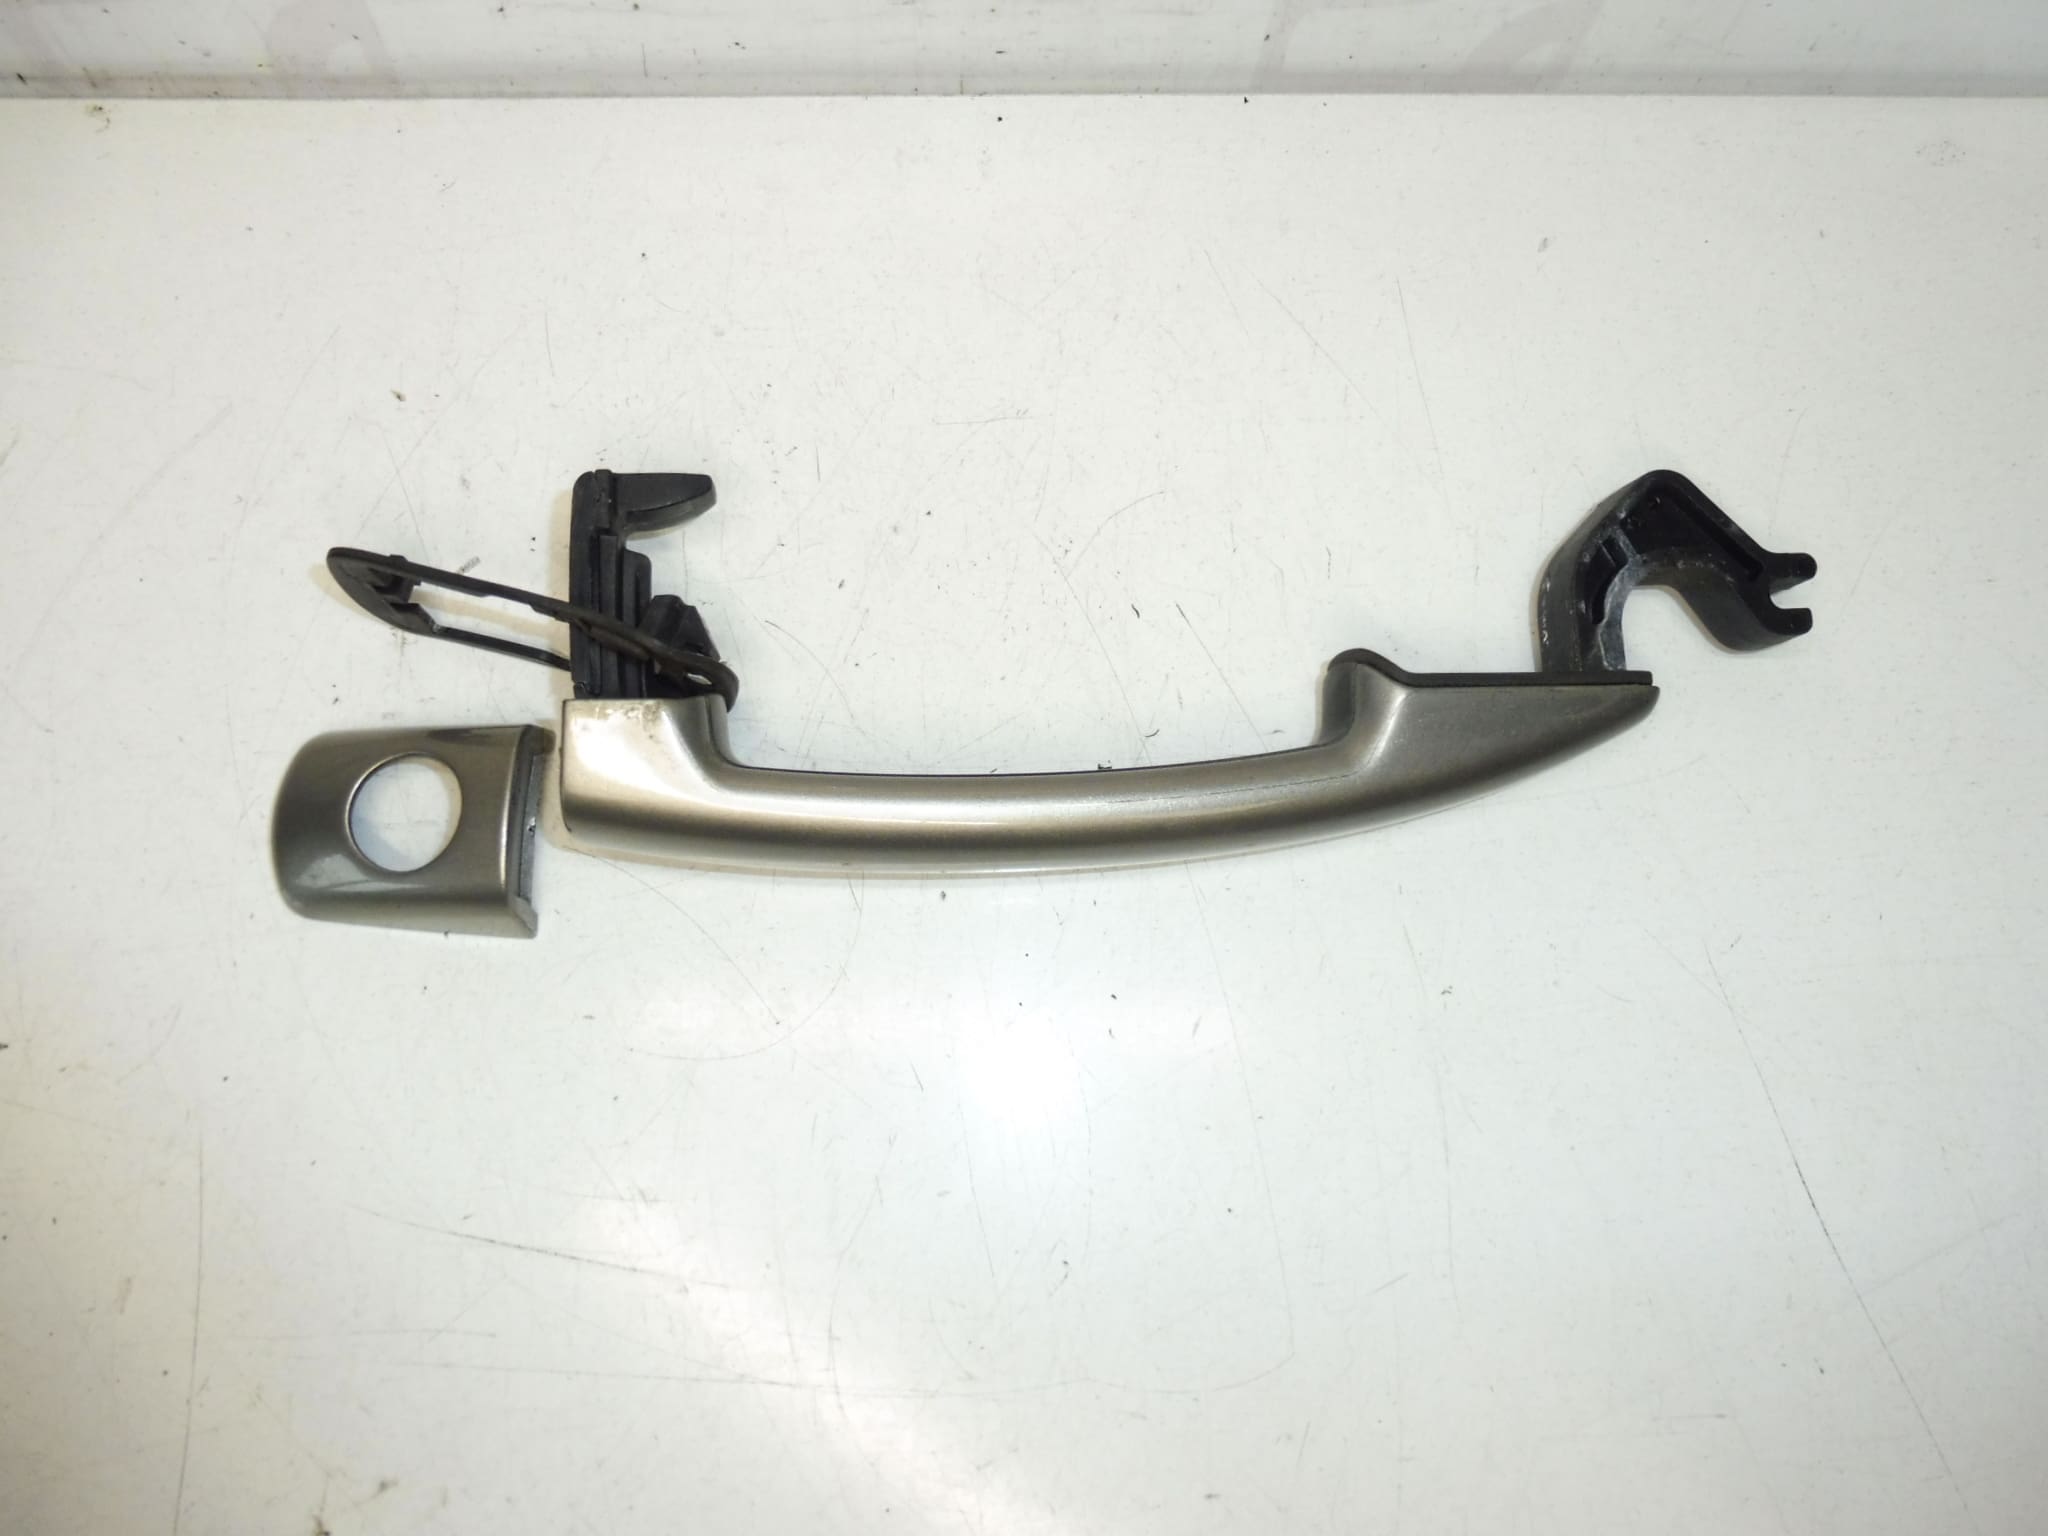
Left front door handle for Citroën Berlingo III, C4 II, C4 Picasso and Grand C4 Picasso, Jumpy III, and Peugeot 207, 308, Partner III, Expert III. Color EVG – Vapor Grey Paint. We have various colors in stock.
Product Description
This Left Front Door Handle Is An OEM-Fit Replacement Designed For Citroën And Peugeot Models. Supplied In Vapor Grey (Color Code EVG) And Available In Multiple Finishes, The Part Is Ideal For Professional Workshops And Skilled DIYers Looking For A Direct Replacement. The Handle Matches Original Mounting Points And Mechanisms For Quick Installation And Reliable Function. Commonly Searched Under Part Code 9101GF Or EVGC 9101GF, This Unit Offers A Precise Fit And Factory-Like Appearance.
Technical Information
- Manufacturer: Stellantis (Citroën/Peugeot OEM)
- Model: Citroën Berlingo III, C4 II, C4 Picasso, Grand C4 Picasso, Jumpy III; Peugeot 207, 308, Partner III, Expert III
- Product Codes: 9101GF, EVGC
- Other Numbers: Color Code EVG (Vapor Grey)
Installation Recommendations
- Prepare Basic Tools: Trim Removal Tools, Screwdrivers, Socket Set And Pliers. Work On A Stable Surface.
- Remove Inner Door Trim Carefully To Access The Handle Mechanism; Start With Trim Clips And Fasteners To Avoid Damage.
- Disconnect Linkages And Cables From The Old Handle; Note Rod Positions Or Take Photos For Correct Reassembly.
- Unscrew Retaining Bolts/Screws And Remove The Old Handle From The Door Shell.
- Fit The New Handle, Reattach Linkages And Ensure All Clips And Fasteners Are Properly Engaged.
- Before Reassembling The Door Trim, Test The Handle For Smooth Operation, Locking And Central Lock Function.
- Reinstall Door Trim And Retest. Check Paint Match And Clean Contact Areas; Lubricate Moving Parts If NEEDED.
Recommended For Installation By Trained Technicians Or Experienced DIYers. Take Care With Interior Trim Clips To Prevent Breakage. Verify Smooth Operation Of Locking Mechanism After Fitment.
Why This Part Usually Fails
Door Handles Typically Fail Due To Mechanical Wear And Plastic Fatigue: Repeated Use Causes Internal Clips And Levers To Crack Or Break. Corrosion From Moisture And Road Salt Can Seize Moving Parts Or Accelerate Deterioration, While Impacts Or Forced Entry May Cause Immediate Damage. Temperature Extremes Can Make Plastic Components Brittle, Increasing The Risk Of Fracture. Regular Use Over Many Years Will Gradually Wear Linkage Points And Pivot Bushings, Leading To Play Or Complete Failure.
Fitment And Practical Notes
This Handle Is A Left Front Unit — Replace According To Vehicle Side Orientation. Searching By Part Code 9101GF Or EVGC Improves The Chance Of Finding The Correct Variant For Your Model. Painted Units Are Ready To Fit But Check Color Match Before Final Installation. If The Central Locking Actuator Or Internal Linkages Are Worn, Consider Replacing Those Components Simultaneously To Restore Reliable Operation.
Purchase Benefits
Direct-Fit Replacement With OEM Mounting Geometry, Available In Factory Paint Finishes, And Supplied Ready For Installation. Suitable For Professional Repairs And High-Quality DIY Restorations.