Description
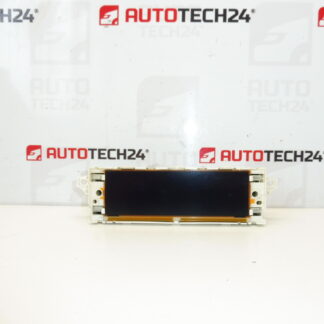
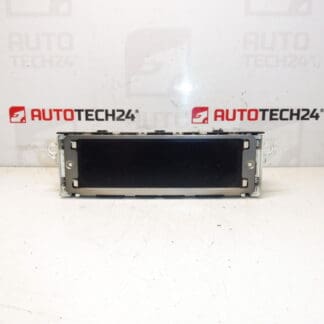
Display for radio and onboard computer for PEUGEOT 807 and Citroën C8 from 2005. Some functions may need to be configured to the vehicle via diagnostics. Tested, fully functional.
This replacement display is intended for technicians and DIY enthusiasts working on Stellantis MPV models. It restores radio information, onboard computer readouts and menu navigation on Peugeot 807 and Citroën C8 vehicles. Supplied with original part references and software/hardware identification to help you find the correct fit and speed up installation.
Technical Information
- Manufacturer: Stellantis Citroën Peugeot
- Model: Peugeot 807, Citroën C8 (from 2005)
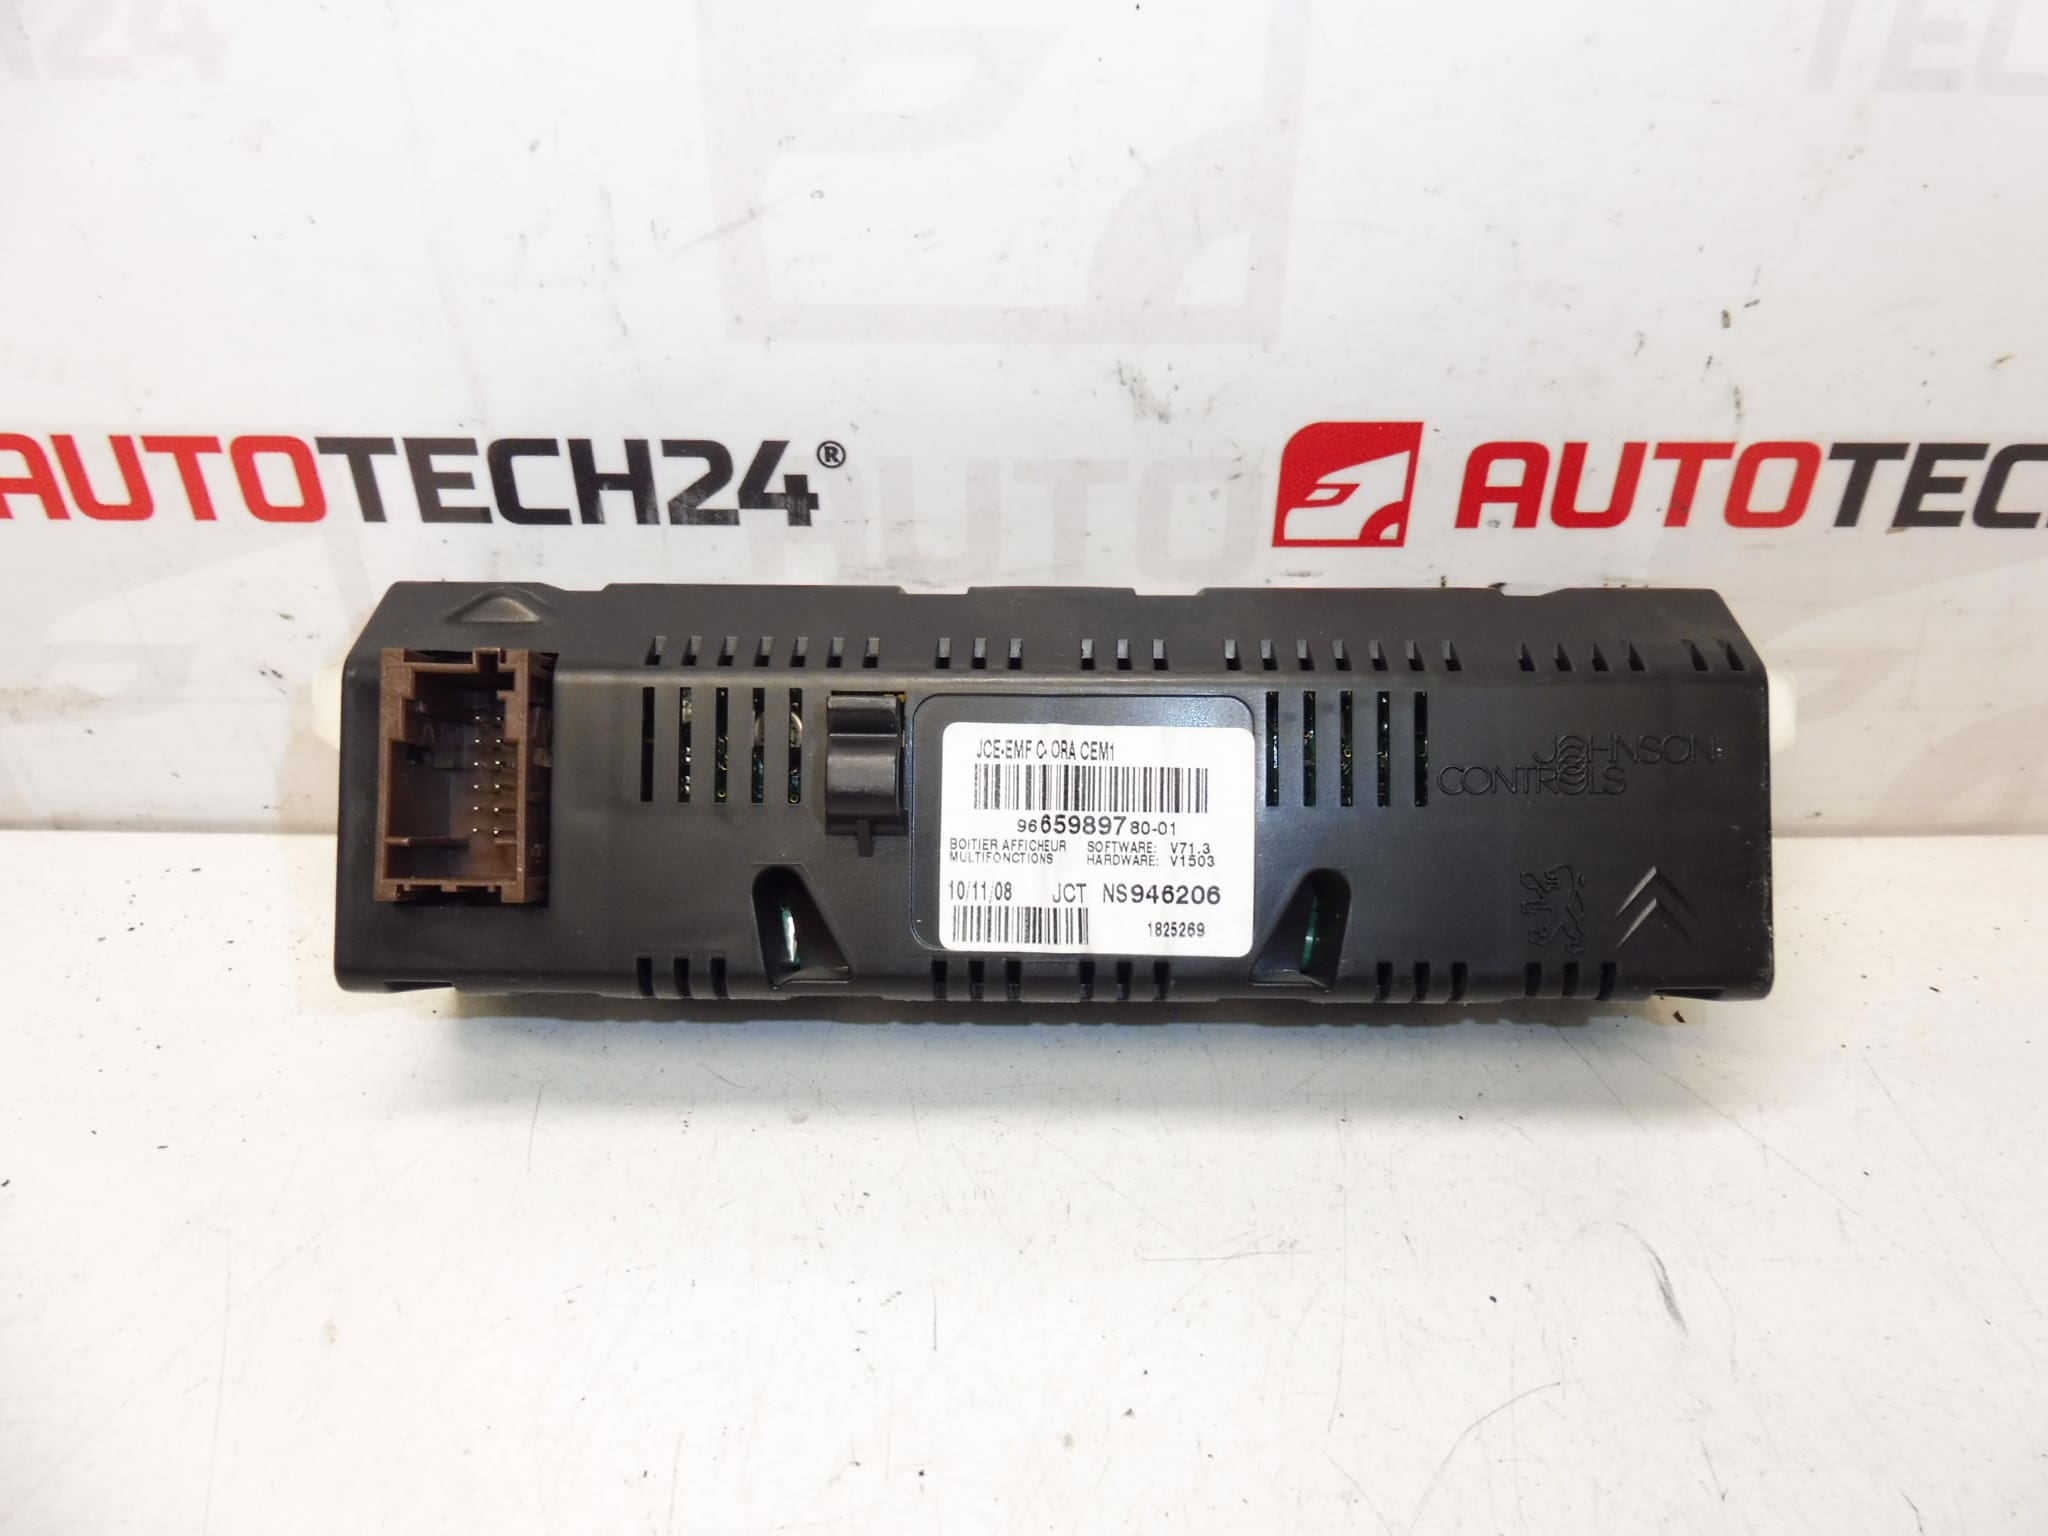
- Product Codes: 9665989780, 9821852480
- Additional Numbers: 6593T7, 6593T6; SW V71.3; HW V1503
Compatibility
Direct fit for Peugeot 807 and Citroën C8 models from 2005 where the listed part numbers or software/hardware versions match. Always verify the unit type and connector layout before installation.
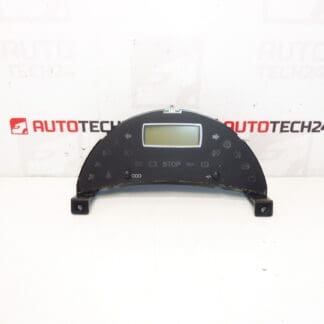
Function and Features
- Displays radio station, CD/aux information and basic audio settings.
- Shows onboard computer information such as trip data, range and average consumption where equipped.
- Menu navigation and status indicators for vehicle functions integrated into the central display cluster.
- Compatible with vehicle’s original control interfaces; some vehicle-specific settings require diagnostic configuration.
Replacement Procedure
- Disconnect the negative battery terminal before starting to avoid short circuits and protect electronics.
- Remove the surrounding trim and center console panels to access the radio/display unit. Use trim tools to avoid damage.
- Unscrew and slide out the radio/navigation unit as required to reach the display module.
- Unplug the electrical connectors carefully and release any retaining clips. Inspect connectors for corrosion or bent pins.
- Replace the display module and reattach connectors. Reinstall the radio/unit and trim in reverse order.
- Reconnect the battery, power up the system and verify basic functions. Perform any necessary configuration via diagnostic tool for full functionality.
Installation Recommendations
- Always disconnect the battery before removal and follow manufacturer procedures to avoid damage to control modules.
- Handle the display as an electrostatic-sensitive device; avoid touching contacts and glass directly.
- Check connectors for corrosion and clean contact surfaces before reassembly.
- If certain features do not work after installation, configuration with a suitable diagnostic tool may be required to enable menus or vehicle-specific options.
Reason Why This Part Most Often Fails
- Age-Related Degradation: Prolonged heat cycles and aging often cause backlight failure, dimming or pixel defects.
- Moisture Ingress: Condensation or water leaks can damage the display electronics or connectors, causing intermittent faults.
- Connector Corrosion Or Poor Contact: Oxidation at mating connectors leads to loss of signal or power to the display.
- Software/Calibration Issues: After replacement, some functions require diagnostic configuration; otherwise menus or readings may be missing or incorrect.
Typical Service Life
There is no fixed replacement interval. Failures become more frequent as vehicles age—especially in cars over 10 years old—due to thermal stress, wear of components and environmental exposure.
Note
Some advanced settings may require diagnostic setup to fully integrate the display with the vehicle systems. Ensure compatibility by comparing part numbers and software/hardware IDs before purchase.