Description
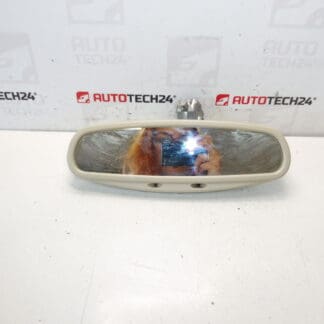
Interior Auto-Dimming Rear-View Mirror for Citroën C4 Picasso and Grand Picasso First Generation
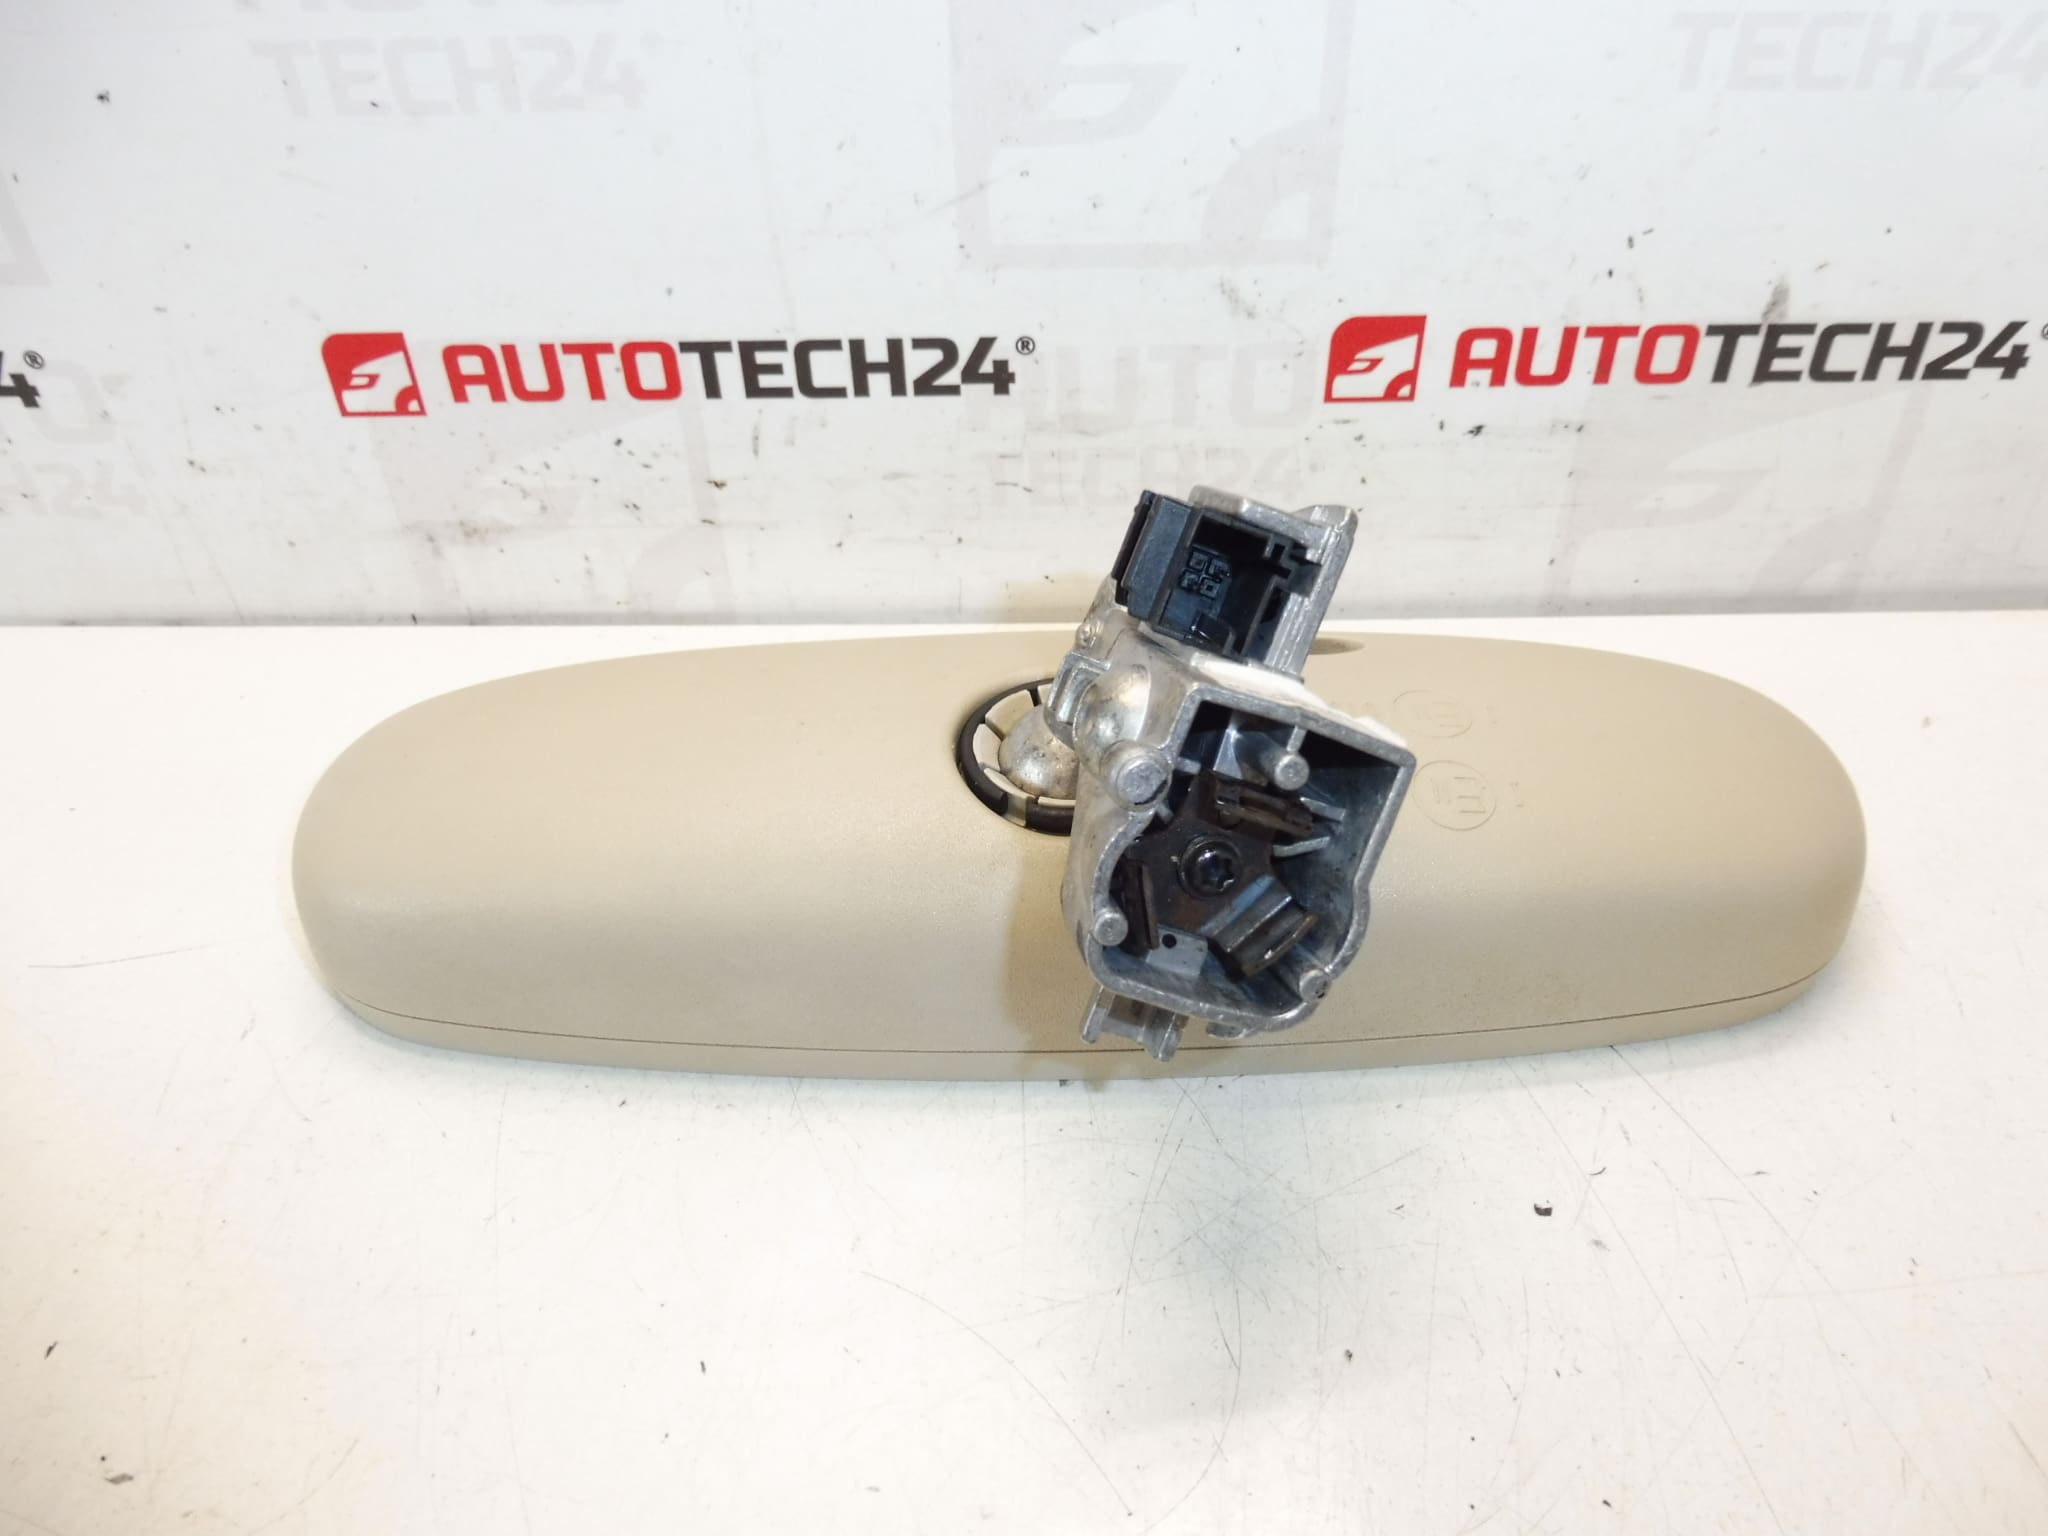
Product Description
This auto-dimming interior rear-view mirror is a direct-fit replacement for first generation Citroën C4 Picasso and Grand C4 Picasso models. Designed for mechanics and DIY enthusiasts who need a reliable, functional mirror assembly, it restores automatic glare reduction for safer night driving. The description and part codes (96834998BJ, 8153SH) are commonly searched by professionals when sourcing replacement parts.
Compatibility
- Citroën C4 Picasso I (First Generation)
- Citroën Grand C4 Picasso I (First Generation)
How To Replace
- Prepare: Park on a level surface, ignition off. For safety, disconnect the negative battery terminal before starting work.
- Access: Remove the interior trim or decorative cover around the mirror base to expose the fixing screw or clip.
- Disconnect: Carefully unplug the electrical connector for the auto-dimming function and any integrated sensors or microphones.
- Remove Mirror: Depending on the mounting, either slide the mirror off the mounting button/rail or undo the retaining screw/clip. If the mirror is bonded to a glued mounting button, use the appropriate release tool and follow adhesive separation procedures.
- Fit New Unit: Mount the replacement mirror onto the same bracket or mounting button, reconnect the electrical plug, and secure all fixings. Reassemble trim.
- Test: Reconnect the battery, start the vehicle, and verify auto-dimming operation and any other integrated functions (e.g., compass, ambient light sensor) before finishing reassembly.
Why It Fails
- Electrical Issues: Corroded or loose connector pins and damaged wiring can interrupt power to the dimming electronics.
- Sensor Degradation: The photodiode/ambient light sensor can fail over time due to moisture ingress or thermal stress, causing the dimming to stop working or to behave erratically.
- Impact Damage: Physical shocks or windshield replacement errors can damage the mirror housing or mounting bracket.
- Internal Electronics: Component failure inside the mirror module (capacitors, resistors or control ICs) after years of service.
Technical Information
- Manufacturer: Citroën (Stellantis)
- Model: Citroën C4 Picasso / Grand C4 Picasso (First Generation)
- Product Codes: 96834998BJ, 8153SH
- Additional Numbers: NFP (as listed)
Installation Recommendations
- Always Disconnect Battery: Disconnect the negative battery terminal before removal to avoid short circuits and protect vehicle electronics.
- Use Proper Tools: Use trim tools to avoid breaking plastic covers and the correct mirror release tool if bonded to the windshield or mounted on a glued button.
- Check Mounting Button: If the mirror is bonded, inspect the windshield mounting button and adhesive—replace the adhesive pad or button if degraded.
- Verify Electrical Circuit: Before final reassembly, check fuses and wiring continuity if the mirror functions do not activate after installation.
- Final Check: Confirm correct operation of auto-dimming in different lighting conditions and ensure the mirror is securely fixed to avoid vibration or detachment.