Description
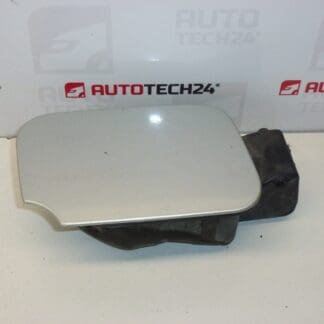
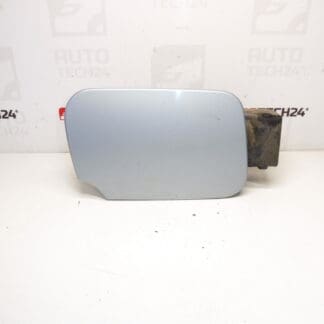
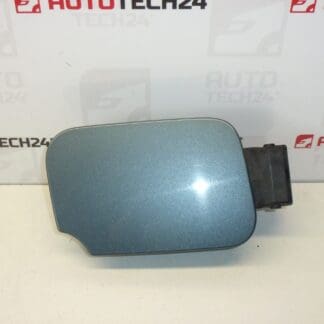
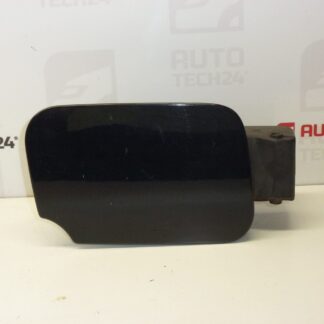
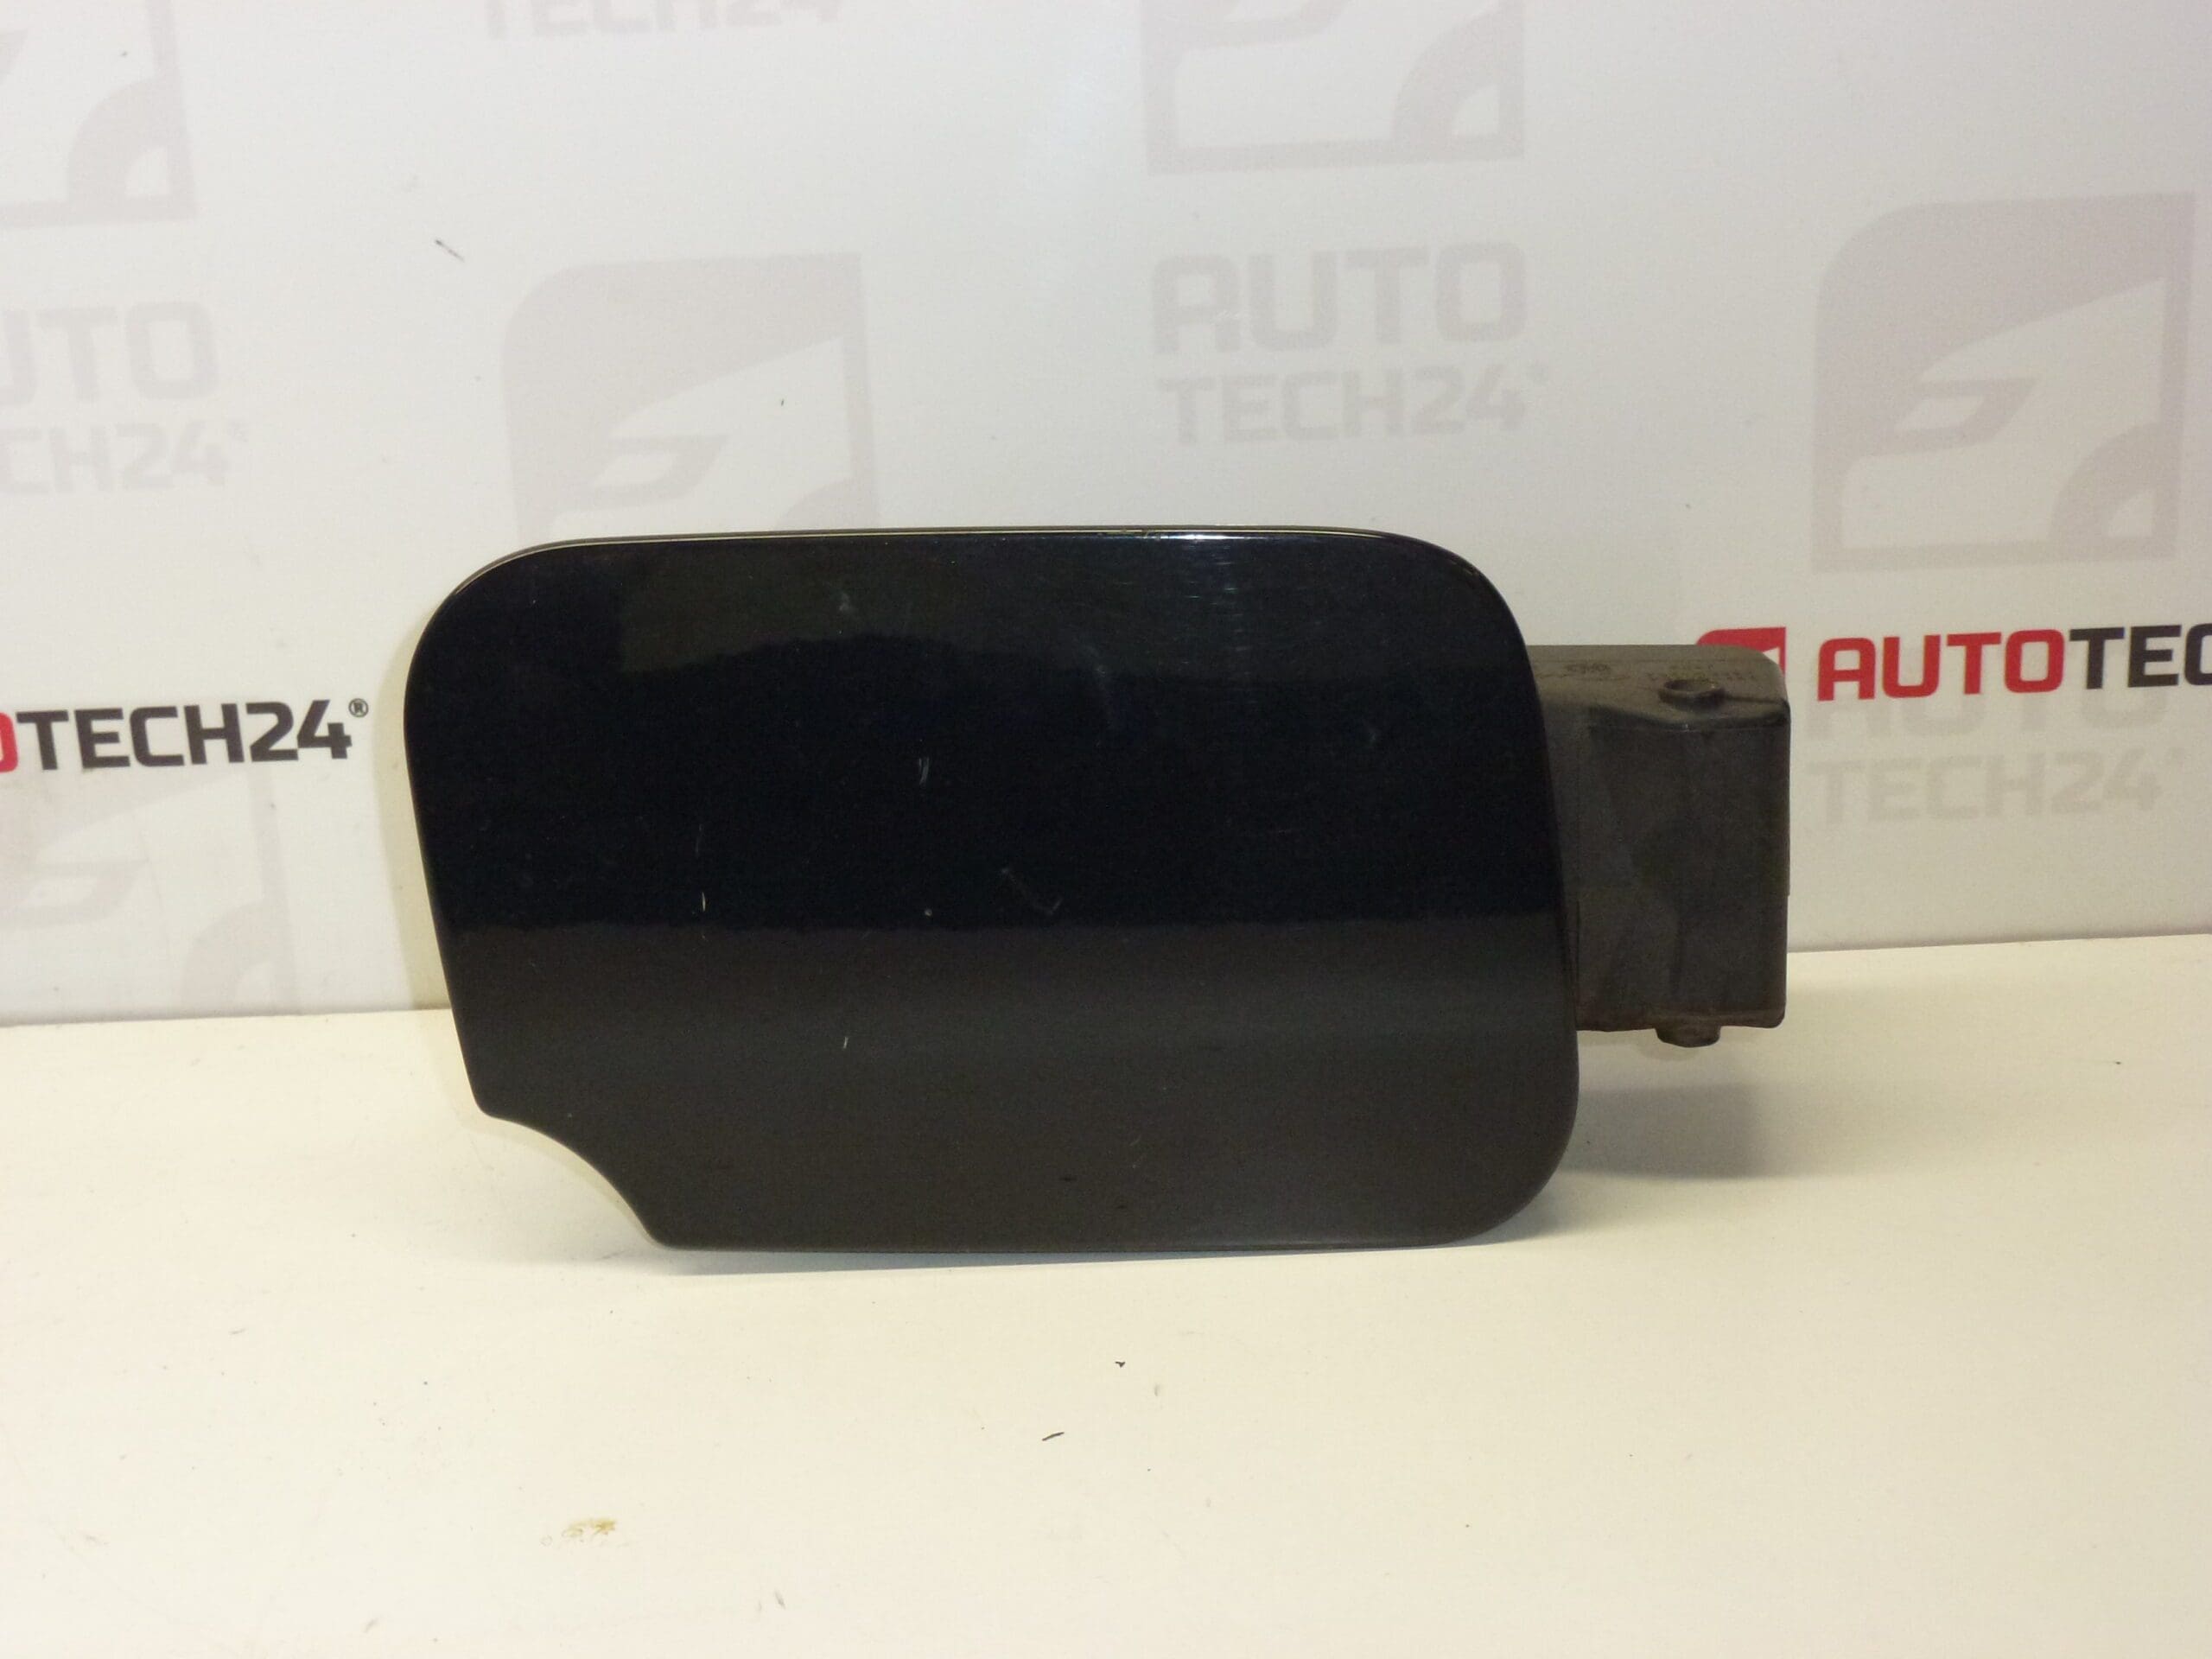
Cap tank cover for PEUGEOT 407 cars
Color KTVD – BLACK PEARL NERA
Part description
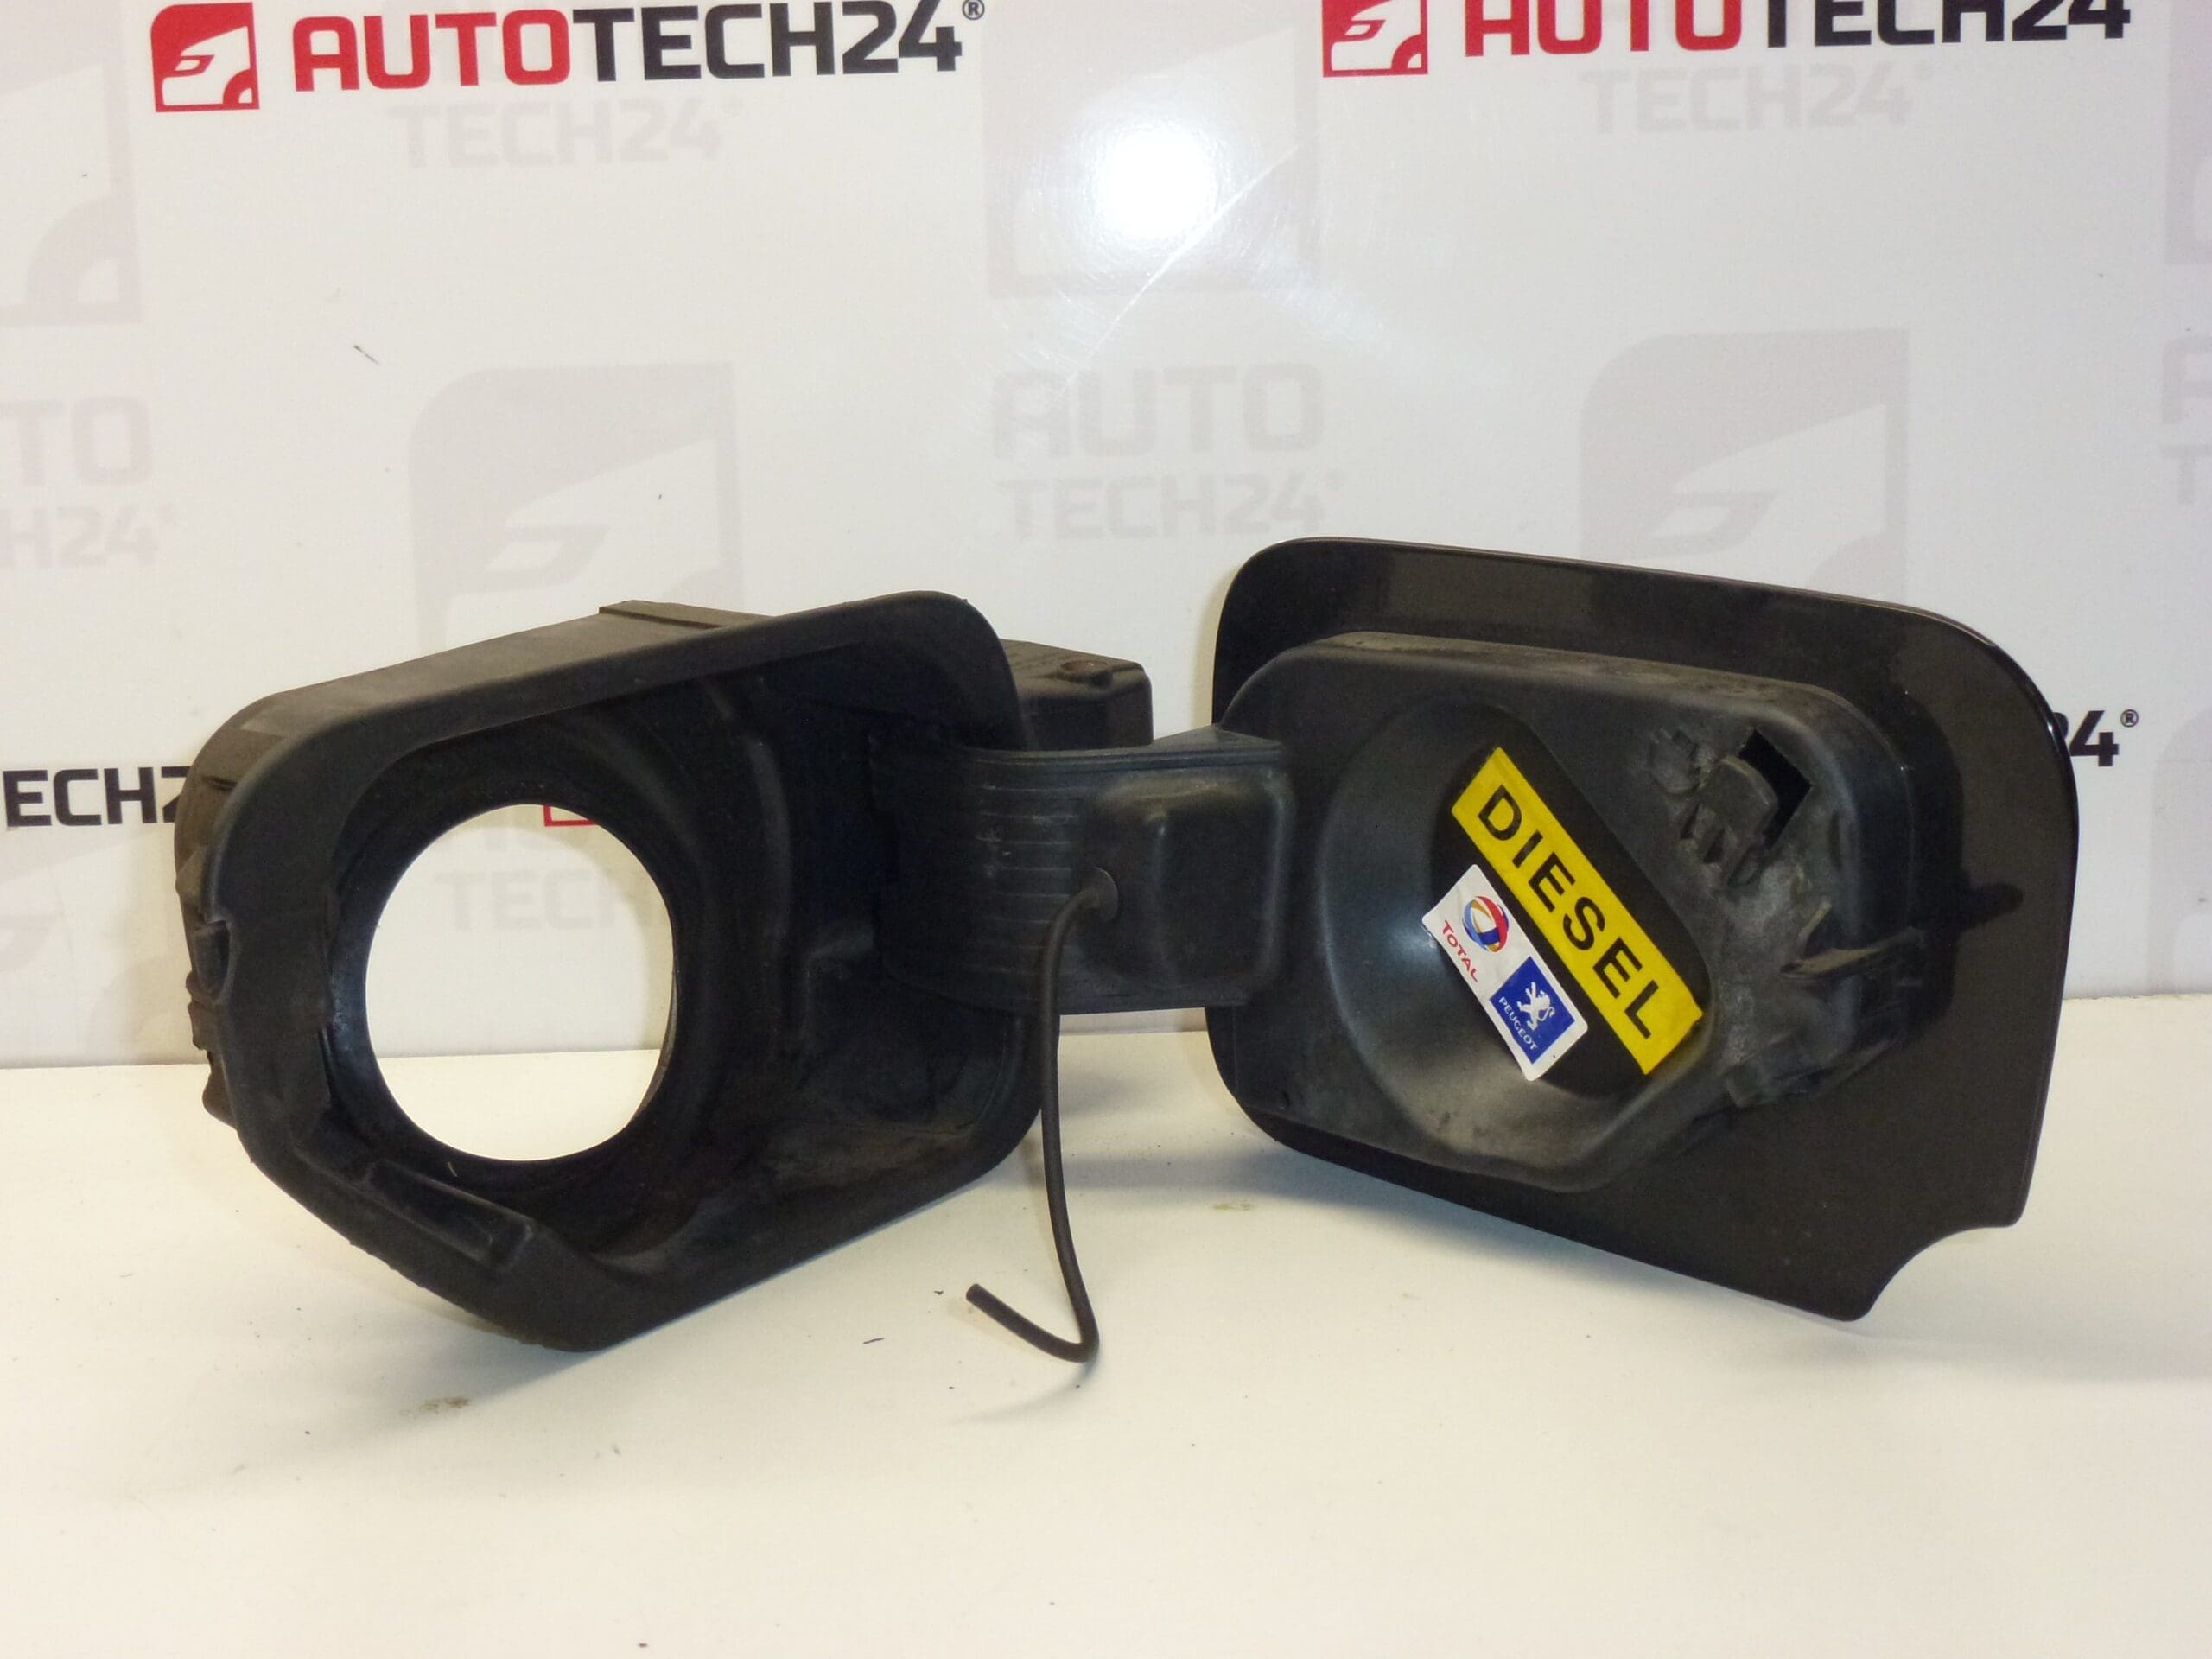
Used cap / tank cover designed for Peugeot 407. This is a body part that completes the appearance of the car and at the same time protects the area of the tank neck from dirt and weather. It is also important to follow the product numbers 1517A7 and 151877 for easy tracking; the shade is marked with the code KTVD (Black Pearl Nero).
Technical information
- Manufacturer: Stellantis CITROEN PEUGEOT
- Model: Peugeot 407
- Other numbers: 151877, KTVD
Product codes
- Product codes: 1517A7, 151877, KTVD
Installation recommendations
Generally/typically for the tank cap/cover on PSA cars, the exact design of the attachment may vary depending on the specific car version and the design of the part.
1) Before assembly
- Compare the new part with the old part: shape, fit, hinge/axes (if included), stops and fit.
- Check the condition of the surface and paint (KTVD) – whether the part is cracked, deformed or with damaged handles.
- Verify match by codes: 1517A7 / 151877 and colors KTVD.
2) Necessary tools and materials
- Common hand tools (typically a set of screwdrivers / bits, or a small ratchet attachment depending on the type of joints).
- Plastic pry bar for removing upholstery/clips (if trim access is required).
- Cleaning agent and cloth for cleaning the contact surfaces.
3) Step-by-step assembly procedure
- Secure the vehicle against movement and work in a clean environment to prevent dirt from entering the tank neck area.
- Open the tank cover and check how the original part is attached (hinge, pin, screws or clips – depending on the design).
- If access is difficult, loosen the necessary covers/paneling so that the attachment can be safely removed without breaking it.
- Carefully loosen the fasteners of the original cover (clips/screws) and remove the part.
- Clean the contact surfaces and the surrounding area of the attachment from dust and dirt.
- Put the tank cap/cover in the correct position and check the fit with the body “dry”.
- Secure the attachment in the same way as the original part (returning the clips/screws to their original places).
- Perform repeated opening/closing to verify smooth operation without rubbing.
- Check that the cover fits evenly and does not hang around the perimeter of the gap.
-
4) Post-assembly checks and functional test verification
- Verify proper closing and stable hold in closed position.
- Check the fit with the body and that there is no contact that could damage the paintwork.
5) The most common assembly mistakes + how to avoid them
- Breaking of clips/mounts during disassembly – use a plastic pry bar and proceed without “force” prying.
- Poor fit after assembly – try the part in position and level the clearances before final tightening/seating.
- Paint scratches – protect surrounding edges (clean cloth/tape) and work with clean hands and tools.
Reasons why the part is damaged
- Mechanical damage during careless opening/closing or handling in the cold (plastic brittleness).
- Broken handles/clips during disassembly (prying without proper tool).
- Abrasions and paint damage due to dirt, brushes in the dishwasher or minor collisions.
- Aging of the material (UV radiation, temperature changes) leading to cracks and loss of elasticity.