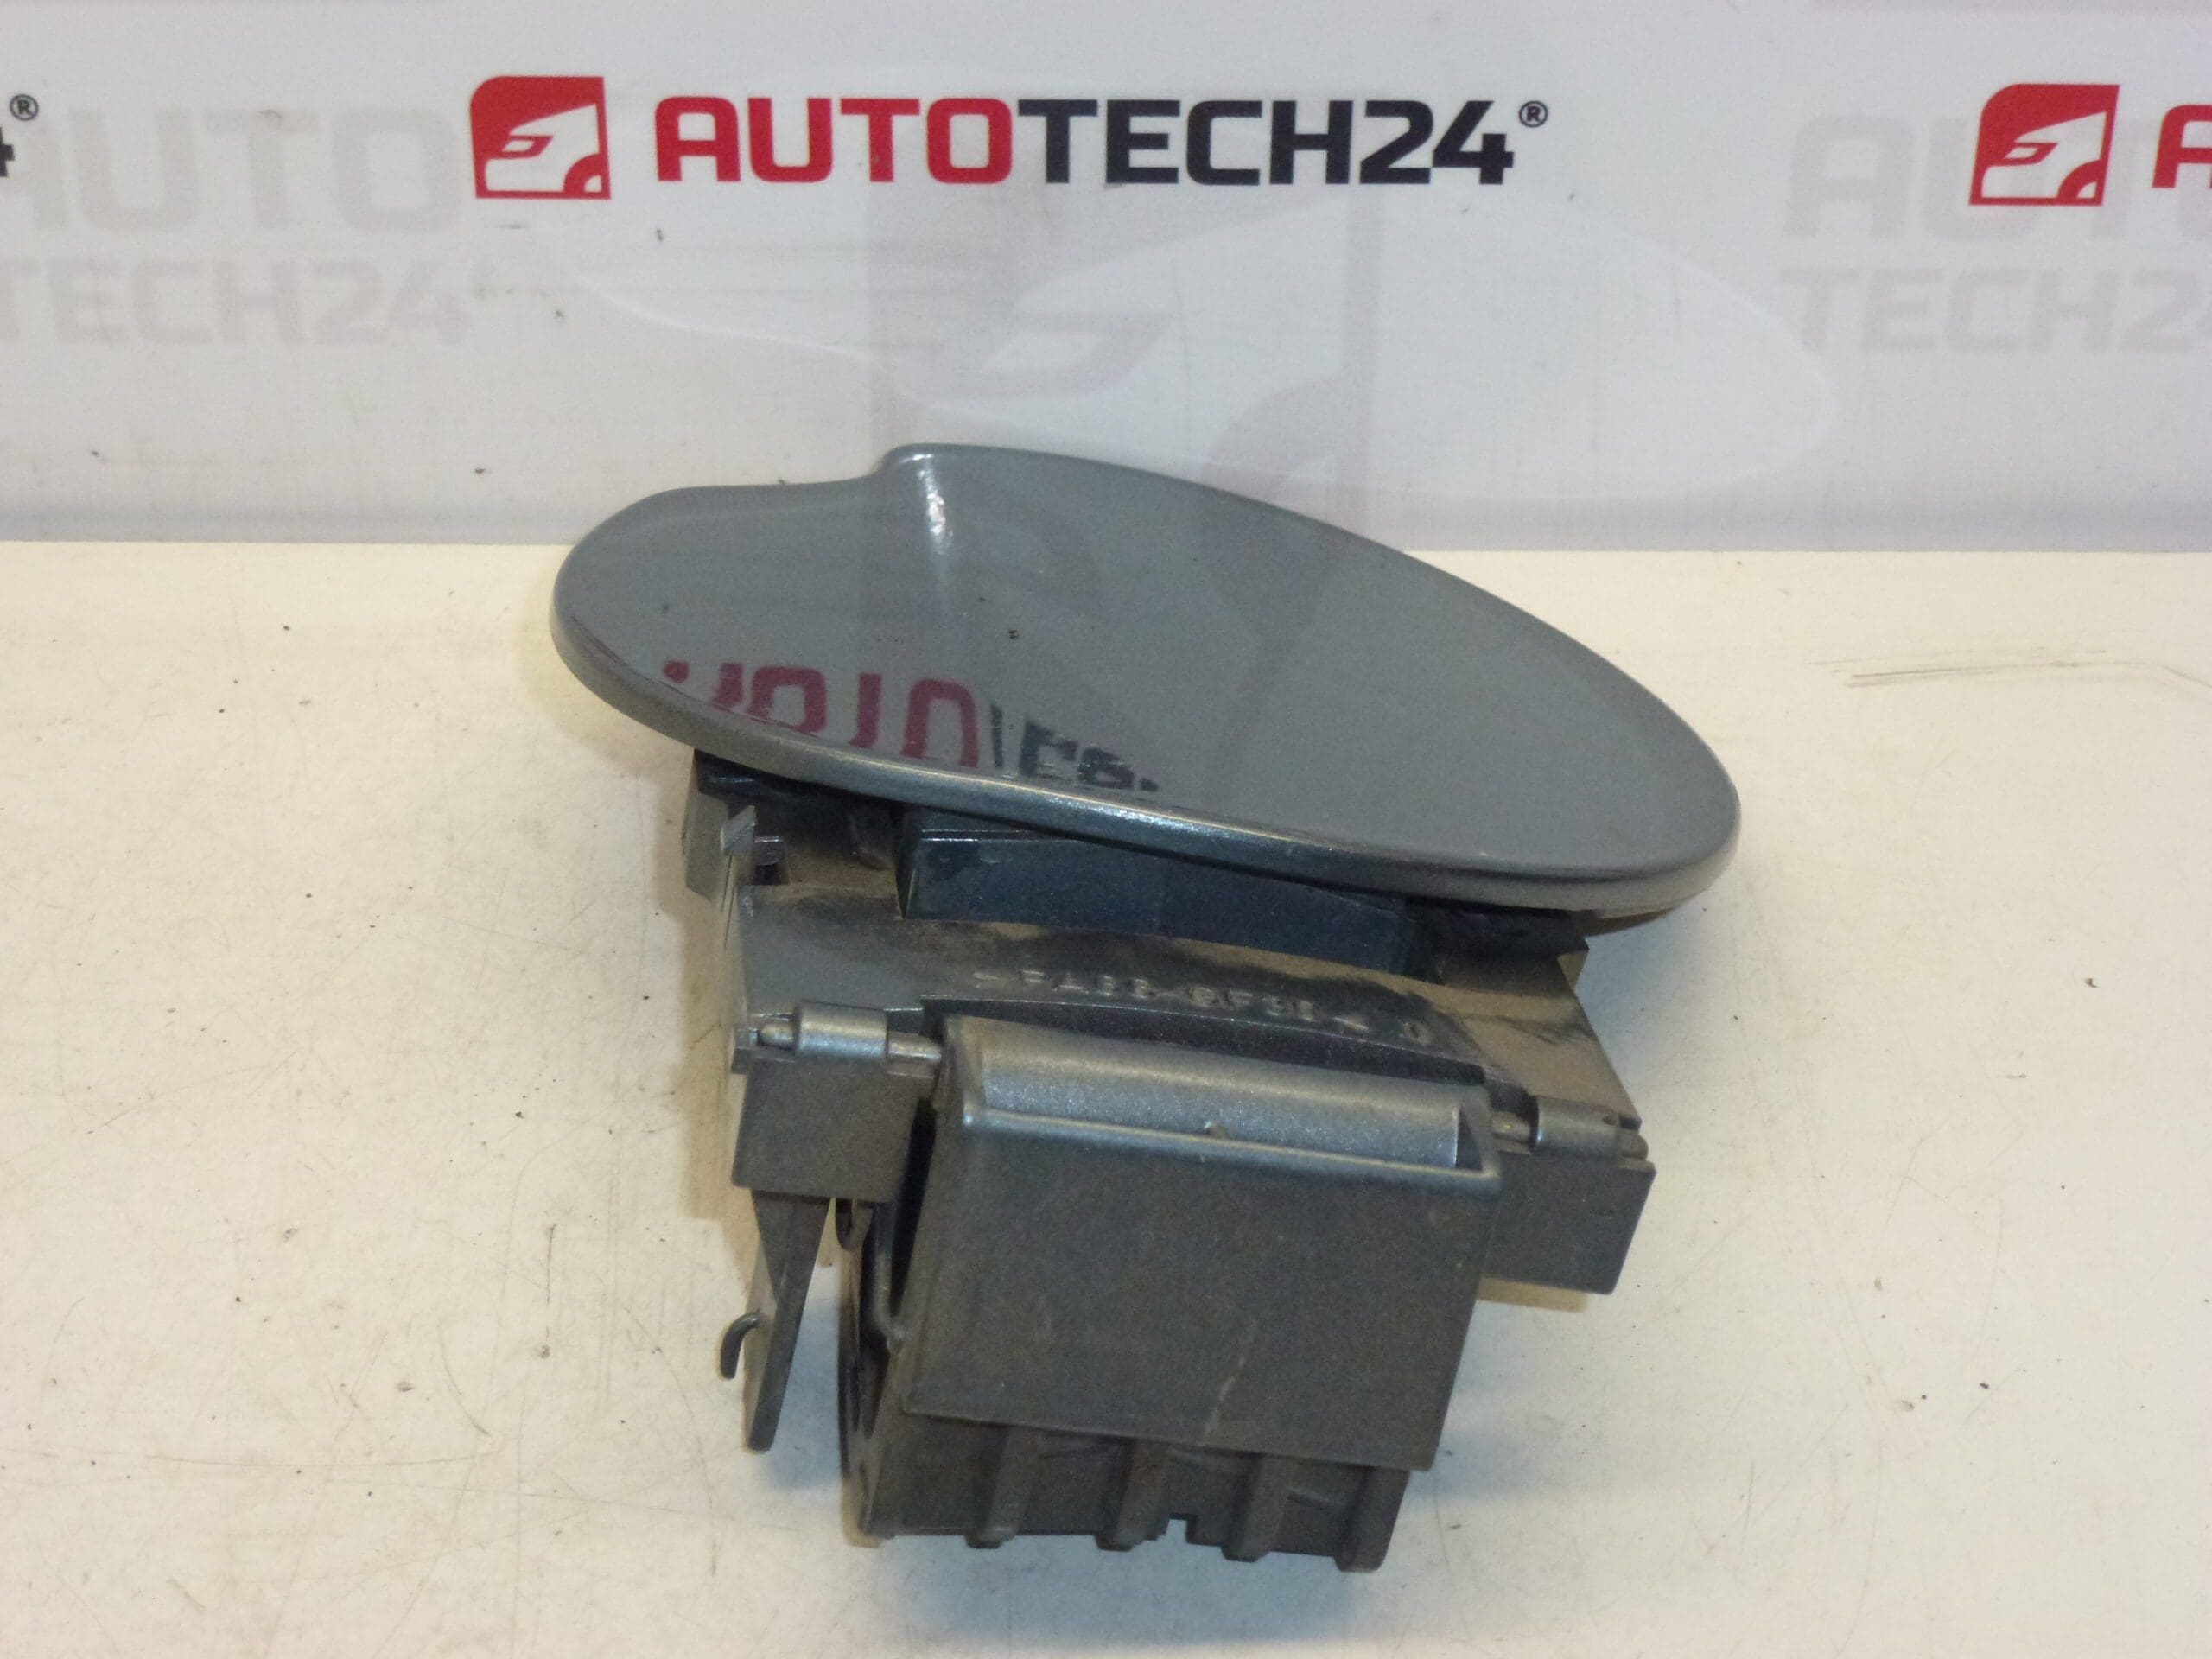
Description
Cap tank cover for PEUGEOT 307 I and II
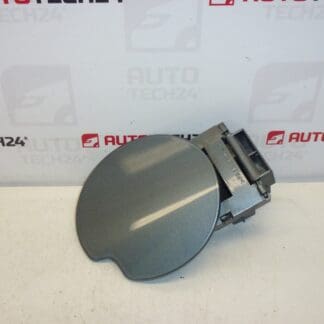
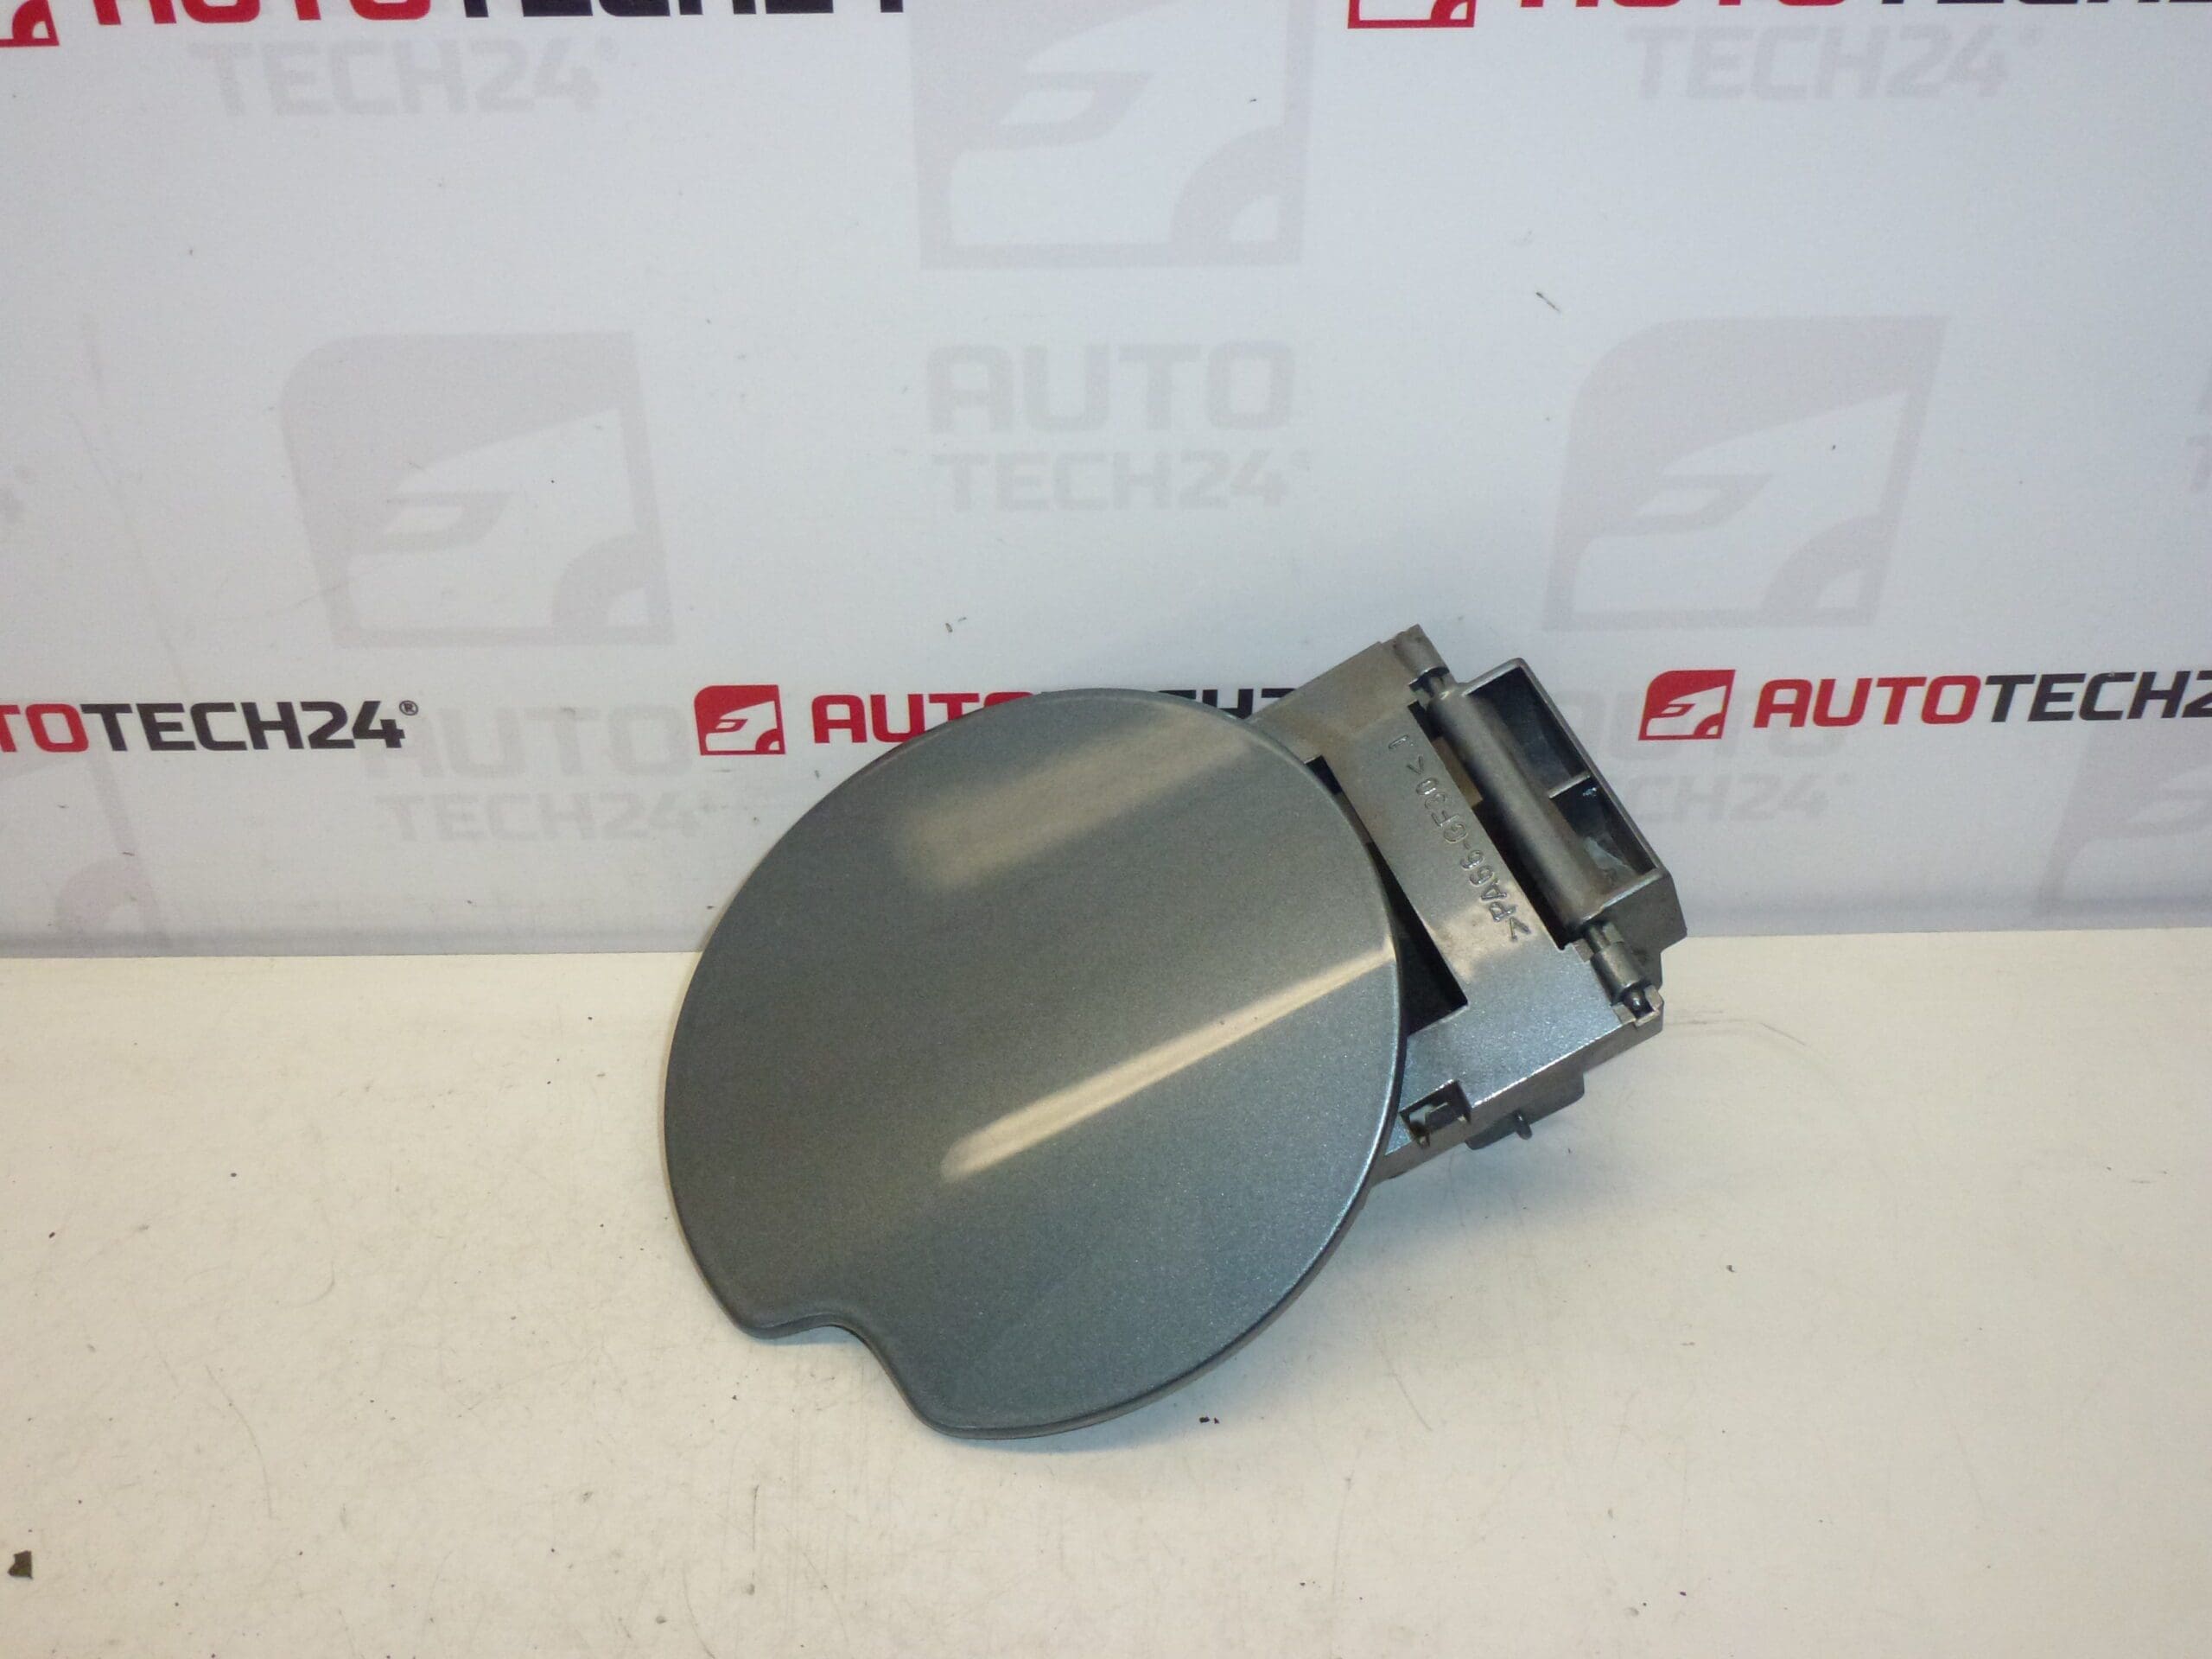
Color EZWD – Gray FER
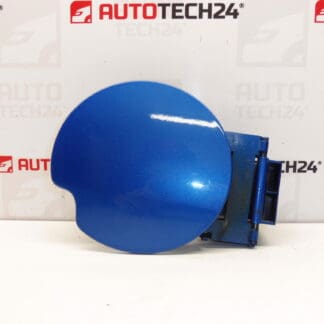
We have different colors in stock
Part description
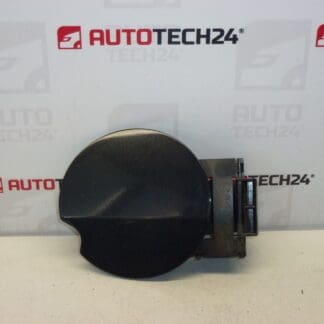
Used tank cover designed for Peugeot 307 (I and II). It is a body part that protects the fuel filler neck from dirt and weather and at the same time completes the appearance of the car in the area of the tank cap.
Delivered version is in EZWD (grey FER) color. Thanks to the listed product numbers, searching and pairing with an existing part is quick and clear.
Technical information
- Manufacturer: Stellantis (Citroën / Peugeot)
- Model: Peugeot 307 I and II
- Other numbers: EZWD
Product codes
- Product codes: 9643083777, 151799
Installation recommendations
Generally/typically for the tank cover cap it is a simple replacement without special service equipment. The exact design of the attachment may vary depending on the specific version of the car.
1) Before assembly
- Check that product numbers 9643083777 / 151799 and EZWD color match the required part.
- Compare the shape, attachment and any elements (hinge/latch) with the old lid.
- Verify that the part is not cracked and that the attachment is not squeezed or deformed.
2) Necessary tools and materials
- Clean cloth
- Gentle body cleaner (optional)
- Basic hand tools according to the type of mounting on the car (typically small screwdrivers/torxes – depending on the design)
3) Step-by-step assembly procedure
- Open the tank cover/flap and ensure good access to the part.
- Inspect the attachment of the original lid and determine whether it is attached by a pin, screw or latch (depending on the design).
- If there is dirt in the area, clean the contact surfaces with a cloth.
- Remove the original cap carefully so as not to damage the surrounding paint/bodywork.
- Compare the old and new piece “on the table” – especially the orientation of the attachment and the bearing edges.
- Place the new cap in the same position as the original one.
- Fix the lid in the original attachment (snap/screw depending on design).
- Try opening and closing – operation must be smooth, without rubbing.
- Check the fit with the surrounding bodywork (joints, fit).
- Wipe off any fingerprints and dirt from the surface of the part.
-
4) Post-assembly checks and function verification
- Verify that the lid holds closed properly and that it “sits” in the opening without play when closed.
- After a short ride, check whether there is no spontaneous loosening of the mounting or resonances.
5) The most common assembly mistakes + how to avoid them
- Conversion of designs: always compare the shape and fit with the old part and follow the numbers 9643083777 / 151799.
- Paint damage during disassembly: work carefully, ideally with clean tools and without prying against the edge of the bodywork.
- Poor fit: after assembly, check fit and test opening/closing repeatedly.
Reasons why the part is damaged
- Mechanical stress (frequent opening/closing, careless handling).
- Bums and abrasions in the body area (parking incidents, contact with an obstacle).
- Aging of the material and attachment fatigue (cracking of plastic, squeezing of hinges/latches).
- Influence of weather and chemistry (UV radiation, frost, washing chemistry), which deteriorate the appearance and strength of the part.