Description
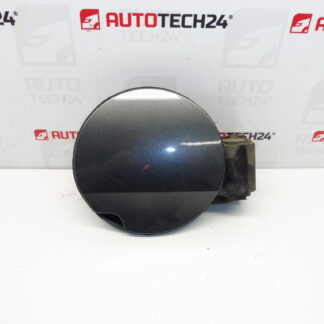
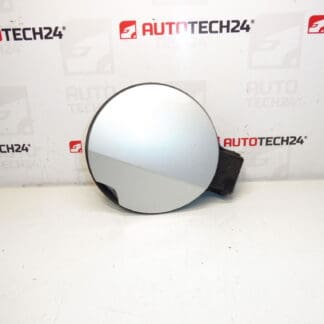
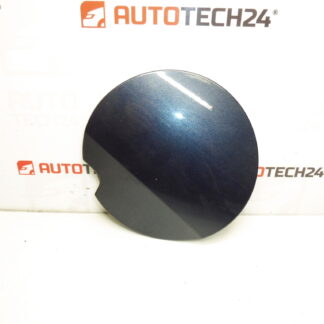
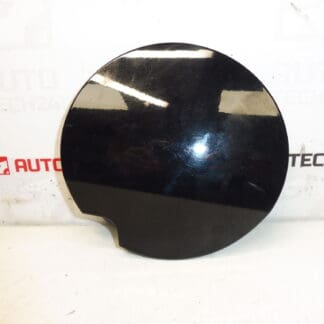
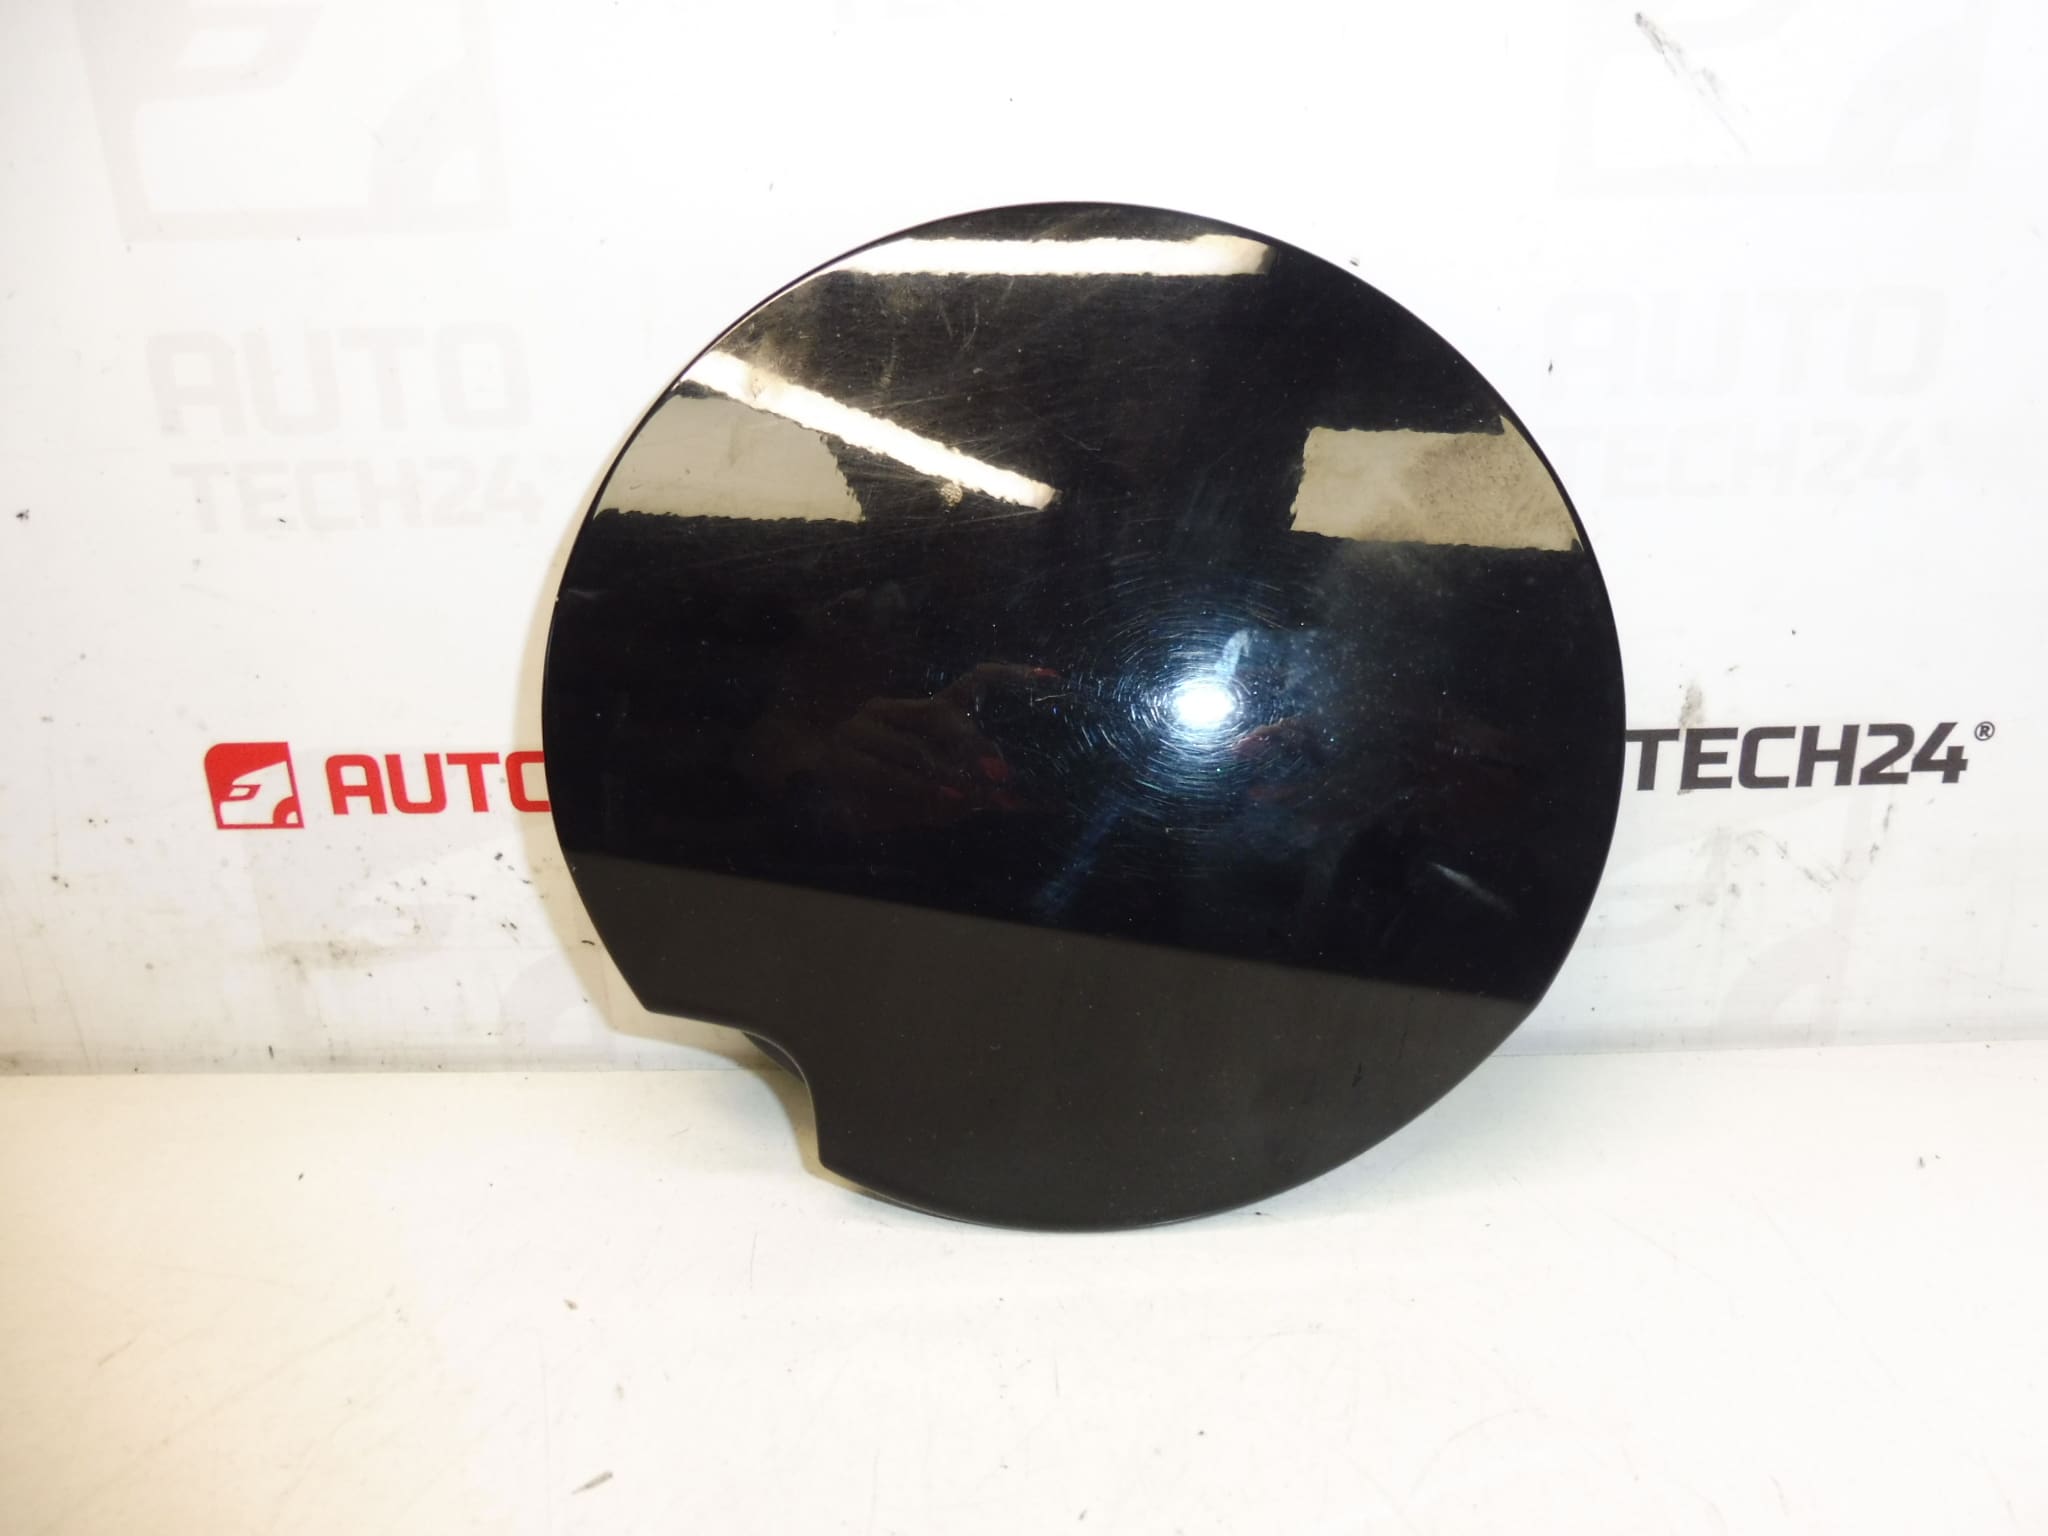
Tank filler cap for PEUGEOT 308 cars
Color KTV – BLACK PEARL NERA LACQUER
We also have other colors
Part description
The used tank cover is a body part intended for Peugeot 308. It is a practical part of the body that protects the space of the filler neck of the tank and at the same time preserves the original appearance of the car. The design offered is in the color KTV – black pearl nera, which will be appreciated by everyone who is looking for a part according to the exact marking and color design.
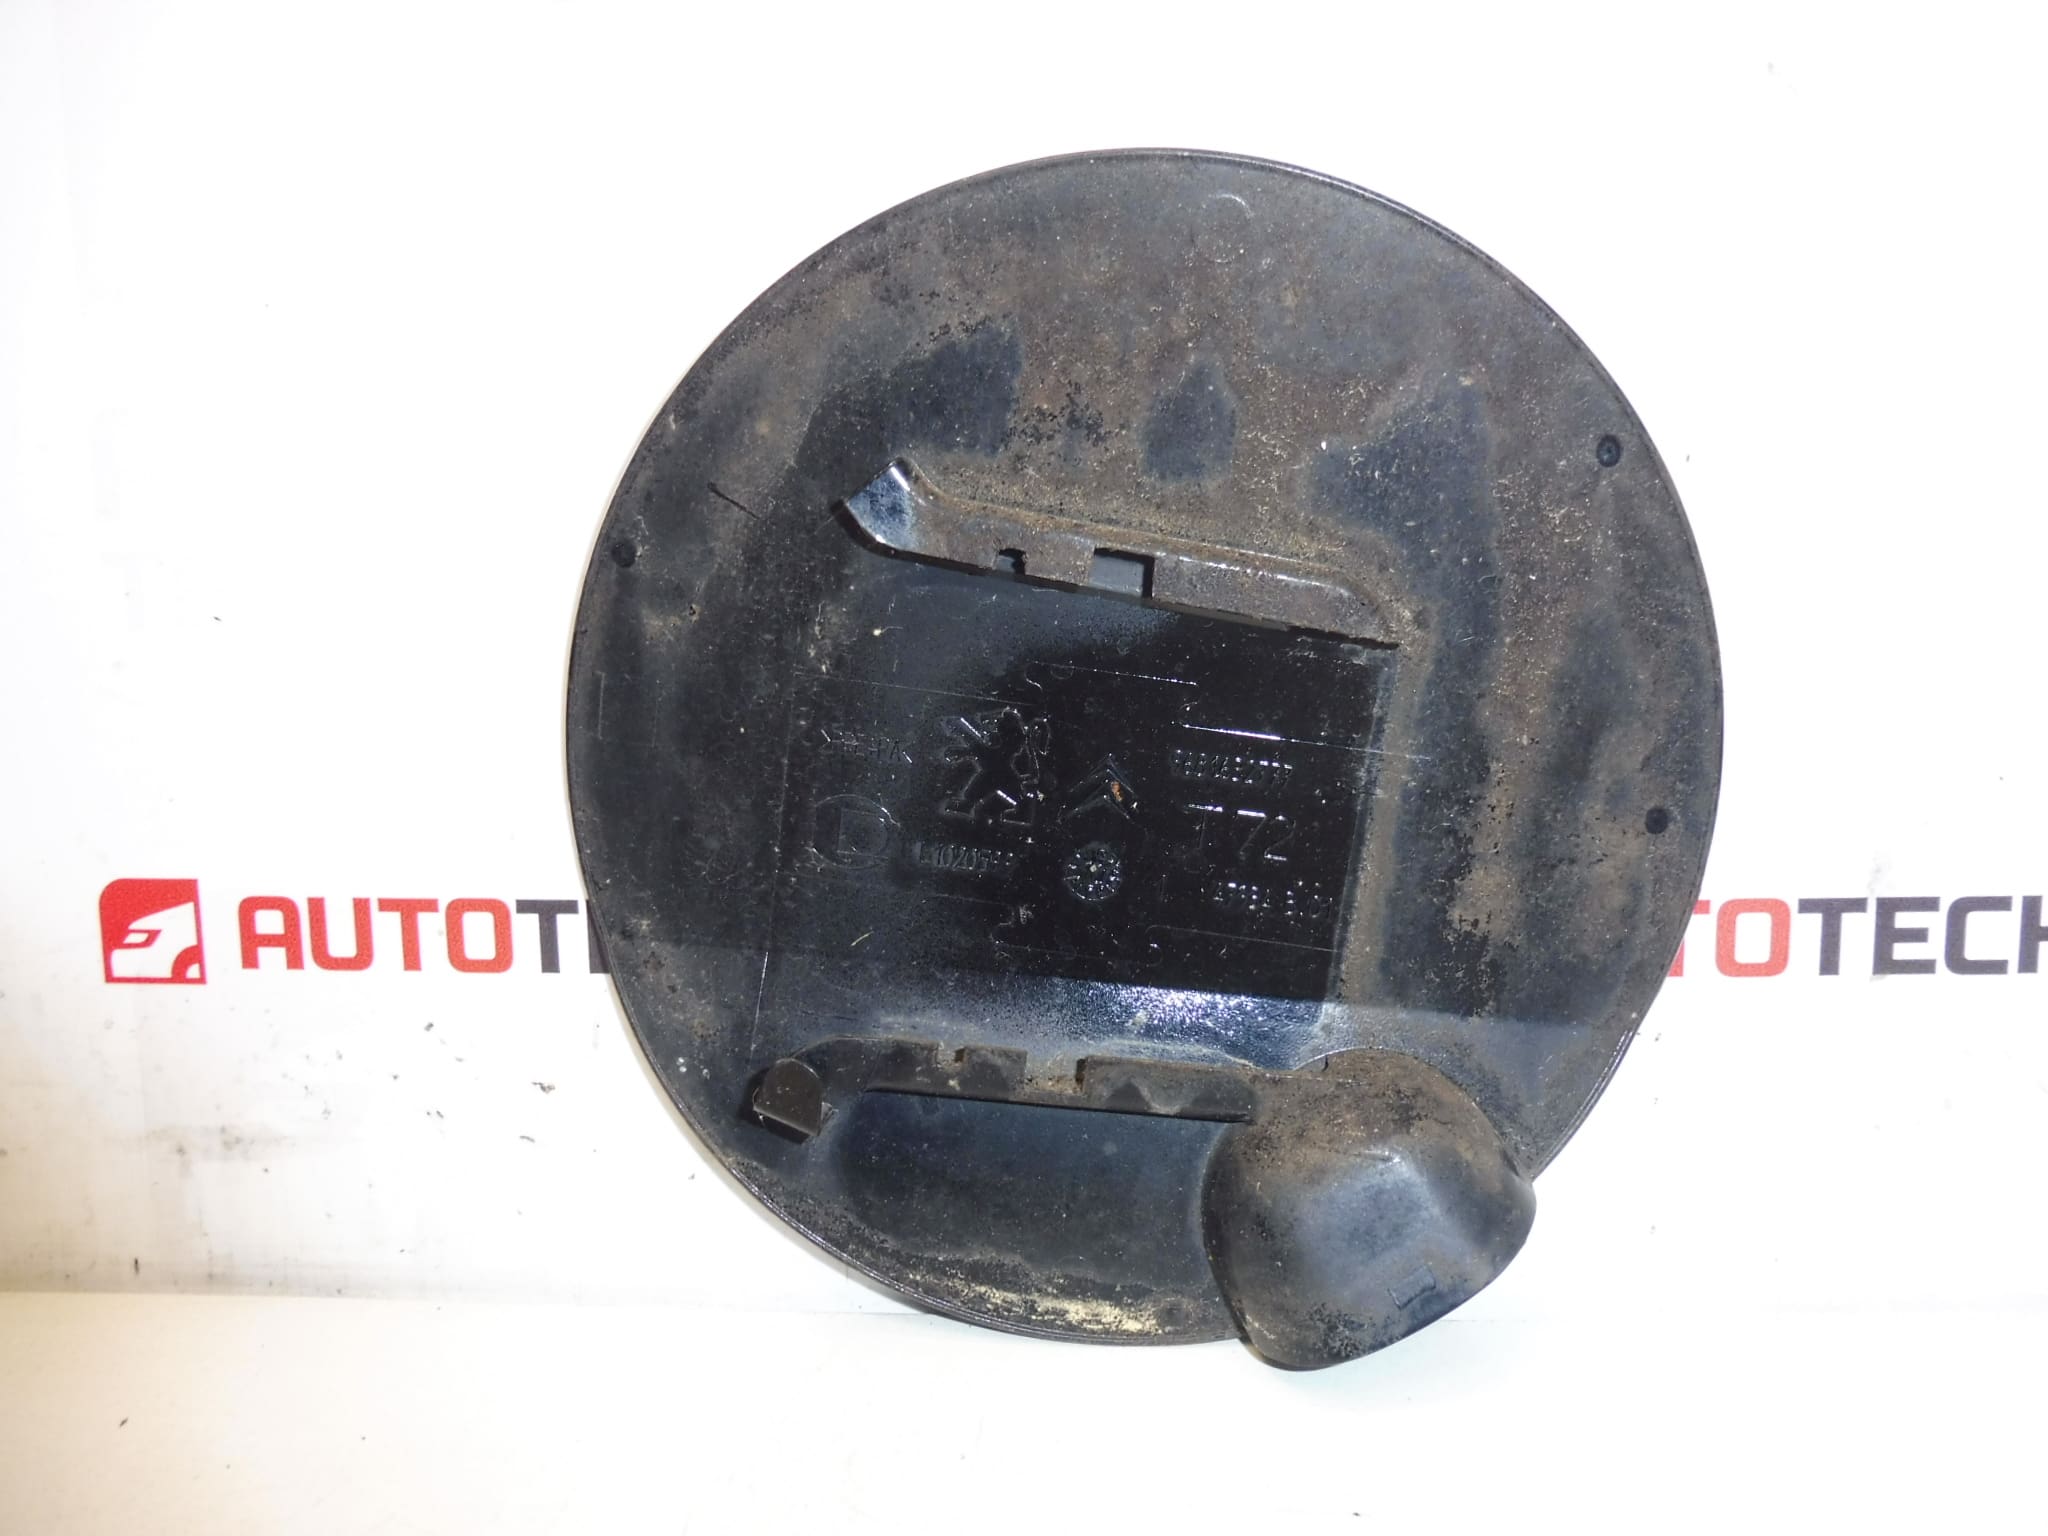
This car part is often searched for by the original numbers, so we also list 1517G5 and 9681632777. This makes it suitable for mechanics and do-it-yourselfers who want to use the right part for repairs or replacements without unnecessary searching.
Technical information
- Manufacturer: Stellantis Citroën Peugeot
- Model: Peugeot 308
- Other numbers: 1517G5, 9681632777
Product codes
Product codes: 1517G5, 9681632777
Models from labels/backgrounds: Peugeot 308
Installation recommendations
Generally and typically for this type of body part, the exact method of replacement may vary depending on the specific design of the car and the attachment of the part. Before the assembly itself, it is advisable to compare the new and original piece and verify the conformity of shape, color, attachment and product numbers.
1) Before assembly
- Check that the used part is not cracked, deformed or excessively worn.
- Compare the shape of the lid, attachment points and any hinges or latches with the old part.
- Check the condition of the paintwork and the edges of the part so that it fits properly after assembly and does not disturb the appearance of the bodywork.
- Check the surroundings of the filler neck of the tank and the condition of the connected parts that can affect the correct seating.
2) Necessary tools and materials
- Basic set of hand tools
- Plastic pry bar to remove trim or covers if needed
- Cleaning agent suitable for bodywork
- Clean cloth or tea towel
- Work gloves
3) Step-by-step assembly procedure
- Park the vehicle in a safe place and secure it against movement.
- Open the original cap and check how it is attached.
- Carefully disassemble the damaged or non-functioning part so as not to damage the surrounding paint or the attachment.
- Remove dirt, dust and any debris from the landing area.
- Compare the old and new part side by side, especially the shape, size and position of the fasteners.
- First place the used part on a clean surface and check that it matches the surrounding bodywork correctly.
- After verifying the position, carefully insert or fix the part in the final position according to the type of attachment.
- Check the lid for free movement when opening and closing.
- Check that the part fits properly and does not rub anywhere.
- After assembly, clean the area and remove any fingerprints or dirt from the paintwork.
-
4) Post-assembly checks and function verification
- Try opening and closing the lid repeatedly.
- Check whether the cover is in the closed position and is properly attached to the surrounding bodywork.
- Verify that there is no play, crossing or stuttering anywhere.
- After a short period of use, visually check the seating of the part again.
5) The most common assembly mistakes + how to avoid them
- Incorrect part comparison before assembly – always check the numbers and shape of the attachment first.
- Paint damage during disassembly – use suitable tools and proceed with care.
- Assembly on dirty bearing surfaces – clean the place carefully before installing the part.
- Insufficient lid seating – always test function after assembly by several opening and closing cycles.
Reasons why the part is damaged
- Normal wear and tear from everyday use
- Mechanical damage during refueling or careless handling
- Cracking or deformation due to impact
- Damage to attachment, hinge or latch
- Influence of weather, UV radiation and long-term aging of the material
- Damage in a minor bodywork accident or vandalism