Description
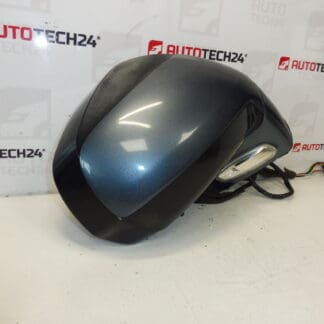
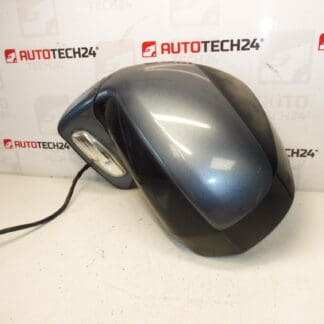
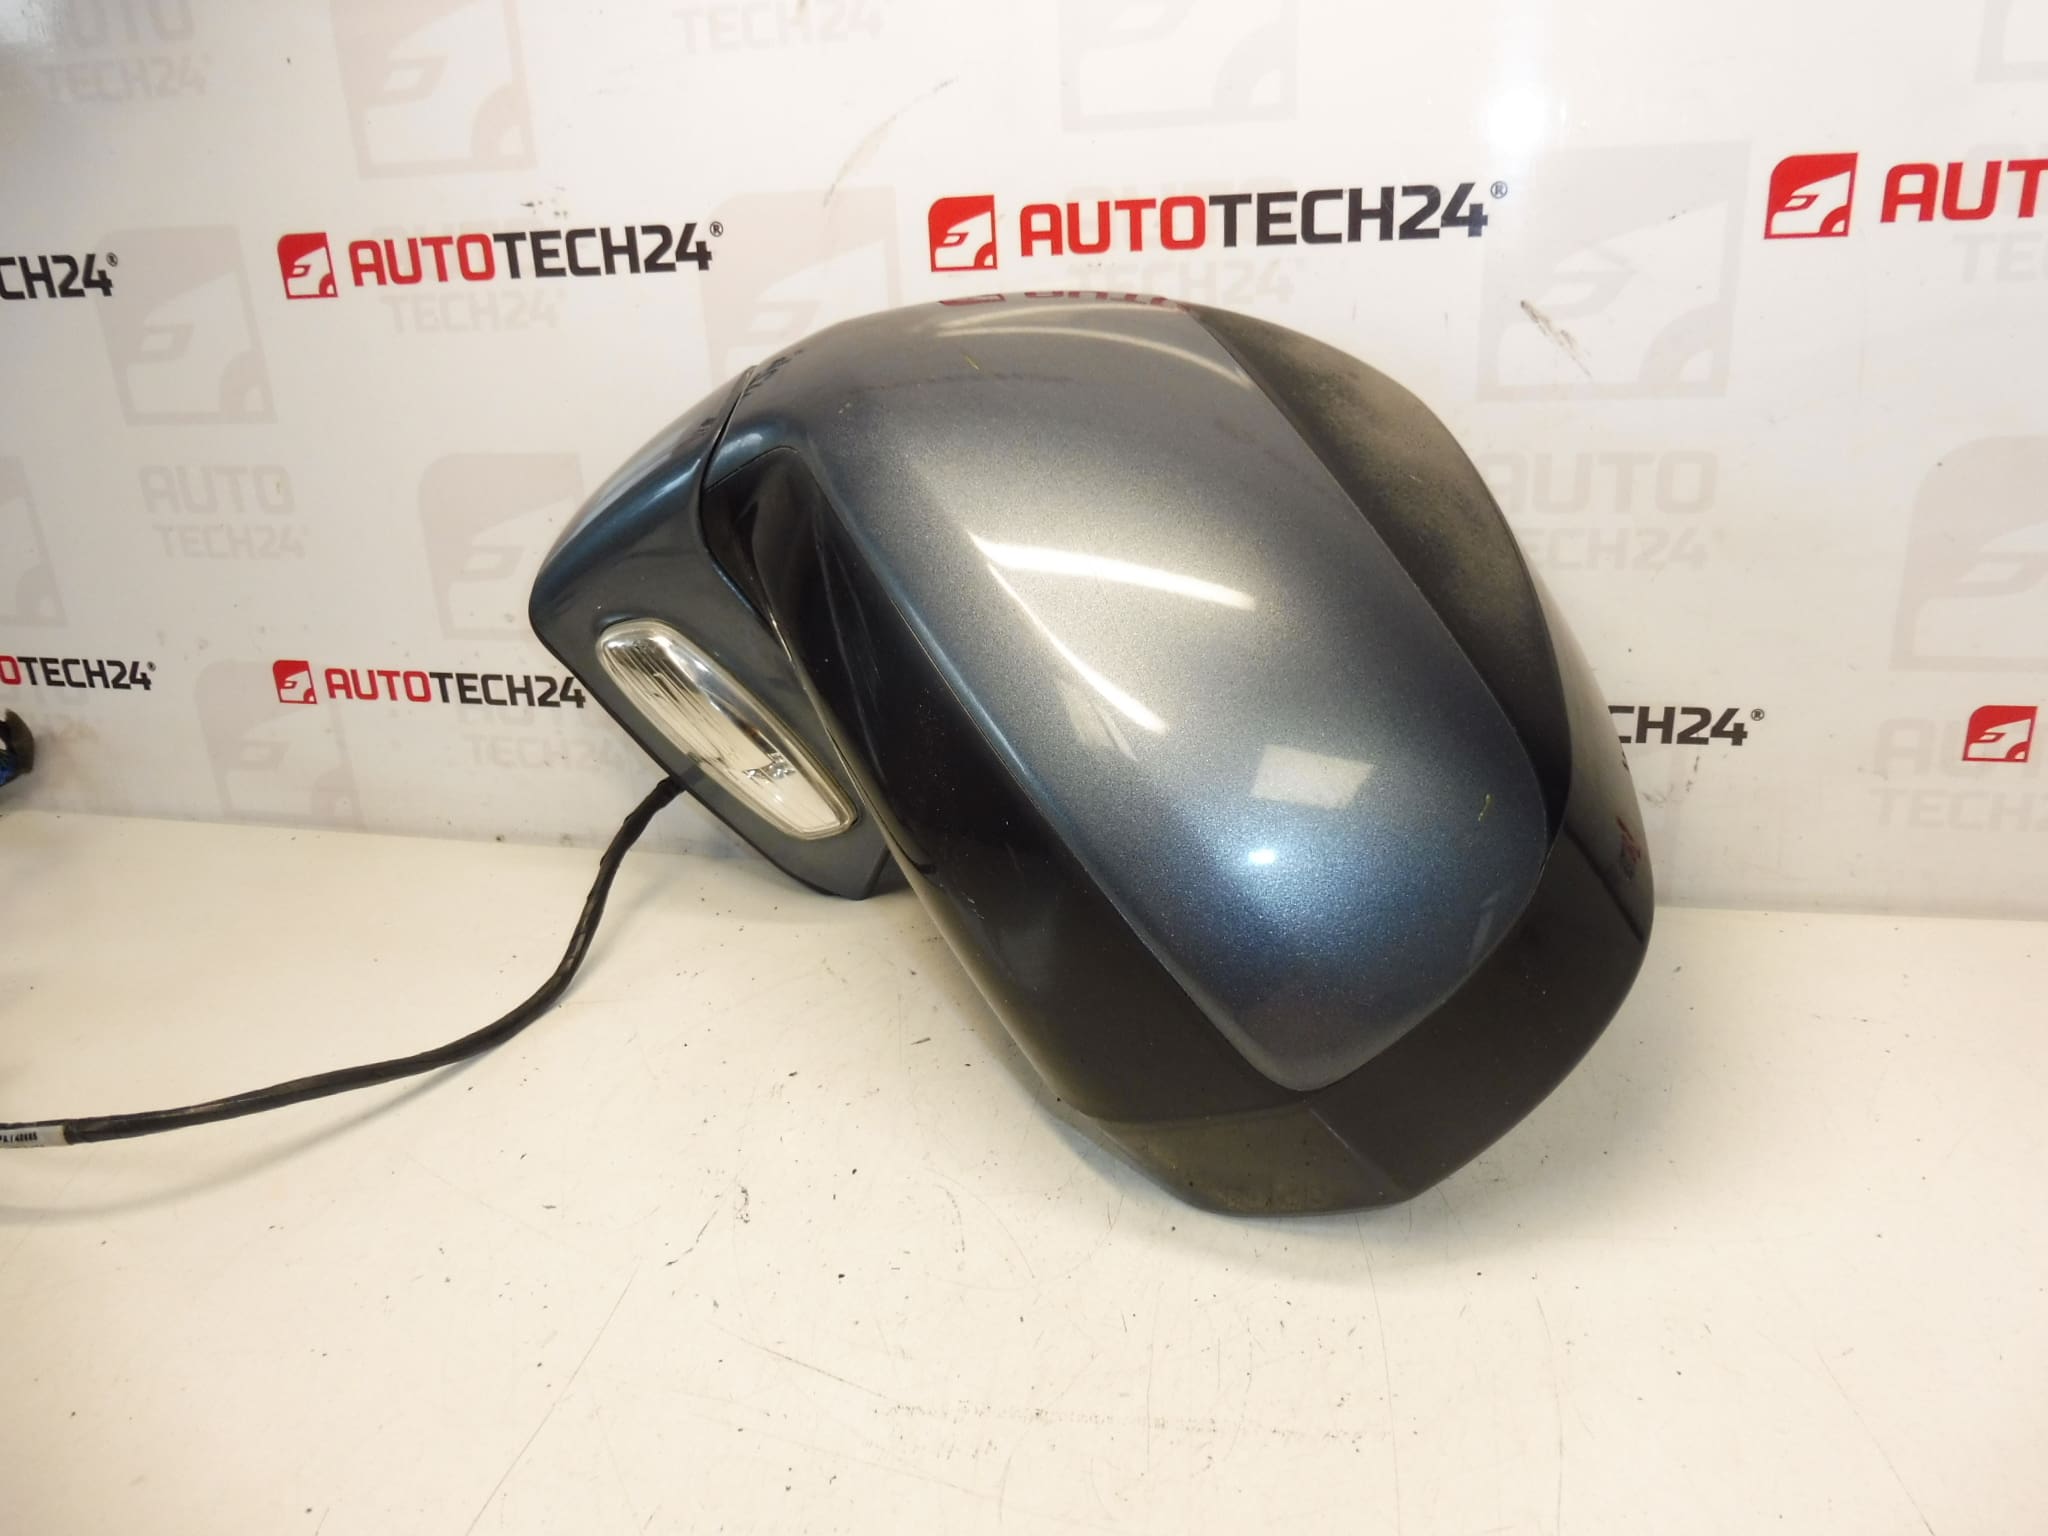
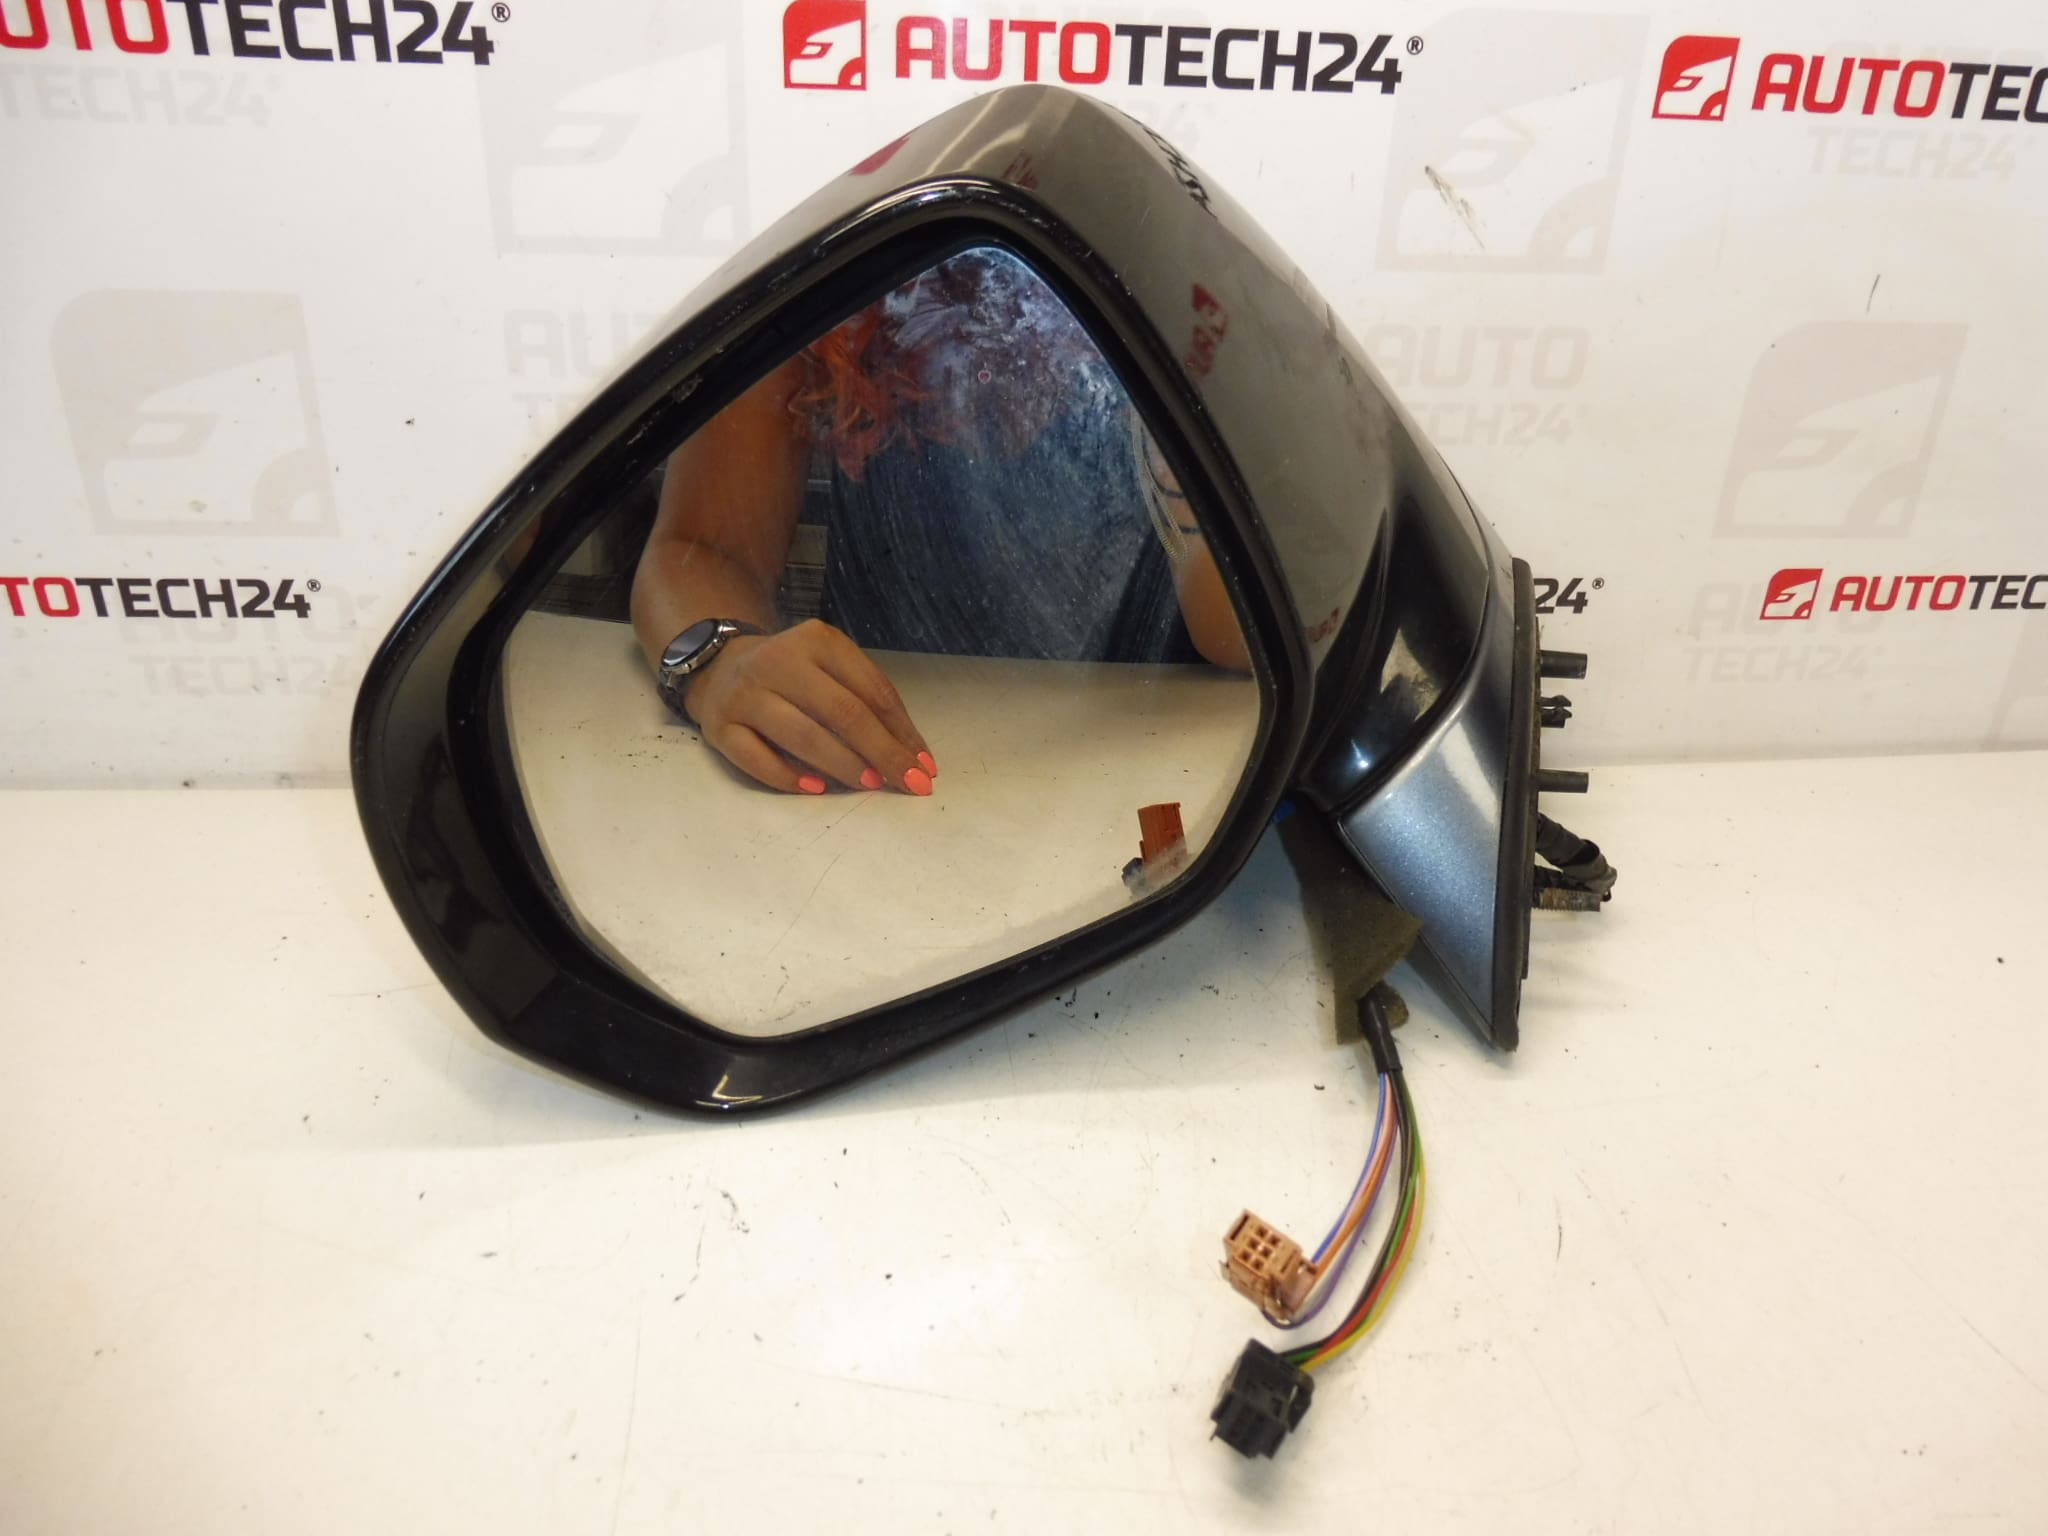
Left Exterior Mirror For Citroën C4 Picasso And Grand Picasso
Electrically Adjustable, Heated, Courtesy Light
Driver Side, 14-Pin Connector 6+5+3
Color EZW – Paint Gray FER
Other Colors Available
Product Overview
Used left exterior mirror designed for Citroën C4 Picasso and Grand Picasso models. This OE-fit unit offers electric adjustment, integrated heating and a courtesy (puddle) light for improved visibility and convenience. The mirror is commonly searched and referenced by product numbers, so listing the part codes helps technicians and DIY enthusiasts locate the exact replacement quickly. The 14-pin connector (arranged as 6+5+3) ensures compatibility with vehicles equipped with the corresponding wiring harness.
Why Buy This Mirror
Ideal for professional workshops and competent DIY mechanics who need a direct-fit replacement with original connector configuration. The integrated heater reduces icing and fogging, while the courtesy light improves door-area illumination at night. Selling points for search engines and buyers include direct compatibility with Citroën C4 Picasso and Grand Picasso, and the exact product codes listed below for fast lookup.
Technical Information
- Manufacturer: Stellantis (Citroën/Peugeot)
- Model: Citroën C4 Picasso, Grand Picasso
- Product Codes: 96851519XY, 8153VS, 8153H6
- Other Numbers: Color Code EZW; Paint Gray FER; Connector: 14-Pin (6+5+3)
Installation Recommendations
Follow these practical steps to replace the mirror safely and reliably:
- Always Disconnect The Battery Before Starting Work To Avoid Short Circuits And Airbag/Body Control Issues.
- Remove The Interior Door Trim Or Mirror Cover To Access Mounting Bolts—use appropriate trim tools to avoid damage.
- Unscrew The Mirror Mounting Bolts And Carefully Support The Mirror Assembly While Disconnecting The Electrical Connector.
- Transfer Any Components Needed From The Old Unit (e.g., Mirror Glass Or Caps) If Applicable, Then Fit The New Unit And Tighten Fasteners To The Manufacturer’s Recommendations.
- Reconnect The Battery And Test All Functions: Electric Adjustment, Heating, And Courtesy Light. Verify Proper Mechanical Fit And Electrical Operation Before Final Reassembly.
- Protect Electrical Connectors With Dielectric Grease If Corrosion Is Present Or Likely.
Common Failure Causes
- Impact Damage From Collisions Or Parking Incidents—The Most Frequent Cause Of Mirror Replacement.
- Water Ingress Or Corrosion In Electrical Connectors Leading To Intermittent Or Complete Failure Of Motors, Heaters, Or Lights.
- Wear Of Mirror Adjustment Motors After High Mileage Or Repeated Use.
- Broken Or Damaged Wiring In The Door Harness Caused By Door Movement Over Time.
- Cracked Or Shattered Mirror Glass Due To Stones Or Vandalism.
Practical Tips
- When Replacing The Mirror, Inspect The Door Harness And Connector Pins For Corrosion Or Bent Contacts.
- Keep The Mirror Housing Clean And Avoid High-Pressure Washers Directed At Seams To Reduce Risk Of Water Ingress.
- Match The Color Code (EZW) If You Need A Pre-Painted Cover For Perfect Finish; Other Colors Are Available.
- Reference The Product Codes When Searching Or Ordering To Ensure You Receive The Correct Variant.