Description
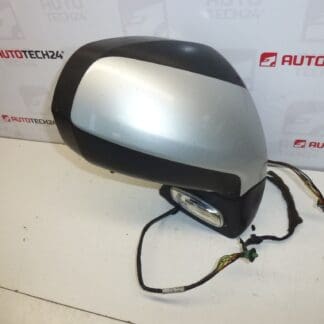
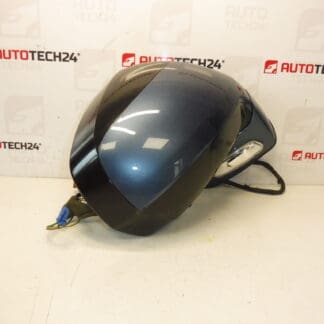
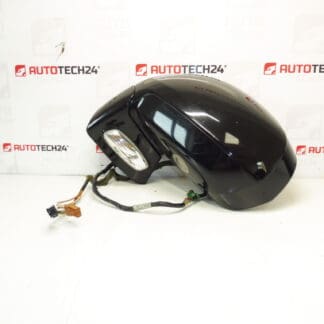
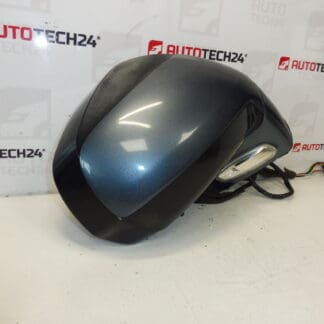
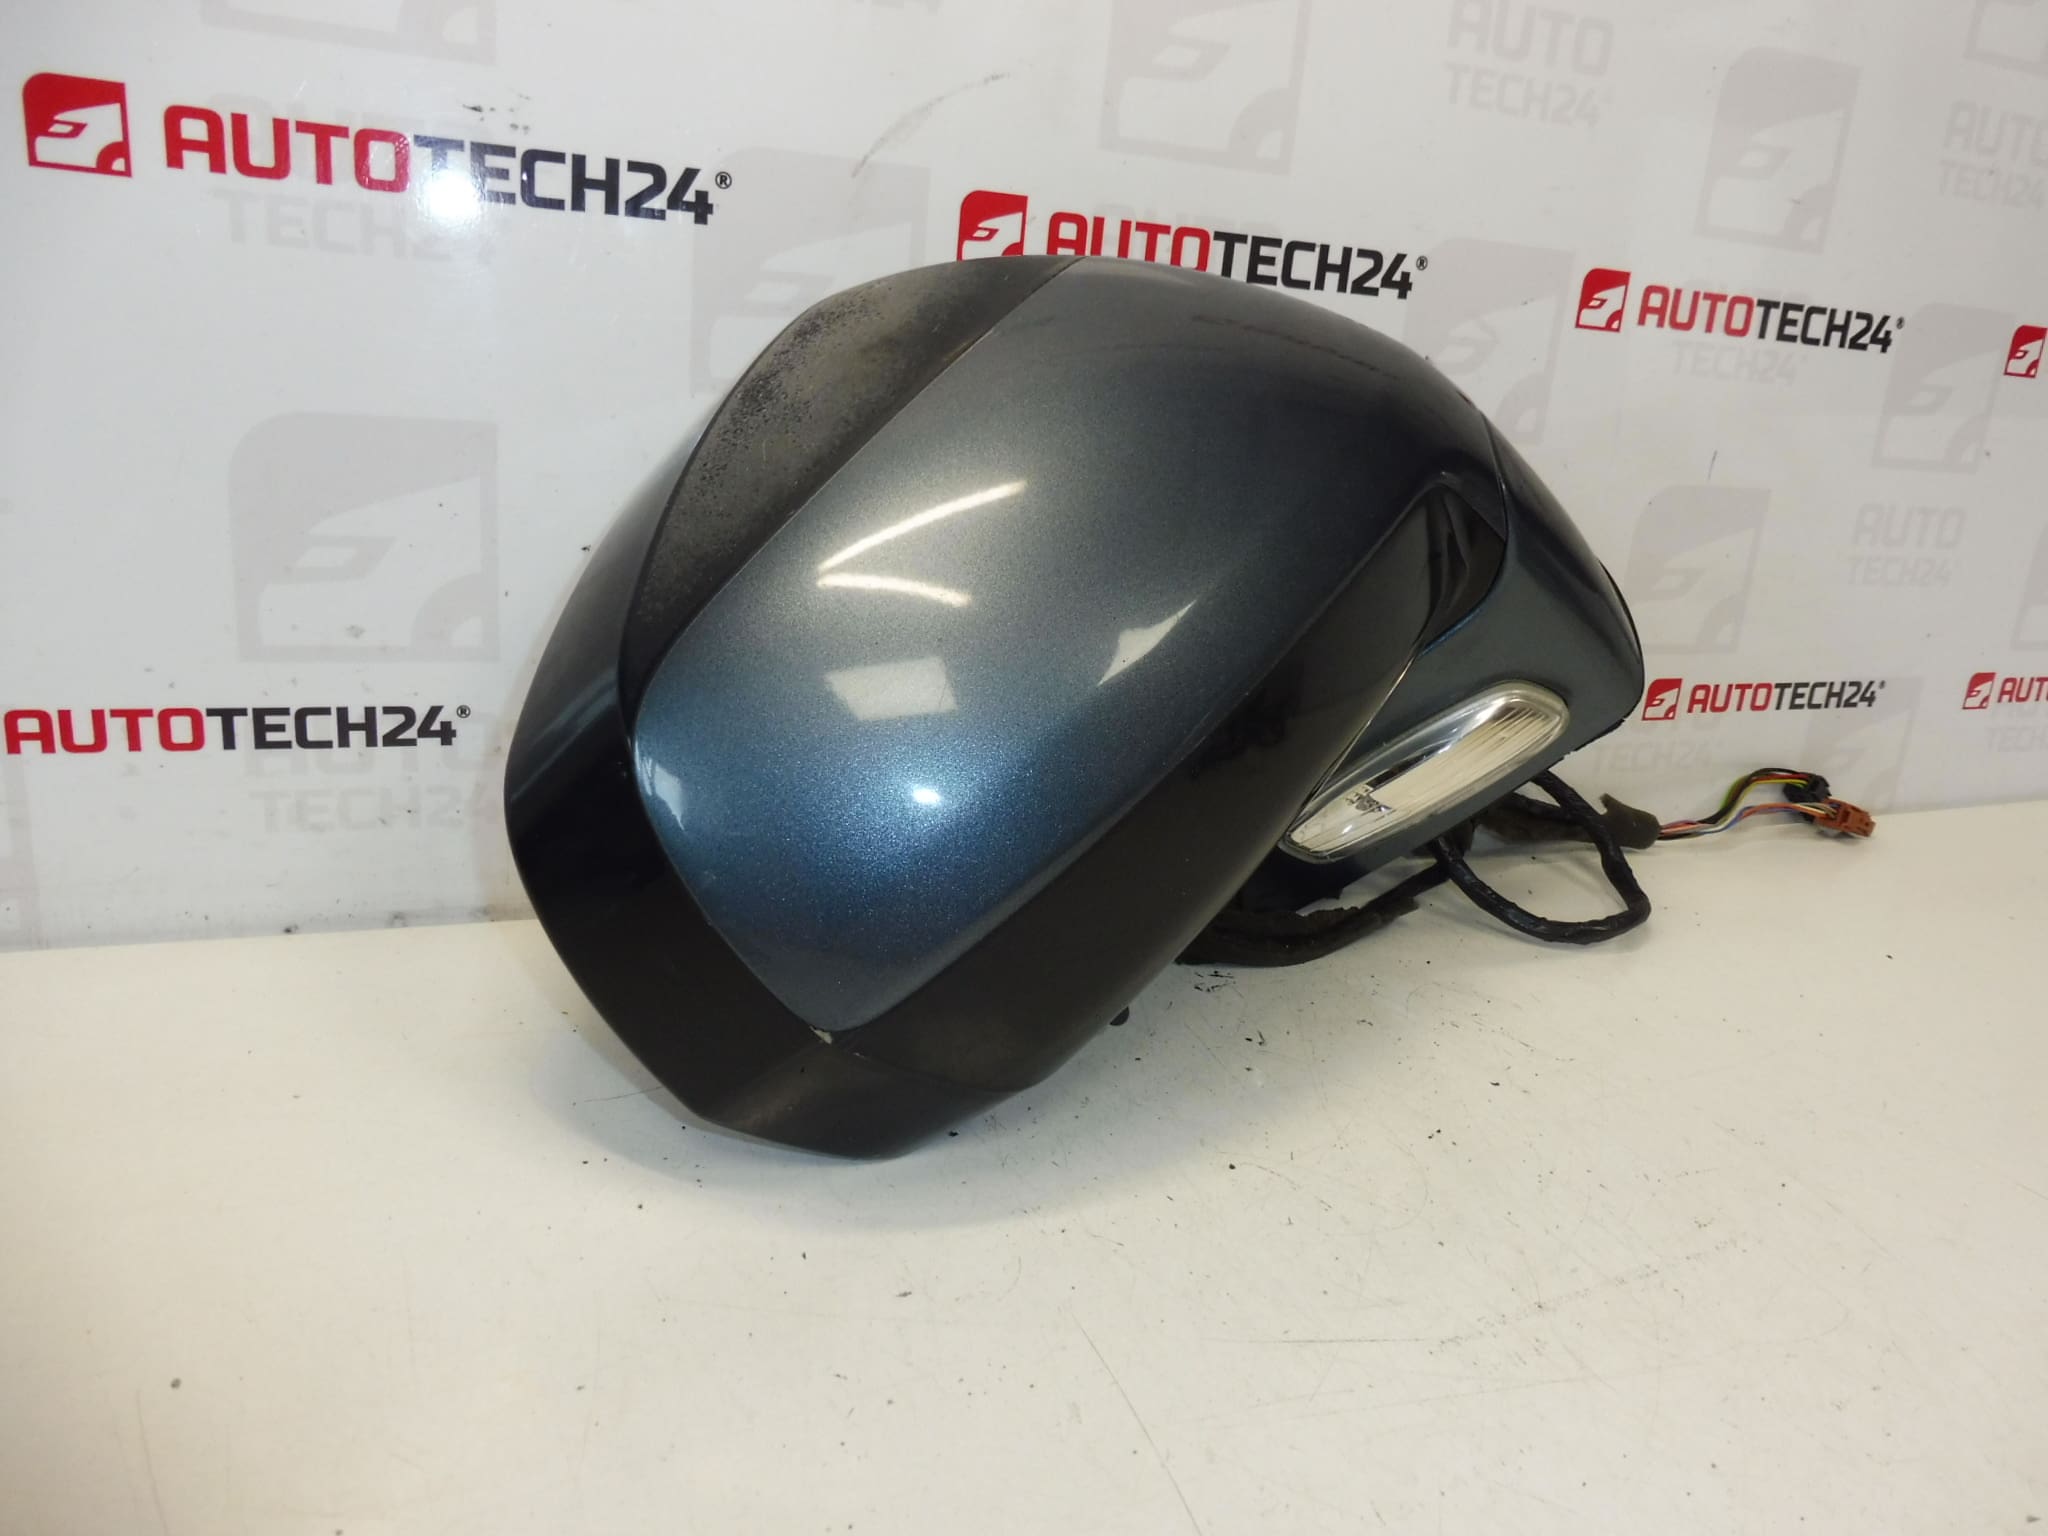
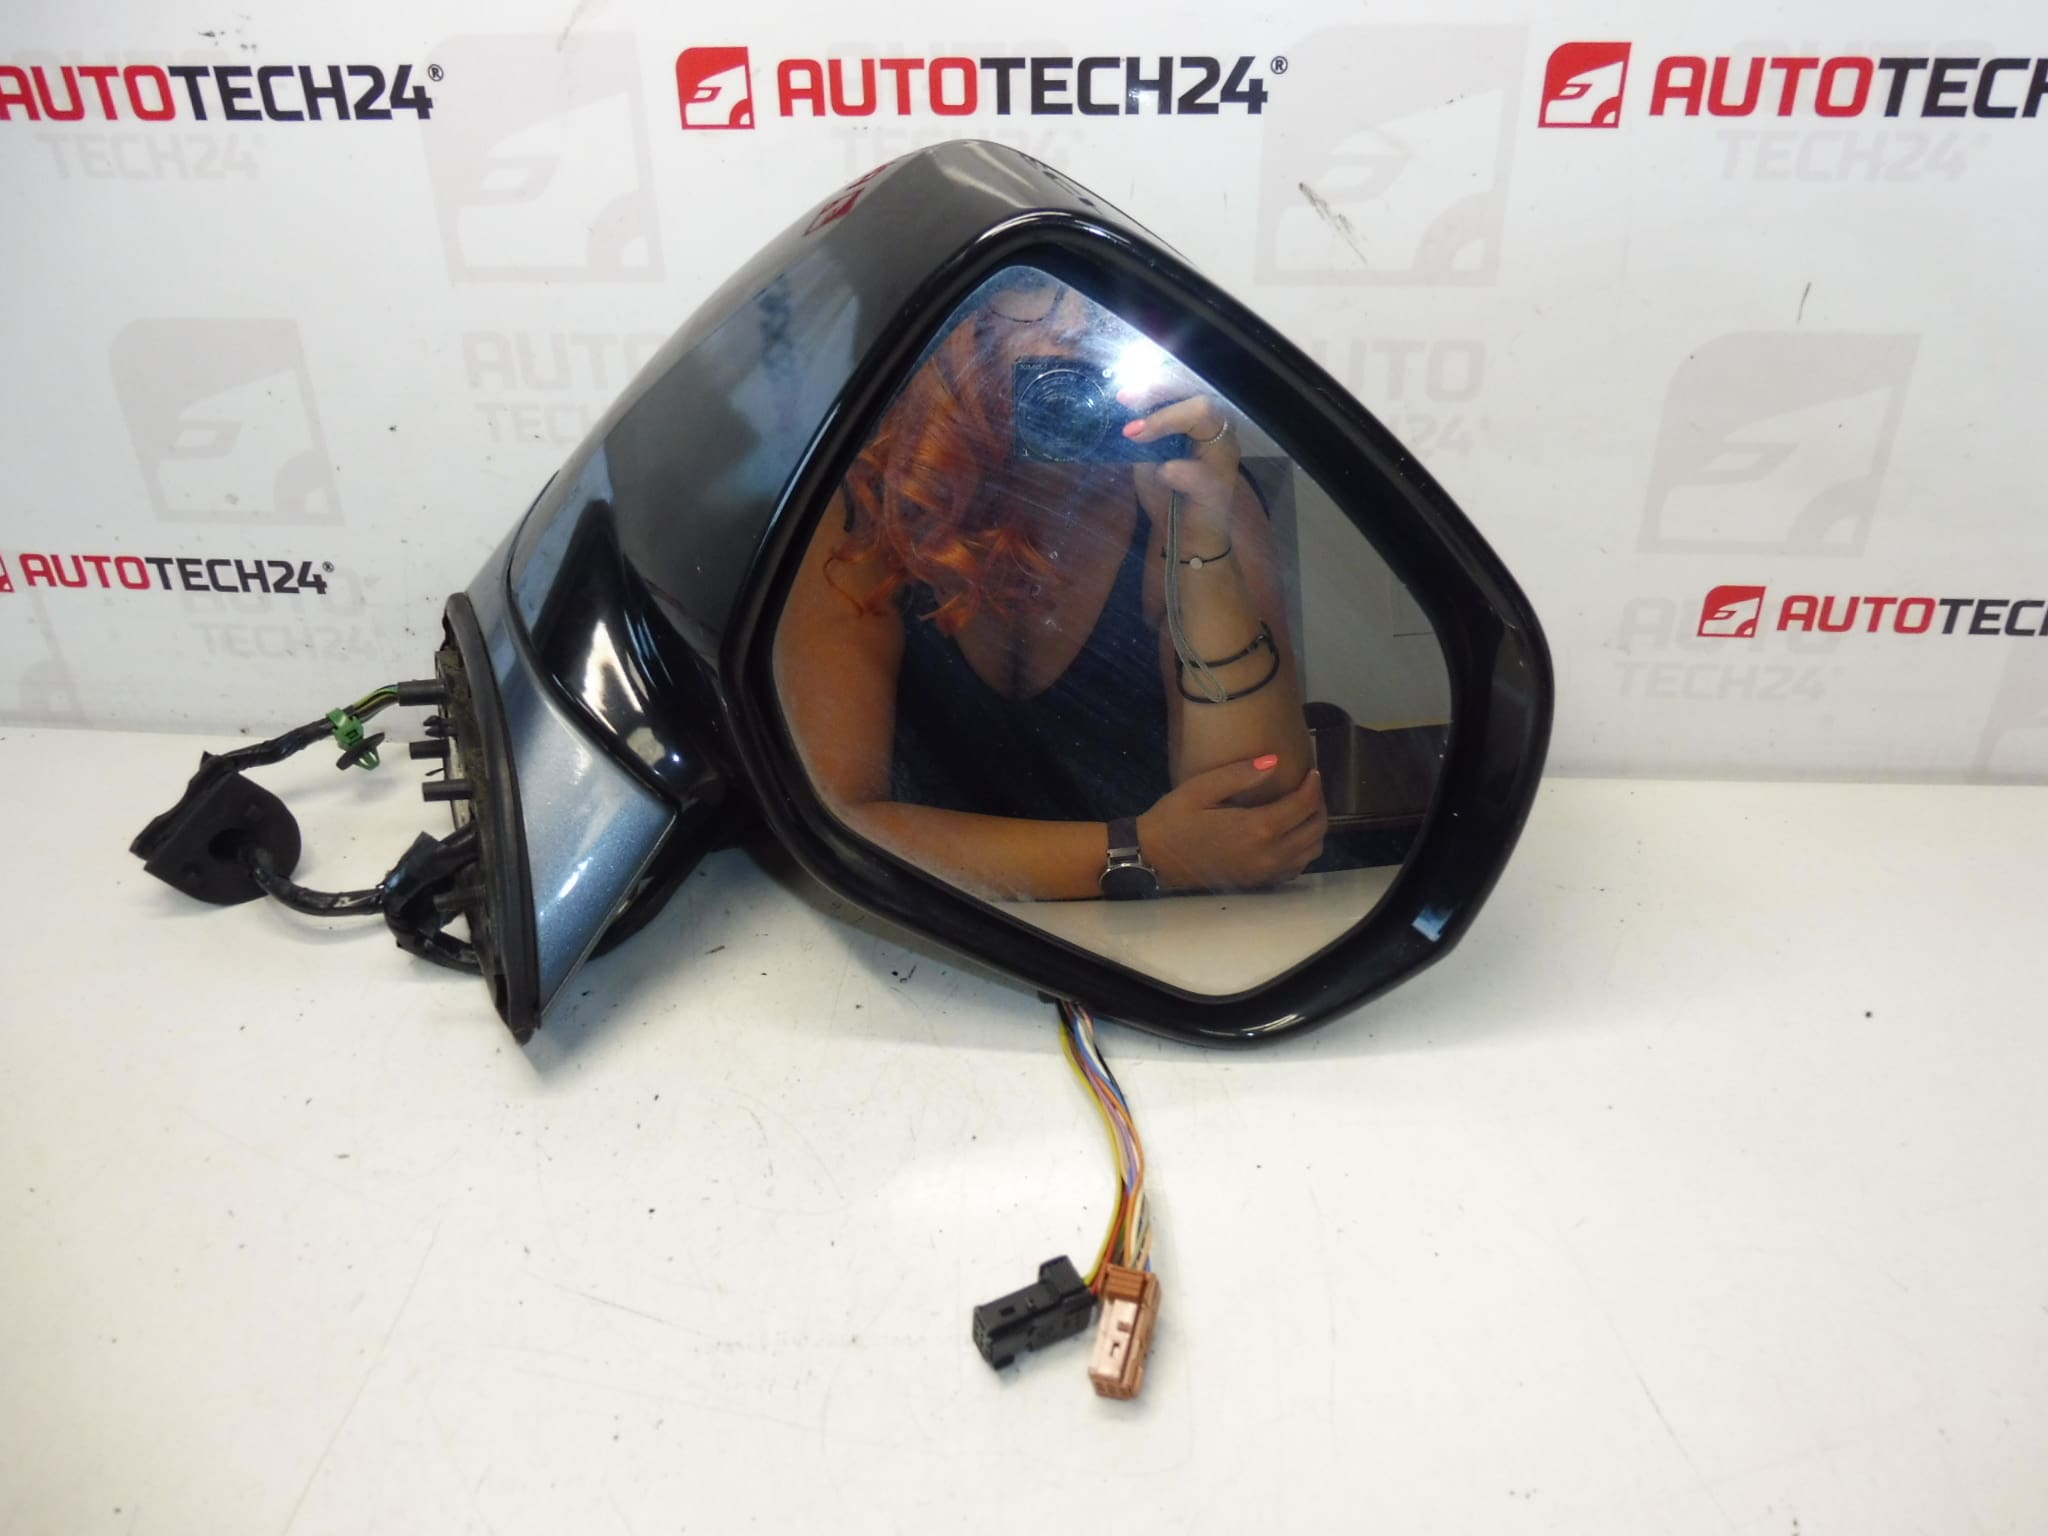
Right Side Rearview Mirror For CITROËN C4 PICASSO And GRAND PICASSO
Electrically Adjustable, Heated, Courtesy Light, Temperature Sensor
Passenger Side, 15 Pins 6+6+3
Color EZW – Paint Grey FER
We Also Have Other Colors
Overview
This genuine-style right side (passenger) exterior mirror is designed for Citroën C4 Picasso and Grand Picasso models. It features electric adjustment, an integrated heater to prevent fogging and ice buildup, a courtesy/puddle light for ground illumination, and a temperature sensor used by vehicle systems. The unit uses a 15-pin connector arranged as 6+6+3 pins and is finished in EZW paint (Grey FER). Part numbers commonly searched by mechanics and DIYers include 96851525XY and 8153VR.
Key Features
- Electric Adjustment: Motorized actuator for mirror glass movement.
- Heated Glass: Integrated heating element to remove condensation and ice.
- Courtesy/Puddle Light: Illuminates the ground beside the door for safer entry.
- Temperature Sensor: Feeds ambient/side temperature data to vehicle systems.
- Connector: 15 Pins (Grouped 6+6+3) For Full Functionality.
- Colour: EZW – Paint Grey FER. Other Paint Options Available.
Technical Information
- Manufacturer: Stellantis (Citroën / Peugeot)
- Model: Citroën C4 Picasso, Grand Picasso
- Product Codes: 96851525XY, 8153VR
- Other Numbers: EZW (Paint Code), 15-Pin Connector (6+6+3)
- Side: Right / Passenger Side
Installation Recommendations
Recommended For Experienced Mechanics And Competent DIYers. Typical Replacement Steps:
- Park On Level Ground And Ensure Ignition Is Off.
- Disconnect The Battery Before Starting To Prevent Short Circuits And To Protect Vehicle Electronics.
- Remove Interior Door Trim Or Mirror Access Cover To Reach Fasteners And The Electrical Connector.
- Carefully Disconnect The 15-Pin Connector (Note Pin Grouping 6+6+3) And Any Lamp/Heater Leads.
- Unscrew The Mirror Mounting Bolts And Remove The Old Unit From The Door.
- Fit The New Mirror, Secure Fasteners To Manufacturer Torque Where Available, And Reconnect The Electrical Connector.
- Reconnect The Battery, Test All Functions (Adjustment, Heating, Courtesy Light, Temperature Signal) And Verify Proper Operation.
- Reassemble Door Trim And Ensure Clips And Seals Are Correctly Reinstalled.
Use Appropriate Trim Tools To Avoid Damage To Panels. If Door Electrical Faults Occur After Fitment, Recheck Connector Seating And Wiring Harness For Corrosion Or Bent Pins.
Why This Part Commonly Fails
- Impact Damage: Side-swipes, parking accidents, or folding collisions frequently crack housings or break mirror glass.
- Water Ingress And Corrosion: Moisture Penetration Can Corrode Connectors, Pins, And Actuators Causing Intermittent Or Permanent Failure.
- Actuator Or Motor Wear: Frequent Adjustment Over Time Can Wear Gears Or Motors.
- Electrical Issues: Short Circuits, Damaged Wiring In The Door Loom, Or Faulty Fuses/Relays Can Disable Heating Or Adjustment.
- Heating Element Failure: Heating Grid Or Internal Connections May Fail Due To Age Or Thermal Stress.
Notes For Buyers
Searchable Part Numbers: 96851525XY and 8153VR Are Common Search Terms For This Unit. Confirm Paint Code EZW If You Require A Colour Match. The Mirror Is Supplied With The Features Listed Above; Some Vehicles May Require Additional Coding Or Configuration For Full Integration Of The Temperature Sensor Or Courtesy Light With Vehicle Systems.