Description
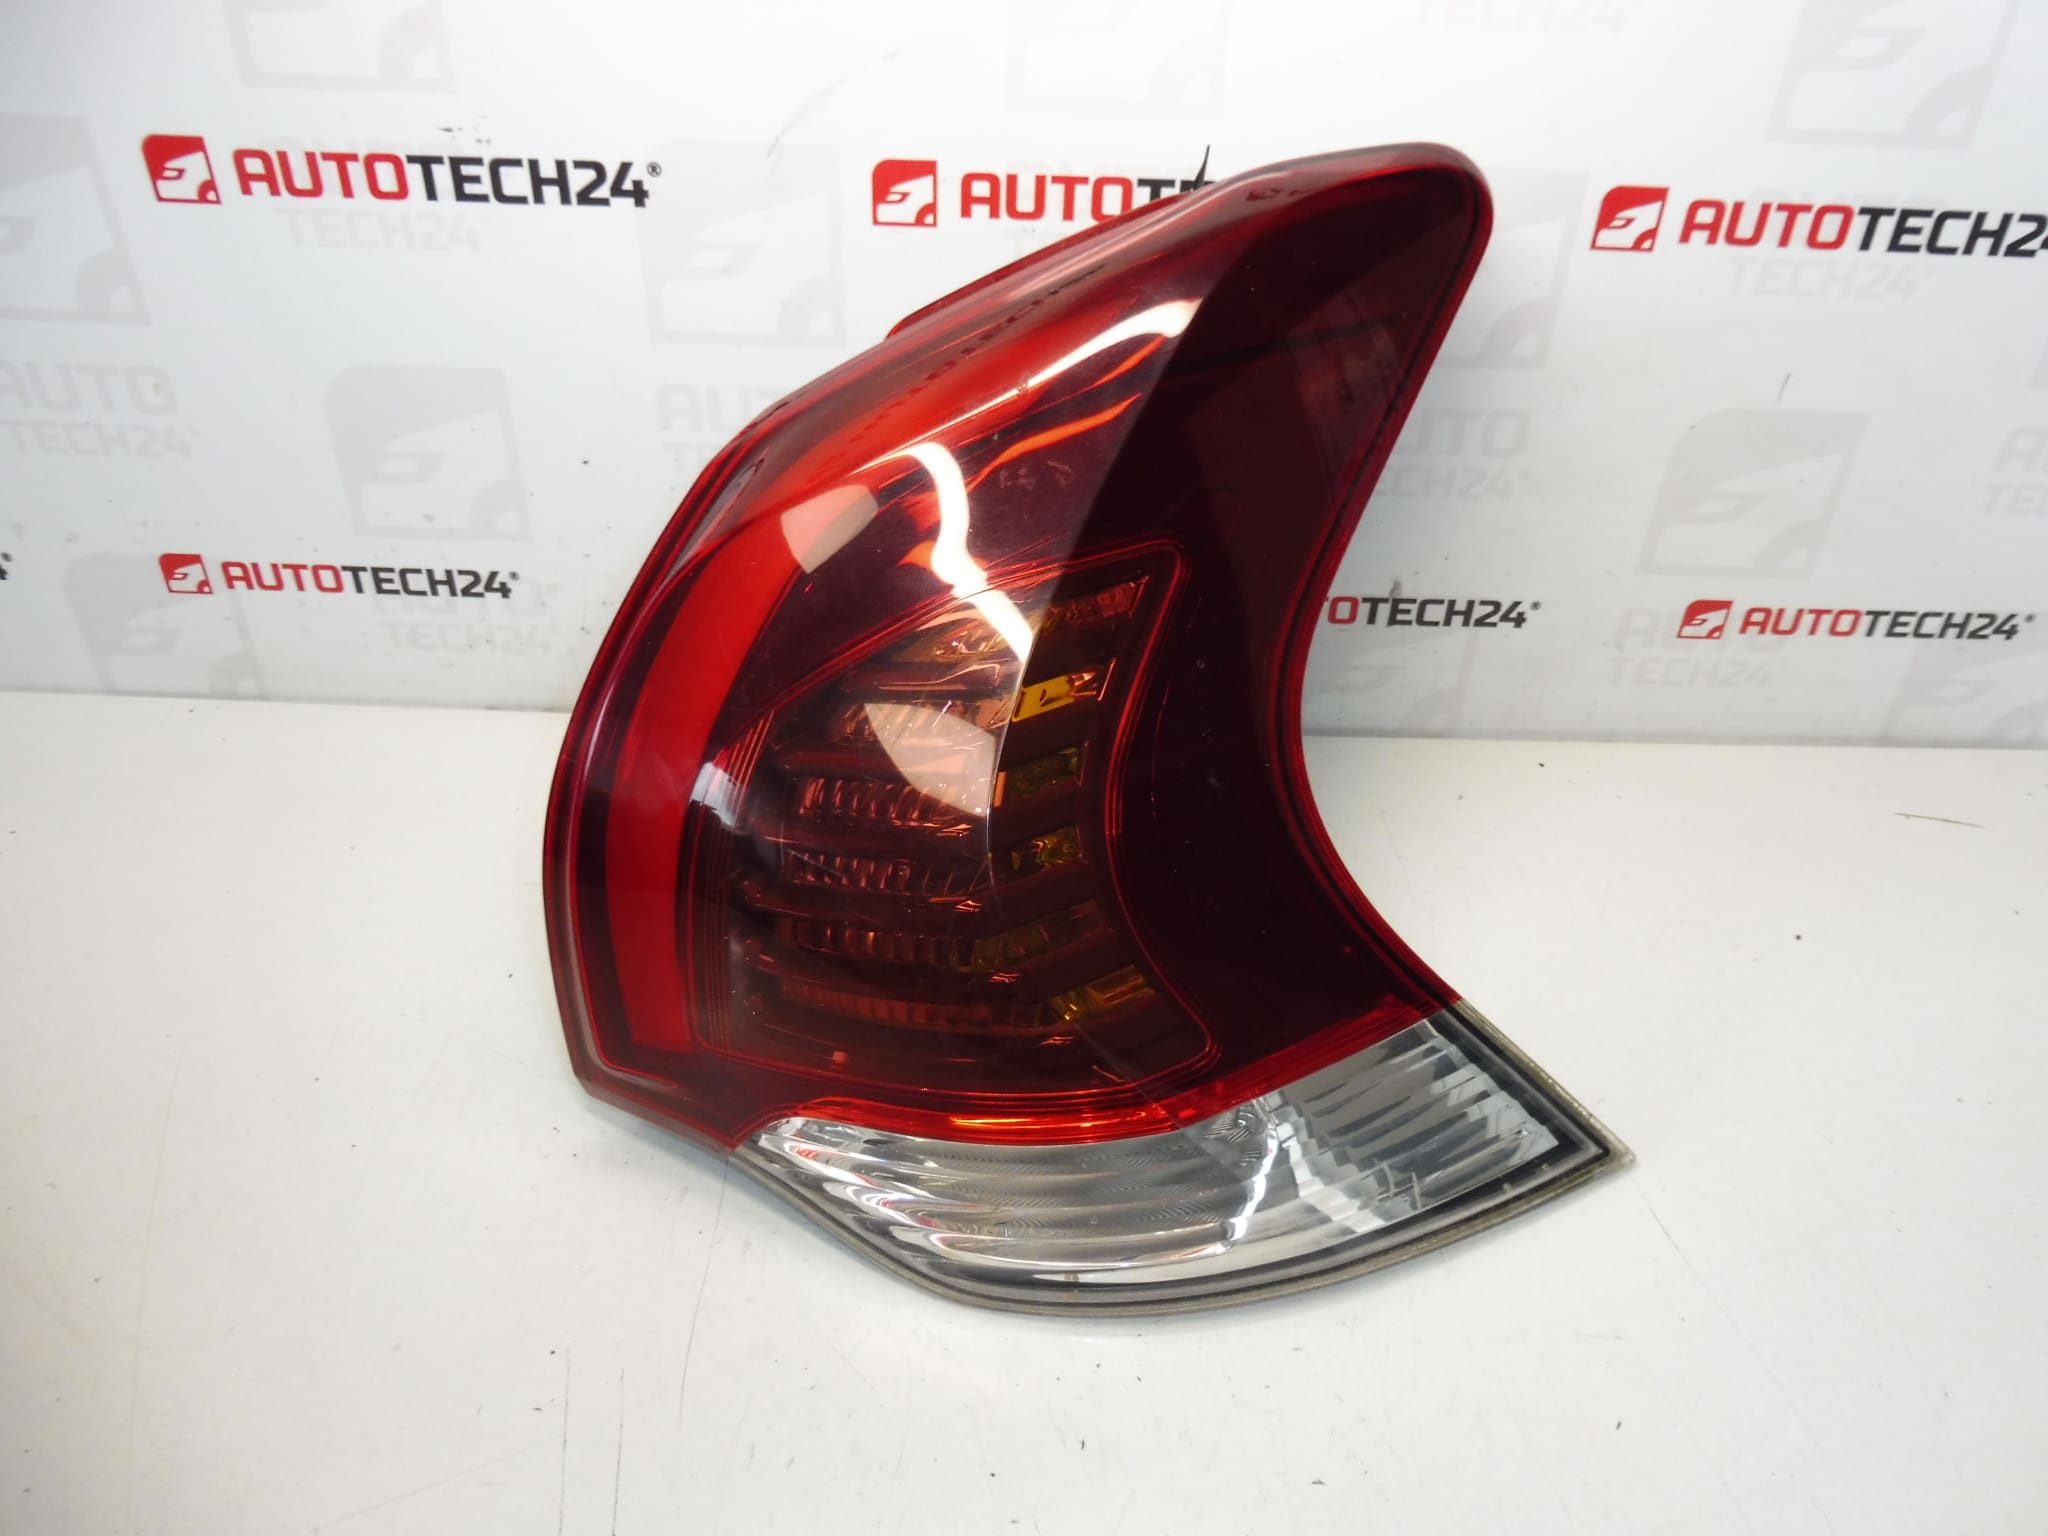
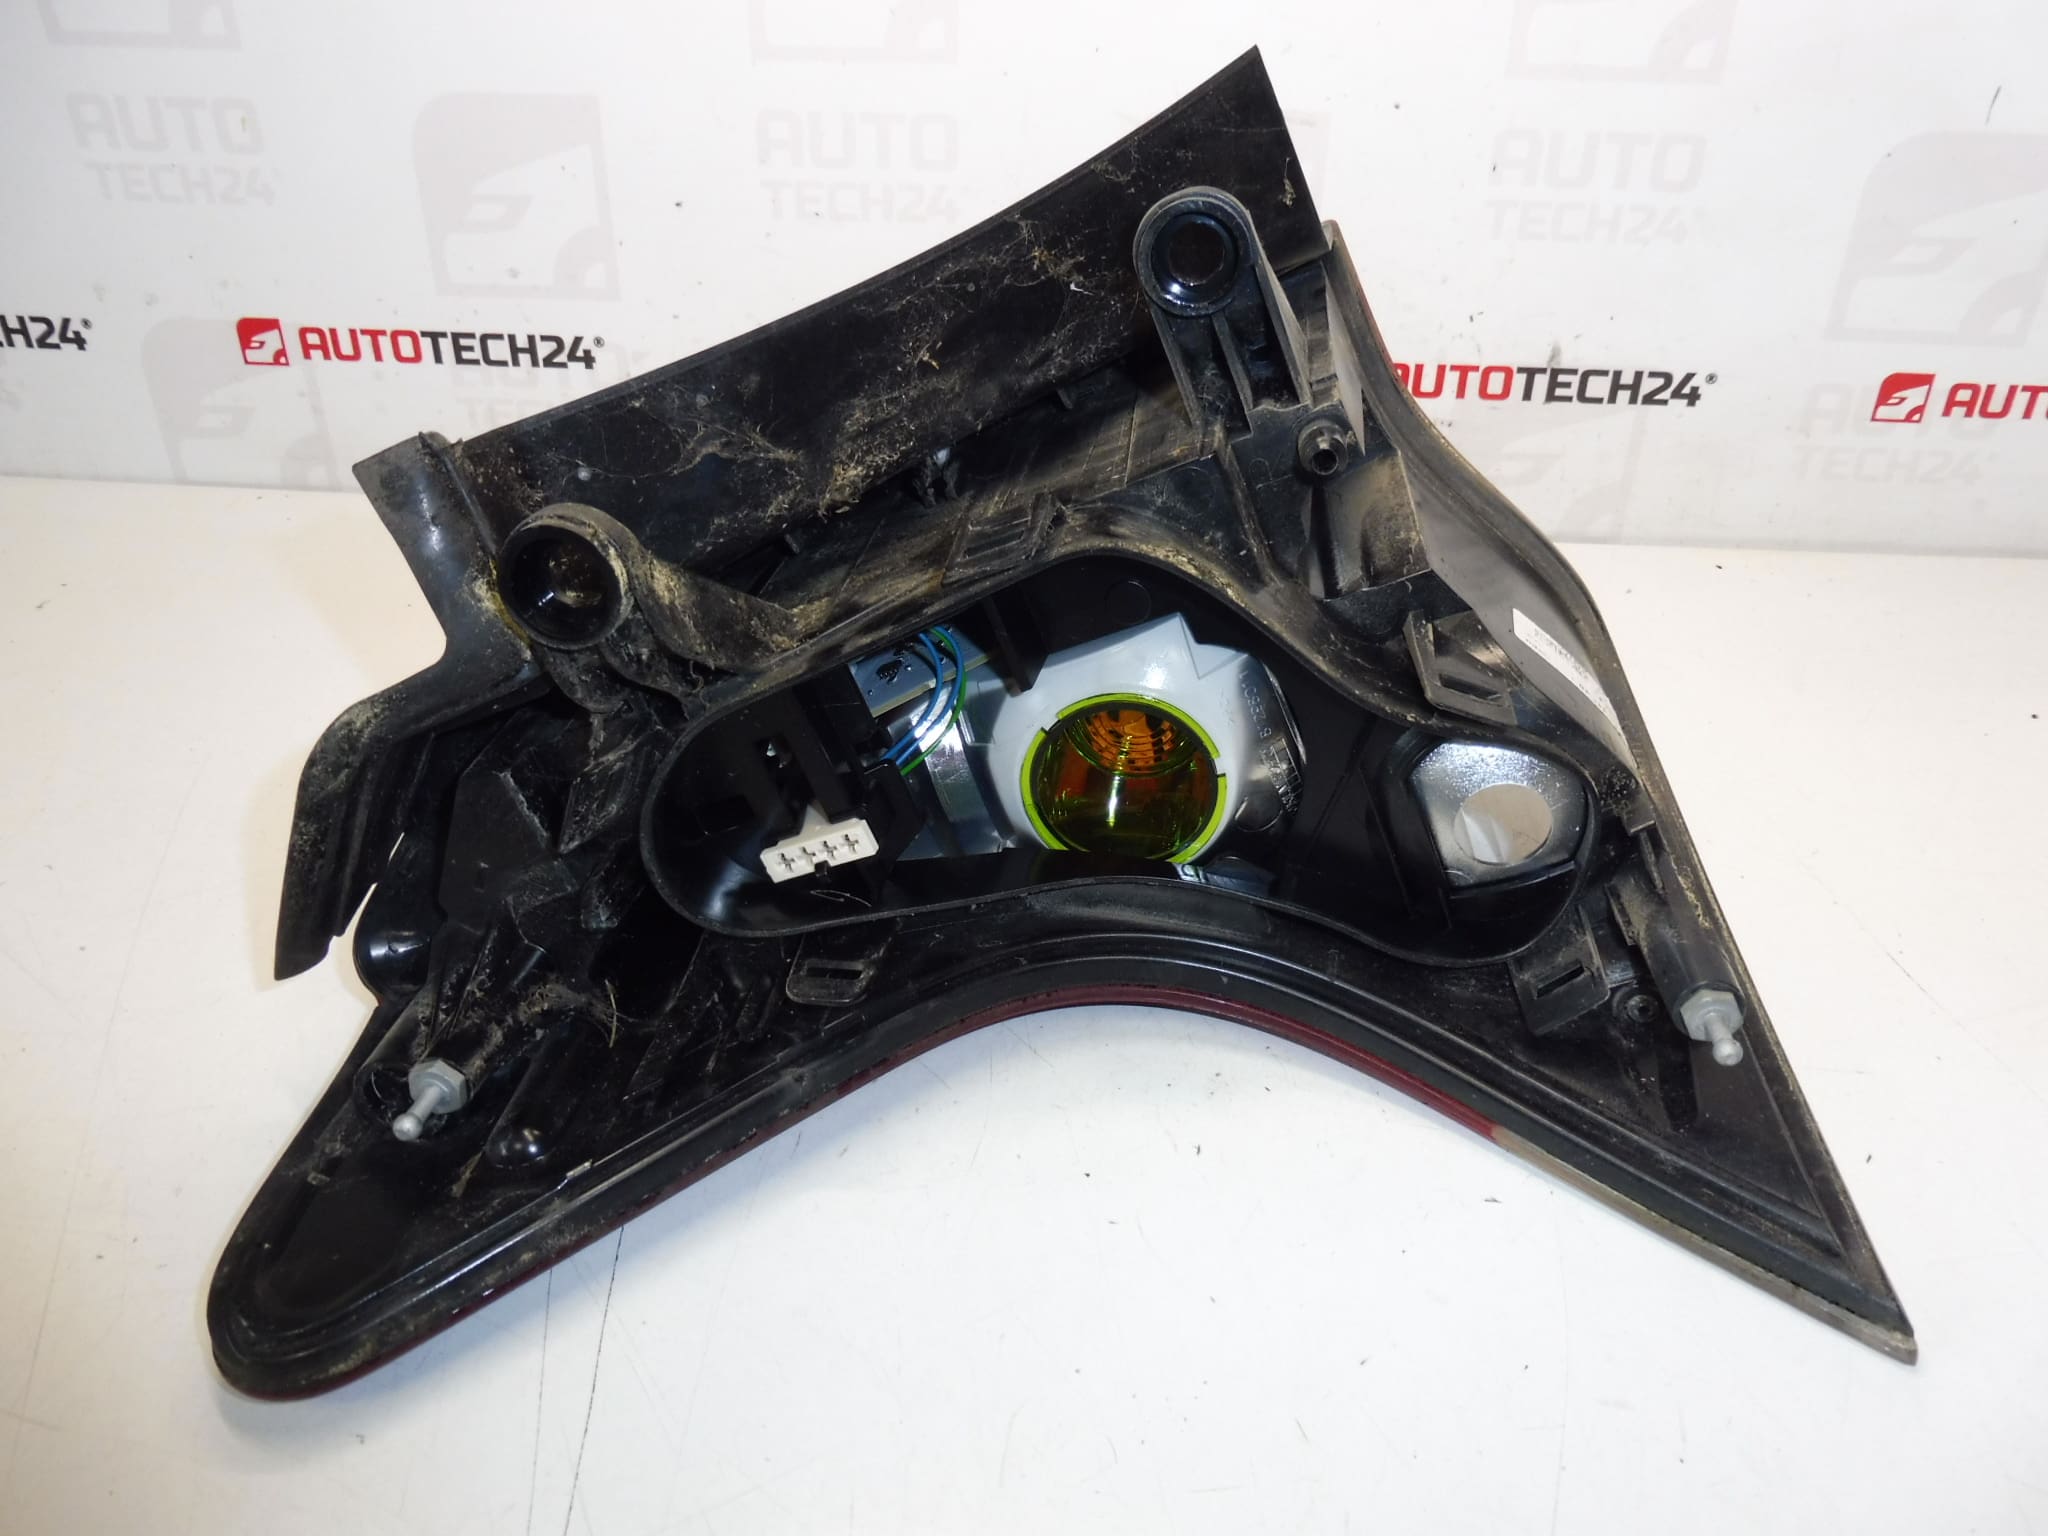
Right Rear Lamp For PEUGEOT 3008 First Generation Facelift. Without Bulb Holders – Can Be Purchased Separately. Side: Passenger.
High-quality replacement right rear taillight for the Peugeot 3008 (first generation facelift). This used body lamp is a direct-fit assembly designed to restore rear lighting function and vehicle appearance after damage or wear. Ideal for professional mechanics and DIY enthusiasts searching by part number 9805510480. The unit is supplied without bulb holders, which are available separately, allowing you to fit original or aftermarket sockets and bulbs according to preference.
Technical Information
- Manufacturer: Stellantis / Peugeot
- Model: Peugeot 3008 First Generation (Facelift)
- Product Codes: 9805510480
- Other Numbers: No Additional Numbers Provided
- Position: Right Rear (Passenger Side)
- Includes: Rear Lamp Housing And Lens (Bulb Holders Not Included)
Function And Fitment
The taillight assembly houses brake, tail, indicator and reverse light functions depending on the vehicle configuration. It mounts to the body shell on the rear quarter and connects to the vehicle wiring harness via a multi-pin connector. This unit is intended as a like-for-like replacement for damaged or non-functioning rear lamp assemblies on facelift versions of the Peugeot 3008 first generation.
Installation Recommendation
- Park Vehicle Safely And Switch Off Ignition And Lighting.
- Open Tailgate And Remove Interior Trim Panels To Access Mounting Screws/Clips.
- Unscrew Fasteners And Gently Pull The Lamp Assembly Outwards; Disconnect Wiring Connector.
- Fit New Lamp Into Position, Connect Wiring Harness, And Secure All Fasteners To The Original Tightening Specifications.
- Install Bulb Holders And Bulbs If Required; Check All Light Functions (Brake, Tail, Indicator, Reverse).
- Refit Interior Trim Panels And Verify Water Seals Are Intact To Prevent Moisture Ingress.
Use Appropriate Tools And Follow Manufacturer Procedures. If Paint Or Bodywork Was Repaired, Check Alignment And Gaps For Correct Fit.
Why This Part Fails Most Often
- Impact Damage From Minor Collisions Or Parking Accidents Causing Cracks Or Broken Mounting Points.
- Water Ingress Through Damaged Seals Leading To Corrosion Of Contacts Or Internal Condensation.
- Connector Corrosion Or Loose Electrical Contacts Resulting In Intermittent Lighting.
- UV Exposure And Aging Causing Lens Discoloration Or Brittleness.
- Vibration And Mechanical Stress Leading To Fractured Clips Or Mounting Tabs.
Additional Notes
Customers regularly search by the OEM part number 9805510480 when replacing this lamp—include the number in searches to find exact-fit units. Because the lamp is supplied without bulb holders, confirm the required socket type and bulb spec for your vehicle before purchase. After installation, test all lighting functions and ensure seals are correctly seated to avoid premature failure from moisture.