Description
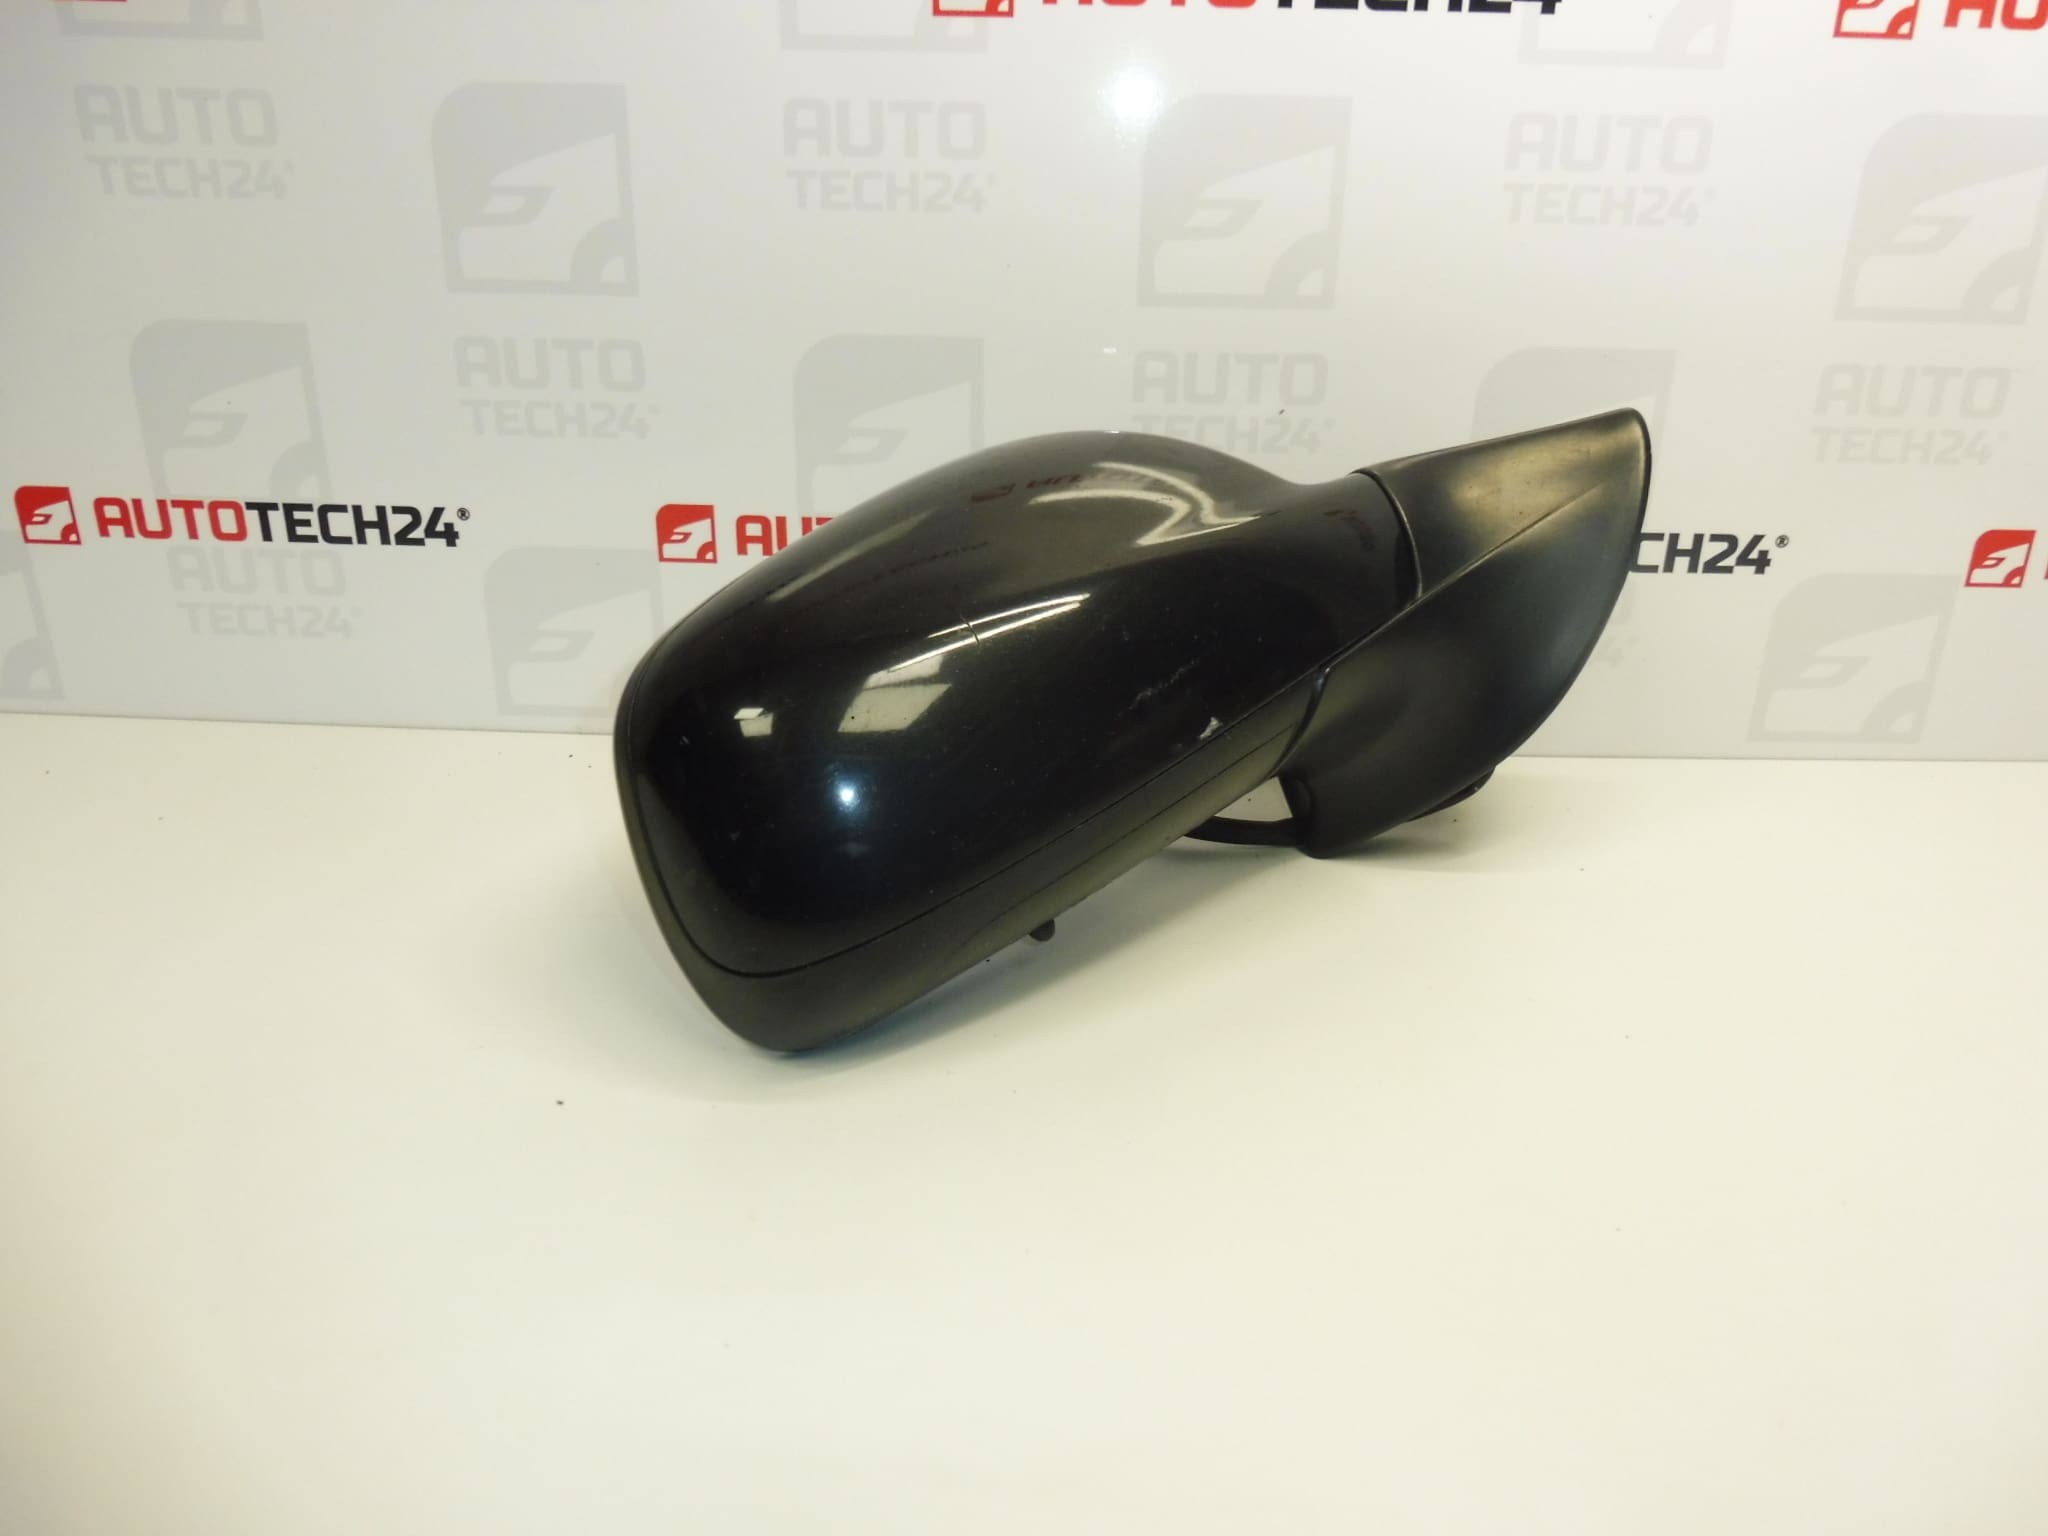
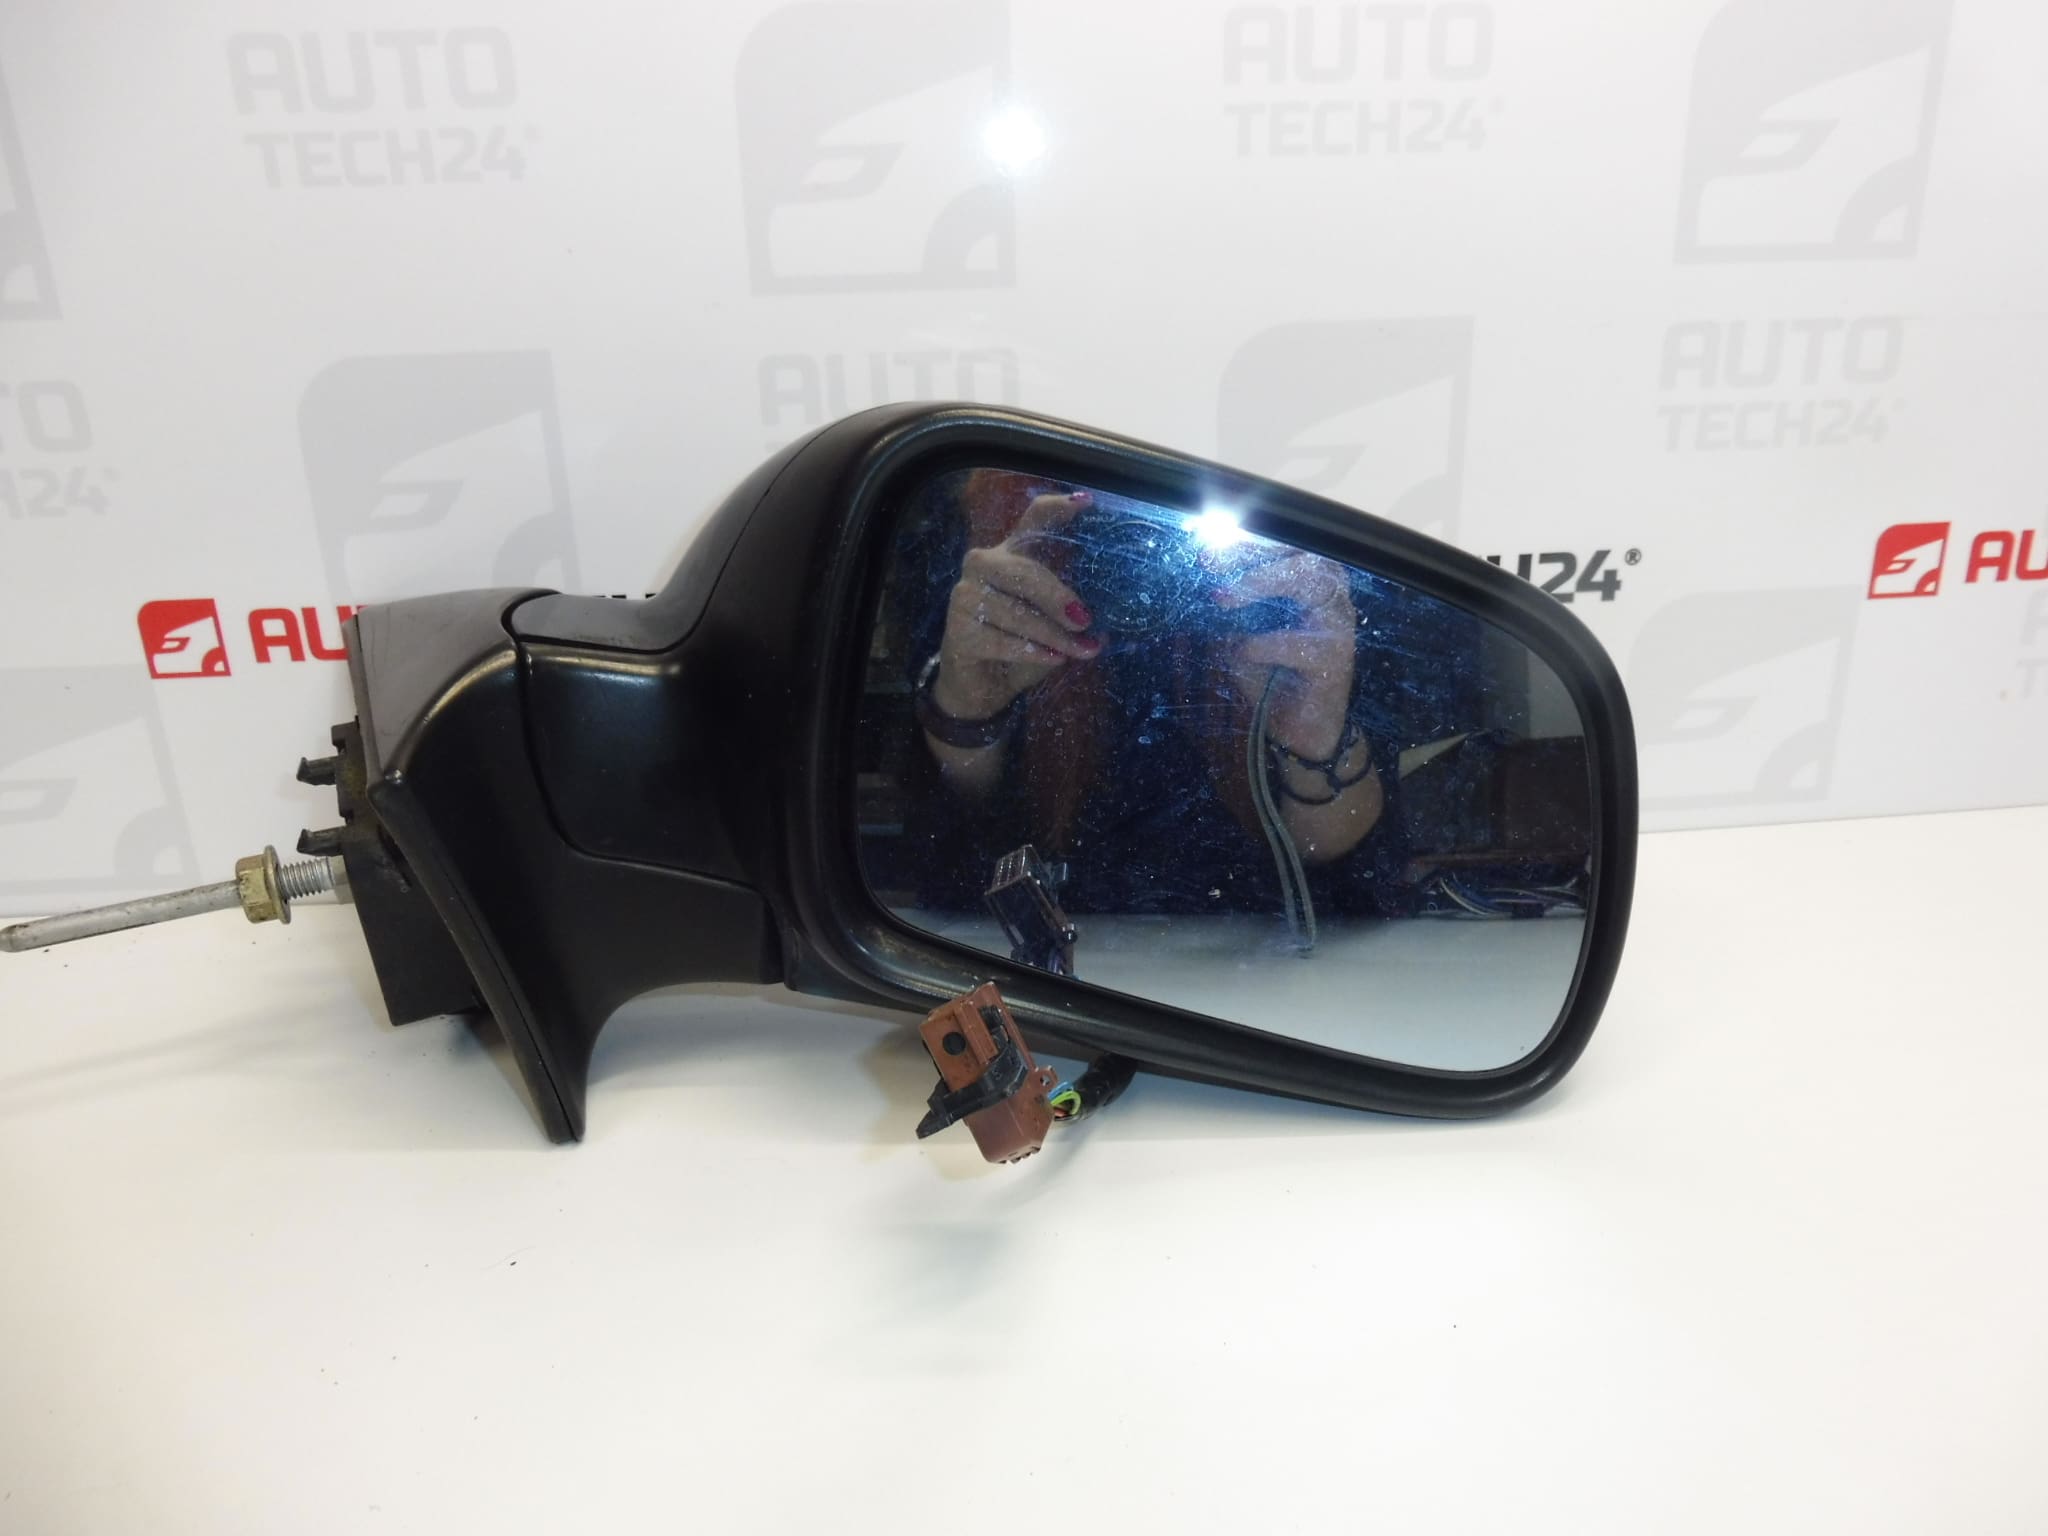
Right rear-view mirror for PEUGEOT 407 vehicles
Electrically operated, electrically folding, heated, temperature sensor
Color EXL – OBSIDIAN BLACK PAINT
Passenger side
We have various colors
Part description
Used right rear-view mirror for Peugeot 407 for the passenger side is a suitable choice when replacing a damaged mirror. It offers electric adjustment, electric folding, heating, and a temperature sensor. When choosing a replacement, compare not only the appearance but also the electrical connection and features of the original mirror.
The part is listed under numbers 96457004XT and 8149VC, which make it easier to find the corresponding version. The listed color is EXL – OBSIDIAN BLACK paint; EXLD also appears in the product designation. Various colors are available, so pay attention to the color of the specific item when making your selection.
Technical information
- Manufacturer: not specified
- Model: Peugeot 407
- Part type: exterior rear-view mirror, complete
- Side: right, passenger side
- Operation: electric
- Folding: electric
- Features: heating, temperature sensor
- Color: EXL – OBSIDIAN BLACK PAINT
- Condition: used part
- Other numbers: EXLD – supplementary designation from the source materials
Product codes
- Product codes: 96457004XT, 8149VC
- Designation in source materials: EXLD
- Model: Peugeot 407
Check that the numbers match together with the connector version, mounting points, and mirror functions. Matching the color alone is not enough to select the correct replacement.
Installation recommendations
The following general procedure applies to this type of part. The exact method for accessing the fasteners, removing the trim, and disconnecting the electrical system depends on the specific vehicle version. Follow the manufacturer’s service procedure.
1) Before installation
- Compare the product numbers, right-hand version, base shape, and mounting points with the old mirror.
- Check the connector shape, number and arrangement of contacts, and that the functions match: adjustment, folding, heating, and temperature sensor.
- Inspect the glass, cover, mounts, wiring, and sealing surfaces. Look for cracks, damaged insulation, and corroded contacts.
- Do not force the electrically folding mechanism by turning it by hand.
2) Tools and materials required
Suitable hand tools for the fasteners used, a plastic trim removal tool, protective tape for the paintwork, a soft pad, and a cloth for cleaning the mating surfaces are usually sufficient. A multimeter and the wiring diagram for the specific vehicle can be used to troubleshoot any electrical fault.
3) Step-by-step installation procedure
- Secure the vehicle to prevent it from moving and, if possible, check the functions of the original mirror to distinguish a faulty part from an electrical system fault.
- Switch off the ignition and secure the electrical system according to the manufacturer’s instructions. If the battery needs to be disconnected, follow the prescribed procedure.
- Protect the surrounding paintwork and carefully remove any covers or trim needed to access the connection and fasteners.
- Make a note of the wiring route. Release the connector lock and disconnect it by pulling on the connector body, not the wires.
- Support the mirror from the outside and gradually loosen the fasteners. Do not let its weight hang from the wiring.
- Remove the original mirror and clean the mating surface. Check the condition of the seal and the area around the mounting points.
- Fit the replacement mirror, position the seal correctly, and route the wiring so that it is not pinched anywhere.
- Start fitting the fasteners without forcing them, check that the base sits flush, and tighten them according to the manufacturer’s instructions.
- Connect and secure the connector. Route the wiring back along its original path, away from moving parts.
- Restore the power supply using the prescribed procedure and check the functions. If everything is working properly, finish installing the covers and trim.
4) Post-installation checks and function verification
Test the electric adjustment in both directions, folding, and return to the operating position. Check the heating under the conditions specified for its activation in the vehicle manual. Also check that the outside temperature reading is plausible once it has stabilized. Adjust the mirror for a proper view and check that it is securely mounted before driving. During a short test drive, watch for image vibration and unusual aerodynamic noise.
5) Most common installation mistakes and how to avoid them
- Choosing the wrong electrical version: compare the connectors, contacts, and all functions before installation.
- Pinched wiring: check the wiring route and positioning before tightening.
- Seal not seated correctly: install on a clean mating surface and check that it sits evenly.
- Overtightening the fasteners: follow the service instructions to avoid damaging the base or mounts.
- Forcing the mirror to fold: operate the mechanism electrically; if it meets resistance, identify the cause first.
Reasons why the part gets damaged
For exterior rear-view mirrors, common causes of damage include impacts while parking, contact with an obstacle, or forcibly turning the folding mechanism. Vibrations caused by loose installation can also damage the glass, cover, and mounting points.
- Moisture and contact corrosion can cause the electric adjustment, heating, or temperature sensor to stop working intermittently.
- Wear of the motor and gears may result in irregular movement, noise, or failure to fold.
- Frost and mechanical obstruction increase the load when attempting to adjust or fold the mirror.
- Damaged wires or connector can interrupt the power supply or signal transmission, even if the mechanism itself remains functional.