Description
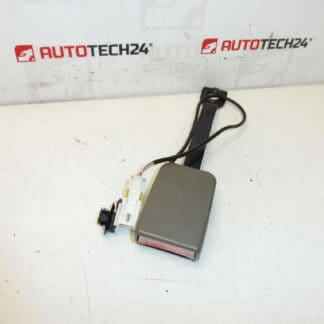
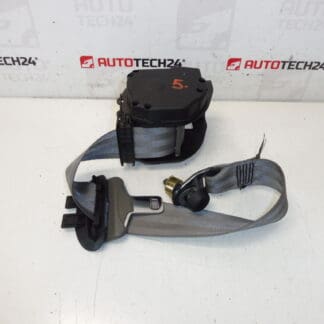
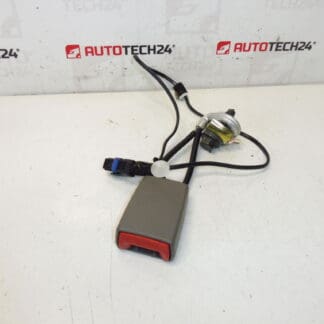
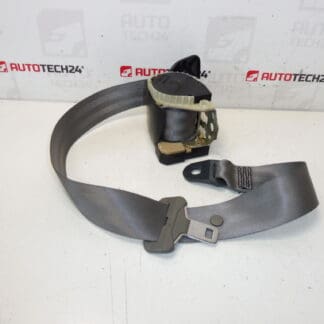
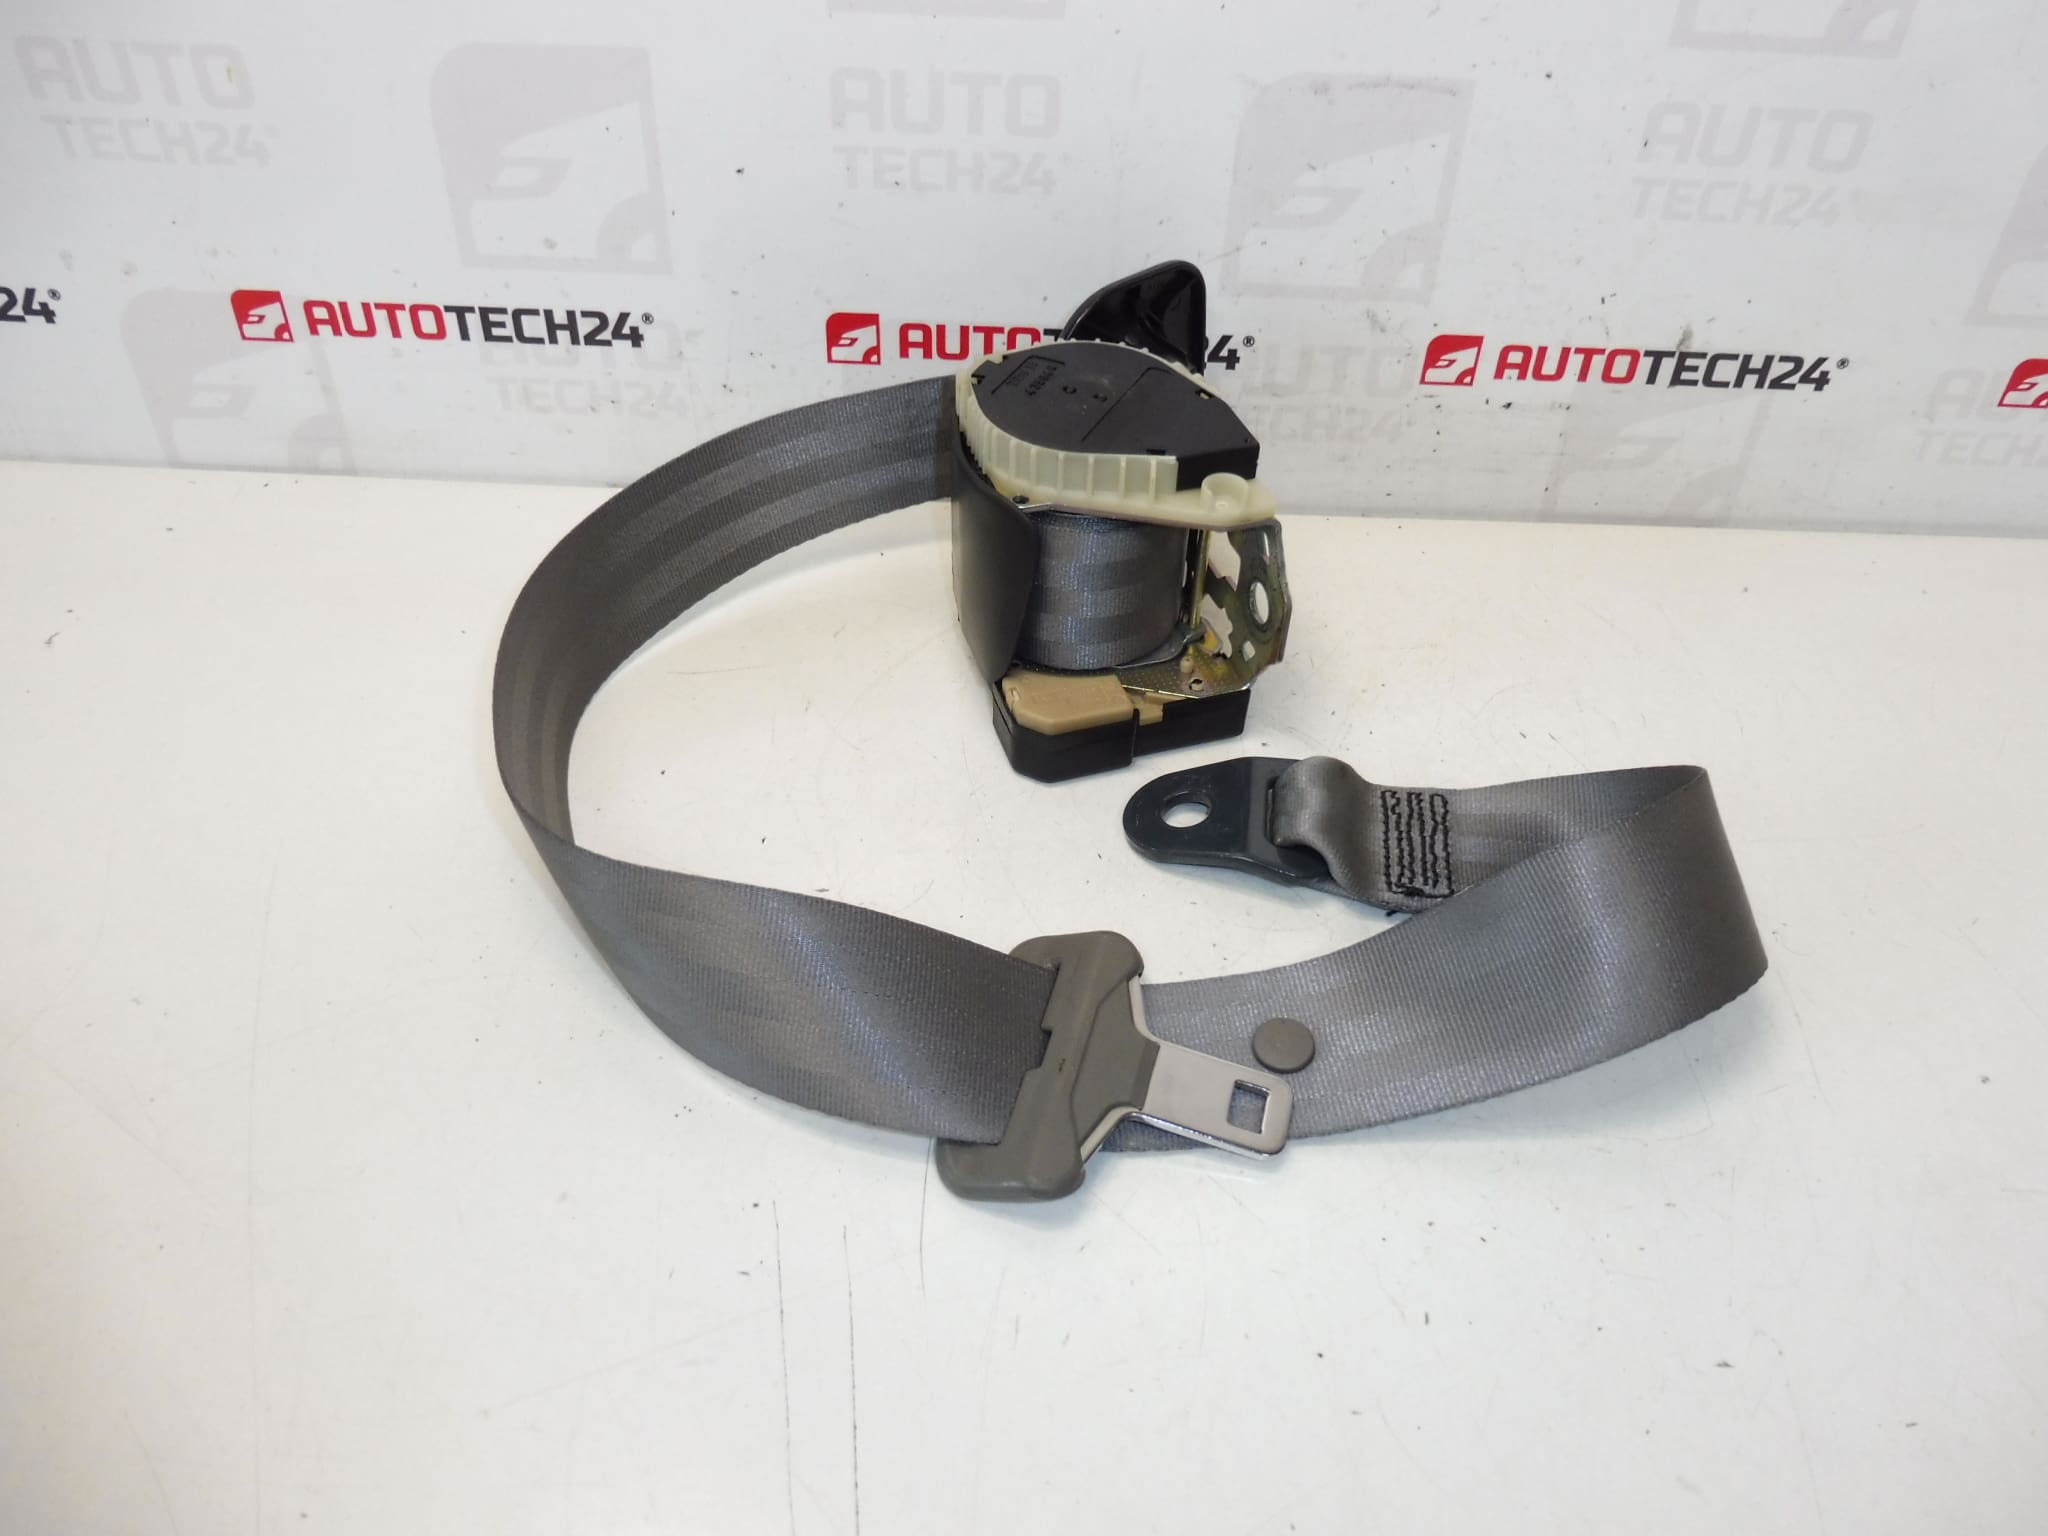
Rear upholstery seat belt for CITROEN C5 II cars
Color FGW- – DIGIMAT
Part description
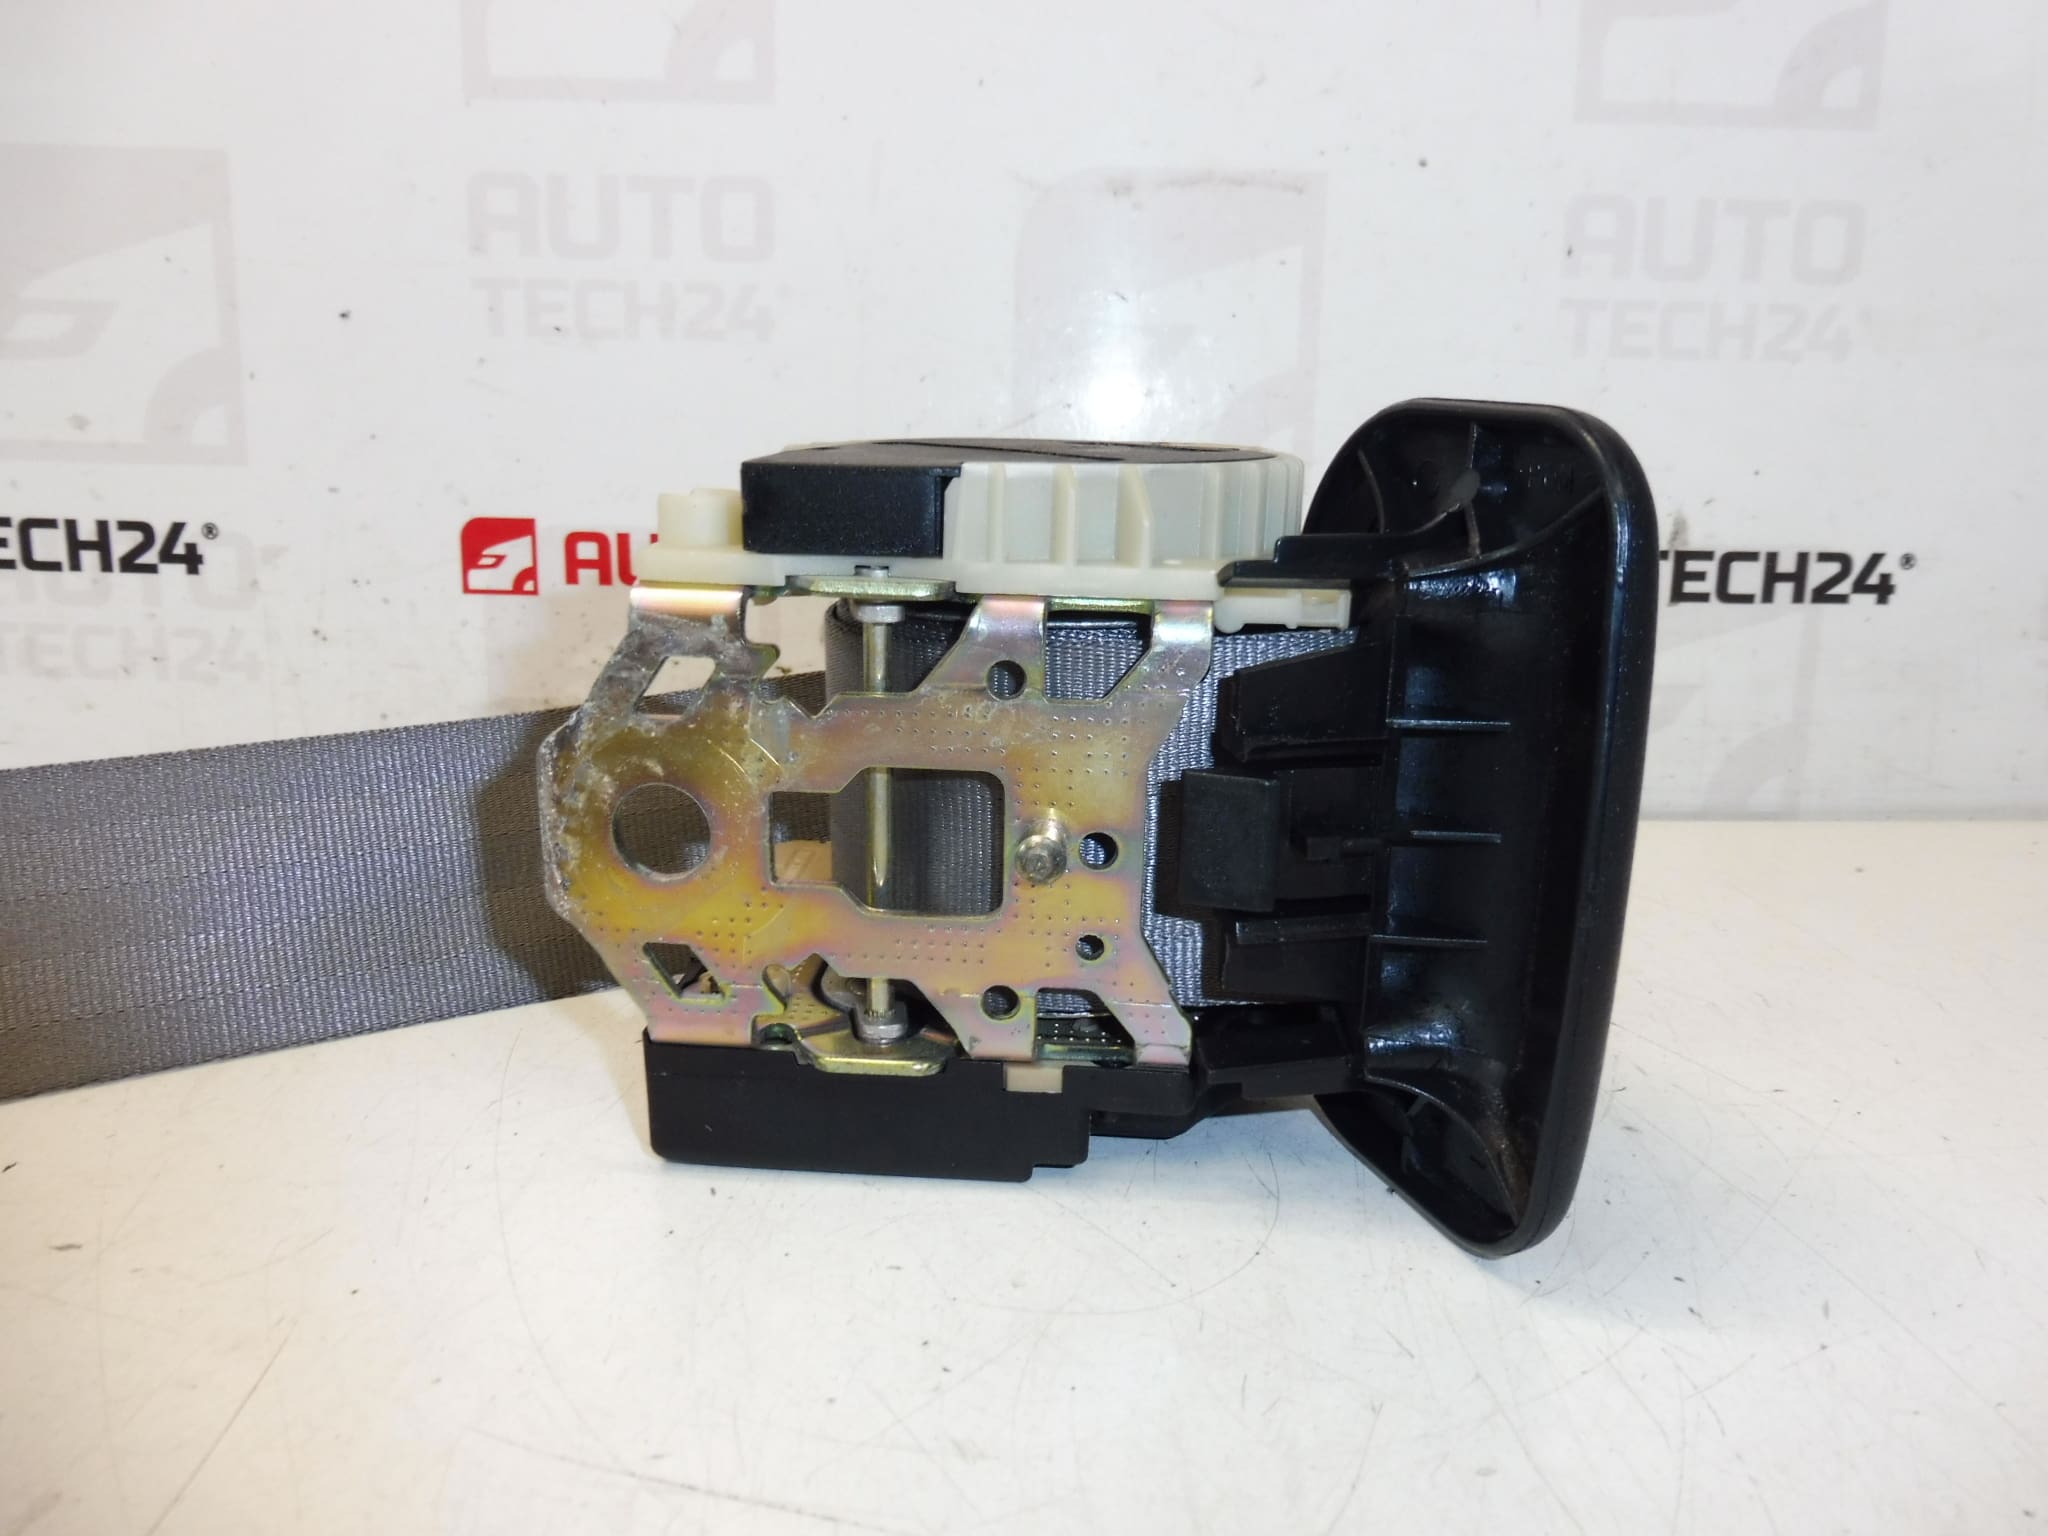
Used rear seat belt designed for Citroën C5 II. It is a part from the interior category, which is an important part of the vehicle’s passive safety. When choosing these parts, not only the design itself is decisive, but also the product number 8974Y3 and the color marking FGW – DIGIMAT.
The seat belt must wind correctly, unwind smoothly and work without stuttering after assembly. This part is especially suitable for repairing a damaged or non-functional original belt, or when replacing an interior component with the same code.
Technical information
- Manufacturer: Stellantis Citroën Peugeot
- Model: Citroën C5 II
- Other numbers: 8974Y3, NFP, FGW – DIGIMAT
Product codes
- Product codes: 8974Y3
- Models listed in the documents: Citroën C5, Citroën C5 II
Installation recommendations
Generally/typically for this type of part, the exact procedure for replacing the rear seat belt may vary depending on the specific design of the car’s interior. Below is a practical general procedure for replacing a used seat belt.
1) Before assembly
- Check that the part code 8974Y3 and the design of the part match the old part.
- Compare the shape of the attachment, the belt guide, the locking lock and the overall design of the winder.
- Check the condition of the webbing – it must not be frayed, cut, burnt or excessively dirty.
- Try smooth unwinding and winding. The belt should not hang or block irregularly.
- Check for damage to the bracket, cover or attachment points of the part.
2) Necessary tools and materials
- set of common hand tools
- ratchet and suitable heads
- tools for gentle dismantling of plastic interior linings
- cleaning agent for contact and mounting surfaces
- clean cloth
- protective gloves
3) Step-by-step assembly procedure
- Park the vehicle in a safe place and secure it against movement.
- Access the assembly area by removing the necessary interior cover and upholstery parts.
- Carefully remove the original seat belt, including its fastening and guide elements, if they are part of the assembly.
- Before installation, compare the old and new part side by side, especially the orientation of the winder, attachment and belt guidance.
- Clean the mounting surfaces and check for damage to the threads, brackets or surrounding parts of the body.
- Place the used safety belt in the correct working position so that it is not twisted.
- Install the belt attachment points in the original order and make sure that all mounting parts fit correctly.
- Check the free passage of the belt through the guide and its correct positioning in the interior.
- Before refitting the panels, slowly pull the belt out and let it wind up several times to check for smooth operation.
- Test the blocking function by pulling harder on the belt.
- After verifying correct function, refit all removed covers and trims.
- Do a final check that the belt is not rubbing, catching or twisting.
-
4) Post-assembly checks and functional test verification
- Verify smooth extension and retraction of the belt throughout the working range.
- Check that the arrester reacts correctly and without delay during a sudden movement.
- Check whether the belt rubs against plastic or metal parts after reassembling the interior parts.
- Make sure the belt fits properly and returns freely to its original position after use.
5) The most common assembly mistakes + how to avoid them
- Twisted belt – always check the entire belt line before tightening.
- Incorrect winder position – mount the part only in the correct working orientation.
- Damage to interior cladding during disassembly – use a suitable plastic pry bar and work carefully.
- Assembly without comparing code and design – always compare the part number and design details with the old piece before installation.
- normal wear and tear from long-term use
- contamination of the winding mechanism with dust and dirt
- mechanical damage to the webbing due to careless handling
- stuttering caused by deformation of guiding or fixing parts
- damage after an accident or after an extraordinary load on the security system
- moisture and long-term effects of unsuitable conditions in the interior of the vehicle