Description
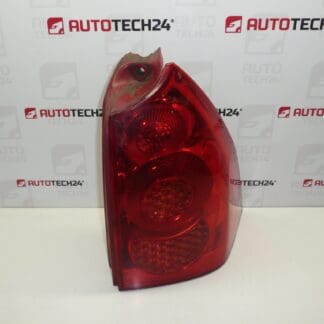
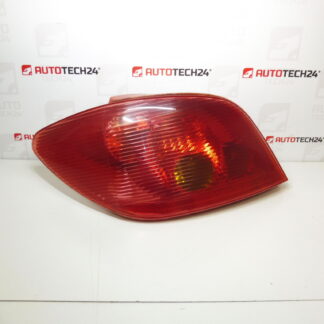
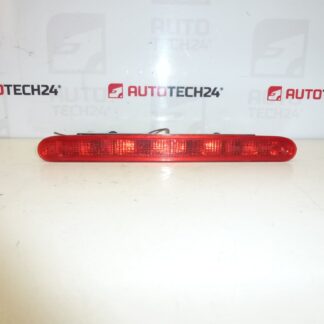
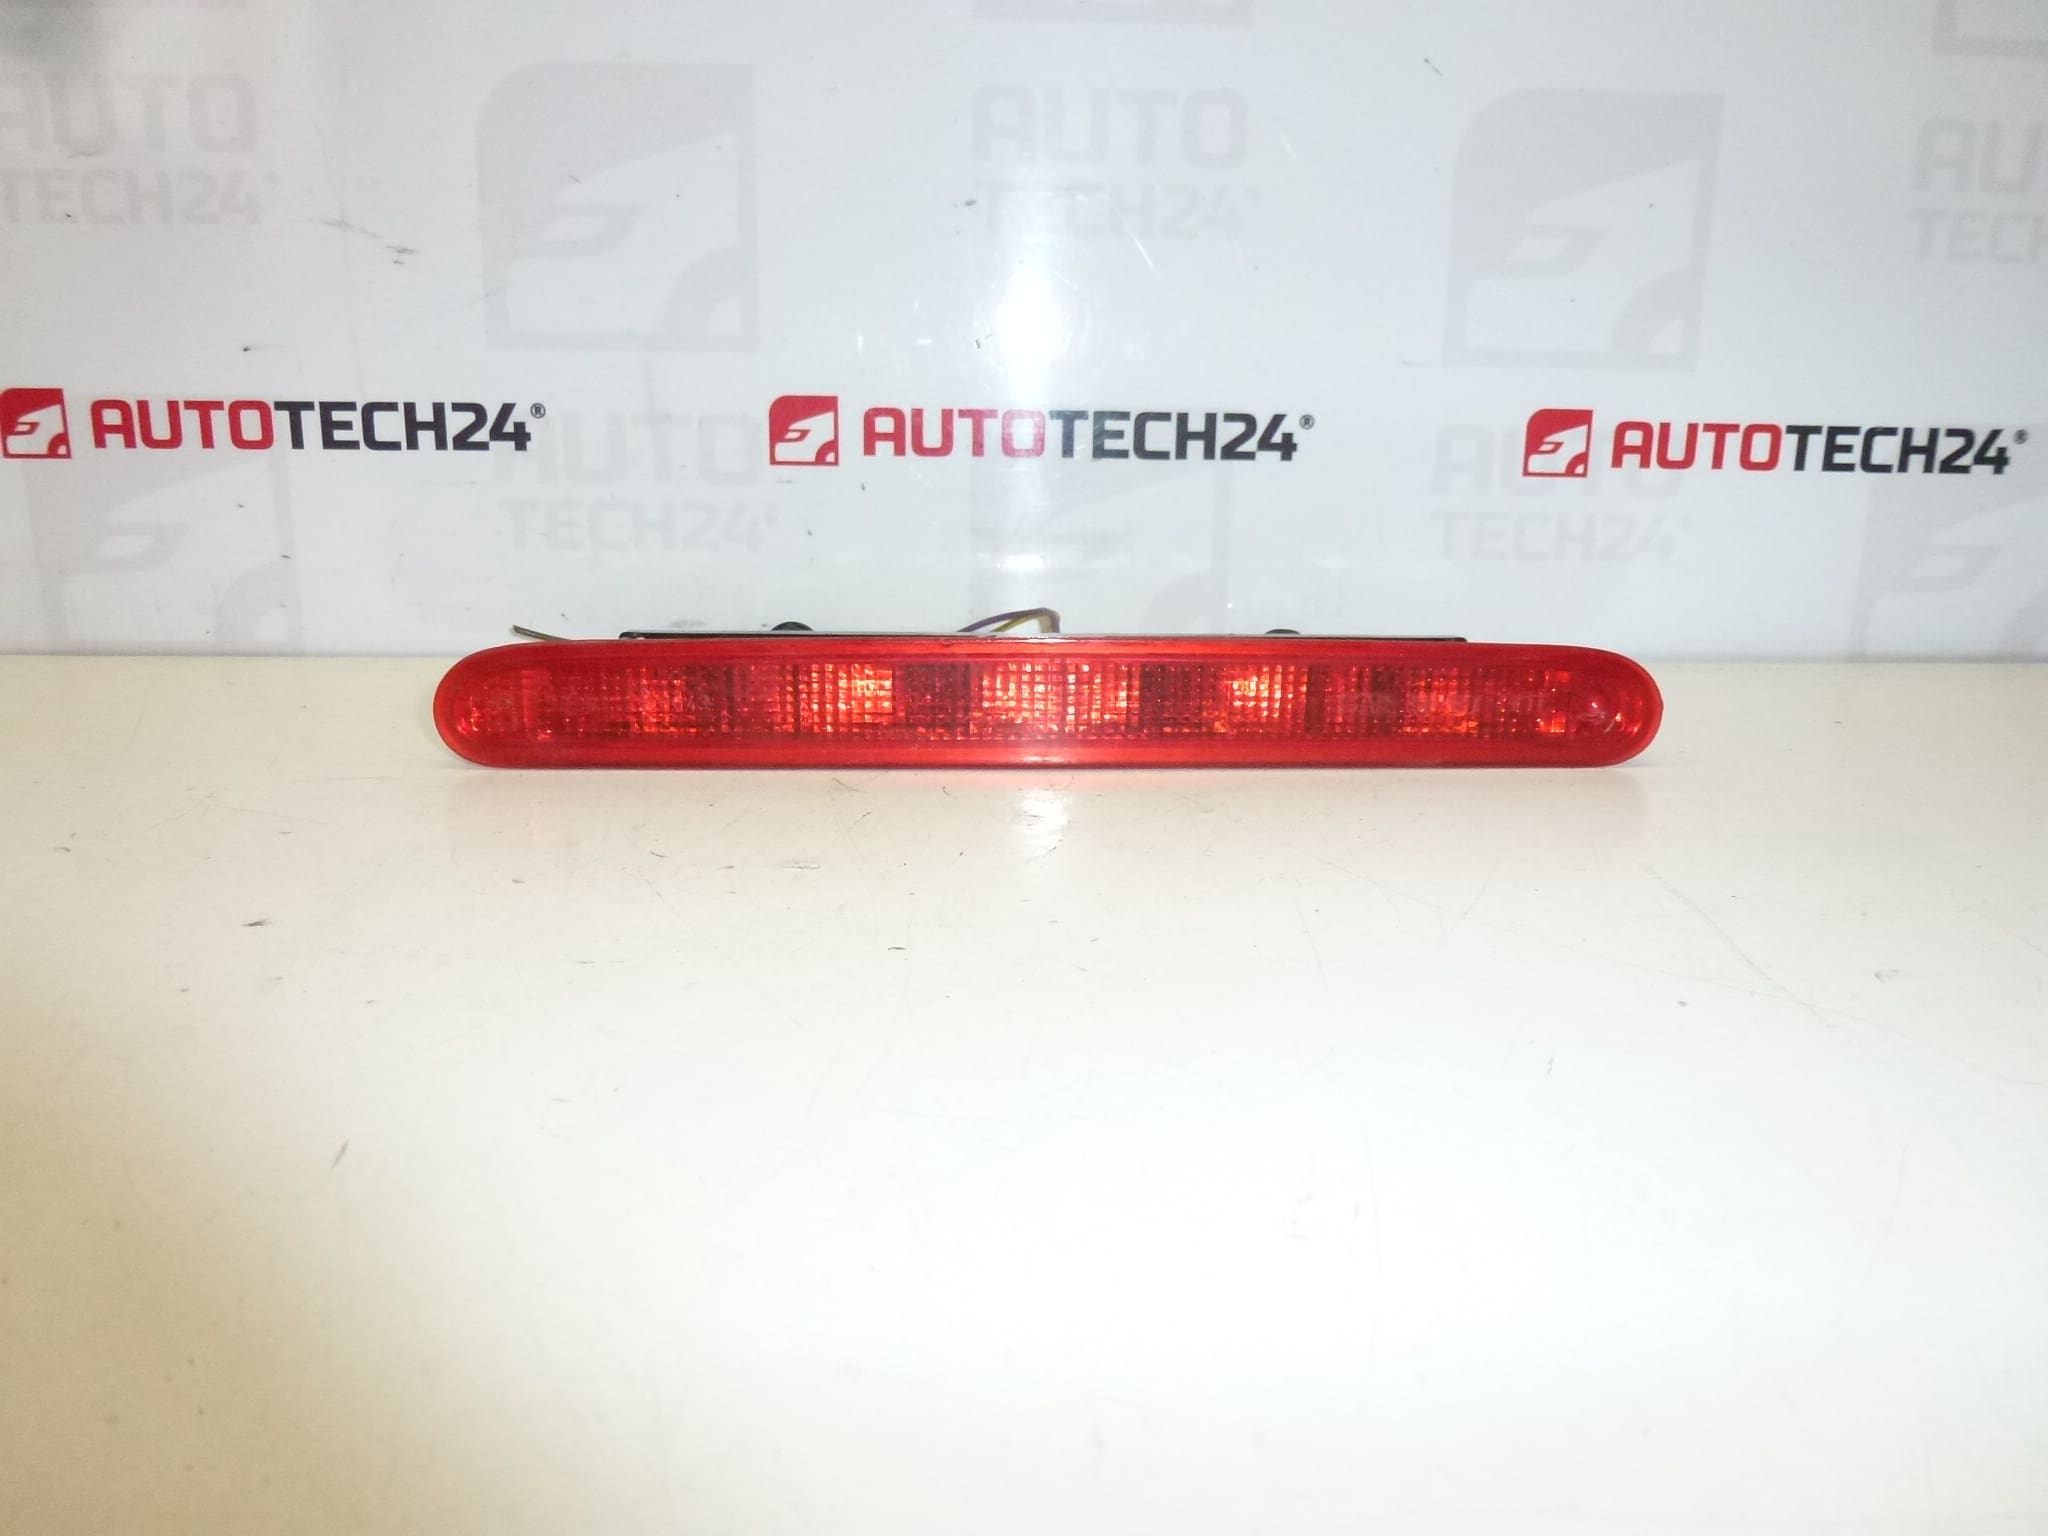
Third rear brake light for Peugeot 307
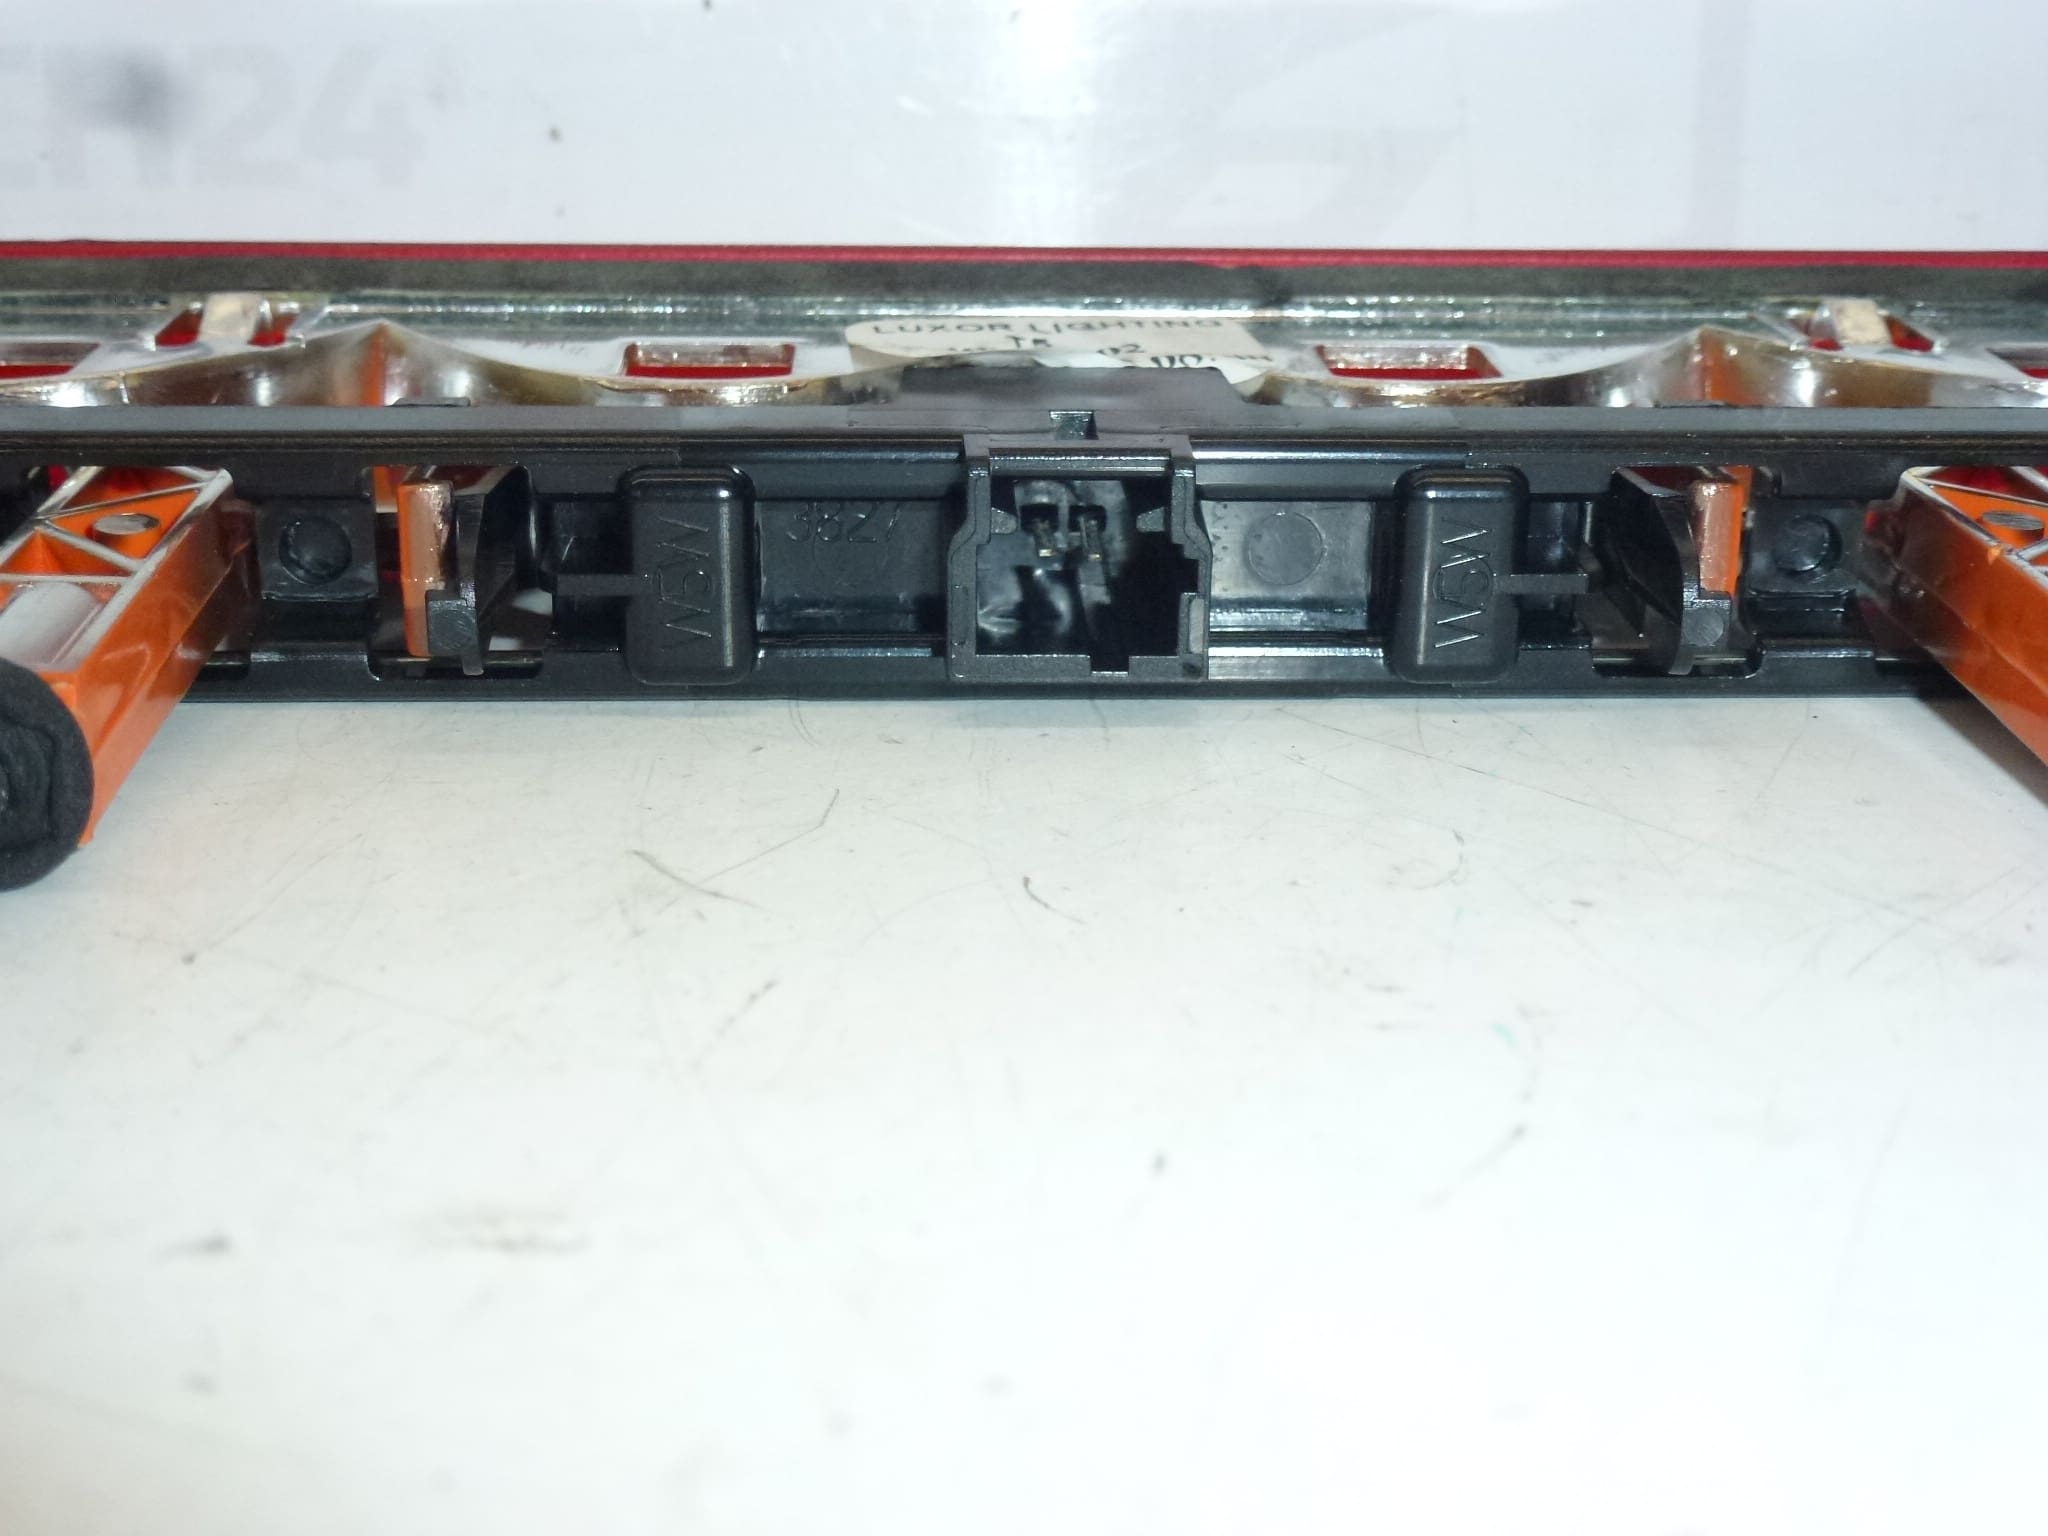
This centre high-mounted stop lamp (CHMSL) is a direct-fit replacement designed for Peugeot 307 vehicles. Ideal for professional workshops and DIY enthusiasts, the unit restores the third brake light function that enhances rear visibility and meets road safety regulations. The part is commonly searched by its product code 6350P5 and by vehicle model, making it easy to find and order for fast repairs.
Technical information
- Manufacturer: Stellantis / Peugeot
- Model: Peugeot 307 (Phase 1 and Phase 2)
- Product Codes: 6350P5
- Additional Numbers: 6350.P5 (alternative notation)
Function and Fitment
The third brake light provides a high-mounted visual signal when braking, improving visibility to drivers behind and reducing the risk of rear-end collisions. This assembly is intended to replace the centre brake lamp on Peugeot 307 models (including common body styles such as hatchback and SW estate where applicable). Always check the part code displayed on the unit against the vehicle to ensure correct fitment.
Installation Recommendations
Suitable for experienced mechanics and competent DIYers. Basic replacement steps:
- Park the vehicle on a level surface and switch off the ignition. For safety, disconnect the negative battery terminal if required by your workshop procedures.
- Access the lamp from the inside of the tailgate or rear trim: remove inner trim panels or access covers to expose the lamp mounting screws or clips.
- Unscrew or unclip the lamp assembly, carefully disconnect the electrical connector, and remove the old unit.
- Compare the new lamp with the removed one (check connector type and mounting points). Connect the electrical plug, position the assembly, and secure with original fasteners.
- Test the brake light function with the ignition on and brake applied (use an assistant or a brake pedal depressor). Refit interior trim and ensure seals and gaskets are correctly seated to prevent water ingress.
Use appropriate tools, avoid overtightening fasteners, and handle the lens to prevent scratches. If the lamp contains bulbs, replace with the correct specification; if it is an integrated LED module, handle the electronic module carefully.
Why This Part Usually Fails
- Water ingress through damaged seals or cracked lens, causing corrosion or short circuits.
- Connector corrosion or poor contact in the wiring harness.
- Internal LED/module failure or bulb burnout (depending on the lamp type installed).
- Physical damage from impacts or incorrect removal/installation.
Practical Tips
When replacing the unit, inspect the wiring harness and connector for corrosion or heat damage and replace or repair as necessary. Ensure the sealing surfaces are clean and that any foam or rubber gaskets are intact to prevent future moisture problems. For integrated electronic modules, avoid using aggressive cleaners that could penetrate the enclosure.
Who Should Install
Recommended for professional fitment by automechanics or experienced DIYers. If unsure about electrical diagnosis or if the issue recurs after replacement, perform a wiring check and measure voltage at the connector to identify underlying faults (shorts, poor ground, or intermittent supply).