Description
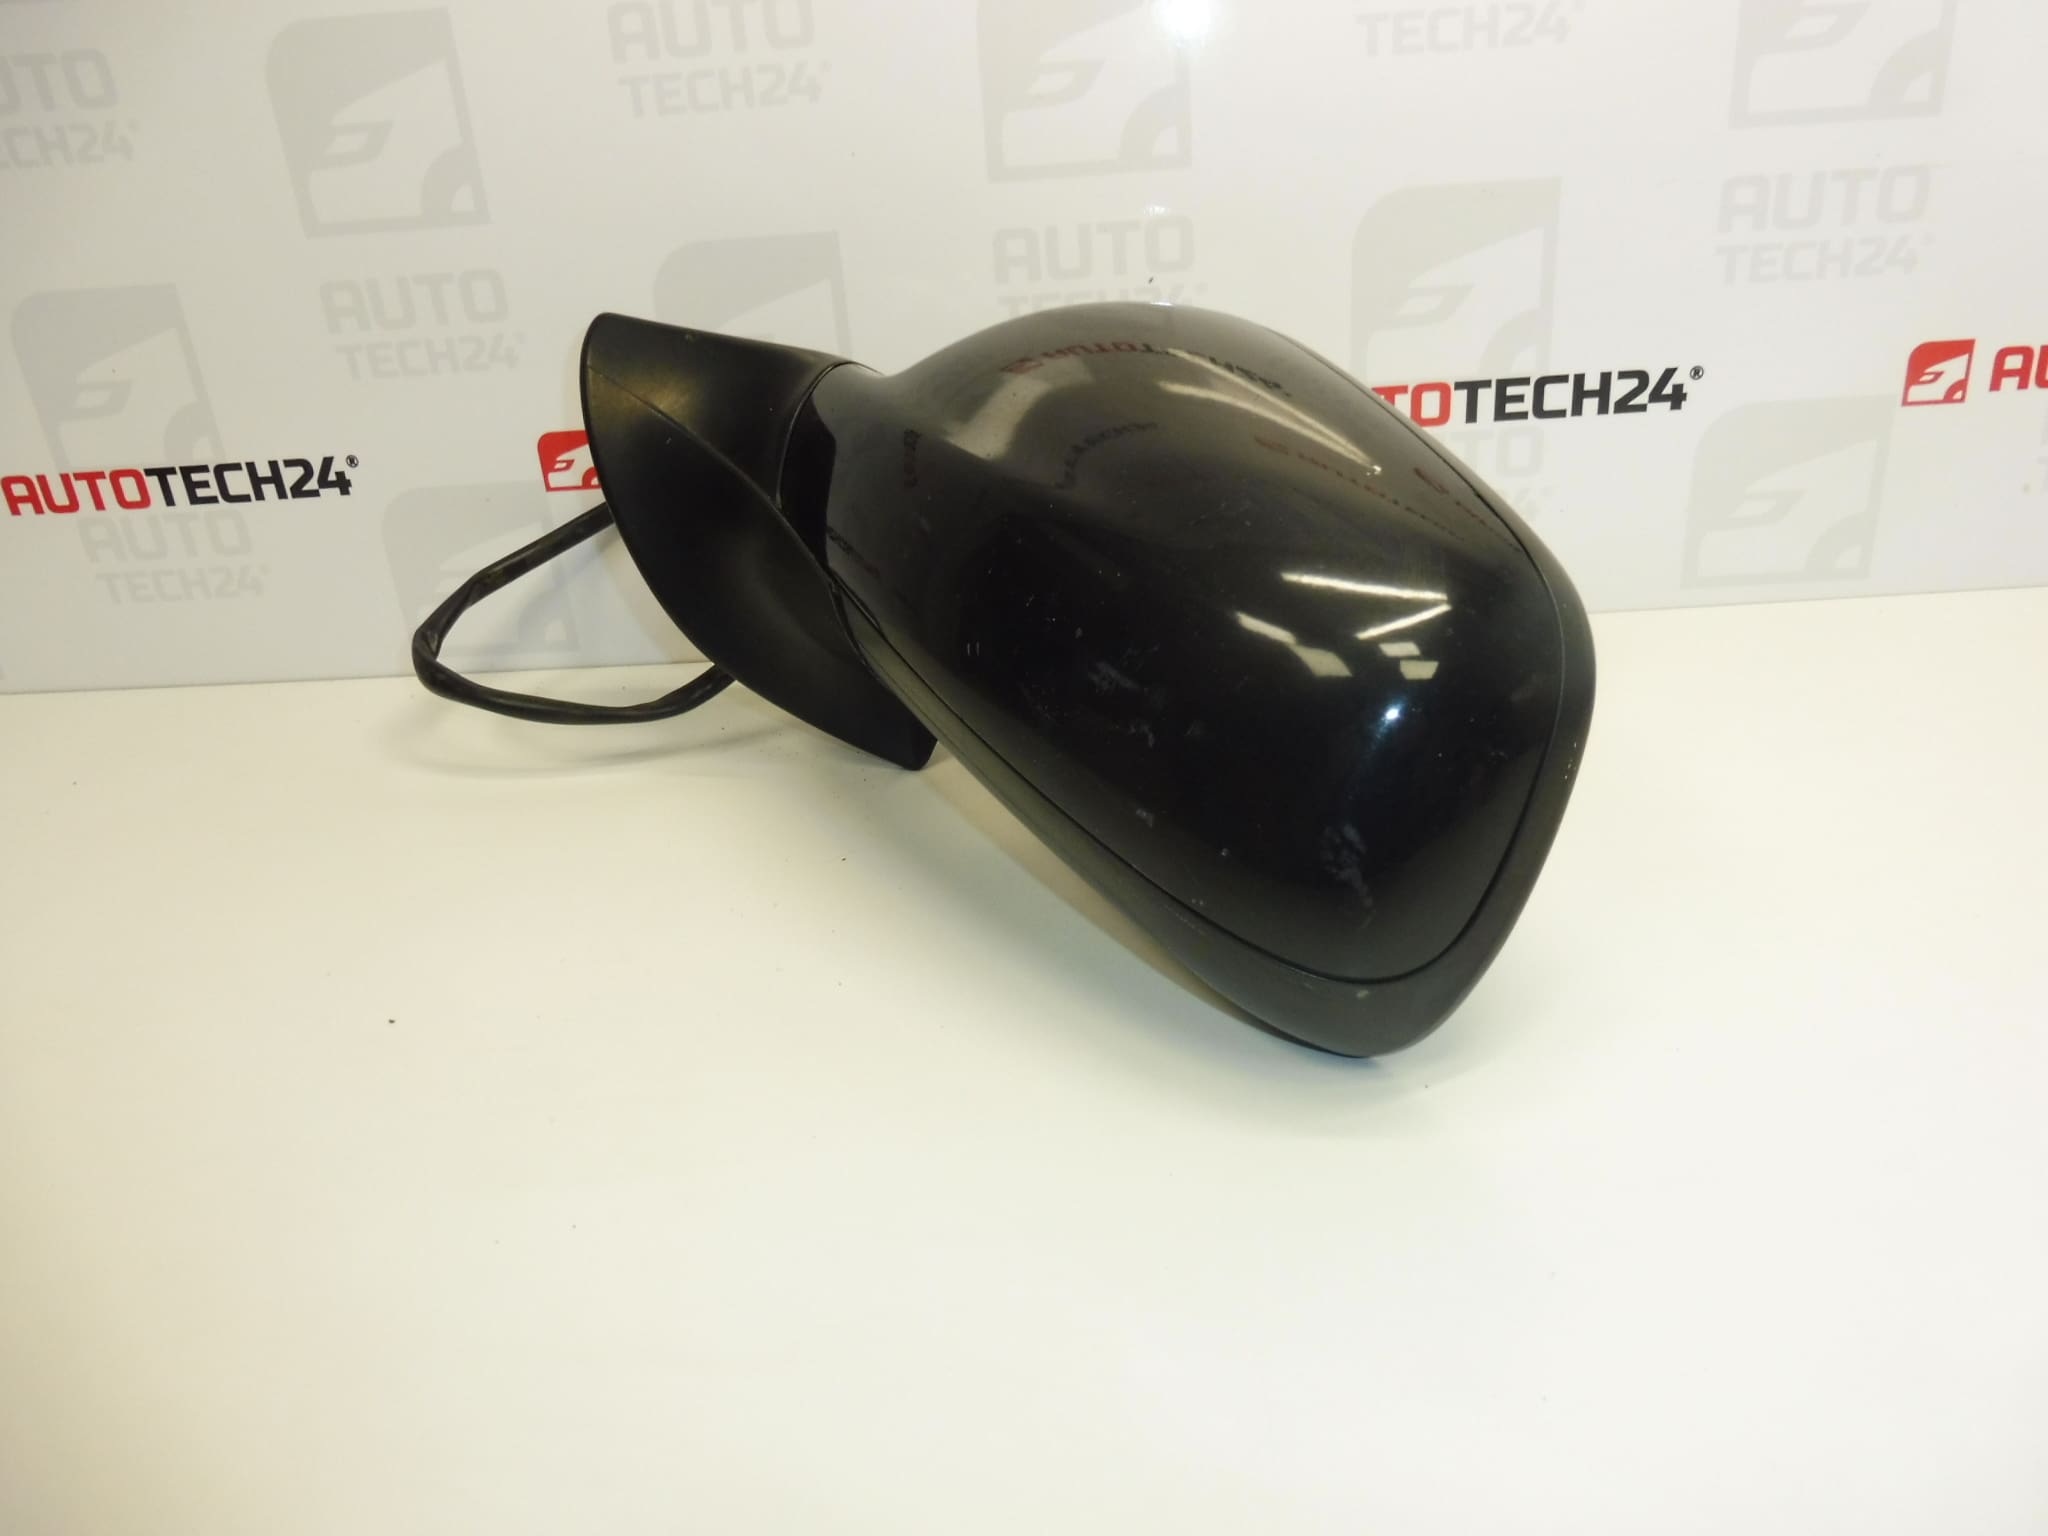
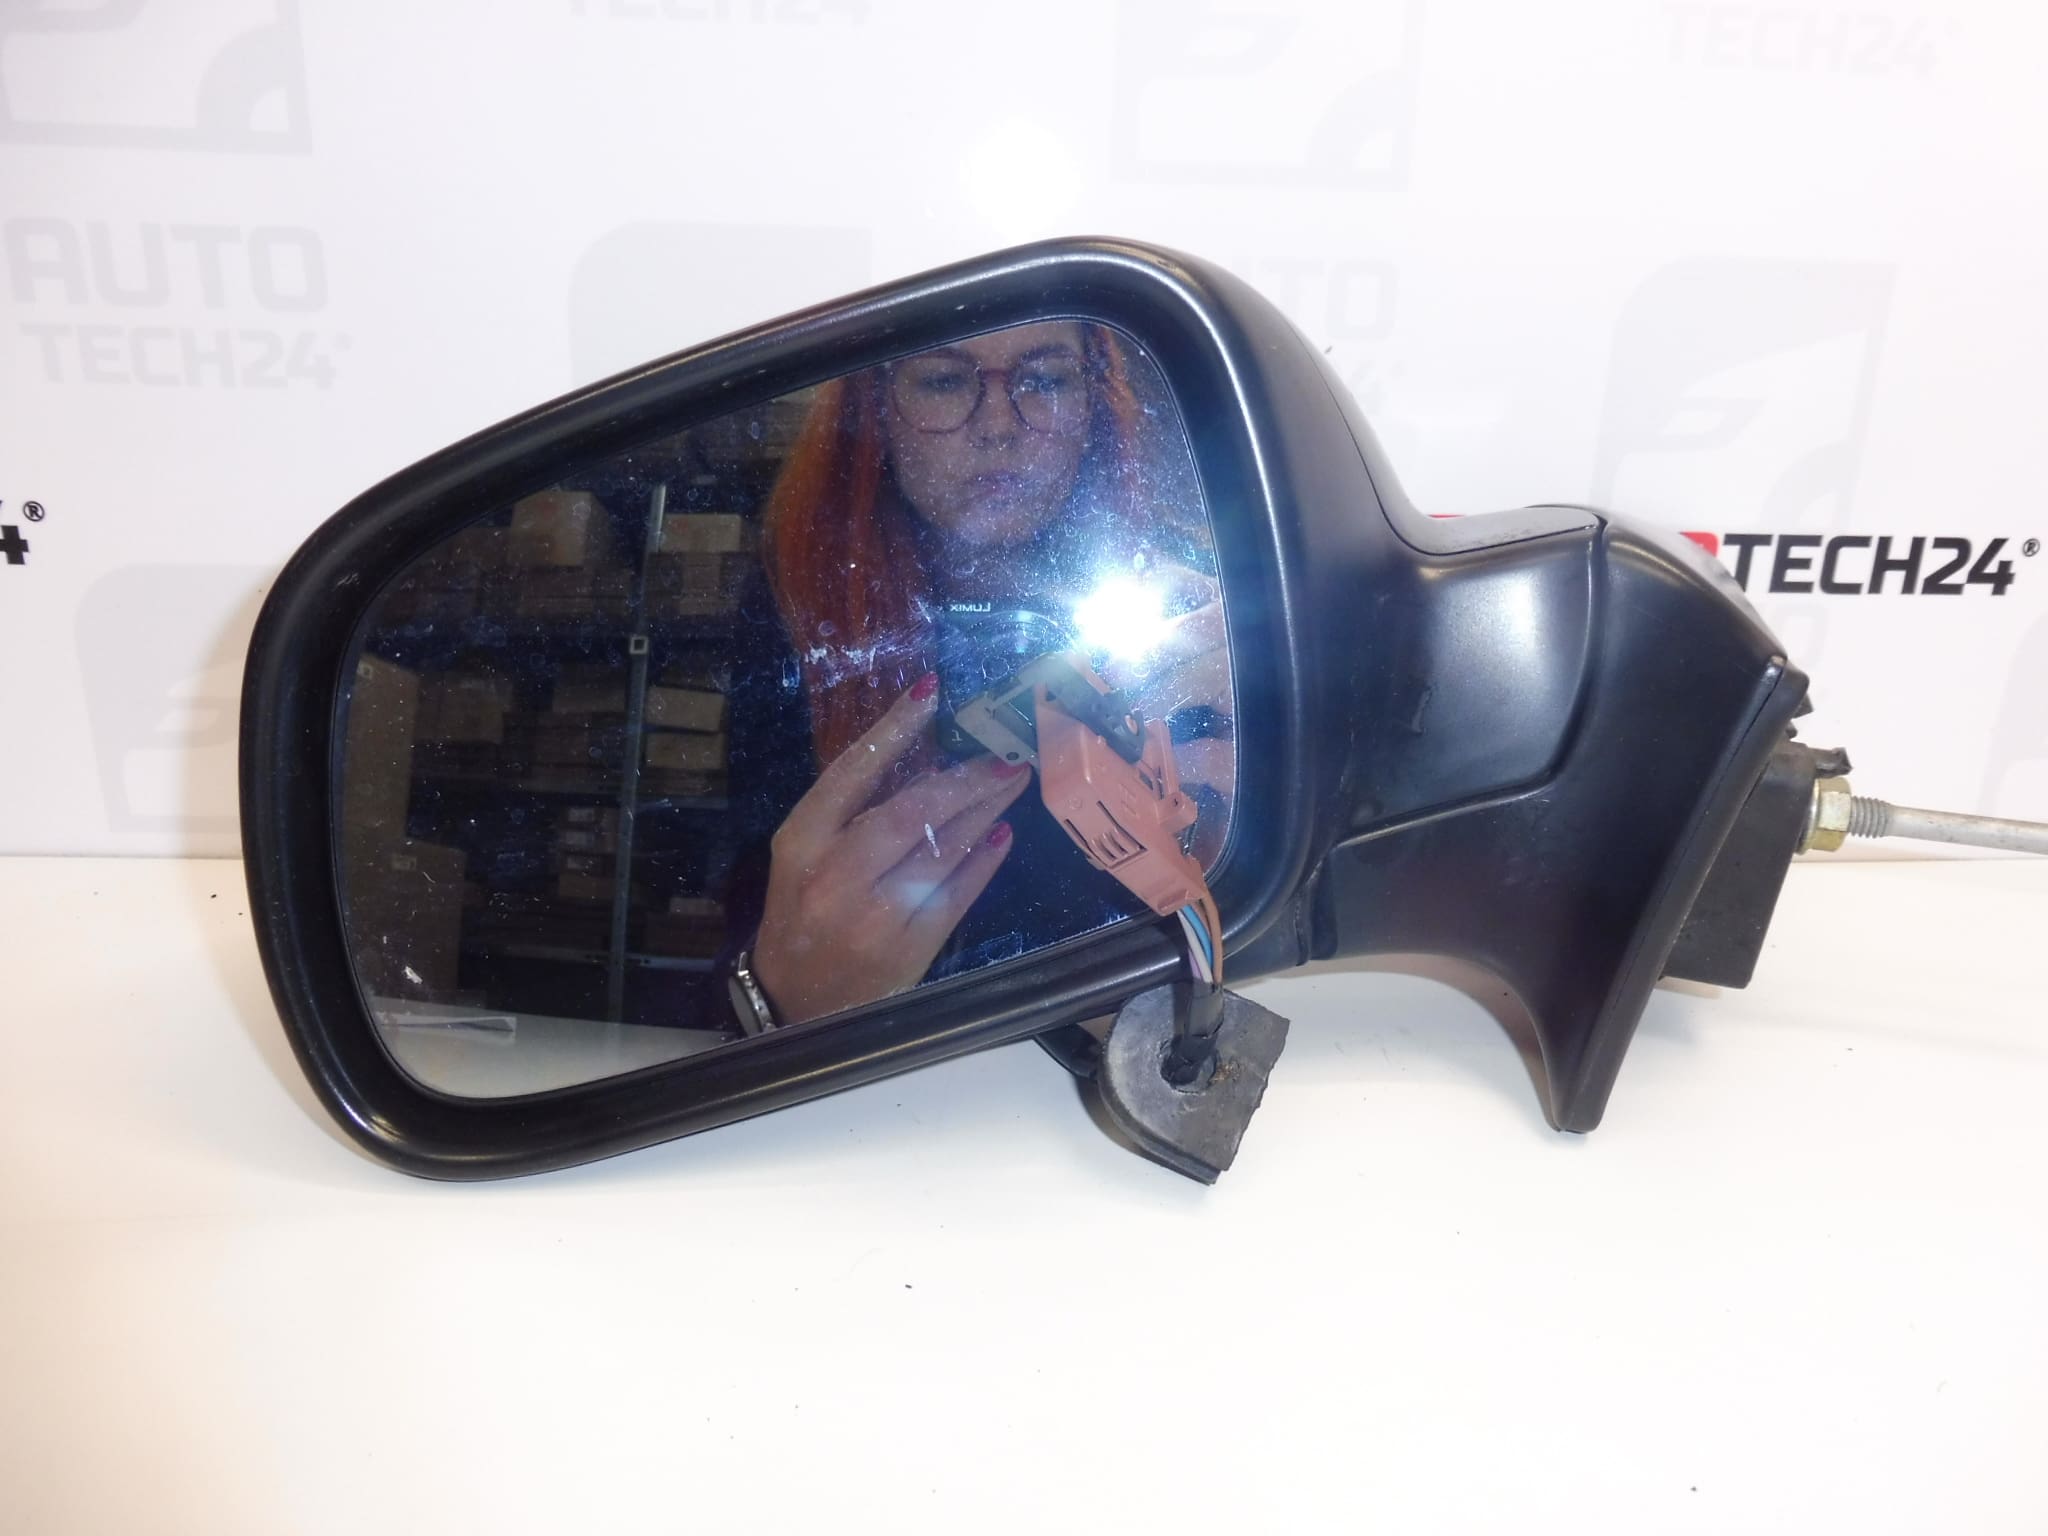
Left side-view mirror for PEUGEOT 407 vehicles
Electrically adjustable, power-folding, heated
Color EXL – OBSIDIAN BLACK PAINT
Driver’s side
We have various colors
Part description
Used left side-view mirror for Peugeot 407 for the driver’s side is a suitable replacement for a damaged assembly. It combines electric adjustment, power folding, and heating—functions important for comfortably adjusting your view and for everyday use of the vehicle. The color is listed in the source material as EXL – OBSIDIAN black paint.
When selecting a mirror, compare in particular the markings 96456984XT and 8149VG, the connector, mounting points, and equipment of the original mirror. Matching specifications are important not only for fitting the part, but also for retaining its electrical functions. This used part offers a practical repair option without having to purchase a new assembly.
Technical information
- Manufacturer: not specified; the source material lists Stellantis CITROEN PEUGEOT.
- Model: Peugeot 407.
- Part type: exterior side-view mirror – assembly.
- Side: left, driver’s side.
- Control: electric adjustment and power folding.
- Heated: yes.
- Color: EXL – OBSIDIAN BLACK PAINT.
- Condition: used part.
- Additional numbers: not specified; the additional marking in the title and short description is EXLD.
Product codes
- Product codes: 96456984XT, 8149VG.
- Additional marking: EXLD.
- Color code listed in the long description: EXL.
- Model: Peugeot 407.
Installation recommendations
The following procedure is general for electrically adjustable, power-folding, heated exterior mirrors. The exact method for accessing the mounting points, removing the trim, and disconnecting the electrical system depends on the specific vehicle configuration. Follow the manufacturer’s service procedure.
1) Before installation
- Compare the product numbers, left-side configuration, base shape, mounting points, and range of electrical functions with the old part.
- Check the connector shape, pin configuration, and wiring condition. Matching cover appearance alone is not enough to determine the correct configuration.
- Inspect the glass, cover, mount, sealing surfaces, and mirror joint. Look for cracks, damaged wires, corroded contacts, or excessive play.
- Compare the actual shade and paint condition. The appearance of a used painted part may vary due to age and wear.
2) Required tools and materials
- Hand tools suitable for the fasteners used.
- A plastic trim removal tool, if the trim needs to be removed.
- A soft pad, paint protection, and a clean cloth for the contact surfaces.
- A suitable electrical contact cleaner, if cleaning the contacts is necessary.
3) Step-by-step installation procedure
- Park the vehicle safely, switch off the ignition, and secure it against movement.
- Prepare the electrical system for disconnecting the mirror according to the manufacturer’s procedure; if disconnecting the battery is specified, follow the relevant procedure and wait times.
- Protect the surrounding paintwork and access the mount and connector. Release any covers and trim using suitable tools and without forcing them.
- Before disconnecting, note the wiring route and how it is secured.
- Release the connector lock and disconnect it by pulling on the connector body, not the wires.
- Support the mirror and gradually release its fasteners. Prevent the part from falling or damaging the paintwork.
- Remove the original mirror and clean the contact surface. Check the condition of the seal and the area around the mount.
- Compare both parts one last time, especially the base, connector, and wiring passage. If they do not match, do not proceed by modifying the connector or mount.
- Position the replacement mirror so that the seal sits correctly and the wiring is not pinched. Start the fasteners by hand, then tighten them according to the manufacturer’s service specifications.
- Connect the connector, secure its lock, and fasten the wiring along its original route, away from moving parts.
- Restore power according to the manufacturer’s procedure and check the electrical functions. Once the checks are successful, reinstall the removed covers and trim.
4) Post-installation checks and function testing
- Test glass adjustment in each direction and power folding and unfolding. Movement should be smooth, without sticking or unusual noises.
- Check the heating when the activation conditions specified in the vehicle manual are met.
- Check that the mirror is firmly seated, the seal is properly positioned, and the trim is secured correctly.
- Set a safe field of view before driving. During a short test drive, check for image vibration and any unusual aerodynamic noise.
5) Common installation mistakes and how to avoid them
- Confusing electrical configurations: before installation, compare the part numbers, connector, and all required functions.
- Pinched wiring: check its routing and ensure there is enough clearance in the passage before tightening.
- Incorrectly seated seal: clean the contact surfaces and do not fold or pinch the seal.
- Overtightened fasteners: do not use excessive force and follow the manufacturer’s specifications.
- Forcing the mirror to fold: do not force the electric mechanism by hand; if it sticks, first identify the cause.
Reasons why the part may be damaged
Damage to this type of side-view mirror is most often associated with an impact or long-term stress on moving and electrical components. The following causes may occur in general:
- Impact while parking or passing an obstacle – may damage the glass, cover, base, or folding mechanism.
- Forcing the mirror to fold or moving it while iced over – places excessive strain on the joint, gears, and electric motor.
- Moisture and contact corrosion – may cause adjustment, folding, or heating to stop working intermittently.
- Mechanism wear – may cause play, noisy operation, or irregular movement.
- Damaged wiring or heating element – may disable one of the electrical functions.
- Incorrect previous installation – pinched wires, a poorly fitted seal, or a damaged mount may shorten the part’s service life.