Description
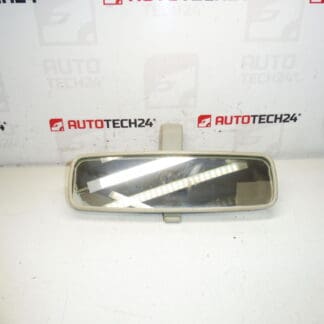
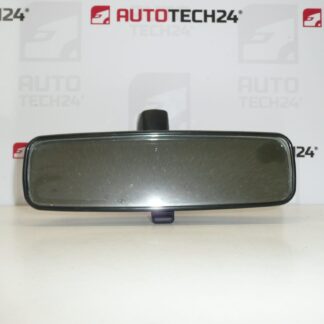
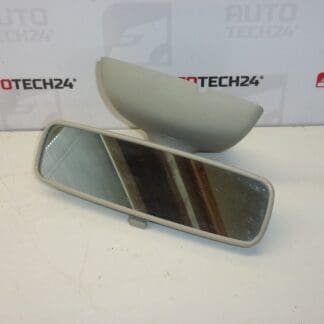
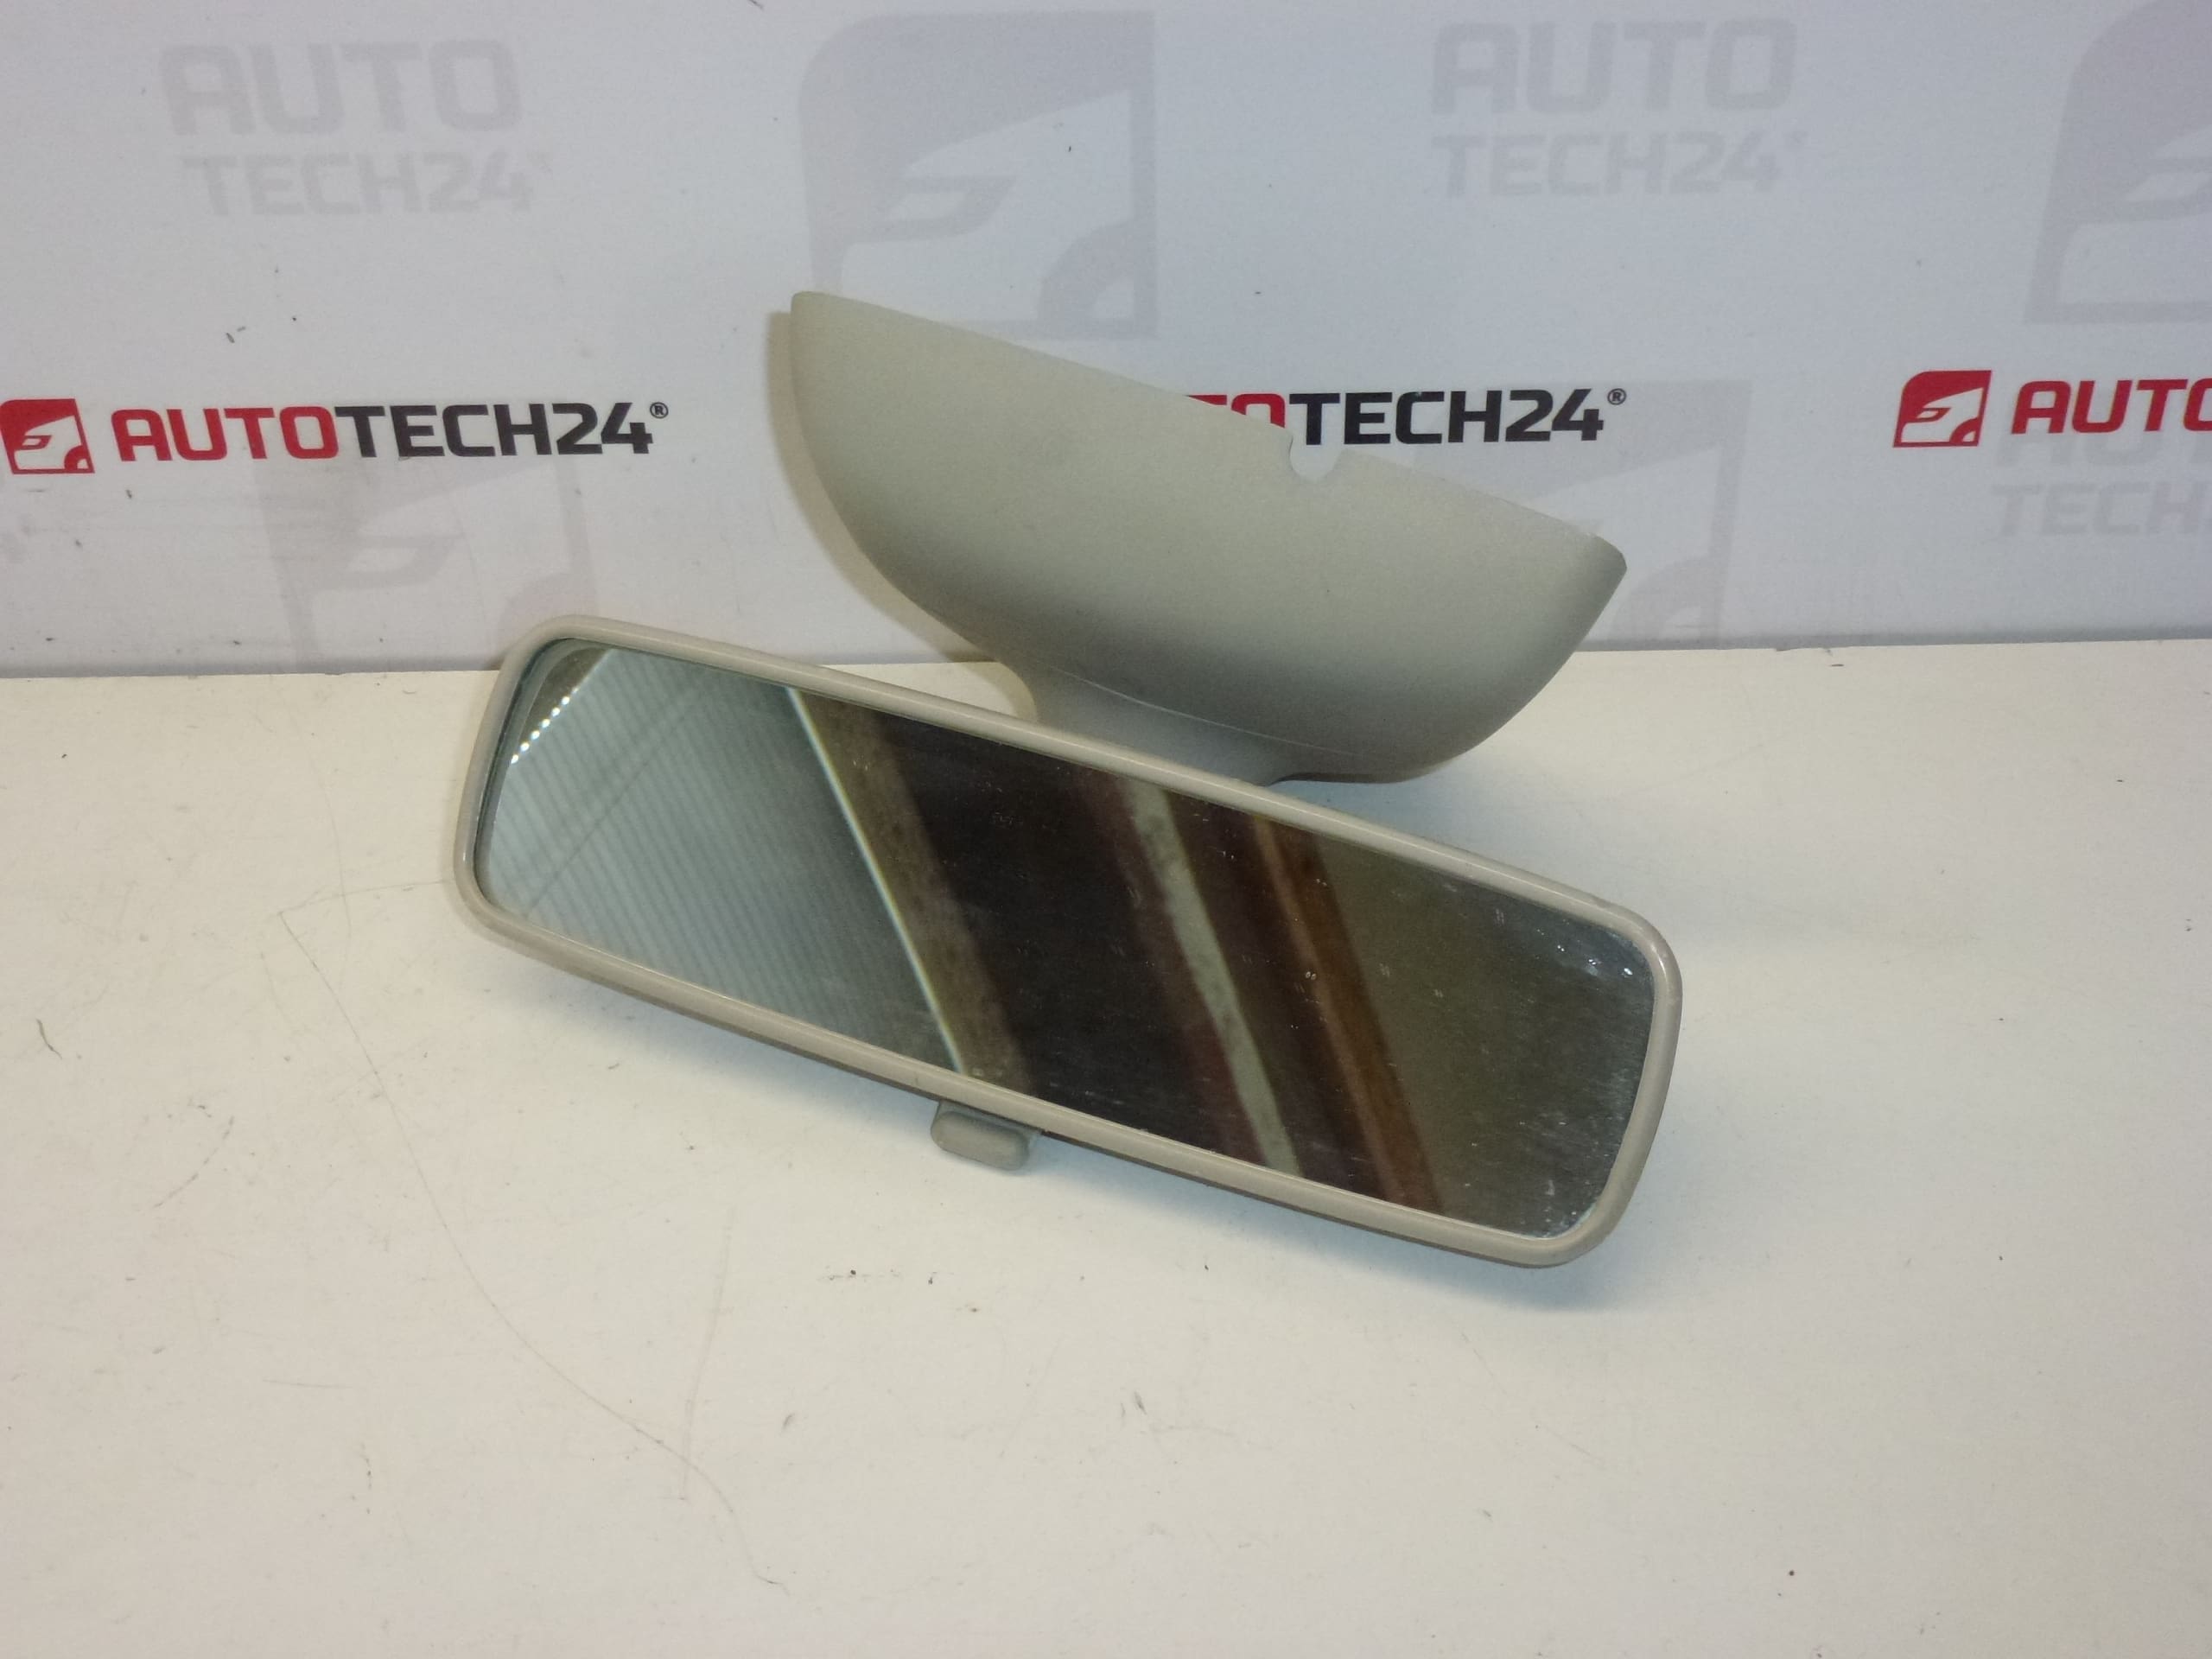
Interior Rear-View Mirror For Citroën C2, C3, C4 And Peugeot 307, 1007. Color FBJ – LAMA
High-quality replacement interior rear-view mirror designed to fit factory mounting points on Citroën and Peugeot models. Perfect for professional garages and DIY mechanics looking for a direct-fit mirror with OEM-style appearance and finish. The mirror restores clear rear visibility and a clean factory look to the cabin, matching the original LAMA interior trim color (FBJ). Searchable by part code 8149NA, this unit helps customers and technicians quickly identify the correct item for repairs and replacements.
Technical Information
- Manufacturer: Stellantis (Original Equipment For Citroën/Peugeot)
- Model: Citroën C2, C3, C4; Peugeot 307, 1007
- Product Codes: 8149NA
- Other Numbers: FBJ – LAMA (Color Code), NFP
Function
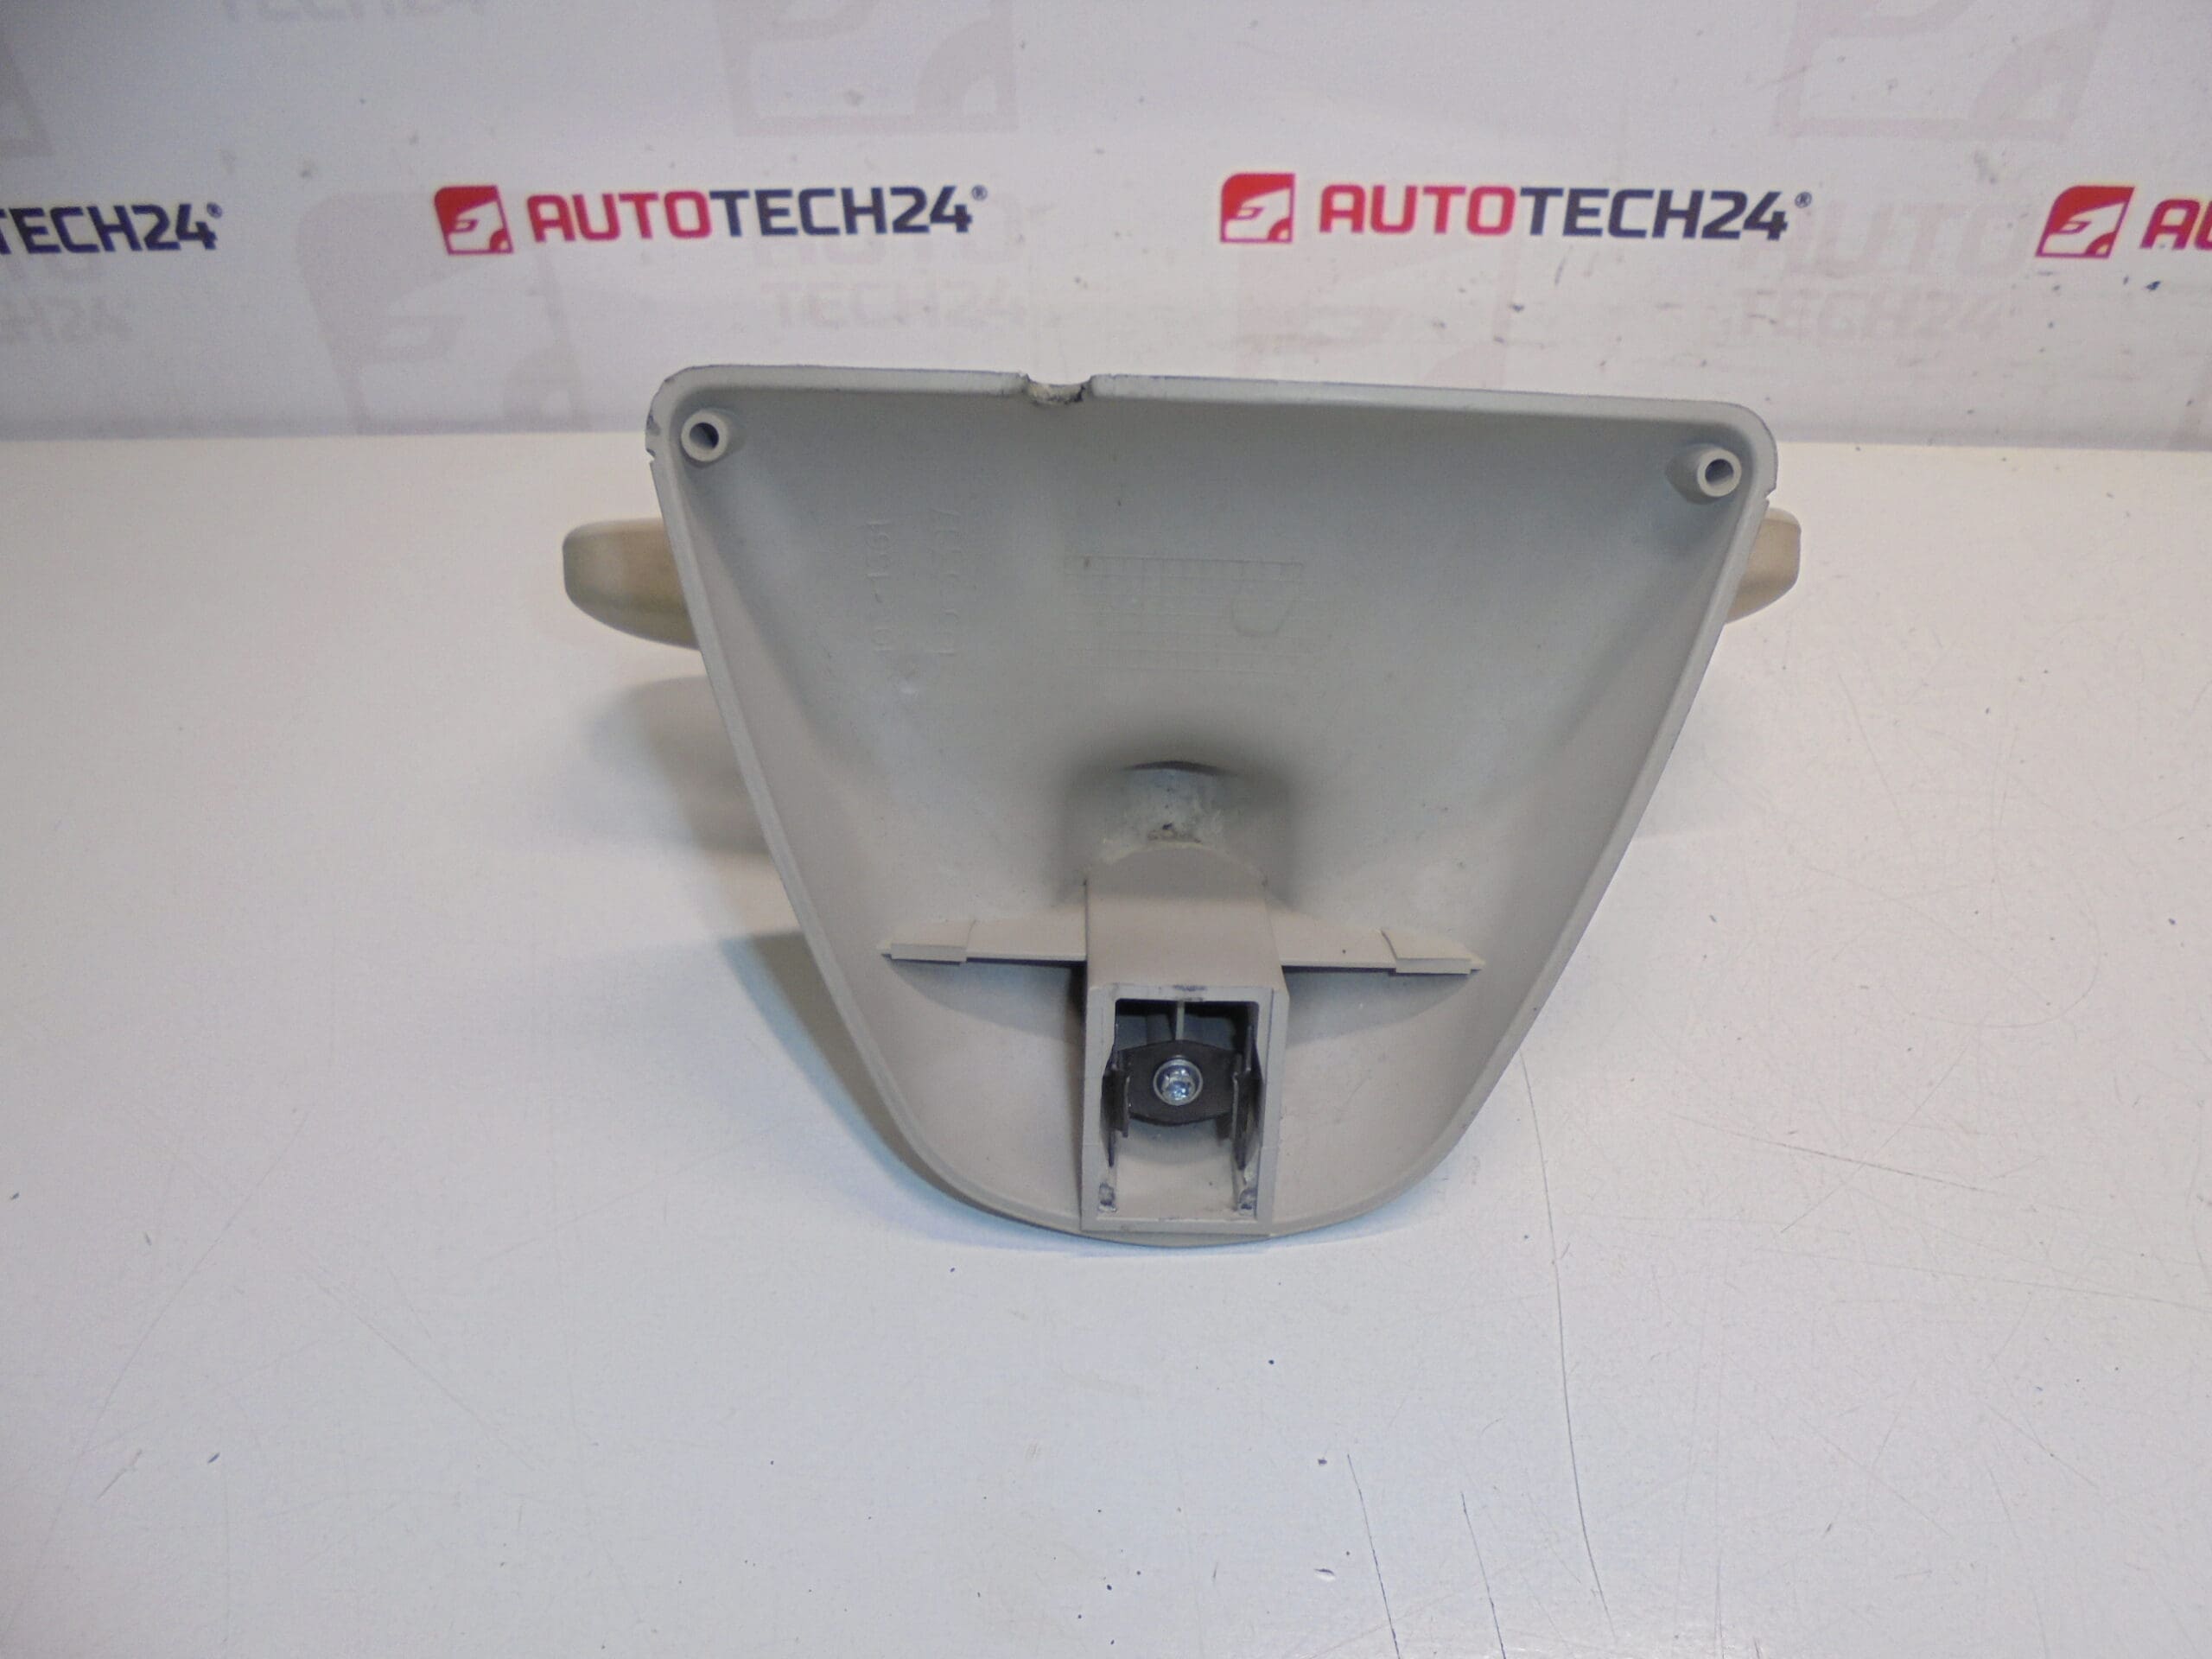
The interior rear-view mirror Provides The Driver With A Clear View Of The Area Behind The Vehicle. It Is Mounted On The Windshield Or Roof Mounting Button And May Include A Pivot/Ball Joint For Angle Adjustment. Depending On Vehicle Specification, The Mirror Housing Can Accommodate Options Such As Auto-Dim Or Integrated Electronics; Verify The Variant Before Installation.
How To Replace
Replacement Is Straightforward For Experienced Technicians: Carefully Remove Any Trim Around The Mirror Base Using Plastic Trim Tools To Avoid Scratching. If The Mirror Is Fixed To A Mounting Button On The Windshield, Slide Or Release The Retaining Clip And Pull The Mirror Off The Mount. Disconnect Any Electrical Connector If The Mirror Has Wiring (e.g., For Auto-Dim Or Heating). Fit The Replacement Mirror Onto The Mount Until It Clicks Securely, Reconnect Electrical Connectors Where Present, Refit Trim And Verify Mirror Adjustment.
Mounting Recommendation
- Use Plastic Trim Tools To Prevent Damage To Interior Trim And Windshield Glass.
- Ensure The Mounting Button And Windshield Area Are Clean And Free Of Old Adhesive Or Debris. If The Mounting Button Is Damaged, Replace It Before Installing The New Mirror.
- Reconnect Any Electrical Connectors Firmly And Check Functions (If Applicable) After Installation.
- Adjust Mirror Position Carefully To Avoid Glare And Ensure Optimal Rear Visibility.
Why This Part Typically Fails
- Impact Damage From Collision Or Door Strikes — Most Common Cause Of Breakage.
- Adhesive Or Mounting Button Deterioration Over Time, Leading To Loosening Or Falling Off.
- Wear Of The Ball Joint Or Pivot Causing Excessive Play And Inability To Hold Position.
- Electrical Faults Or Connector Corrosion On Variants With Auto-Dim Or Heated Elements.
This mirror Is An Ideal Replacement For Restoring Interior Appearance And Rear Visibility On Compatible Citroën And Peugeot Models. Use The Product Code 8149NA When Searching To Ensure Fast Identification And Ordering.