Description
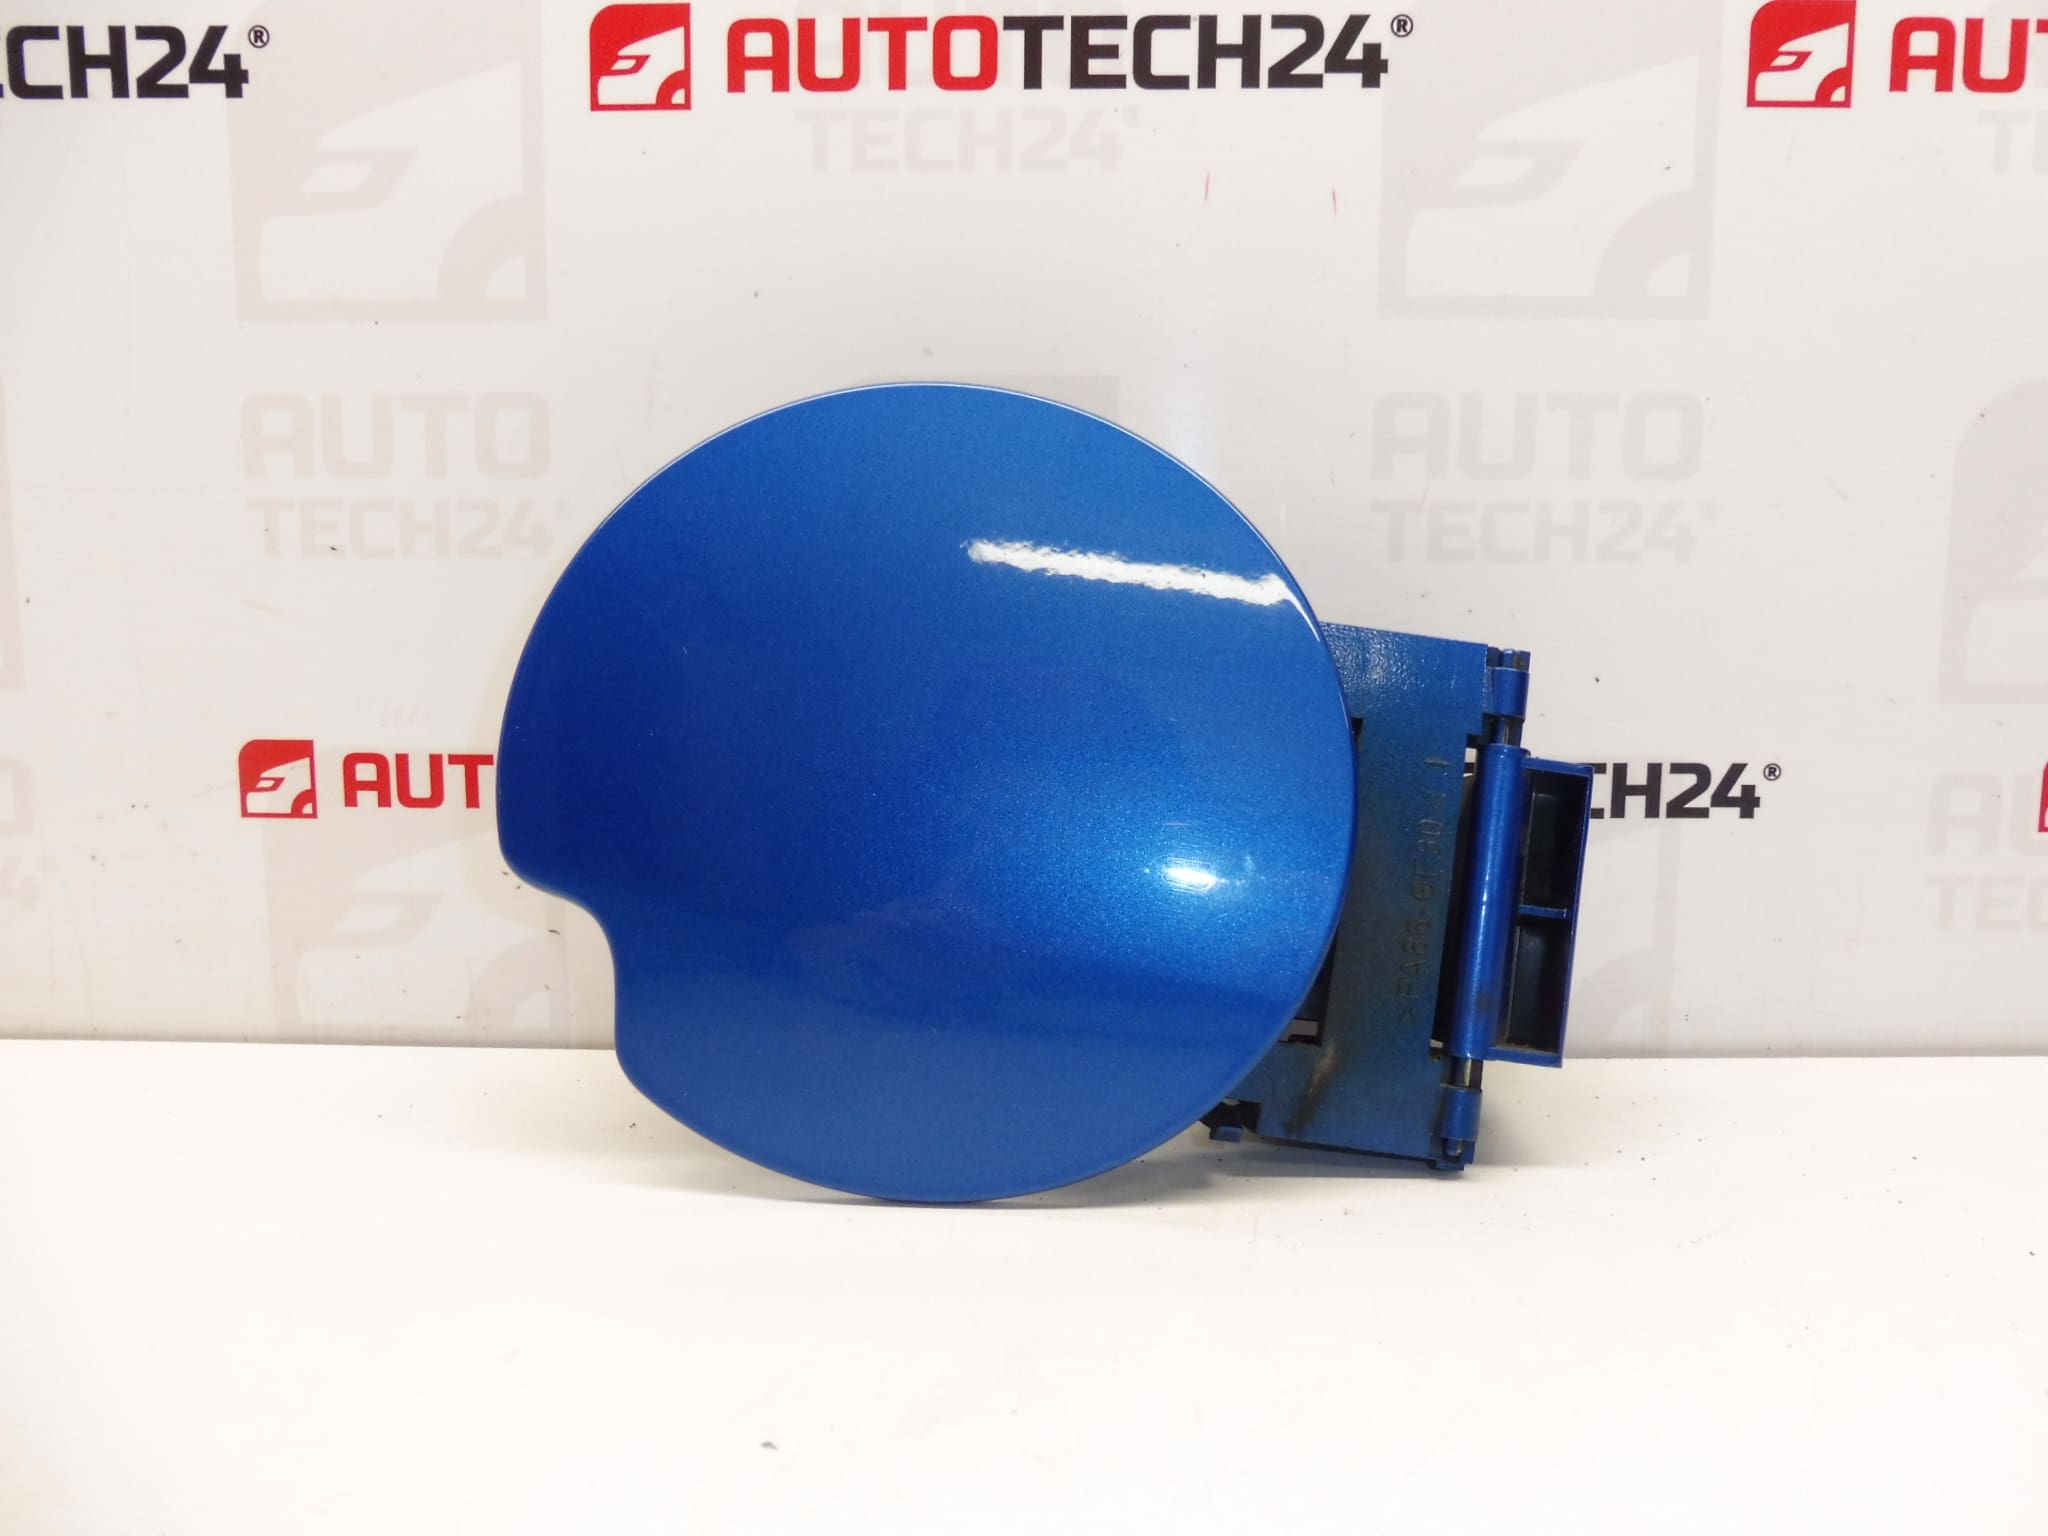
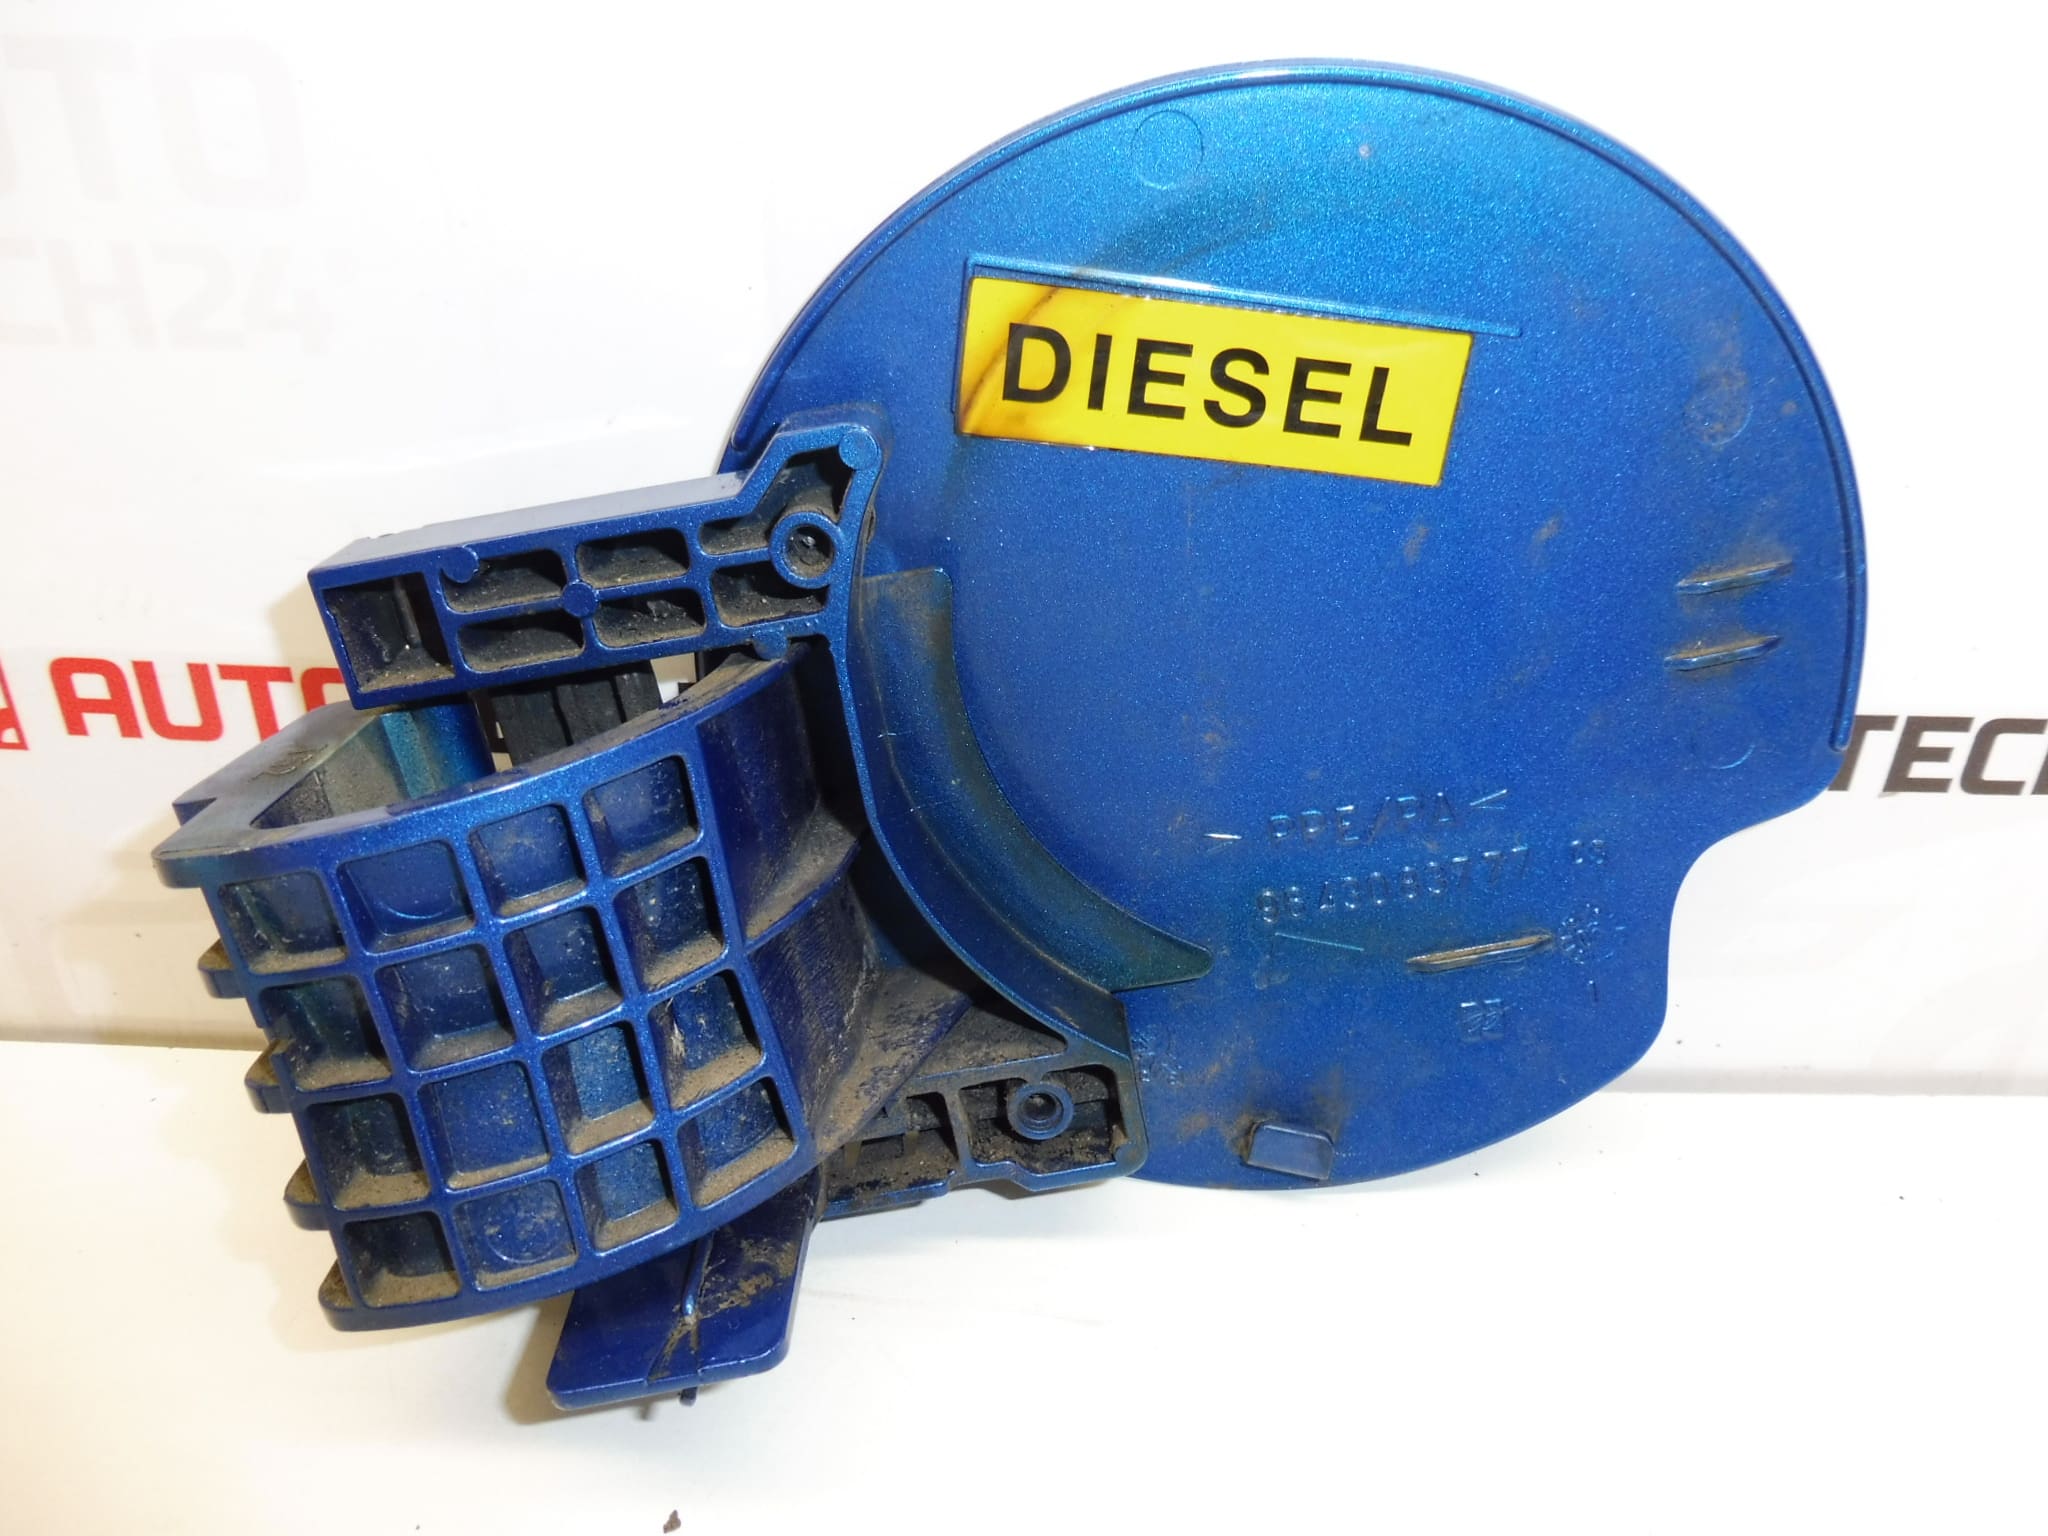
Tank cover PEUGEOT 307 I and II
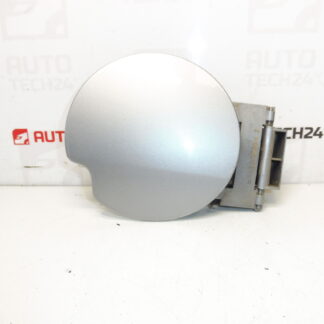
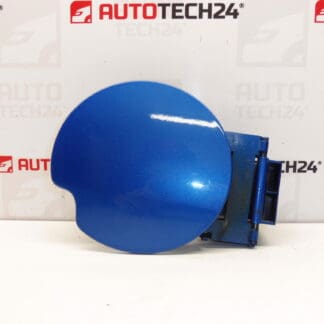
Color KMF – RECIFE BLUE PAINT
We have different colors in stock
Part description
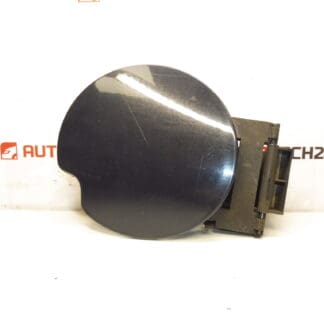
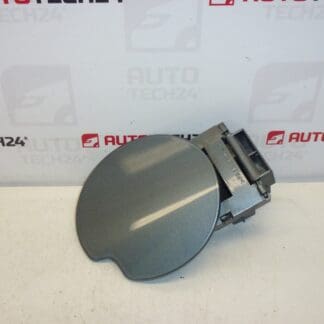
Used tank cap/cover for Peugeot 307 cars, intended as a replacement after damage, loss or replacement due to aesthetics (e.g. different color). Thanks to the specified color code KMF (Blue Recife paint), it is suitable for bodywork repairs, where appearance and correct fitting of the part are important.
The part is from the bodywork category – tank cap. If you are looking for a specific design, follow the product number and the KMF designation.
Technical information
- Manufacturer: Stellantis (Citroën/Peugeot)
- Model: Peugeot 307 I and II
- Other numbers: KMFD
- Color: KMF – Blue Recife lacquer
- Type of part: tank cap/cover (body)
Product codes
- Product codes: 9643083777, 151799
Installation recommendations
Generally/typically for the tank cap/cover, the replacement is simple, but it is important to check the fit, shape and possible cable/pin connections. Exact steps may vary by car model.
1) Before assembly
- Compare the new lid with the old one: shape, dimensions, attachment, hinge/axes and any cable/safety (if part of the design).
- Check the condition of the edges and locks – cracks, broken lugs and deformations can cause a poor fit.
- Verify the KMF color code if you are dealing with a shade match.
2) Necessary tools and materials
- Basic set of screwdrivers / bits (depending on the mounting design)
- Plastic pry bars for dismantling (for gentle work with body parts)
- Cleaning agent and cloth (for contact surfaces)
- Or fine lubricant for the mechanism (only if it is common and suitable for the given design)
3) Step-by-step assembly procedure
- Secure the vehicle against movement and work in a clean, well-lit area.
- Open the cover/tank area (depending on the car model) and access the lid.
- If the lid is connected by a cable or fuse, first note where it goes and where it is attached.
- Carefully loosen the lid attachment (hinge/pins/screws – depending on the specific design).
- Remove the original cap and check the butt on the body (if it is not cracked or bent).
- Clean the seating surfaces and the surrounding area so that the lid fits properly.
- Place the new cap into the mount in the same direction as the original piece.
- Secure the attachment (snaps/pins/screws) and check that the lid moves smoothly.
- If a cable/fuse is included, fasten it back and check that it is not pinching or pulling anywhere.
- Open and close the lid several times to check the fit.
-
4) Post-assembly checks and function verification
- Check that the lid holds firmly and does not open by itself.
- Verify proper fit against the bodywork (joints, fit).
- After a short ride, check again whether the attachment has loosened.
5) The most common assembly mistakes + how to avoid them
- Similar part exchange – always compare shape and fit, refer to numbers 9643083777 and 151799.
- Breaking of lugs/pins during assembly – use plastic pry bars and do not use force.
- Poor fit due to dirt – clean the mating surfaces before assembly.
- Incorrect cable/fuse routing – note the routing before disassembly and verify free movement after assembly.
Reasons why the part is damaged
- Mechanical damage (broken hinges, cracked handles) due to careless handling or impact.
- Vandalism or forced opening.
- Plastic wear and fatigue cracks due to age.
- Weather effects and UV radiation – paint fading and material degradation.
- Faulty assembly (overtightening of the attachment, poor snapping) that leads to loosening or cracking.