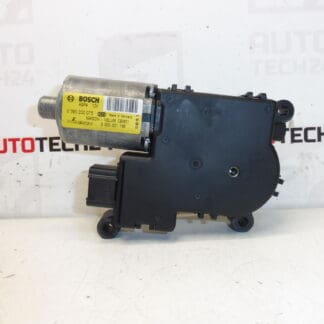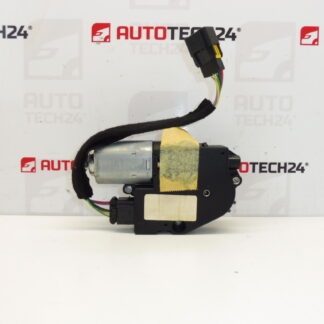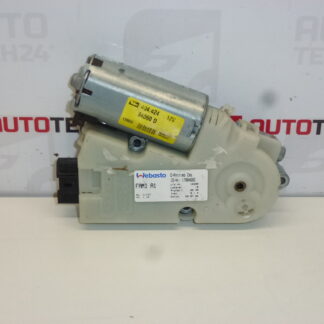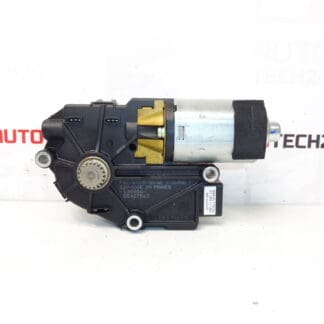
Right side mirror Citroën C5, electrically folding, EWPB 96532993XT 8149WH

€73.00

Stellantis CITROEN PEUGEOT
96532993XT 532993XT 8149WH EWPB
We have multiple colors in stock.

1 in stock

SKU: 9836-Z11_K30 Categories: , , , , ,

Description

Right side-view mirror for CITROËN C5 from 2005, can also be used on models up to 2005
Electrically operated, electrically folding toward the vehicle, heated, temperature sensor
Color EWP – BANQUISE WHITE PAINT
12 PIN (6+6)
Passenger side

Part description

Used right exterior rear-view mirror for Citroën C5 for the passenger side is a suitable replacement if the original mirror is damaged or its mechanism is faulty. It offers electric adjustment, electric folding toward the vehicle, heating and a temperature sensor. It therefore retains functions important for convenient operation and visibility during everyday driving.

To select the correct version, compare in particular numbers 96532993XT and 8149WH, the 12 PIN (6+6) connection, the mounting points and the equipment of the original mirror. Banquise white paint with the EWP designation may reduce the need for painting on a vehicle with matching paint; however, with a used part, possible differences in shade and surface wear should be taken into account.

Technical information

  • Manufacturer: not specified
  • Model: Citroën C5
  • Model fitment according to source information: C5 I, C5 II; from 2005, according to the description it can also be used on models up to 2005
  • Part type: exterior rear-view mirror – complete assembly
  • Side: right, passenger side
  • Operation: electric adjustment and electric folding toward the vehicle
  • Equipment: heating, temperature sensor
  • Electrical connection: 12 PIN (6+6)
  • Color: EWP – BANQUISE WHITE PAINT; EWPB is stated in the product designation
  • Condition: used part
  • Additional numbers: 532993XT

Product codes

  • Product codes: 96532993XT, 532993XT, 8149WH
  • Color designation in source information: EWPB, EWP
  • Model: Citroën C5

When searching for a replacement by product number, also compare the connectors and mirror functions. Matching the vehicle model alone does not necessarily mean the electrical configuration is the same.

Installation recommendations

The following procedure is general for electrically operated and folding exterior mirrors. The exact access to the mounting points, removal of the trim and procedure for disconnecting the electrical system depend on the specific model and vehicle version. Follow the manufacturer’s service procedure.

1) Before installation

  • Compare the product numbers, right-hand version, base shape and mounting points with the old part.
  • Check the 12 PIN (6+6) connection, connector shape, keying and contact configuration. The same number of pins alone does not guarantee the same wiring.
  • Verify that the original mirror has the corresponding functions: electric adjustment, folding, heating and a temperature sensor.
  • Inspect the housing, glass, base, sealing surfaces and wiring. Look for cracks, loose parts, damaged insulation and oxidized contacts.
  • Do not force the folding mechanism or attempt to power it without knowing the correct wiring.

2) Tools and materials required

  • Standard hand tools suitable for the fasteners used.
  • Plastic trim removal tool, if the trim needs to be removed.
  • Protective gloves, a soft pad and protection for painted surfaces.
  • Clean cloth and a product suitable for cleaning the mating surfaces.
  • If necessary, a measuring instrument for checking the electrical wiring according to the service documentation.

3) Step-by-step installation procedure

  1. Park the vehicle safely, switch off the ignition and ensure there is sufficient working space.
  2. Prepare the electrical system for work and disconnect the battery according to the vehicle manufacturer’s procedure.
  3. Cover the surrounding painted surfaces to prevent them from being scratched while handling the mirror.
  4. Following the service procedure, remove only the covers or trim components that obstruct access to the mounting points and connectors.
  5. Before disconnecting, note the routing of the wiring. Release the connector locks and disconnect them without pulling on the wires.
  6. Support the original mirror and gradually release its fasteners. Prevent the mirror or fasteners from falling.
  7. Remove the mirror, clean the mating surface and check the condition of the seal and the surrounding mounting area.
  8. Position the replacement mirror, seat the seal correctly and route the wiring so that it is neither pinched nor stretched.
  9. Secure the mirror according to the manufacturer’s instructions. Ensure it is seated evenly and do not overtighten the fasteners.
  10. Connect the corresponding connectors, secure their locks and return the wiring to its original routing.
  11. Restore the power supply according to the manufacturer’s procedure and check the electrical functions before fully reassembling the trim. Then reinstall the removed covers and trim.

4) Checks after installation and function verification

  • Test glass adjustment in all directions and electric folding and unfolding. Movement should be smooth, with no sticking or unusual noises.
  • Check the heating using the vehicle’s normal controls under the conditions in which it activates.
  • Check the outside temperature reading if displayed by the vehicle; after handling or time spent in the workshop, allow time for it to stabilize.
  • Check that the mirror is securely mounted, the seal is seated and the trim is correctly fitted.
  • Adjust the field of view before driving. During a short test drive, watch for image vibration and any increase in aerodynamic noise.

5) Most common installation errors and how to avoid them

  • Choosing the wrong electrical version: before installation, compare the part numbers, connectors, wiring and equipment, not just the appearance.
  • Pinched wiring: check the routing and ensure it can move freely before tightening.
  • Incorrectly seated seal: clean the mating surface and ensure the seal makes even contact.
  • Overtightened fasteners: follow the manufacturer’s instructions to avoid damaging the base or threads.
  • Forcing the mirror to fold: operate the mechanism using the designated control, not by force.
  • Reassembling the trim too soon: check the functions and connector locks before fitting it fully.

Reasons why the part gets damaged

For this type of mirror, damage is commonly caused by the following factors. These are general causes, not a description of faults in the part being offered.

  • Impact or catching on an obstacle while parking or passing through a narrow space can damage the glass, housing, joint or mounting points.
  • Forcing the mirror to fold or activating a frozen mechanism can overload the motor and damage its gears.
  • Moisture and contact corrosion can cause electric adjustment, folding, heating or the temperature sensor to fail intermittently.
  • Wear of moving parts may result in looseness, vibration or irregular operation.
  • Damaged wiring or incorrect previous installation can lead to intermittent faults and water ingress around the base.
  • Material aging and weather exposure can worsen the condition of the housing, seal and mirror surface.

Additional information

Weight 1.6 kg

Unless otherwise specified in the description, all photos are for illustrative purposes only.

We reserve the right to replace the ordered reference with the manufacturer's replacement reference.

The parts come from crashed vehicles, are carefully inspected, and we provide a 12-month warranty on functionality for them.