Description
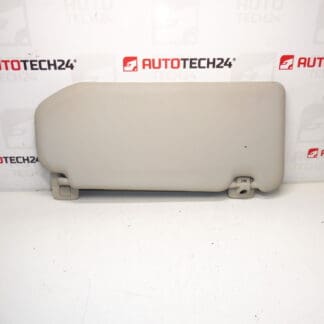
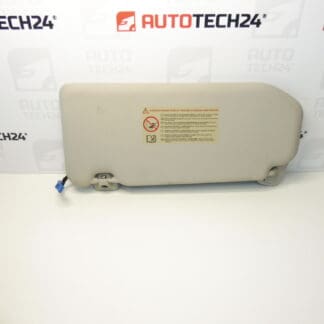
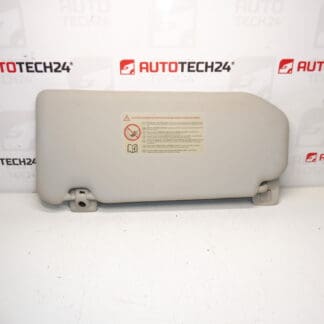
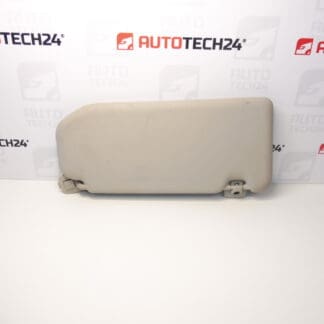
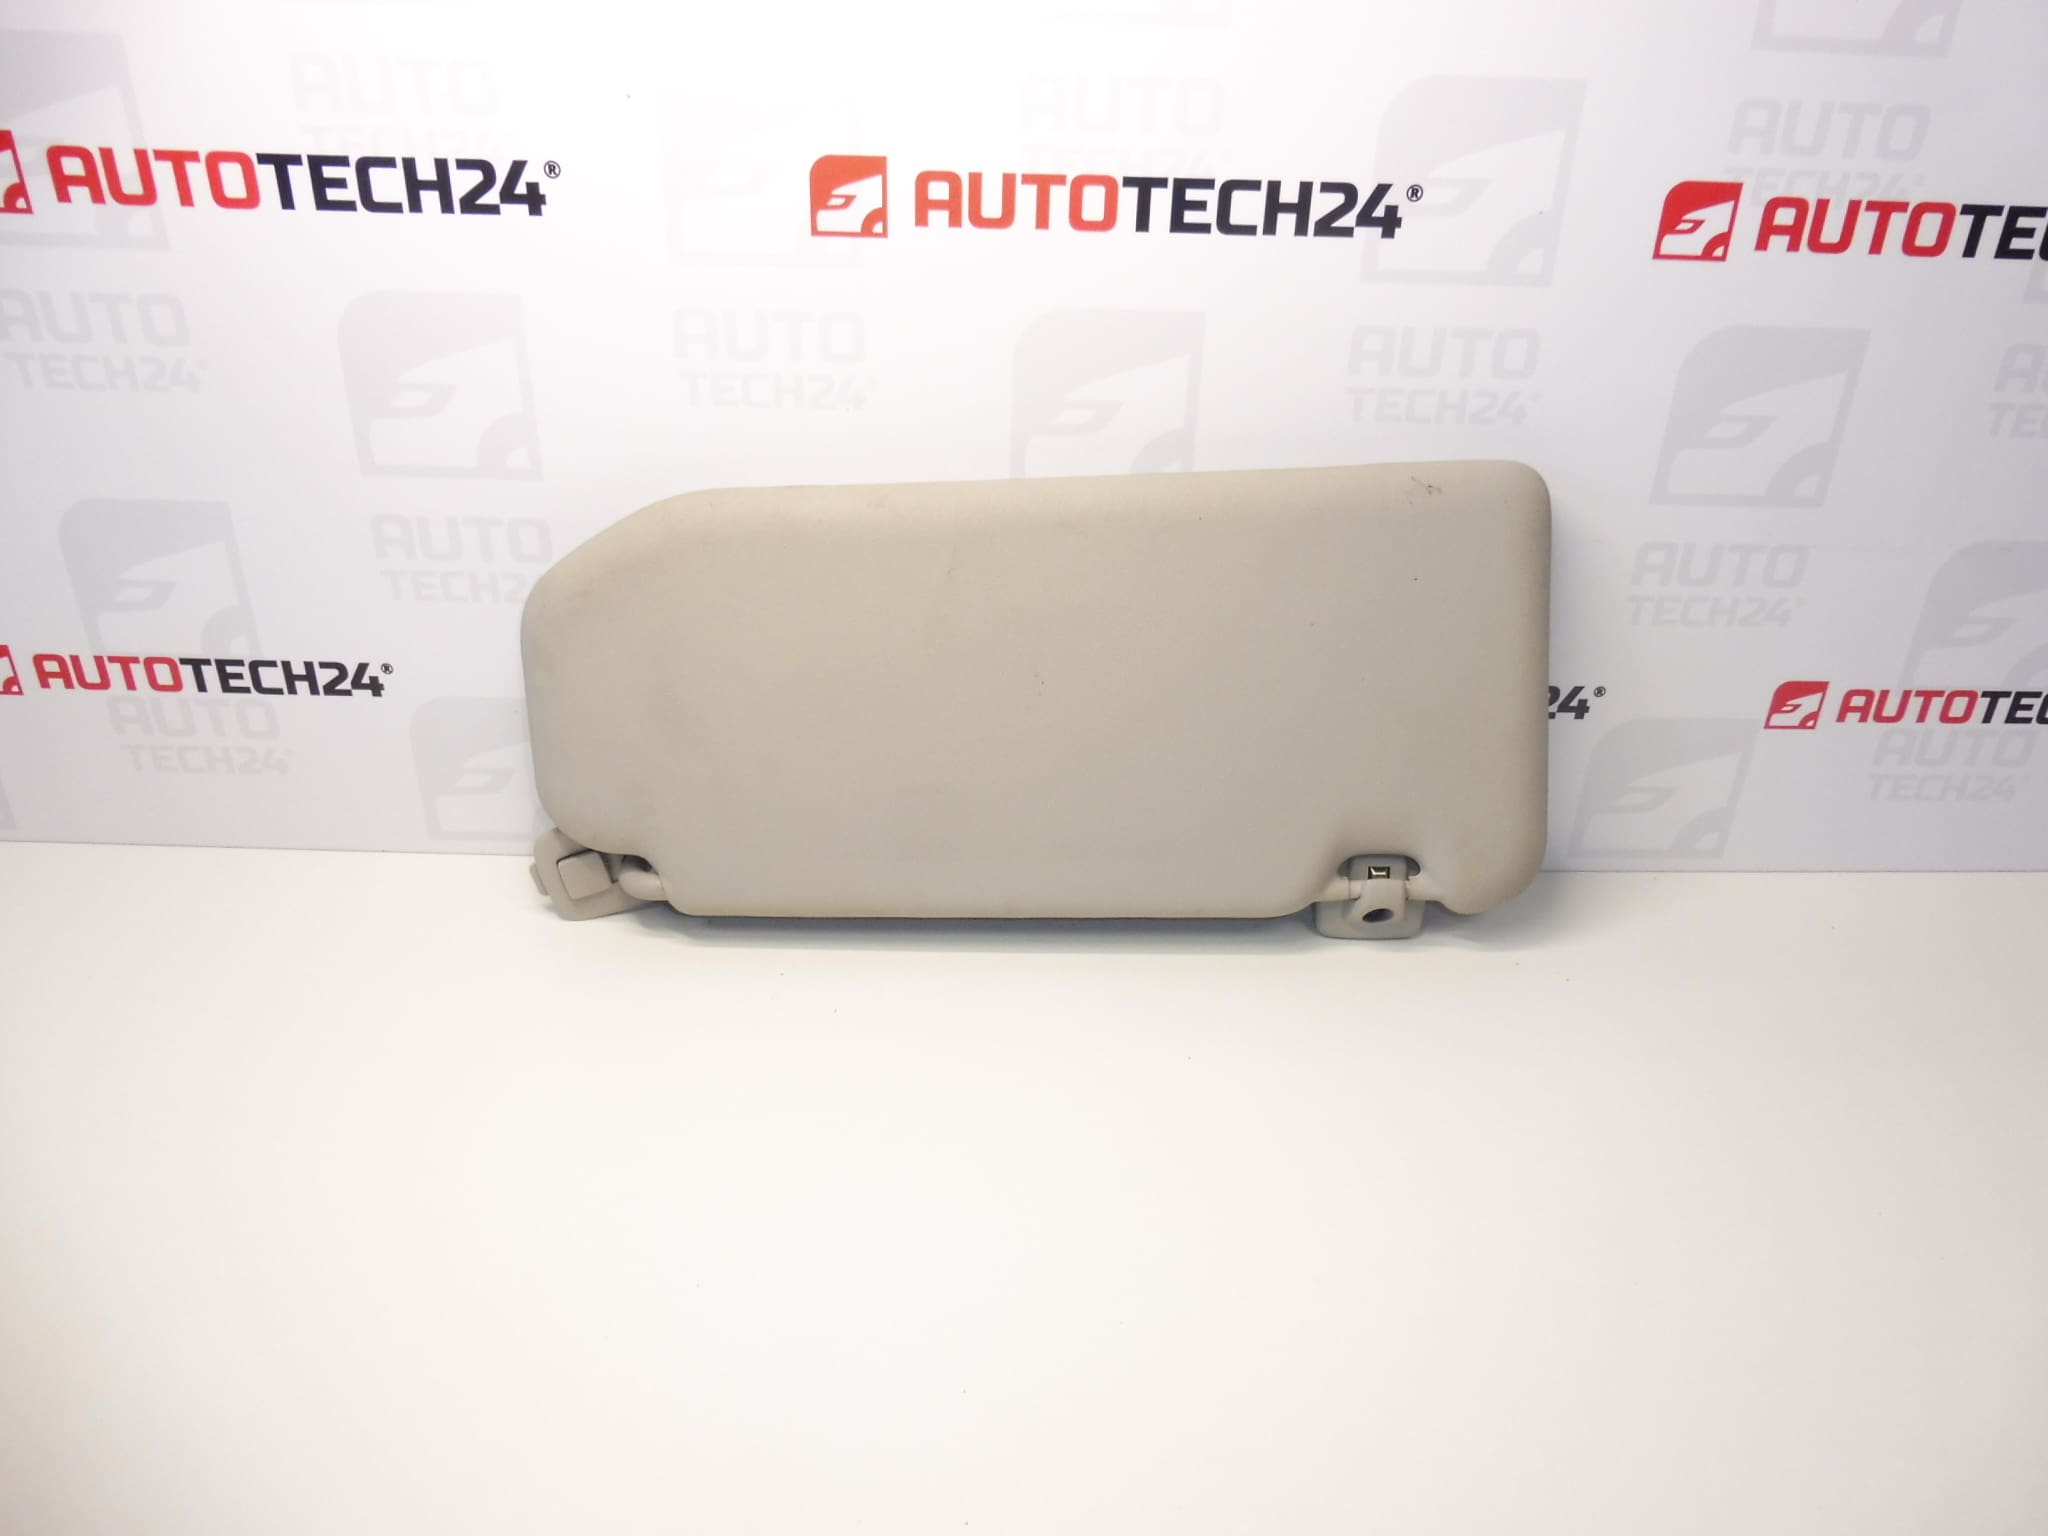
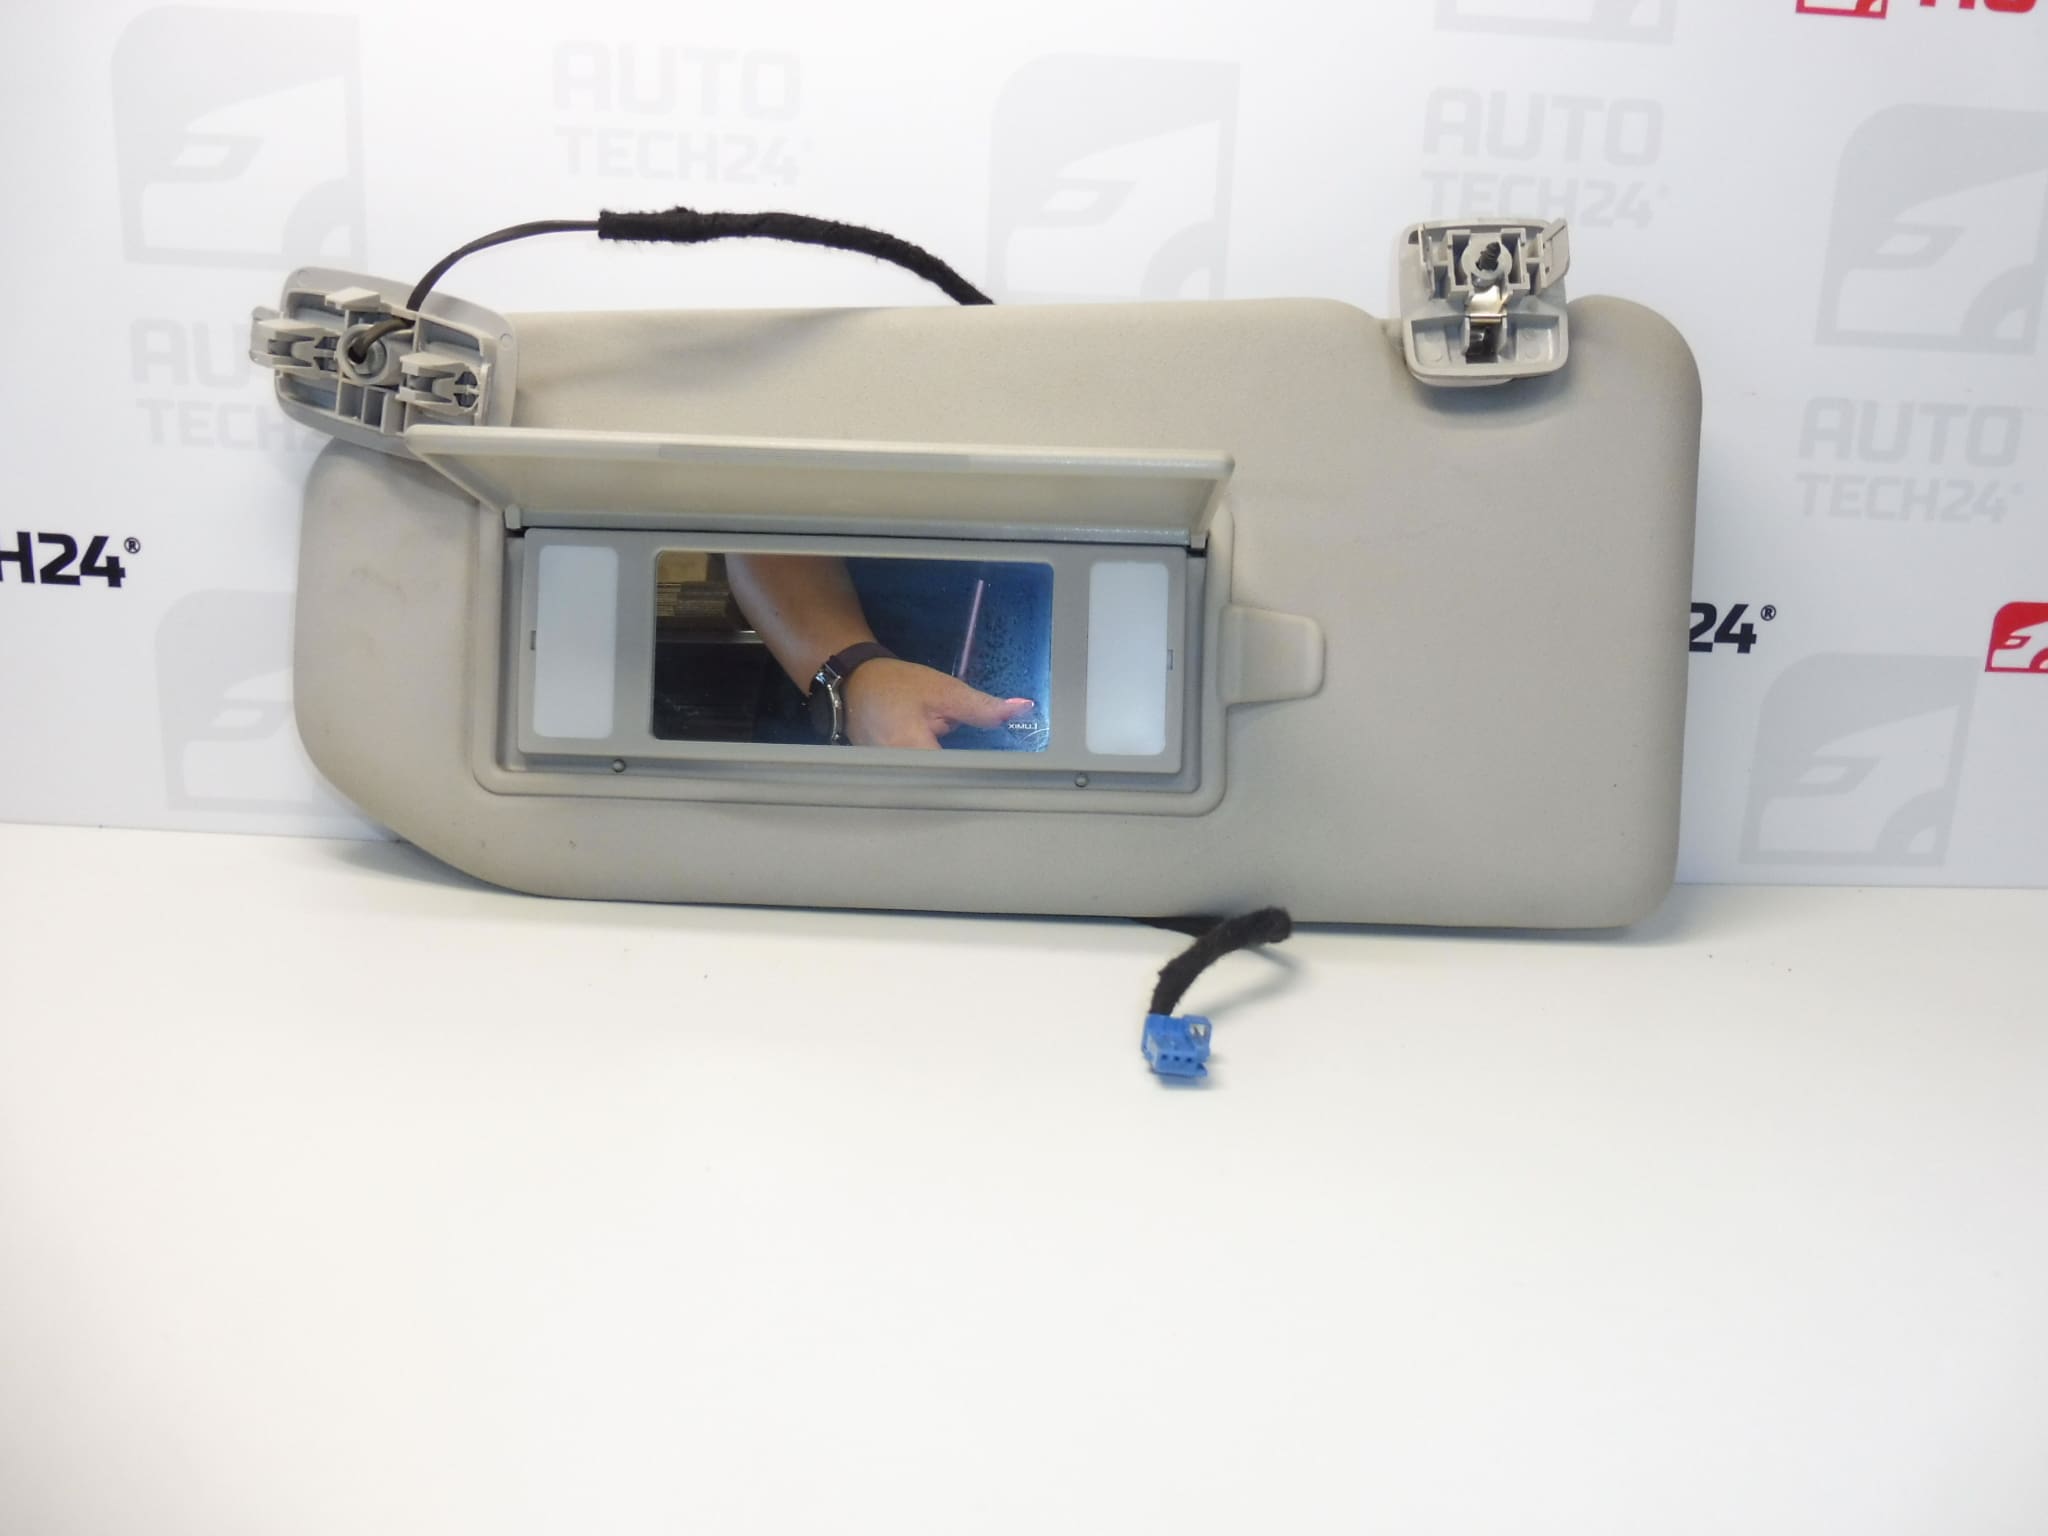
Sun visor with mirror for CITROEN C4 B7 cars
Version with lighting
Color FBJ – LAMA
Driver side
Part description
The used driver’s sun visor for Citroën C4 B7 helps reduce glare when driving and is equipped with an illuminated mirror. The color design of FBJ – LAMA is important information when choosing a replacement that should match the interior of the car.
If the original screen is damaged or no longer holds in the set position, a replacement will help restore comfortable use. When choosing, compare not only the appearance and attachment, but also the design of the electrical connection. The part can be found under the designations 8163EN and 16128920BJ.
Technical information
- Manufacturer: not specified; in the documents the label Stellantis CITROEN PEUGEOT.
- Model: Citroen C4 II; description mentions CITROEN C4 B7.
- Type of part: interior sun visor with mirror.
- Design: with lighting.
- Party: driver.
- Color: FBJ – LAMA.
- Condition: used part.
- Other numbers: not specified.
Product codes
- Product codes: 8163EN, 16128920BJ.
- Model: Citroen C4 II.
Compare the product numbers with the designation of the original aperture. At the same time, check the match of the side, color, attachment and design with the lighting.
Installation recommendations
In general, the following procedure applies to this type of part. The exact method of releasing the covers, fasteners and electrical connector depends on the specific design of the car. Follow the manufacturer’s service instructions and do not force the plastic parts loose.
1) Before assembly
- Compare the used shade with the original piece: product designation, driver’s side, shape, color, attachment points and lighting electrical connections.
- Inspect the aperture body, mirror, mirror cover if applicable, rotating mechanism and brackets. Check for cracks or looseness.
- Carefully test the aperture movement and ability to hold the set position.
- Check the available wires and connector, especially for damage to the insulation, deformed contacts or signs of oxidation.
2) Necessary tools and materials
- Hand screwdriver or suitable bits according to the actual fixing design.
- Plastic tool for gentle release of interior covers.
- A clean soft cloth to protect surfaces and a container for small fasteners.
- In the case of lighting diagnostics, a suitable measuring device and knowledge of safe measurement of electrical circuits.
3) Step-by-step assembly procedure
- Stop the vehicle safely, turn off the ignition and ensure that there is enough light for work.
- Before disconnecting the electrical connection, ensure that the power is disconnected according to the manufacturer’s service procedure. If it is necessary to disconnect the battery, follow the prescribed vehicle procedure.
- Record the original position of the brackets and wiring, such as photographs.
- If the fasteners are covered by caps, carefully release them with a plastic tool without prying against the upholstery.
- Support the screen with your hand and loosen its fastening in a manner corresponding to the actual construction.
- After making the lighting connector accessible, unlock its fuse and disconnect the connector. Do not pull on the wires.
- Remove the original screen and inspect the mounting points and the available wiring. The damaged attachment must be resolved before fitting the spare part.
- Compare both apertures side by side and verify that the connector and mounts match without modification.
- Connect the spare screen connector, check its security and route the wiring so that it does not pinch or strain when moving.
- Place the screen, secure it according to the manufacturer’s instructions and replace the caps. Do not pull the joints so that the plastic parts do not crack.
- Restore power according to manufacturer’s procedure and verify mechanical and electrical function.
-
4) Post-assembly checks and function verification
- Fold the shutter several times and put it back. It must move smoothly, hold the position and must not fall on its own.
- Check the stability of the holders, the seating of the covers and any play or squeals.
- Verify the function of the mirror illumination according to the design of the aperture.
- First carry out all checks with the vehicle stationary. During a possible short test drive, only observe stability and unwanted sounds; do not repair the aperture while driving.
5) The most common assembly mistakes and how to avoid them
- Swapping design: compare mount, connector, lighting and color code before disassembly.
- Breaking covers or latches: first find out how they are secured and use a plastic tool.
- Drag fixing: use suitable hand tools and follow the manufacturer’s instructions.
- Unsocked connector: verify fuse engagement, not pulling on cables.
- Rough handling, especially turning over the stop or violently pulling on the screen and brackets.
- Long-term exposure to heat and sunlight, which contributes to the aging of plastics and surface materials.
- Mechanical impact that can damage the mirror, its possible cover or the body of the aperture.
- Damage to the electrical connection or lighting due to stress on the wires, soiling of contacts or wear of electrical components.
Reasons why the part is damaged
Sun visors generally experience the following causes of damage; this is not a description of the defects of this particular piece: