Description
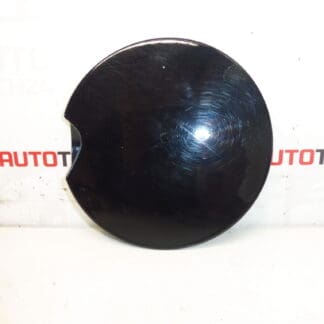
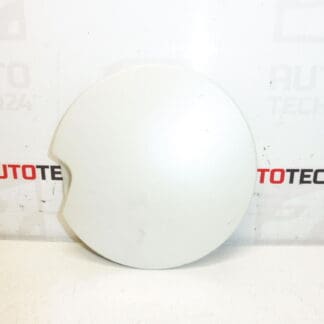
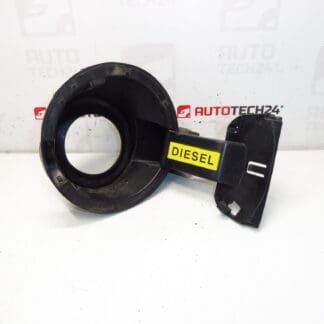
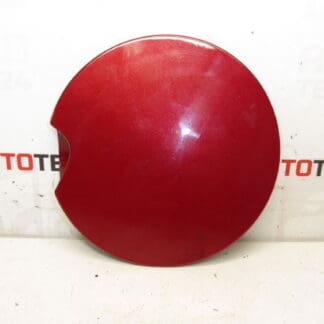
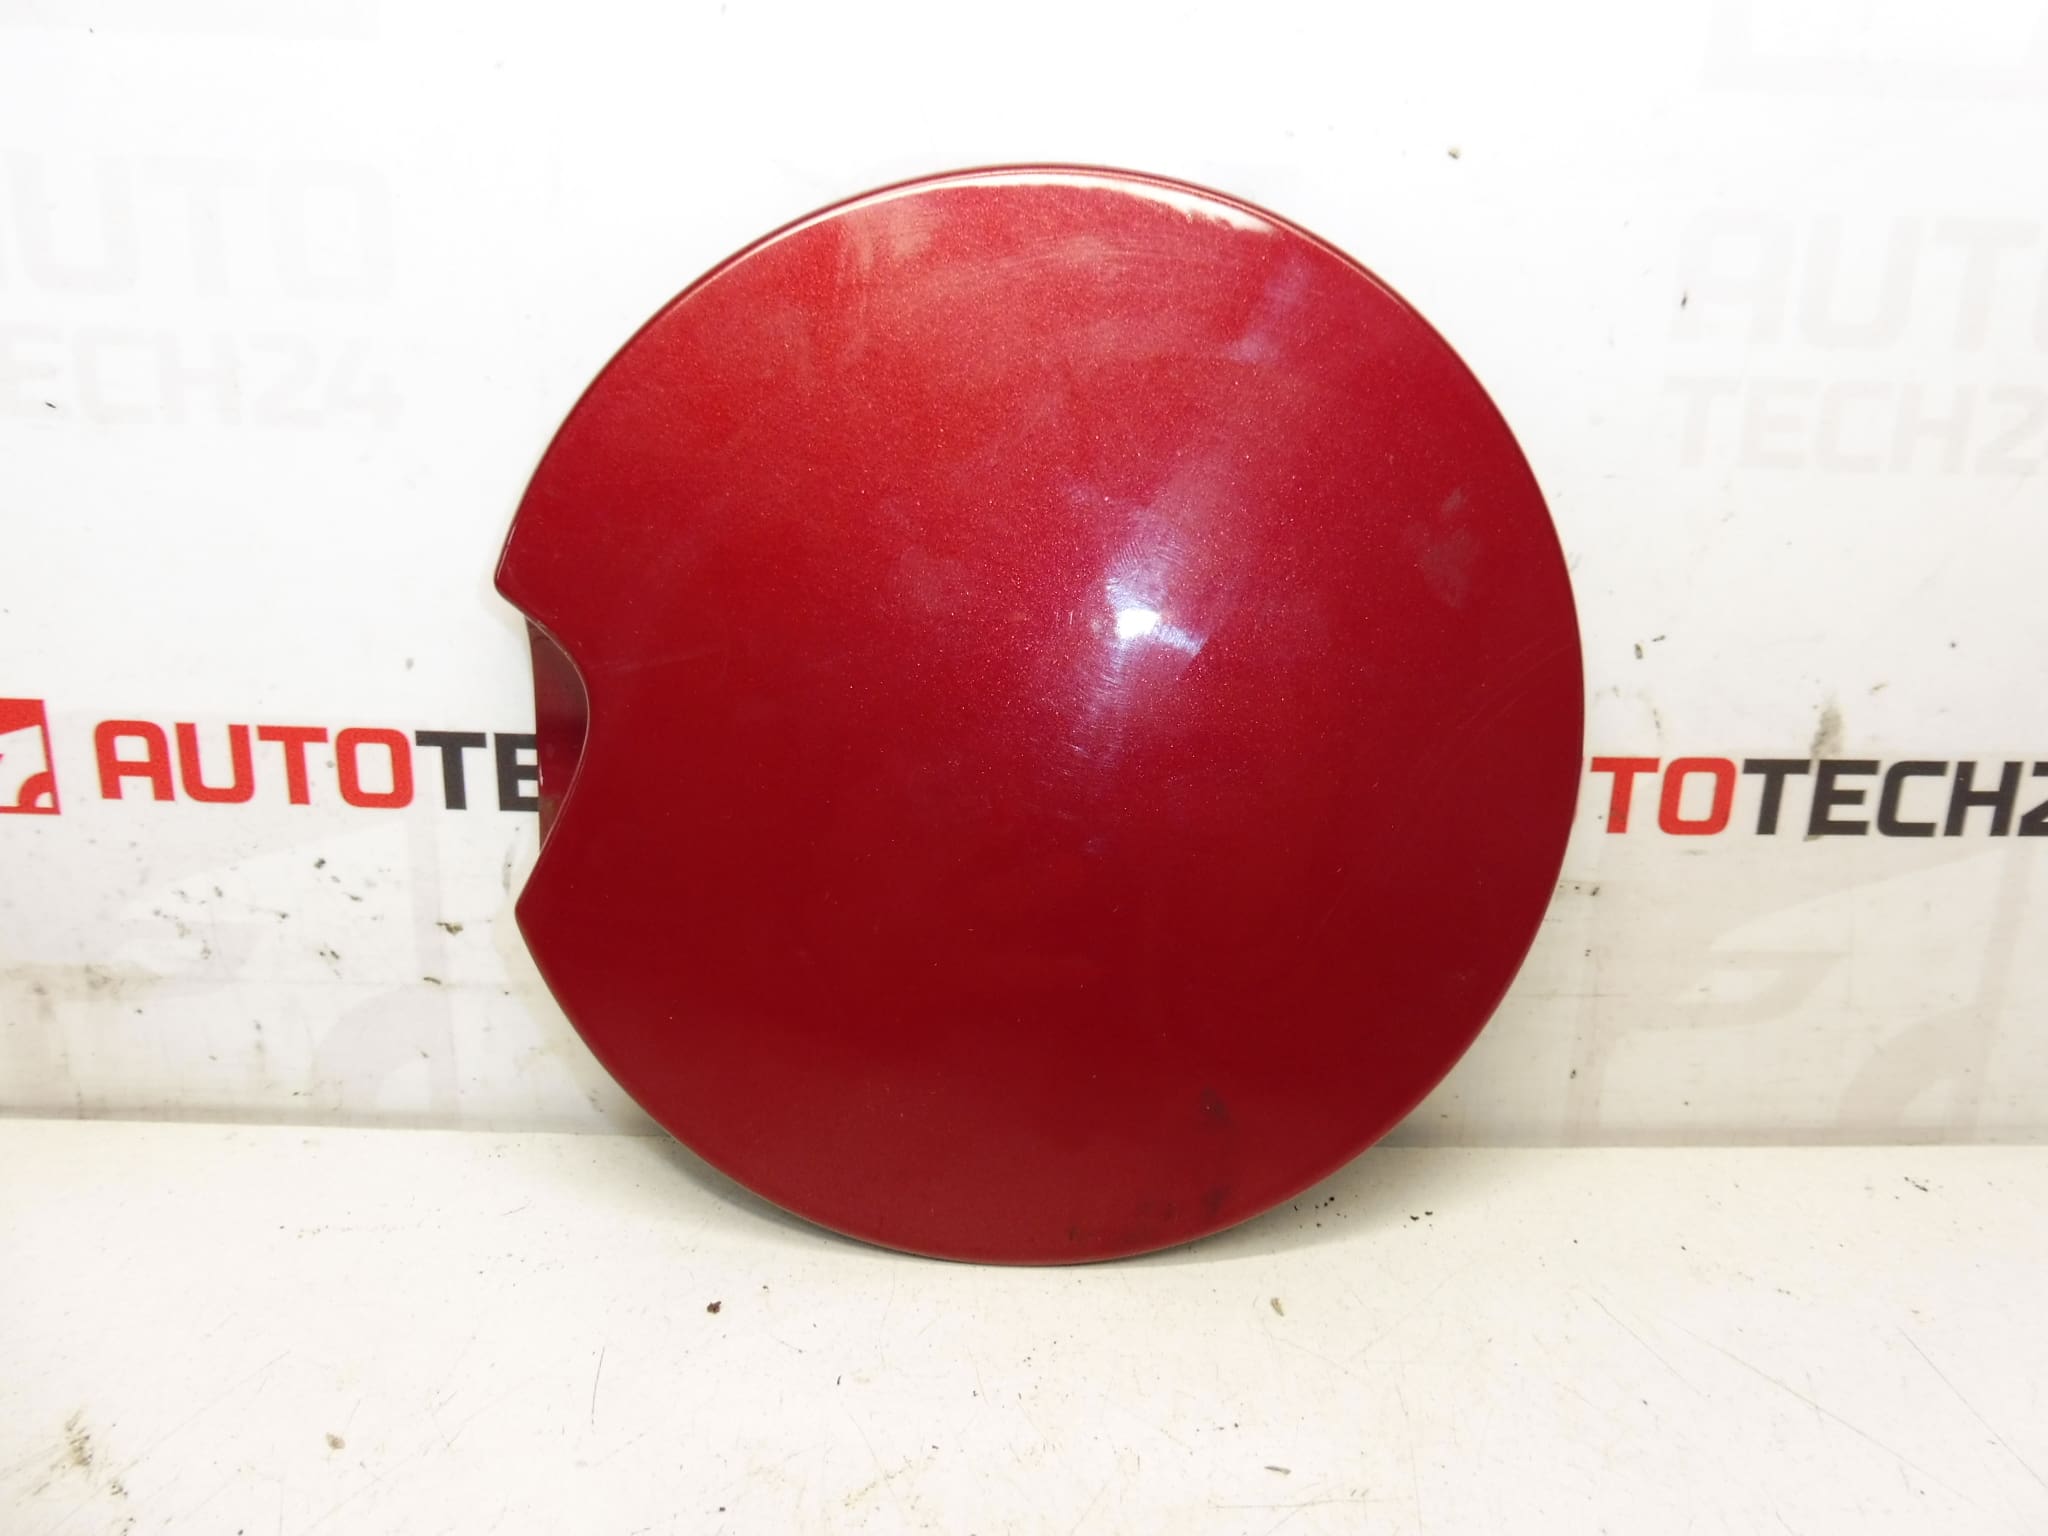
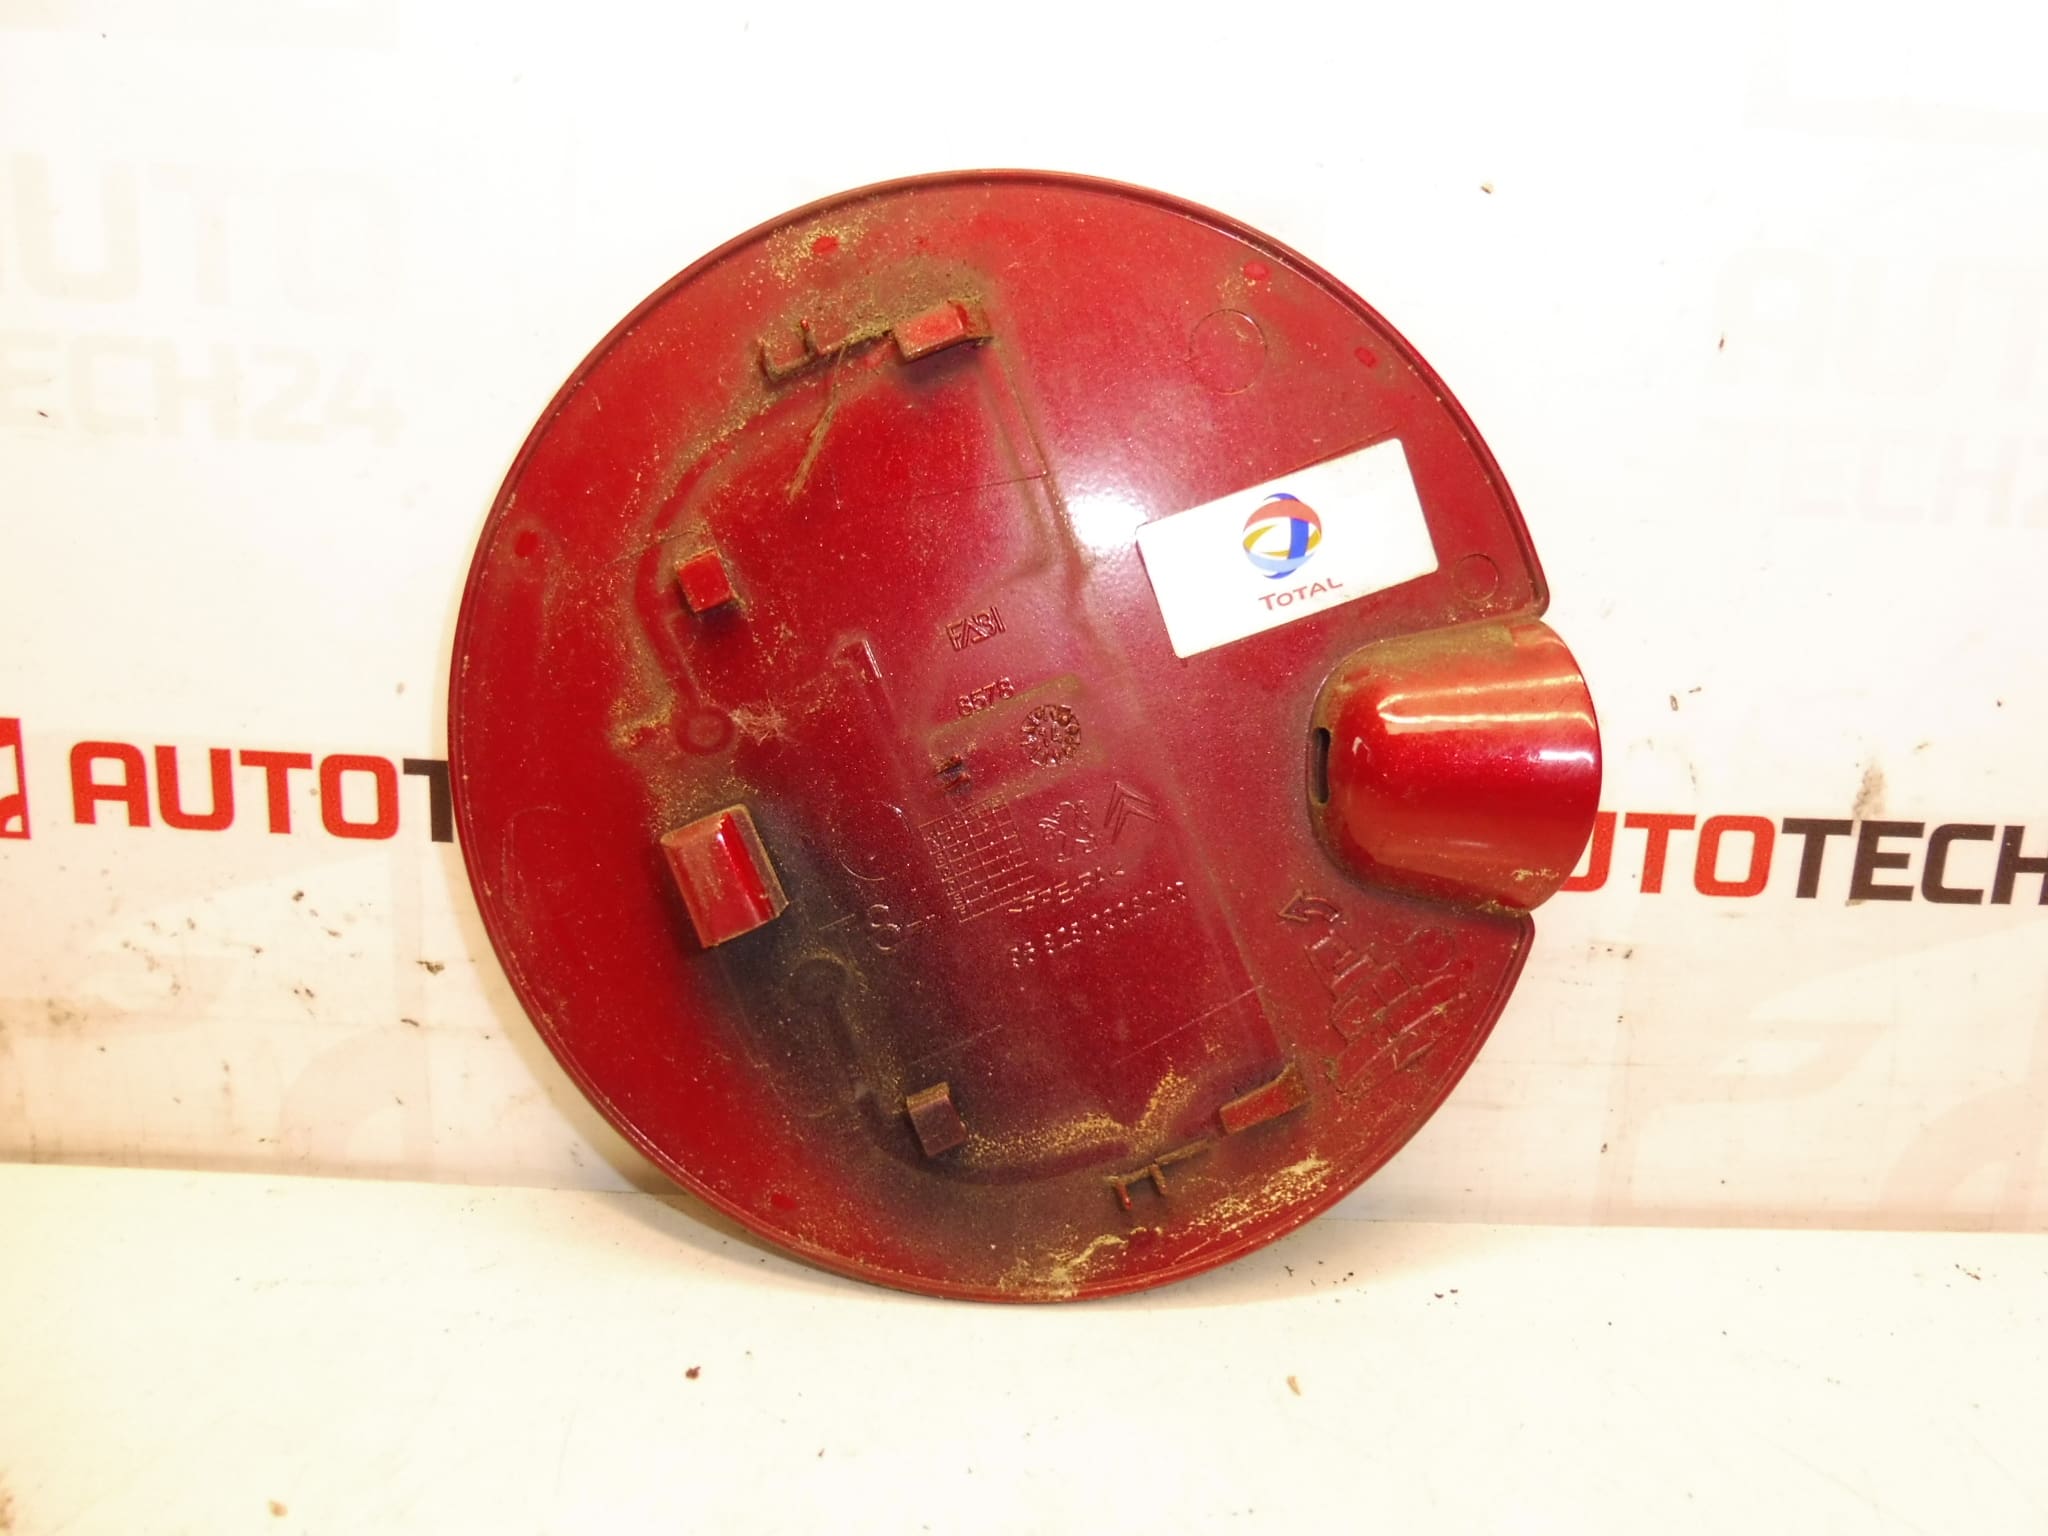
Fuel filler cap cover for Peugeot 3008 first generation. Color EPY – Ruby Red paint. Filler neck housing available in stock under code 1518E2. We also have other colors in stock.
Product Overview
This direct replacement fuel filler cap cover is designed for the Peugeot 3008 (First Generation). Supplied painted in Ruby Red (EPY/EPYD), it restores the original appearance of the fuel door and provides an OEM fit and finish. Ideal for bodyshops, professional mechanics and knowledgeable DIYers looking for a straightforward exterior repair or cosmetic restoration.
Features And Benefits
- OEM-Compatible Fit: Manufactured to match factory dimensions and attachment points for a flush, secure fit.
- Painted Finish: Delivered in Ruby Red (EPY/EPYD) for direct installation without repainting (other colors available from stock).
- Improves Appearance: Replaces scratched, dented or corroded filler cover to restore vehicle aesthetics.
- Time-Saving Replacement: Designed for quick swap with original clips and fasteners.
Technical Information
- Manufacturer: Stellantis / Peugeot
- Model: Peugeot 3008 I (First Generation)
- Product Codes: 9682803080, 1517G9, EPYD
- Additional Numbers: 1518E2 (Filler Neck Housing)
Recommended Installation
Replacement is straightforward for experienced technicians and competent DIYers. Typical procedure:
- Open the fuel flap and access the fixing points (screws or clips) on the inner edge of the filler door.
- Remove retaining screws or pry out clips carefully to avoid damaging surrounding paint or trim.
- Detach the filler cap cover from the hinge or mounting pins. Inspect hinge, clips and latch for wear and replace if necessary.
- Fit the new cover, ensuring correct alignment of hinge pins and closing gap. Reinstall original fasteners or OEM-quality replacements.
- Check operation: open and close several times to ensure smooth movement and secure latch engagement. Verify gap symmetry and paint match.
Use appropriate trim tools and torque settings for fasteners. Protect painted surfaces during work and replace any broken clips with correct OEM types to ensure longevity.
Why This Part Fails
- Impact Damage: Minor collisions, shopping trolleys or car park incidents commonly dent or crack the filler door.
- Hinge Or Clip Failure: Plastic hinges and retaining clips can become brittle with age and break on repeated use or after exposure to chemicals and UV.
- Corrosion And Paint Damage: Scratches or peeling paint expose metal, leading to rust around the filler neck and mounting points.
- Wear From Misuse: Excessive force when opening or closing, or improper repairs, can lead to misalignment or latch malfunction.
Practical Notes
- There Is No Fixed Replacement Interval—Replace As Needed After Damage, Corrosion Or During Bodywork.
- If The Filler Neck Housing Is Also Damaged, See Part Number 1518E2 Available From Stock.
- Confirm Color Code (EPY/EPYD) Before Installation To Ensure Paint Match.
Suitable For
Peugeot 3008 I (First Generation) owners and repair professionals seeking an OEM-compatible, painted fuel filler cap cover with part codes 9682803080 / 1517G9 / EPYD. Other colors available from stock for matching different vehicle finishes.