Description
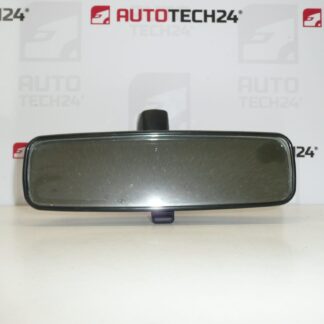
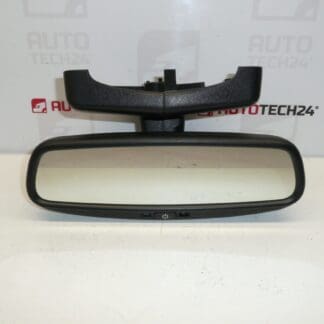
Interior rear-view mirror with automatic dimming for Peugeot 407.
This auto-dimming interior mirror is a direct-fit replacement designed for Peugeot 407 drivers and automotive technicians who demand reliable glare reduction and clear rear visibility. Engineered for quick installation and robust daily use, the mirror reduces nighttime glare from following vehicles using electrochromic dimming, improving safety and comfort during long drives. Common search terms: Peugeot 407 interior mirror, auto-dimming mirror 8149ST, 8149XK, 8149XN, replacement rear-view mirror Peugeot.
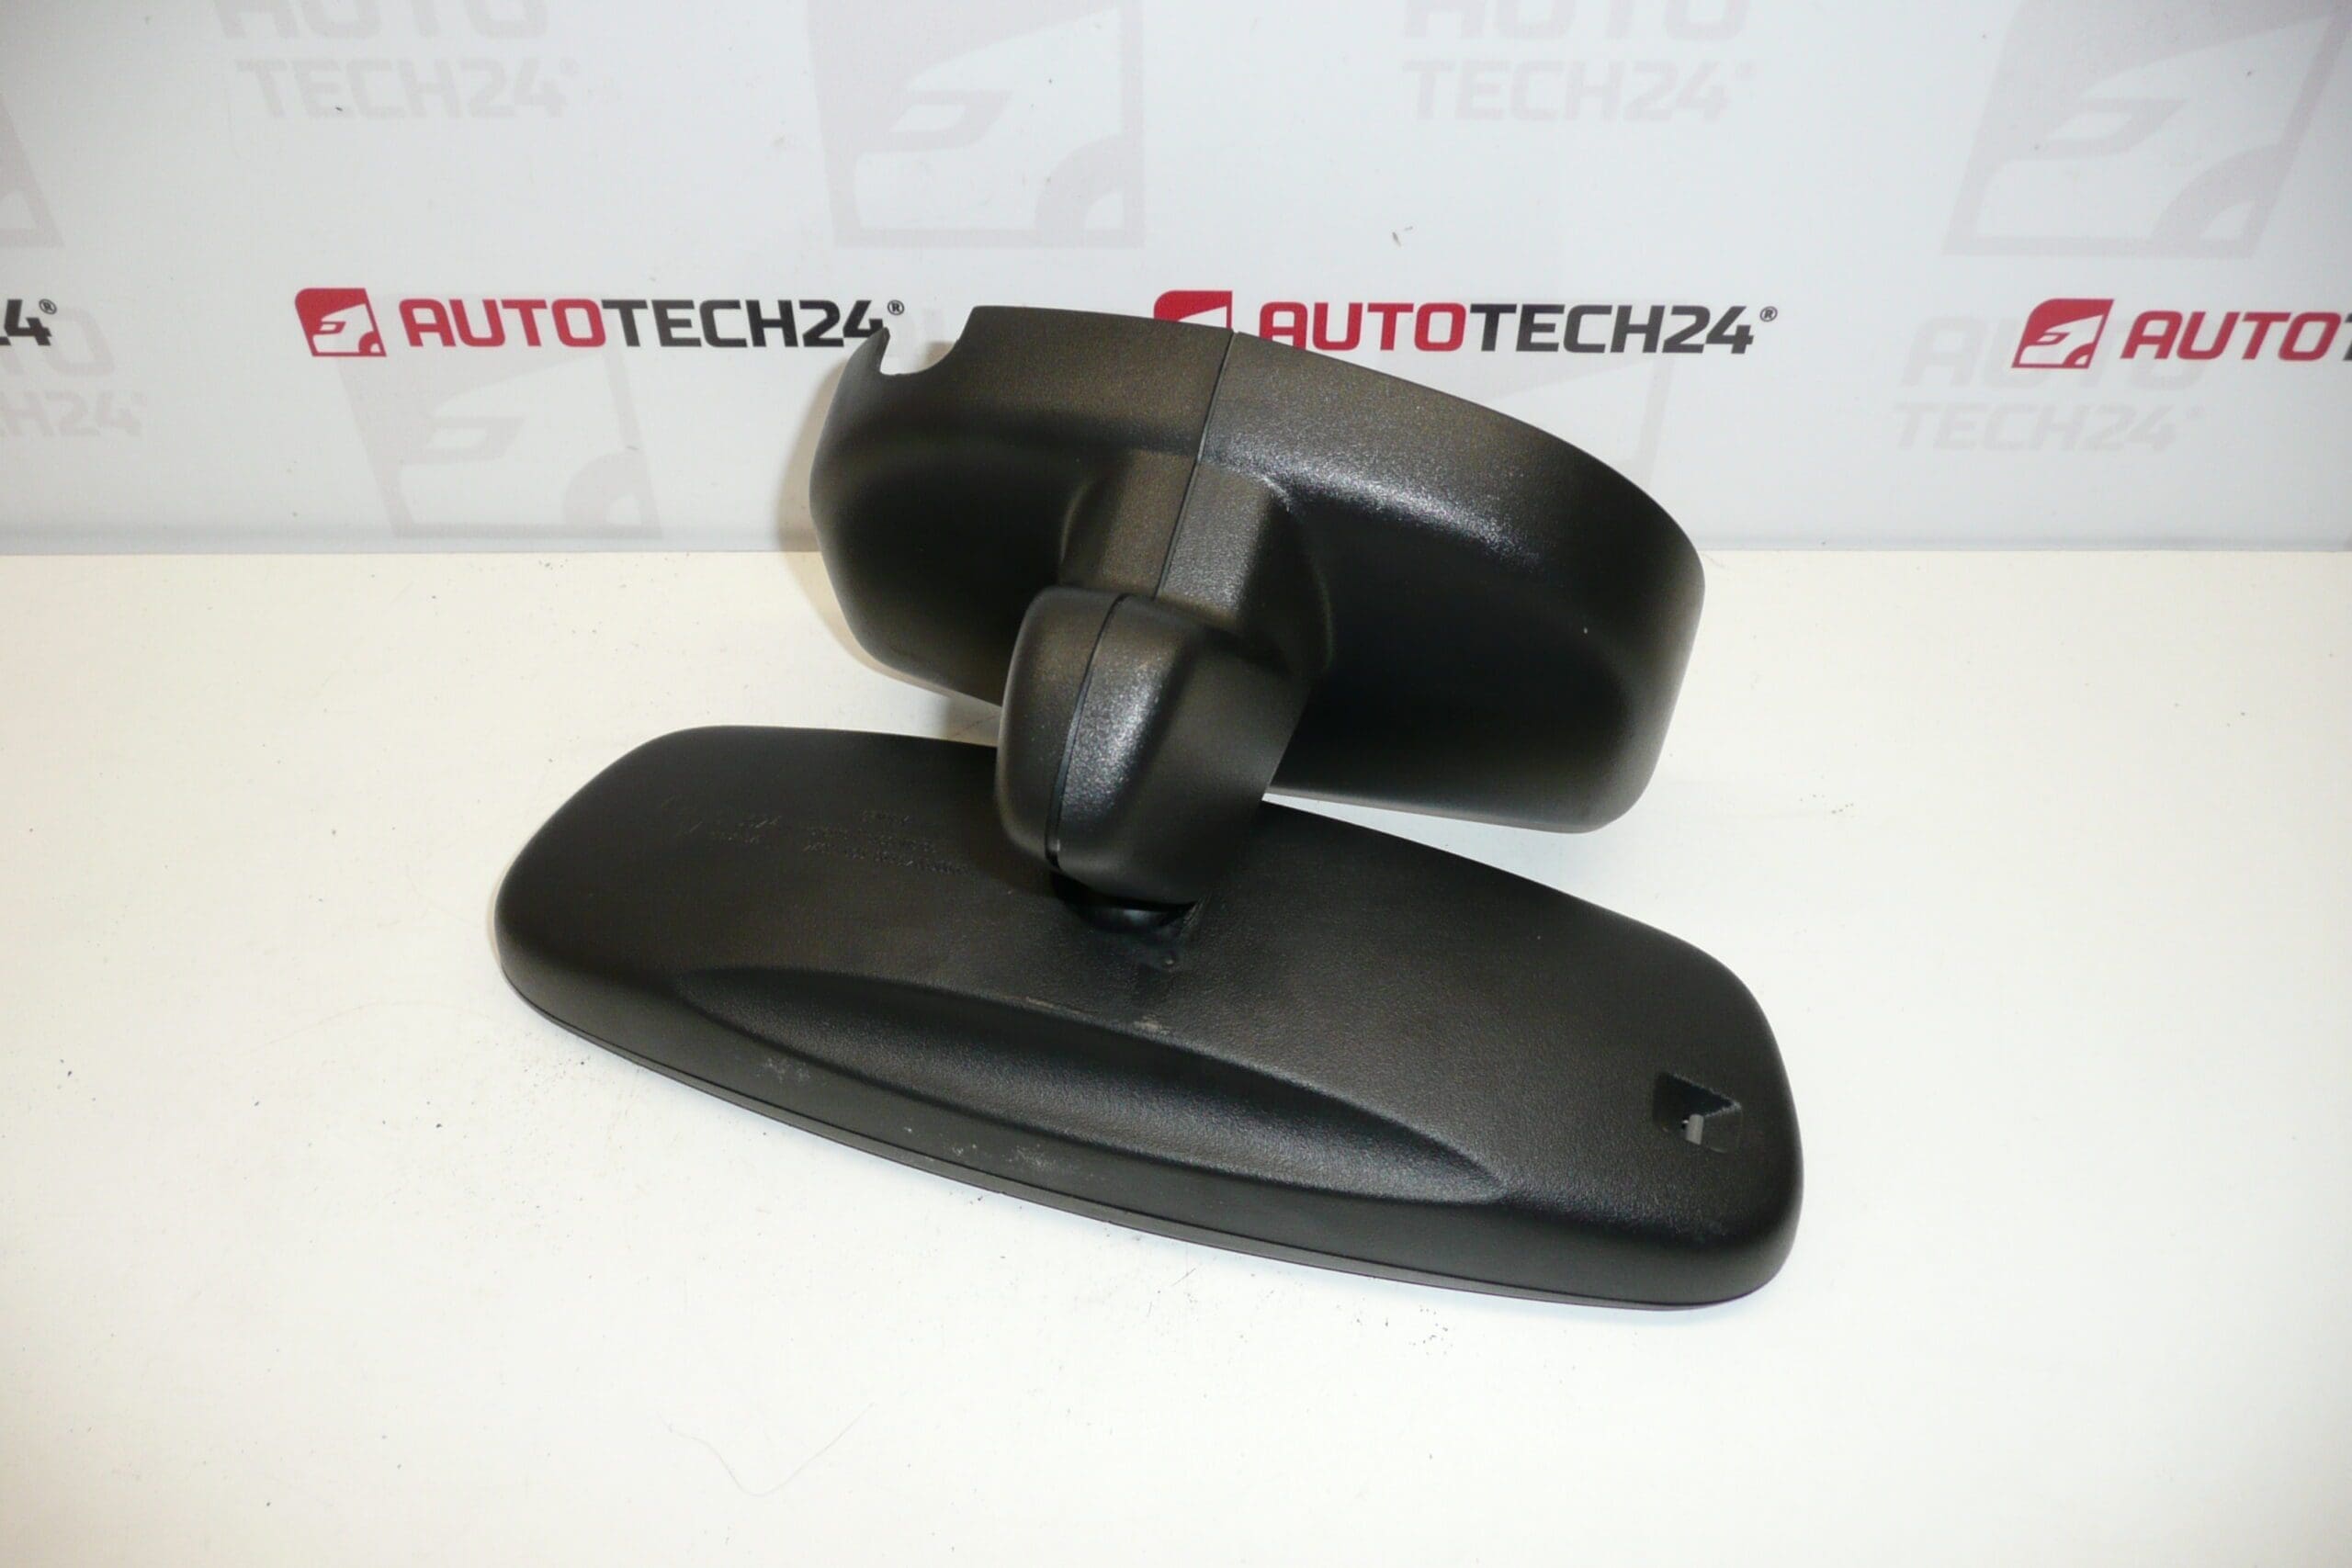
The mirror housing matches the original interior styling and mounting interface for a neat, factory-like finish. It is suitable for professional workshops and competent DIY enthusiasts who can follow basic wiring and trim removal steps. The unit is compatible with models using the original mirror mounting plate and electrical connector; the provided product codes are commonly used when locating the correct spare part.
Technical Information
Manufacturer: Stellantis / Peugeot
Model: Peugeot 407
Product Codes: 8149ST, 8149XK, 8149XN
Other Numbers: Not Available
How It Works
The mirror uses electrochromic dimming technology: an internal gel changes its light transmission when an electrical signal from ambient and rear sensors is applied, automatically reducing reflected glare. The unit typically contains a light sensor facing rearward and a sensor toward the cabin to compare light levels and adjust tint accordingly. This improves night driving comfort without manual adjustment.
Installation Recommendations
- Prepare Tools: Torx or screwdriver set, trim pry tools, electrical cleaner, and dielectric grease.
- Remove Trim Carefully: Pry off the headliner trim or mirror bezel gently to access the mounting point to avoid damage to the headliner or clips.
- Disconnect Power: If the mirror is powered, disconnect the battery before unplugging the mirror connector to prevent short circuits.
- Unclip Mirror: Release the retaining clip or unscrew the mirror from its mounting bracket according to the vehicle’s original fastening method.
- Transfer Bracket (If Required): On some vehicles the mounting plate is bonded to the glass or windscreen; transfer the plate to the new mirror if applicable.
- Reconnect and Test: Connect the wiring harness, reconnect the battery, and test the auto-dimming function before refitting trims. Apply dielectric grease to electrical contacts to improve long-term reliability.
- Tighten Securely: Ensure the mirror is firmly fastened and aligned for correct rear visibility.
Why This Part Fails Most Often
Auto-dimming mirrors typically fail due to electrical faults, degraded sensors, or moisture ingress. Common causes include corroded connectors, intermittent wiring or short circuits, and impact damage from collisions or strong knocks. Over time, exposure to heat and UV can affect the internal electrochromic elements or adhesives, and improper installation (loose mounting or damaged bracket) can lead to detachment or malfunction. Addressing connector corrosion and ensuring a proper installation are the most effective preventive measures.
For mechanics and DIYers, this mirror is a practical replacement option that restores original functionality and improves night-time driving safety for Peugeot 407 vehicles. Use the listed product codes (8149ST, 8149XK, 8149XN) when searching or ordering to increase the likelihood of an exact match.